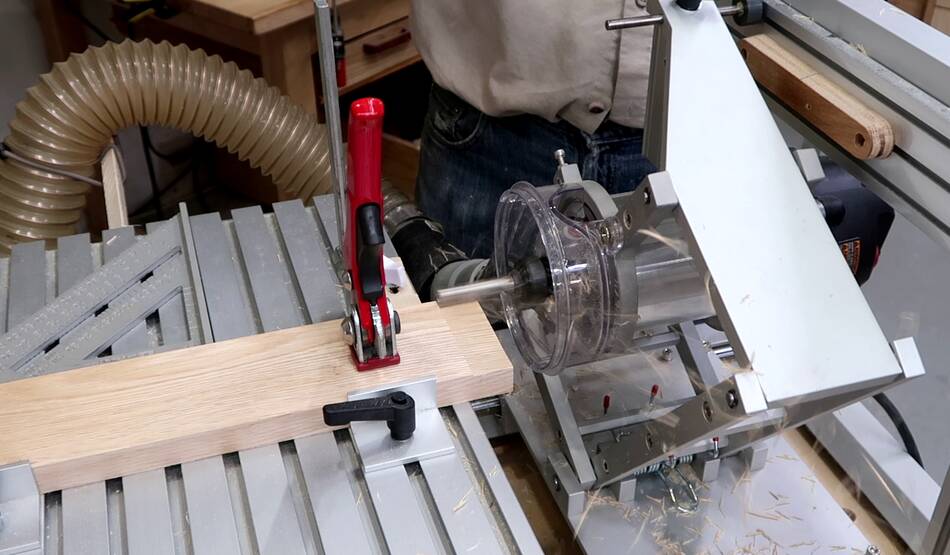
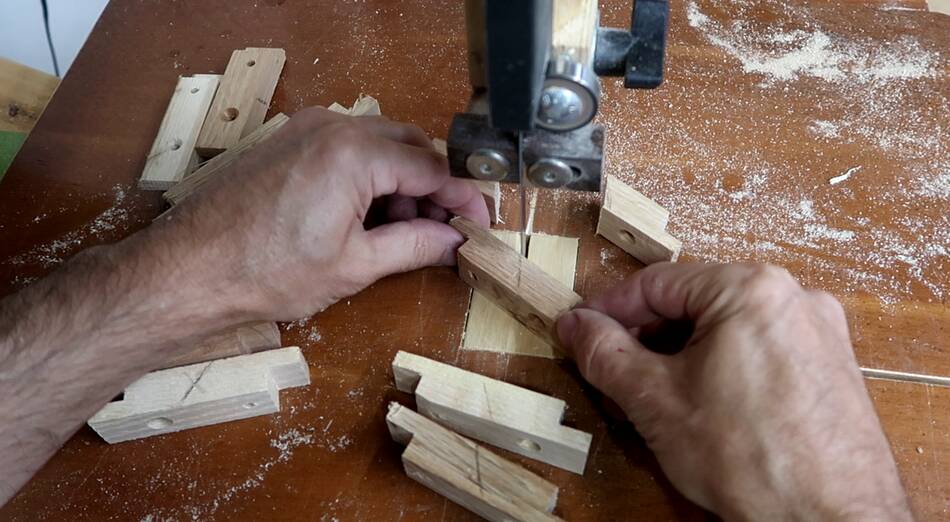
 I cut the tenons on the ends of the apron rails using
my metal pantorouter.
I cut the tenons on one end before cutting the pieces to their
final length. That way, if I screwed up a tenon, I still had enough
length left to cut it off and cut a new tenon.
I cut the tenons on the ends of the apron rails using
my metal pantorouter.
I cut the tenons on one end before cutting the pieces to their
final length. That way, if I screwed up a tenon, I still had enough
length left to cut it off and cut a new tenon.
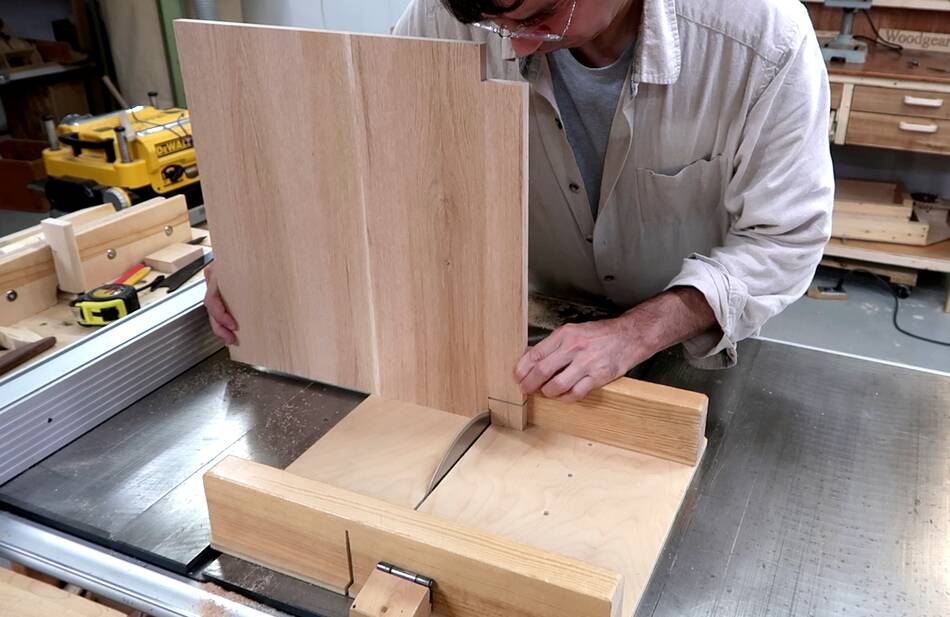
 Having checked the tenon fit, I used my 1:1 printout to set a stop to cut
the pieces to length. I have the stop set up to go against the shoulder
of the tenon I already cut.
Having checked the tenon fit, I used my 1:1 printout to set a stop to cut
the pieces to length. I have the stop set up to go against the shoulder
of the tenon I already cut.
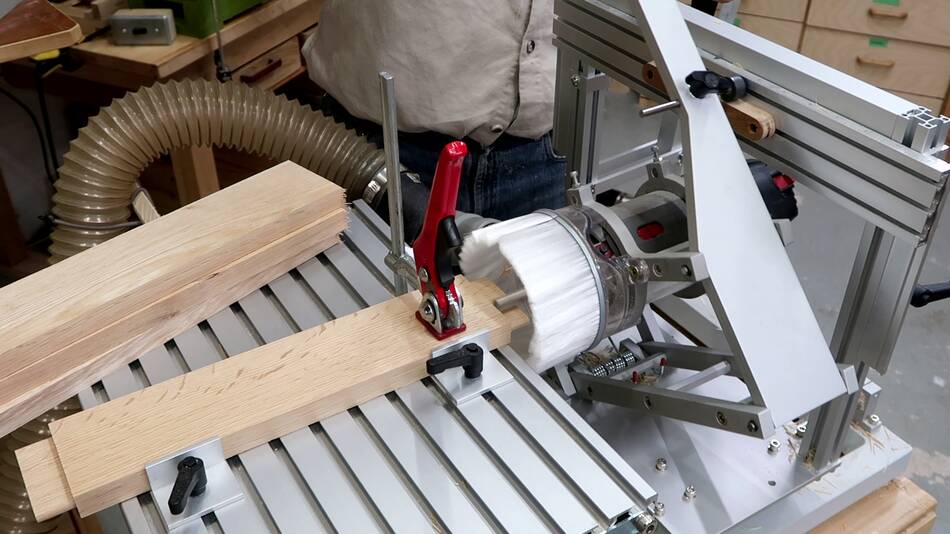 Then cutting the rest of the tenons, this time with the dust brush mounted
on the pantorouter. Without it, even with the dust collector hooked up,
chips just go flying. With the brush in place, it's very rare that a chip
makes it out. It continues to amaze me that this brush works at all, let
alone how well it works.
Then cutting the rest of the tenons, this time with the dust brush mounted
on the pantorouter. Without it, even with the dust collector hooked up,
chips just go flying. With the brush in place, it's very rare that a chip
makes it out. It continues to amaze me that this brush works at all, let
alone how well it works.
The brush is not that expensive, but it needs to attach to the pantorouter dust collection hood, and that part is relatively expensive. https://pantorouter.com/shop?category=Dust+Collection
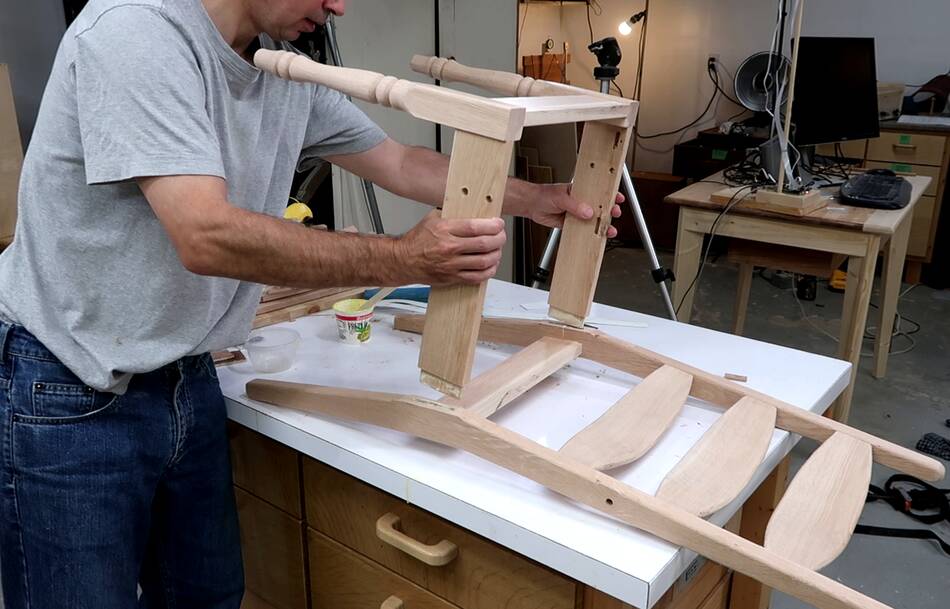
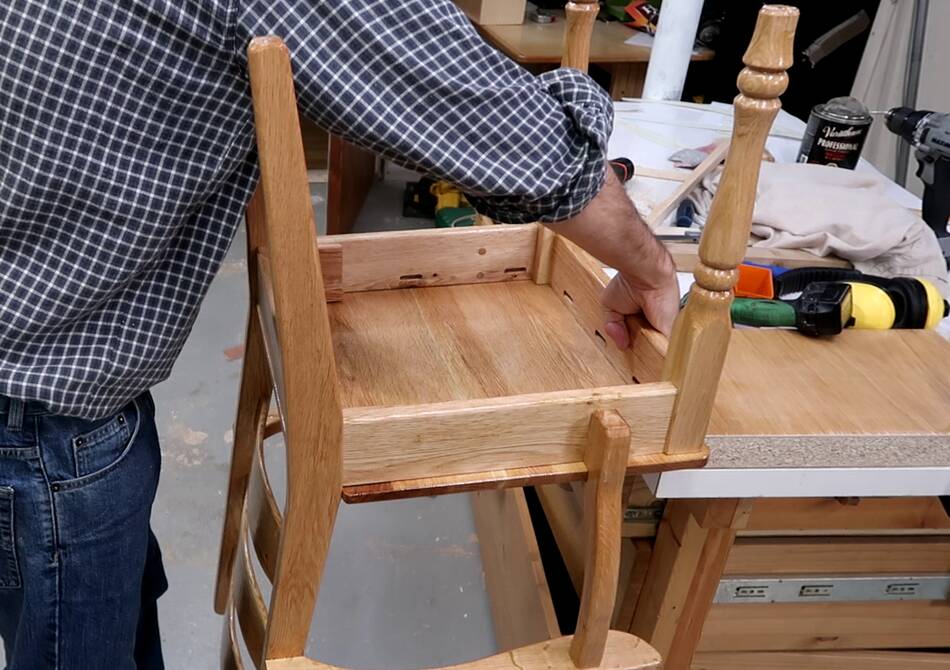
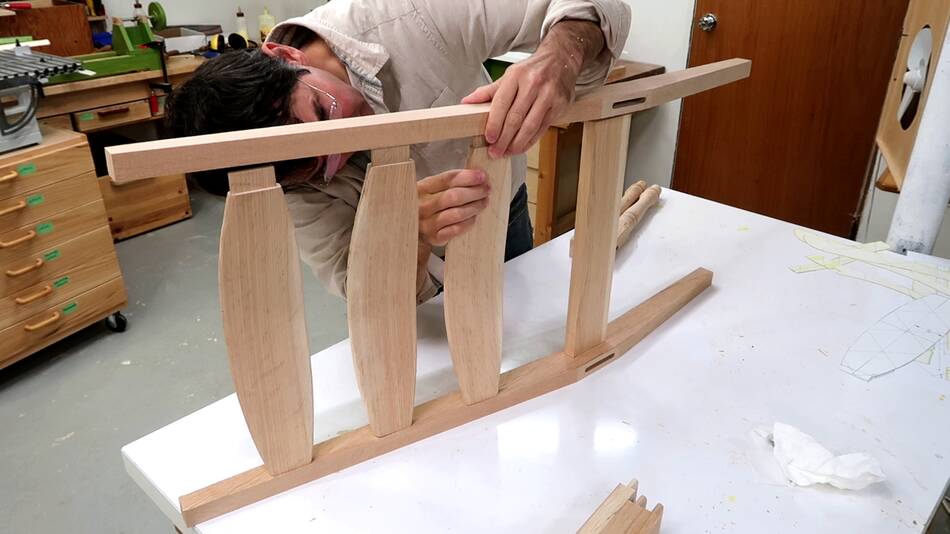 Then doing a dry fit of the chair so far. I made the
bent chair back rungs earlier.
Then doing a dry fit of the chair so far. I made the
bent chair back rungs earlier.
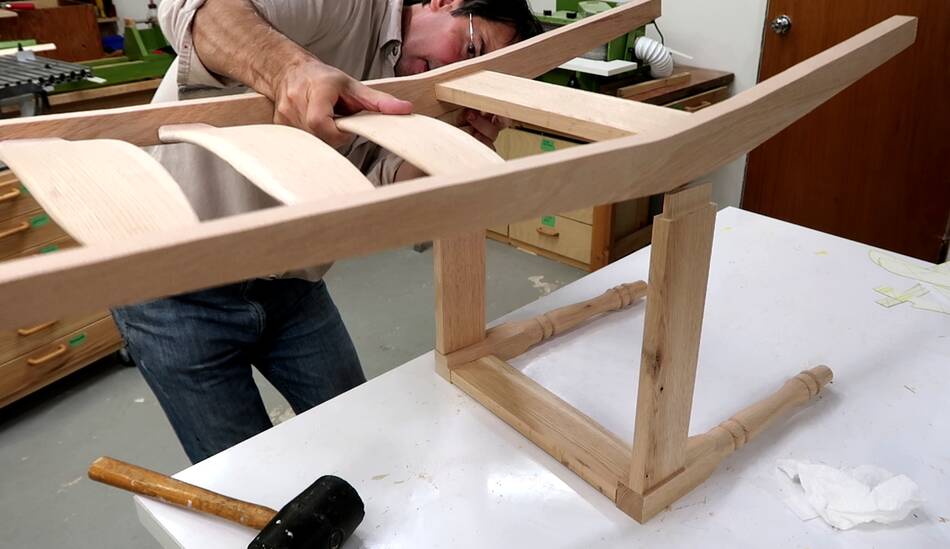 Its starting to look like a chair, but immediately after this I took it
apart again to drill the holes for mounting the armrests.
Its starting to look like a chair, but immediately after this I took it
apart again to drill the holes for mounting the armrests.
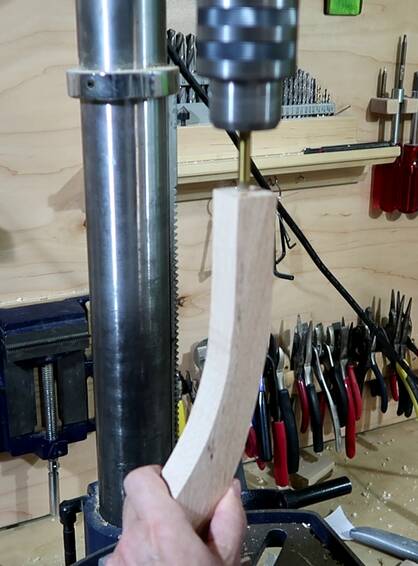
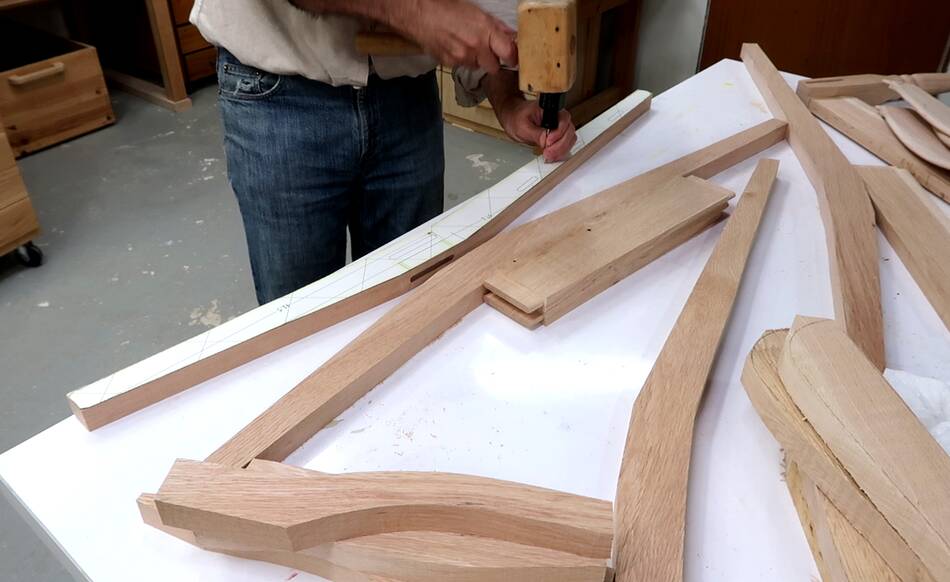 Once again using the 1:1 template to mark where the dowel hole goes on the
chair back.
Once again using the 1:1 template to mark where the dowel hole goes on the
chair back.
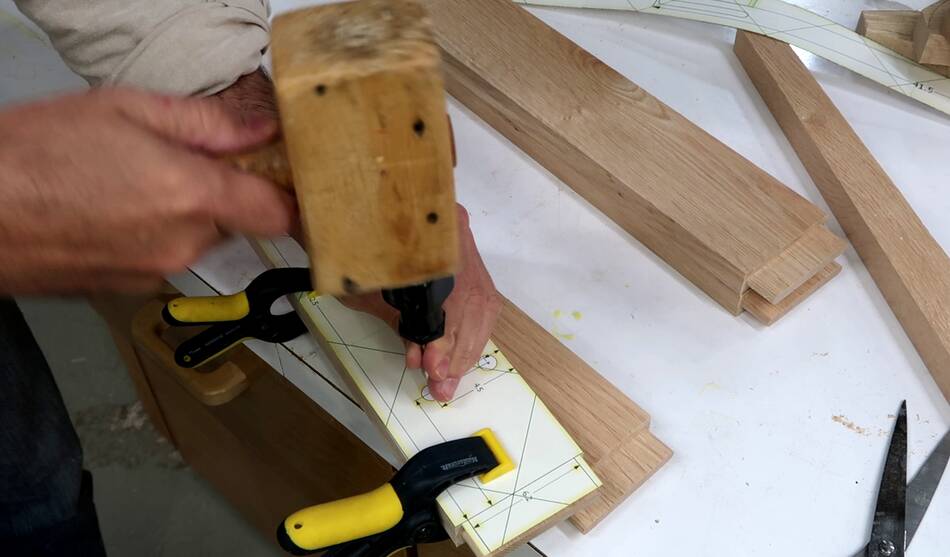 And also using the 1:1 template to mark the holes on the side aprons.
 The holes on the side aprons are through holes, the hole for the back is only about
three quarters of the way through.
The holes on the side aprons are through holes, the hole for the back is only about
three quarters of the way through.
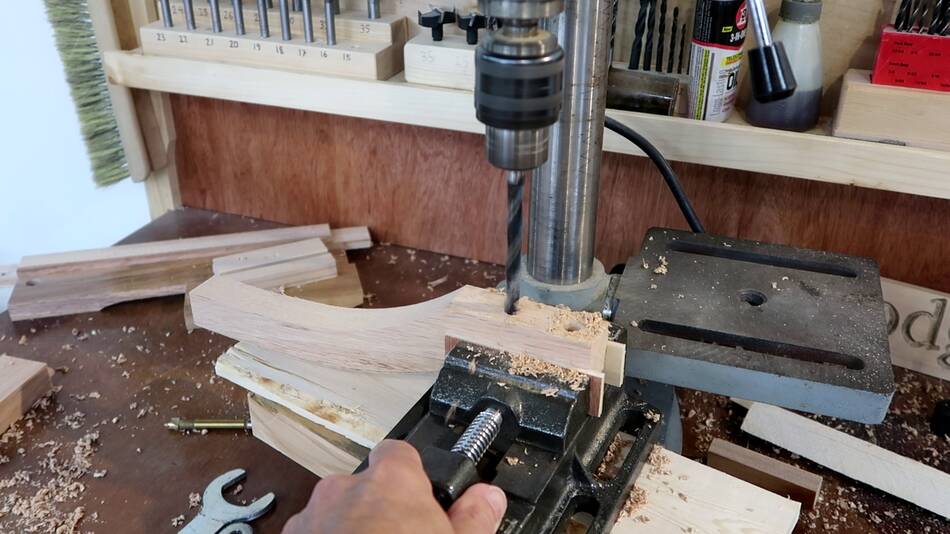
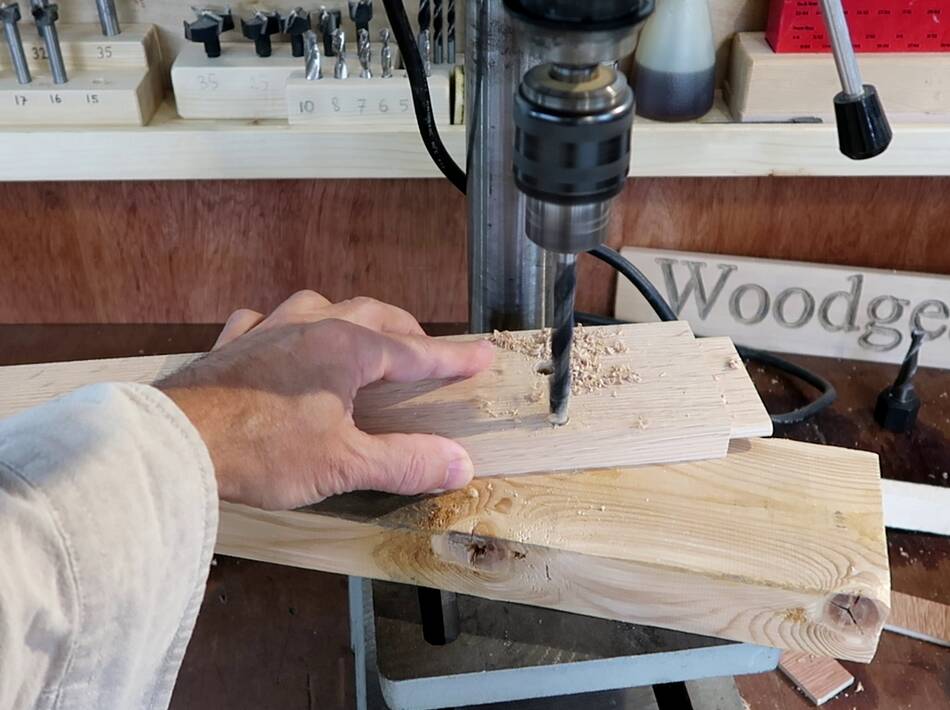
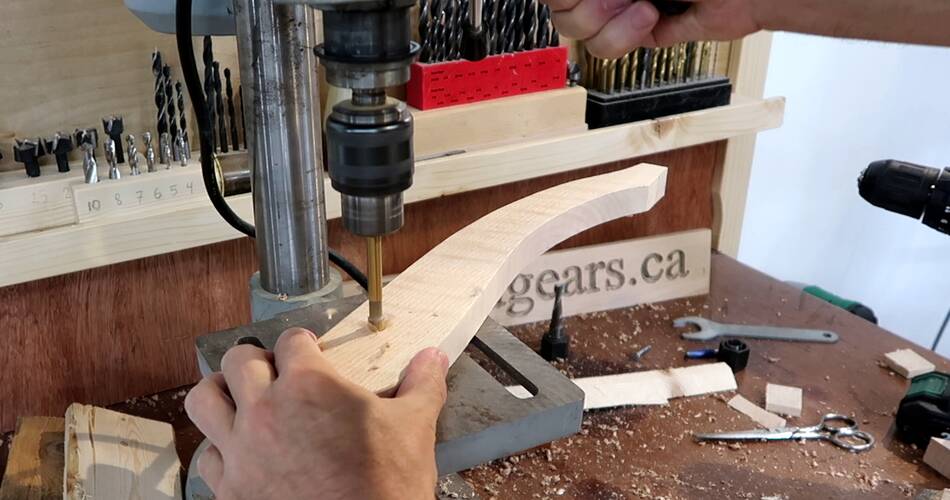
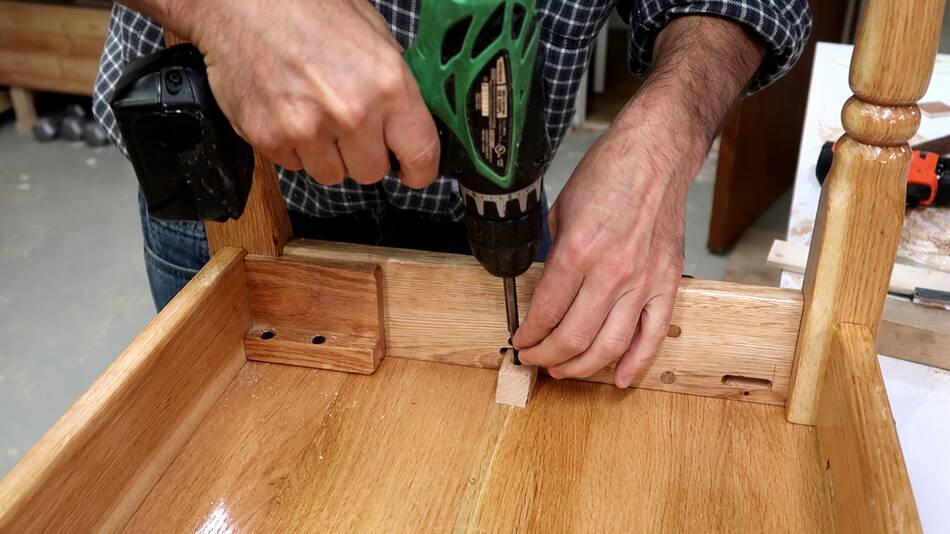
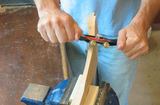
 I had to clamp the workpiece in a drill press vise to drill the holes for
the armrest support because they aren't perpendicular to the opposite edge.
I had to clamp the workpiece in a drill press vise to drill the holes for
the armrest support because they aren't perpendicular to the opposite edge.
I had to use my bigger drill press and the vise to drill the hole in the top end of the armrest support.
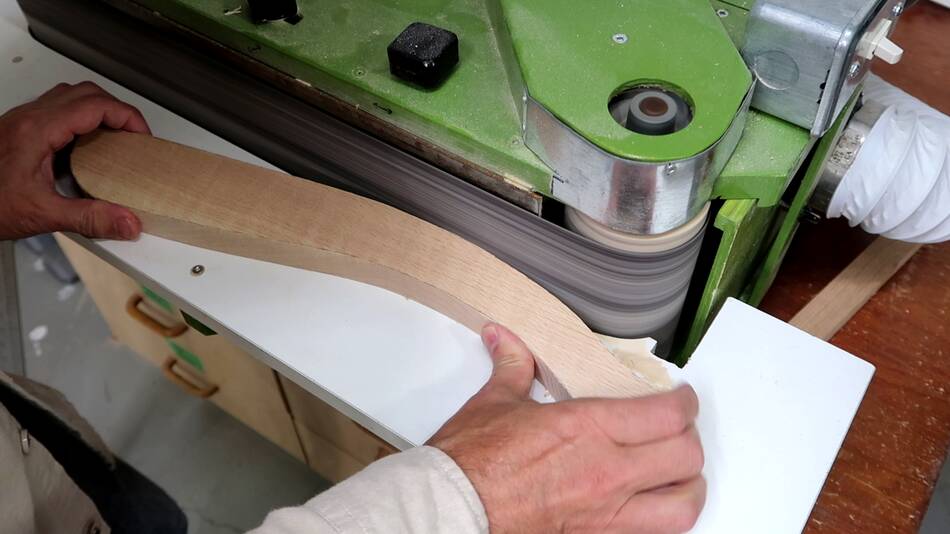 Then sanding all the edges with my belt sander.
When my dad made chairs like this, He had a template and used something like a pattern router bit and a template on his shaper to smooth the edges, except that "pattern bit" was about 15 cm in diameter.
 A hole in the bottom of the armrest to mount the armrest support.
I still need to route a roundover on the armrest and armrest supports, but before I do that, I need to cut a notch for the armrests to fit around the seats. So I made the seats next.
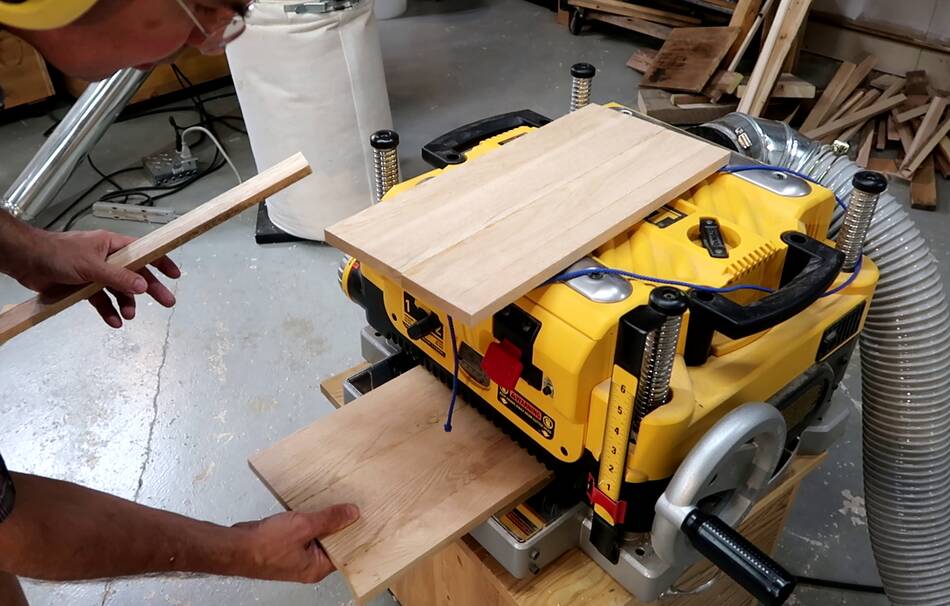 The seats are just flat. These ones are only about 15 mm thick because that way
I could resaw some of the thicker oak I had into two layers to make them.
The seats are just flat. These ones are only about 15 mm thick because that way
I could resaw some of the thicker oak I had into two layers to make them.
I glued it up in two halves so the halves would still fit through the planer.
 After planing the halves, I joined them together to make the chair seats.
 I cut some notches out of the back for the seats to fit between the back legs
of the chair.
I cut some notches out of the back for the seats to fit between the back legs
of the chair.
 I marked the size of the notches needed in the armrest supports off the
seat and cut them out.
I marked the size of the notches needed in the armrest supports off the
seat and cut them out.
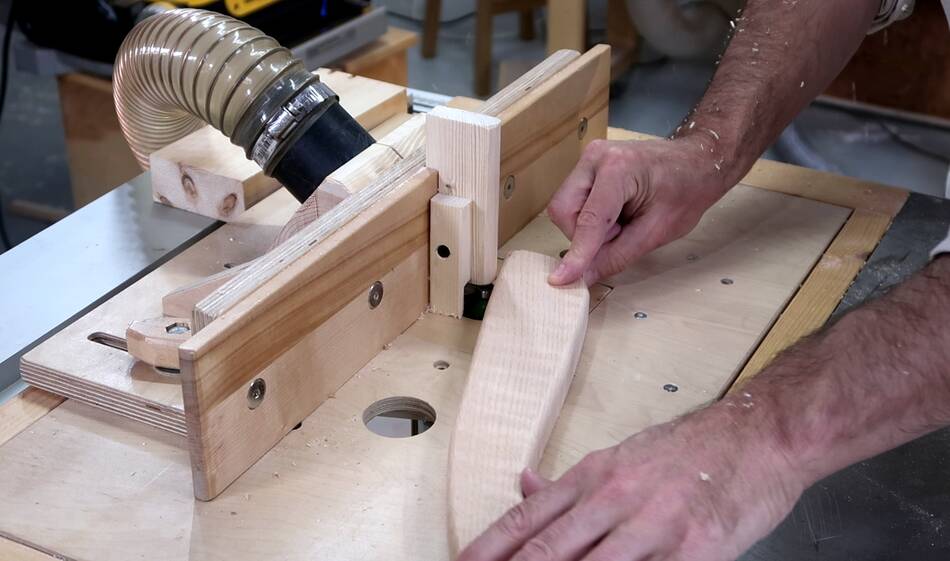 I used a 1/4" roundover bit to round all the edges of the armrests, armrest
supports, back legs, and bottom edges of the apron rails
I used a 1/4" roundover bit to round all the edges of the armrests, armrest
supports, back legs, and bottom edges of the apron rails
 I was careful routing where the back rungs fit in so that the roundover wouldn't
result in a gap with the chair rungs.
I was careful routing where the back rungs fit in so that the roundover wouldn't
result in a gap with the chair rungs.
 Before gluing things up, I still needed to cut some notches in the apron rails
for little blocks that hold the seat down. This arrangement allows for some
wood movement in the seat without breaking any joints.
Before gluing things up, I still needed to cut some notches in the apron rails
for little blocks that hold the seat down. This arrangement allows for some
wood movement in the seat without breaking any joints.
 I cut these by putting the parts in my slot mortiser. Cutting those
mortises after assembly would be very difficult.
I cut these by putting the parts in my slot mortiser. Cutting those
mortises after assembly would be very difficult.
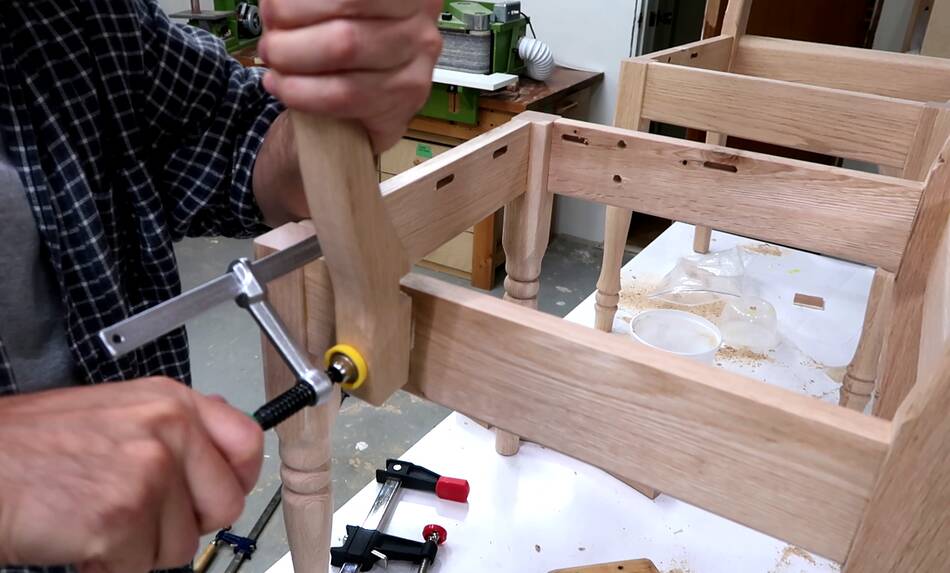
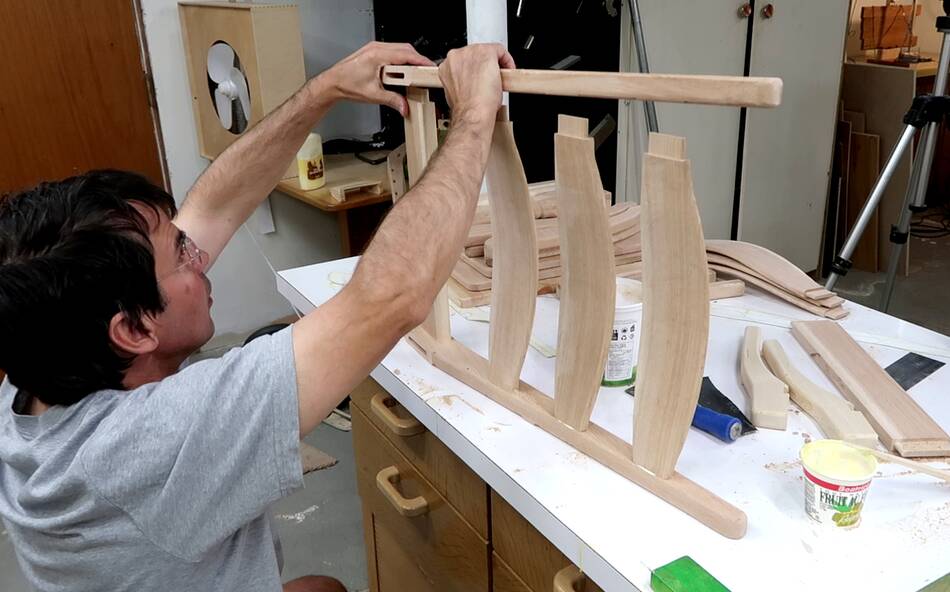 I was worried about getting all 8 joints for the back of the chair right at
the same time, so I only put glue in the joints on one side, leaving the
other leg just dry fitted while the glue dried. It is very important to
assembled the whole back while the glue dries, otherwise the parts could be
glued aligned in a way that the tenons don't line up with the mating mortises.
I was worried about getting all 8 joints for the back of the chair right at
the same time, so I only put glue in the joints on one side, leaving the
other leg just dry fitted while the glue dried. It is very important to
assembled the whole back while the glue dries, otherwise the parts could be
glued aligned in a way that the tenons don't line up with the mating mortises.
 Then assembling the front of the chair as a separate assembly...
 ... and with the glue dry on all the parts, mating them together.
 Once the glue dried on that, I glued on the armrest supports. I ended up having
to use one of those microjig dovetail clamps because the pad on the Bessey clamp
that I started with interfered with the dowels poking through the wood. The narrow
bottom of the dovetail clamp nicely fit between the dowels.
Once the glue dried on that, I glued on the armrest supports. I ended up having
to use one of those microjig dovetail clamps because the pad on the Bessey clamp
that I started with interfered with the dowels poking through the wood. The narrow
bottom of the dovetail clamp nicely fit between the dowels.
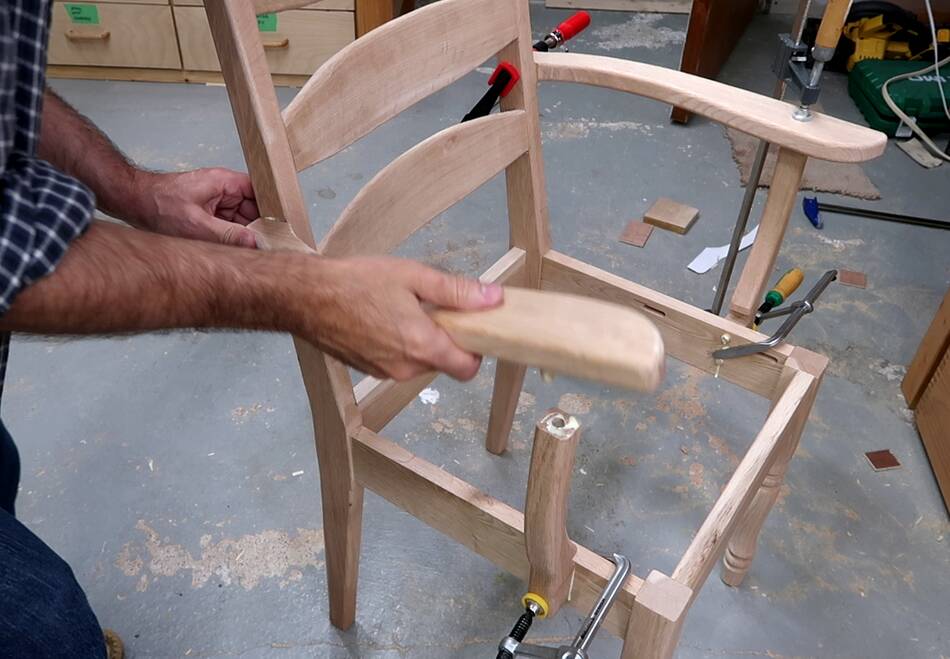 The armrest needs to be attached before the glue on the armrest support dries so that
the parts can be pushed into alignment.
The armrest needs to be attached before the glue on the armrest support dries so that
the parts can be pushed into alignment.

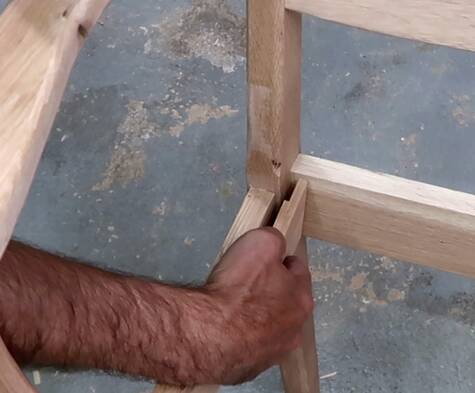 I also added block of wood where the apron rails connect to the back legs because
that joint is the most stressed joint in the chairs. But this is probably overkill
because my dads chairs didn't have this block and none of them ever failed from actual
use.
I also added block of wood where the apron rails connect to the back legs because
that joint is the most stressed joint in the chairs. But this is probably overkill
because my dads chairs didn't have this block and none of them ever failed from actual
use.
 Then I took the chairs to the garage to varnish them with some oil based Varathane
varnish. Three coats on all surfaces, with light sanding in between, plus a fourth
coat on the armrests and the seat.
Then I took the chairs to the garage to varnish them with some oil based Varathane
varnish. Three coats on all surfaces, with light sanding in between, plus a fourth
coat on the armrests and the seat.
I'm using my workbench on wheels which is
against the wall most of the time to make room for the car.
 With the varnish on, I still needed to make some blocks to hold the seat down.
I made these as two blocks joined together to make them easier to hold while
cutting and drilling, then cut them apart.
With the varnish on, I still needed to make some blocks to hold the seat down.
I made these as two blocks joined together to make them easier to hold while
cutting and drilling, then cut them apart.
 And with the seat slid in place and the chair resting upside-down...
 ... I screwed the blocks to the bottom of the seat. The blocks hook into the
slots I cut earlier.
... I screwed the blocks to the bottom of the seat. The blocks hook into the
slots I cut earlier.
The seat is just screwed straight on near the back legs, but with these blocks near the front so the top can shrink and expand with seasonal wood movement.
 Chairs all done, two out of oak, plus the protype out of 2x4 lumber. I did
everything on the 2x4 lumber chair first to make sure I wasn't going to screw
up the nice oak ones.
Chairs all done, two out of oak, plus the protype out of 2x4 lumber. I did
everything on the 2x4 lumber chair first to make sure I wasn't going to screw
up the nice oak ones.

 These are sturdy chairs, and they should be able to withstand many years of abuse.
I have been using the one that they are patterned off of for 25 years now with
no sign of any joints getting loose. So I expect the new ones to last at least
twice that.
These are sturdy chairs, and they should be able to withstand many years of abuse.
I have been using the one that they are patterned off of for 25 years now with
no sign of any joints getting loose. So I expect the new ones to last at least
twice that.
 Building night stands (2020)
 Building stools (2007)
 Building a 3-legged stool using the pantorouter (2019)
 Repairing chairs (2013)
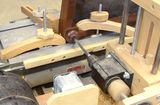 Steel pin chair repair (2016)
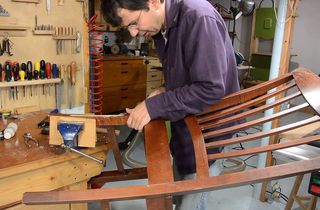 Repairing a chair leg —
good as new was not enough (2013)
Repairing a chair leg —
good as new was not enough (2013)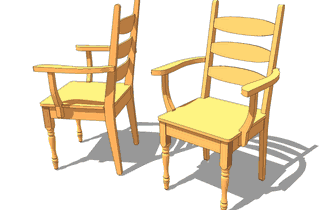 Buy plans for this chair
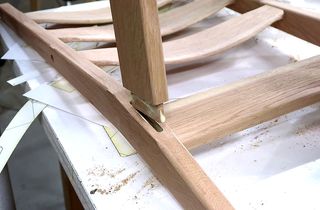 More about these chairs and chair joinery
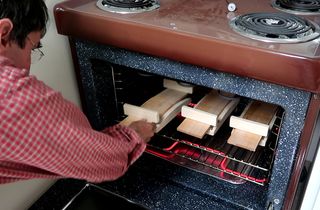 Bending chair back rungs in a kitchen stove
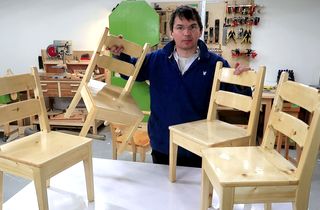 Building kids' chairs
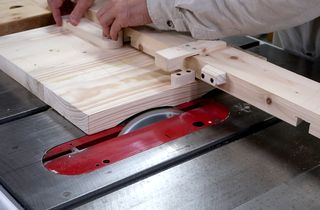 Carving a chair seat on the table saw
 Building wooden tables
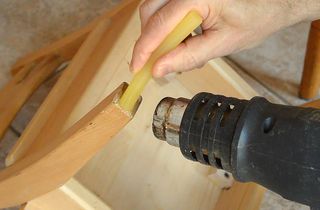 Stick felt pads to chairs with hot glue so they won't come off
 The last batch of chairs my dad built in 2008
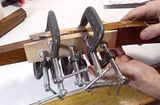
 Hand carved chair rungs
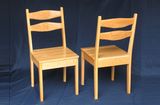 Making kitchen chairs