 I used an angle grinder on the end of the spinning shaft to make
the point I ground earlier perfectly centered.
I used an angle grinder on the end of the spinning shaft to make
the point I ground earlier perfectly centered.
 Now I need something to spin whatever I am turning.
The best solution would probably be to just weld some cut off nails to the sides of the shaft near the end to make prongs to turn the stock. That requires a welder. I have a welder, but I don't want this project to be dependent on having a welder.
 The next idea was to just cut a thread onto the end of the shaft using
my tap and die set and then screw a "coupler nut" onto the end and grind
some prongs into that. But that requires having a thread cutting die
of the right size. Again not something everyone has.
The next idea was to just cut a thread onto the end of the shaft using
my tap and die set and then screw a "coupler nut" onto the end and grind
some prongs into that. But that requires having a thread cutting die
of the right size. Again not something everyone has.
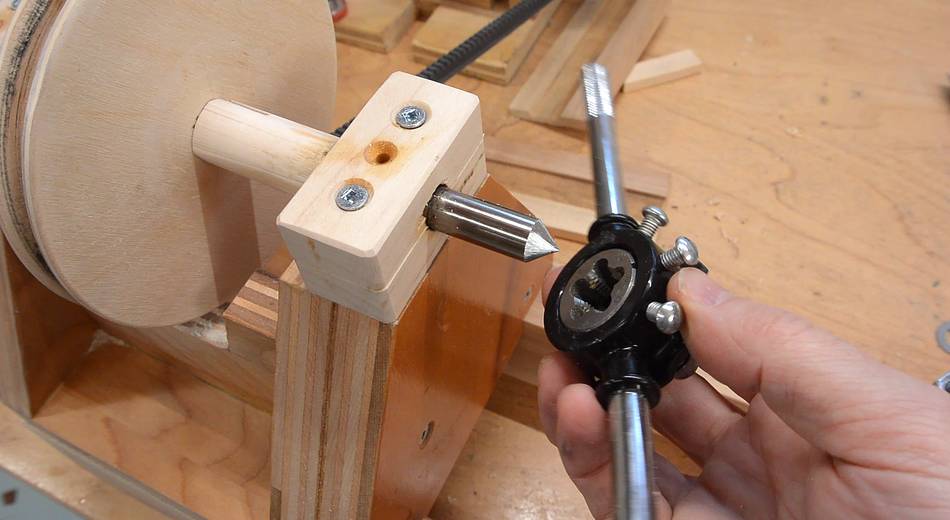
 Instead, I made a wooden sleeve to go on the end of the shaft.
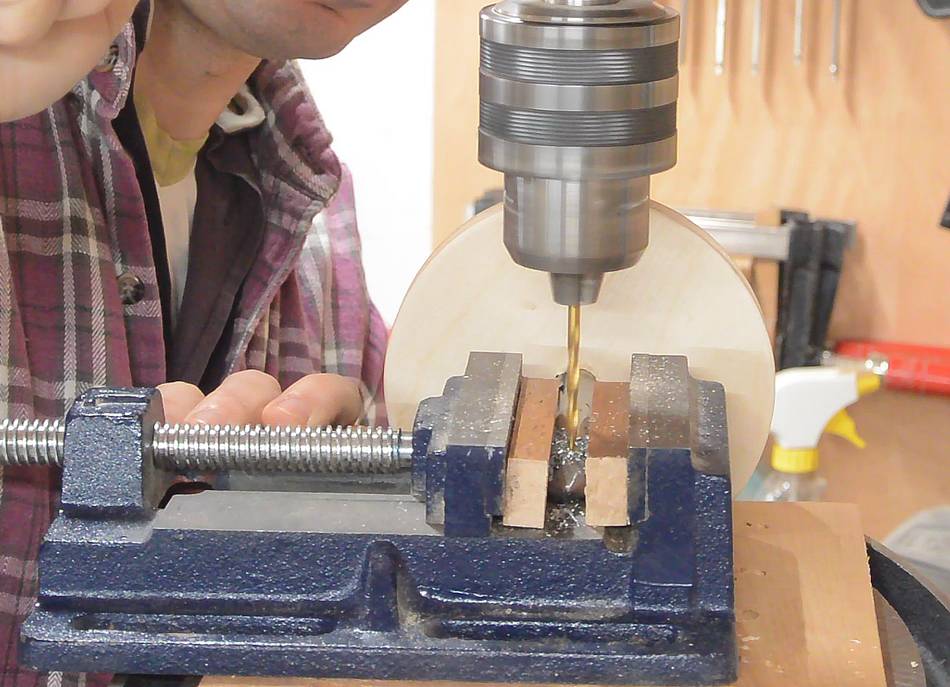
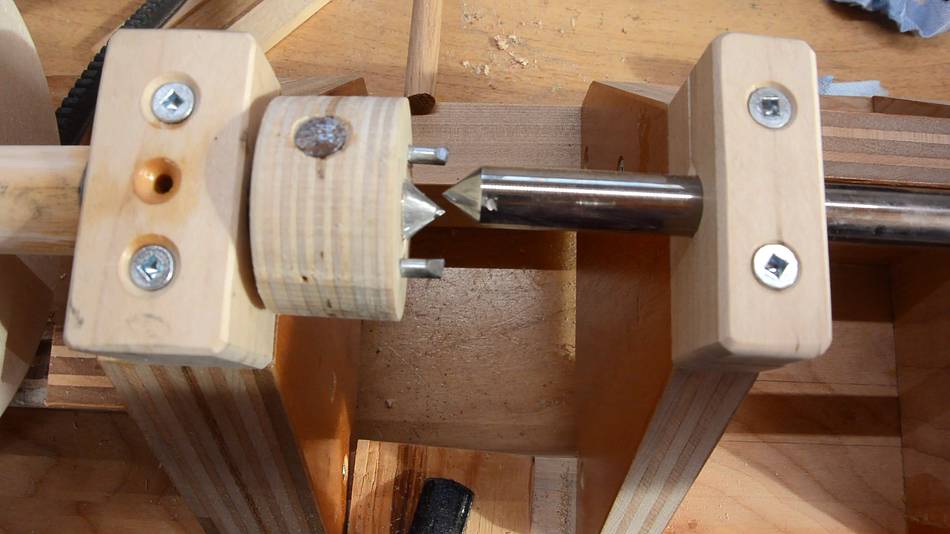
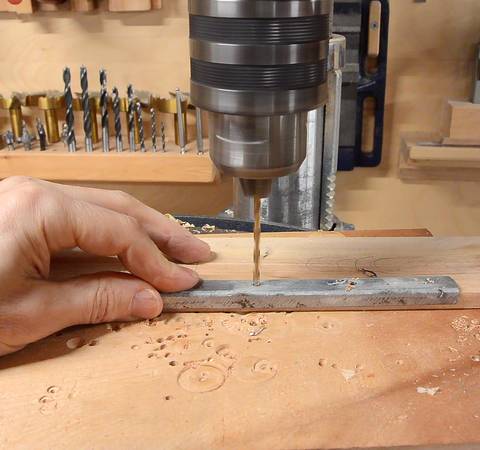
 I drilled a hole through the shaft to attach the sleeve with a pin.
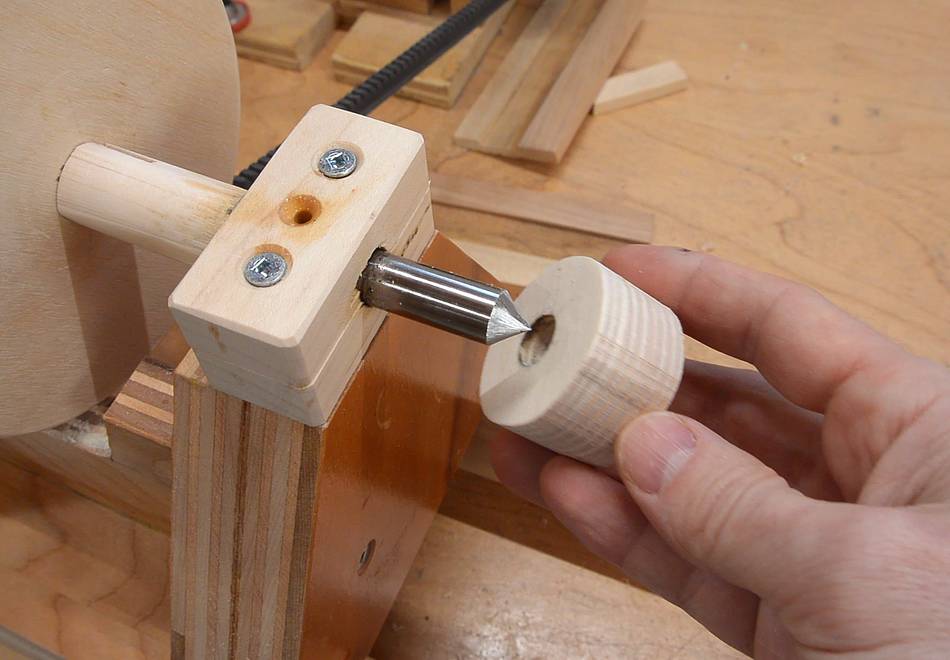
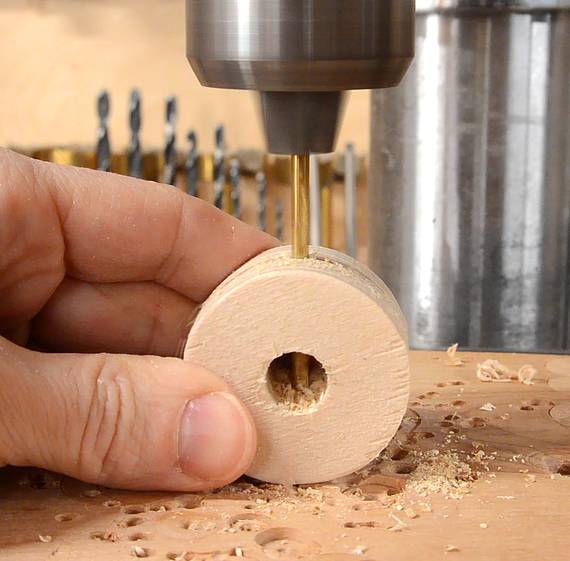
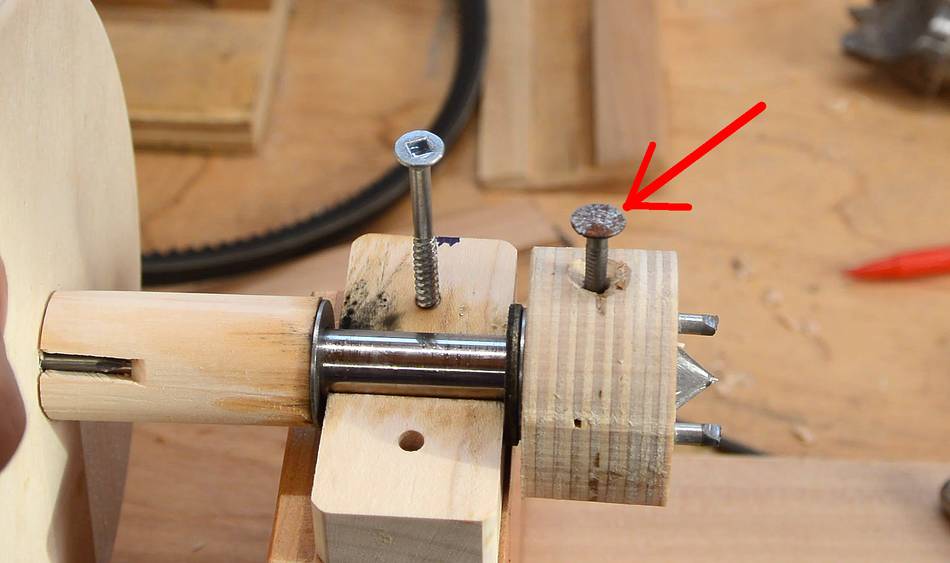
The sleeve also gets a hole drilled through it.
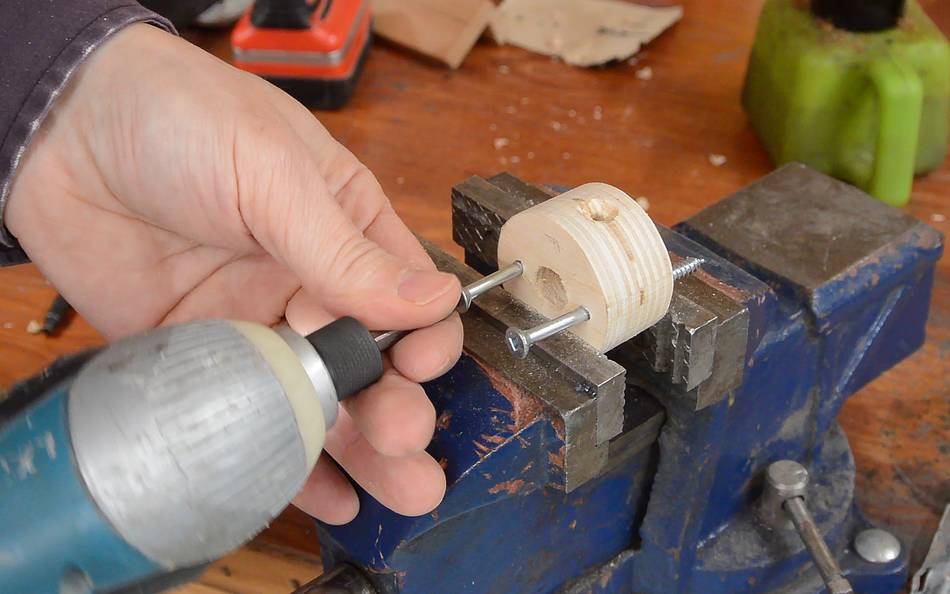 Two screws through the sleeve will form the prongs for turning the stock.

 I cut the screws off on both ends with an angle grinder, but with about
6 mm protruding on one side. I then sharpened the protruding ends to
form prongs to grab the wood with.
I cut the screws off on both ends with an angle grinder, but with about
6 mm protruding on one side. I then sharpened the protruding ends to
form prongs to grab the wood with.
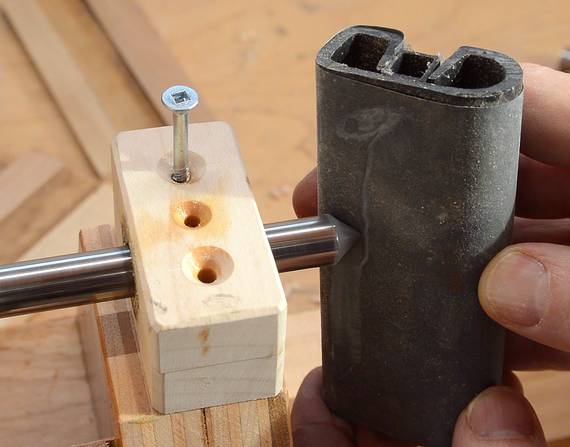
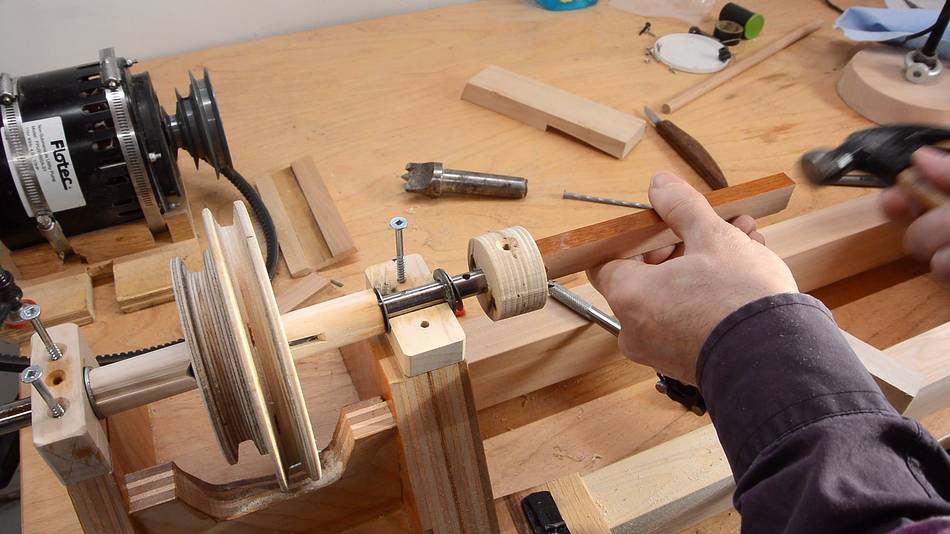 Then driving the sleeve onto the end of the shaft. It's a tight fit,
so it needs to be driven on with a hammer.
Then driving the sleeve onto the end of the shaft. It's a tight fit,
so it needs to be driven on with a hammer.
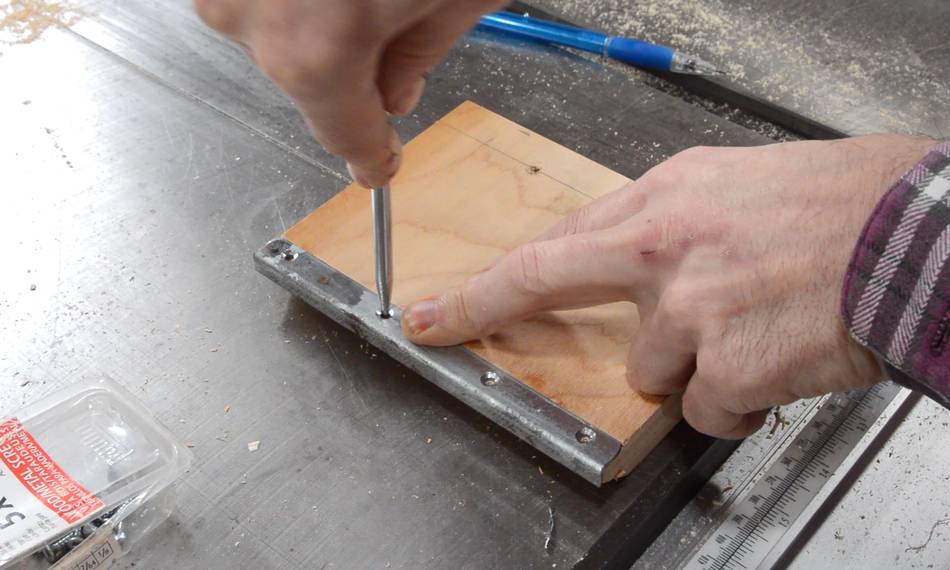
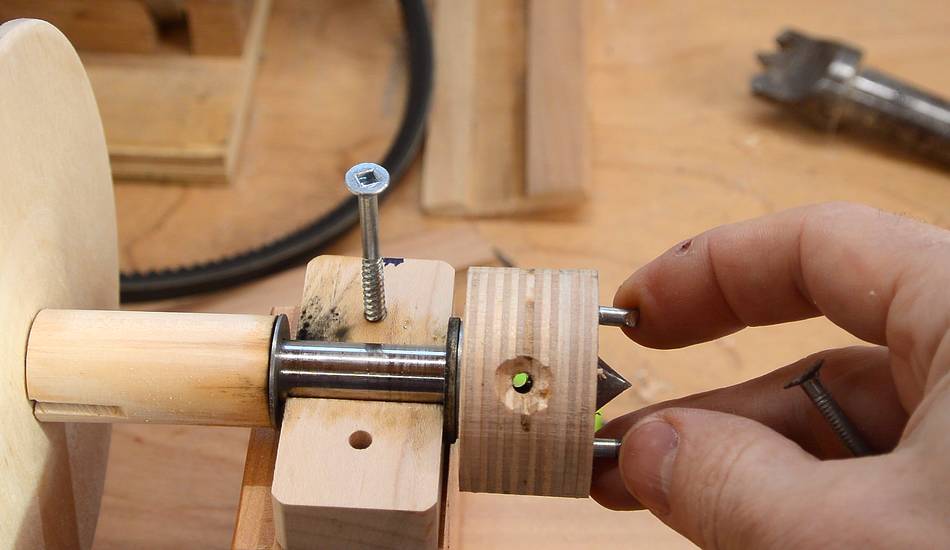 Holes lined up.
 Then driving a nail through the holes.

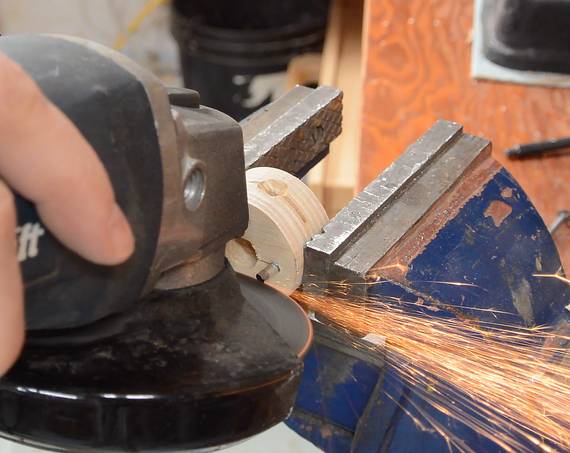
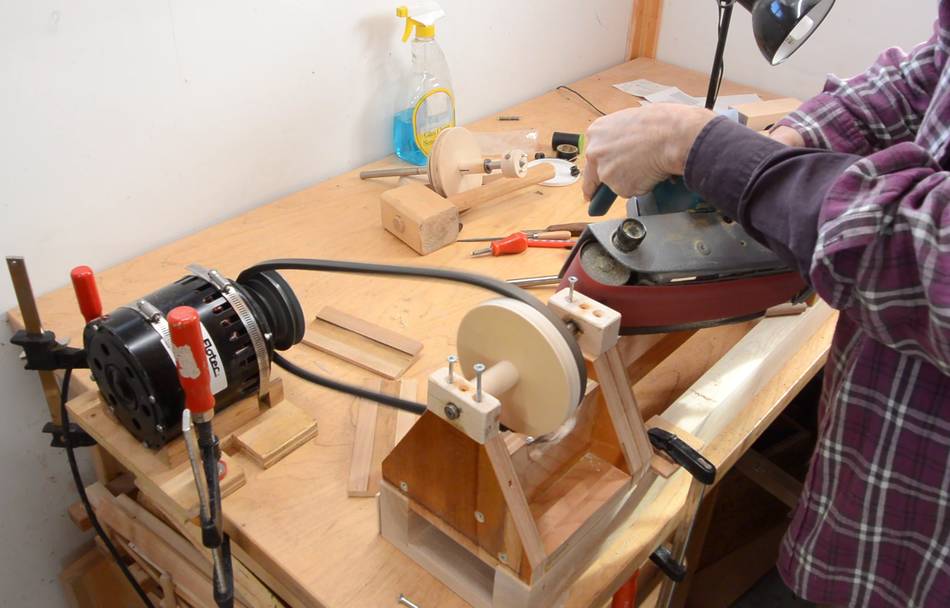
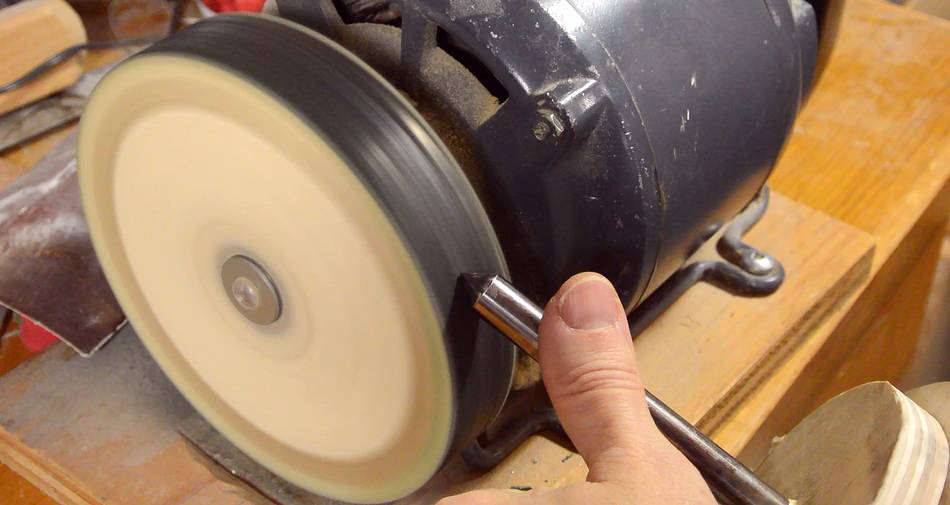
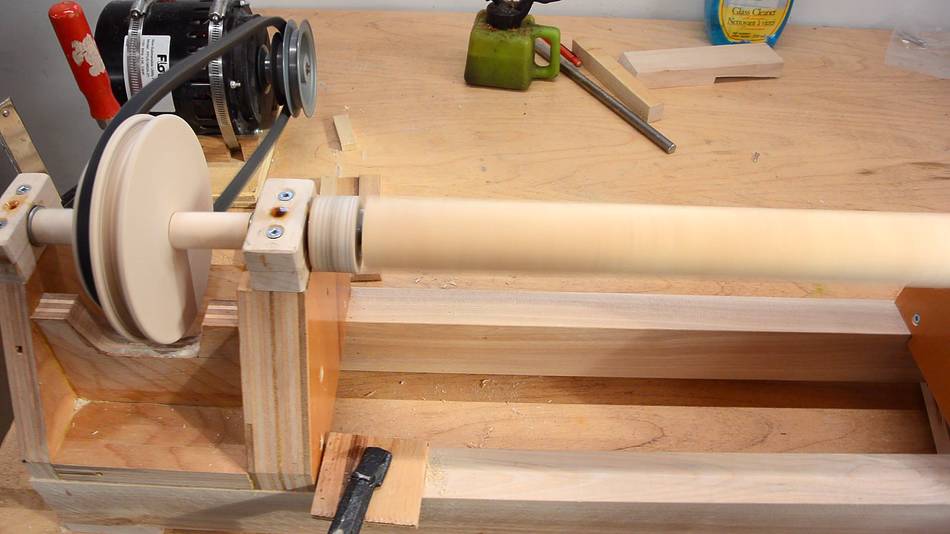
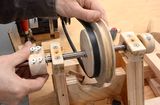
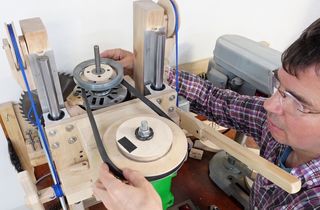
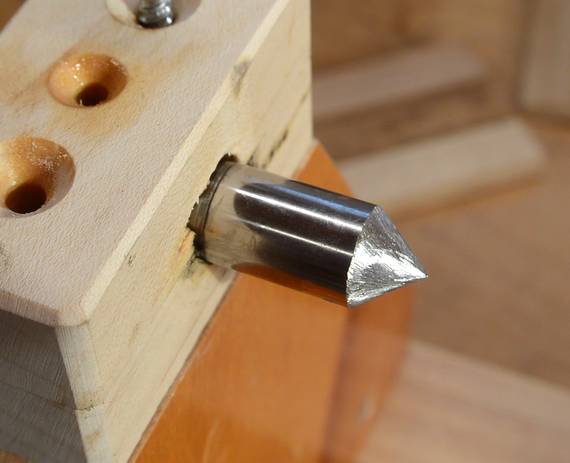 Using an angle grinder on the spinning shaft was a good method to get
the cone round and centered on the drive shaft. I decided to do the
same for the tailstock shaft. So I made some temporary pulleys (just two
plywood disks tightly fitting on the shaft) and spun the shaft with a
motor while using an angle grinder on the end.
Using an angle grinder on the spinning shaft was a good method to get
the cone round and centered on the drive shaft. I decided to do the
same for the tailstock shaft. So I made some temporary pulleys (just two
plywood disks tightly fitting on the shaft) and spun the shaft with a
motor while using an angle grinder on the end.
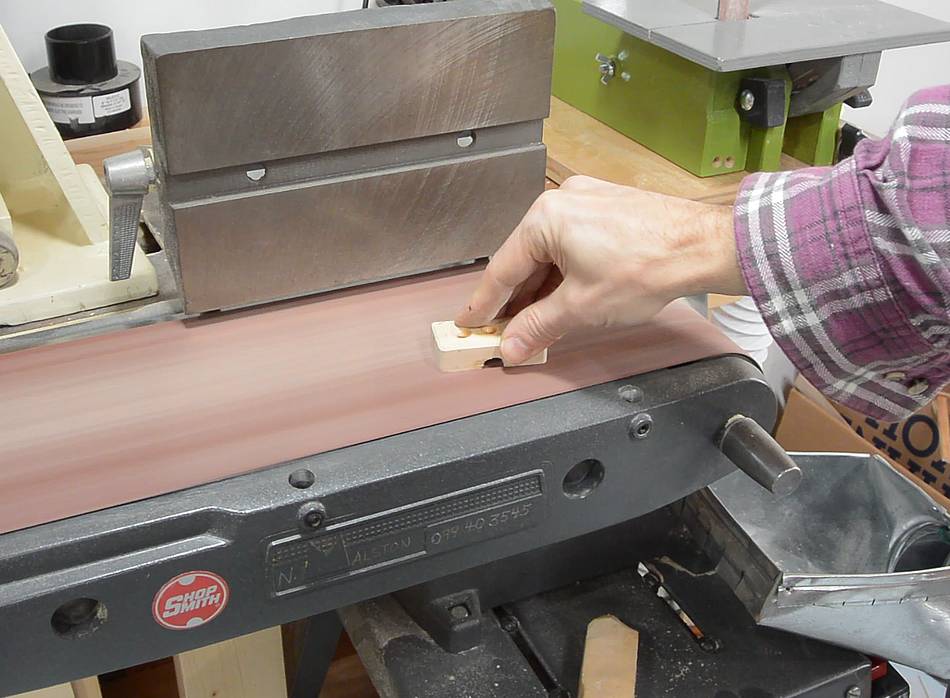
 I smoothed the cone on a belt sander, then used fine sand paper on
a sanding block.
I smoothed the cone on a belt sander, then used fine sand paper on
a sanding block.
 Finally a minute on the buffing wheel. I was happy with the result.
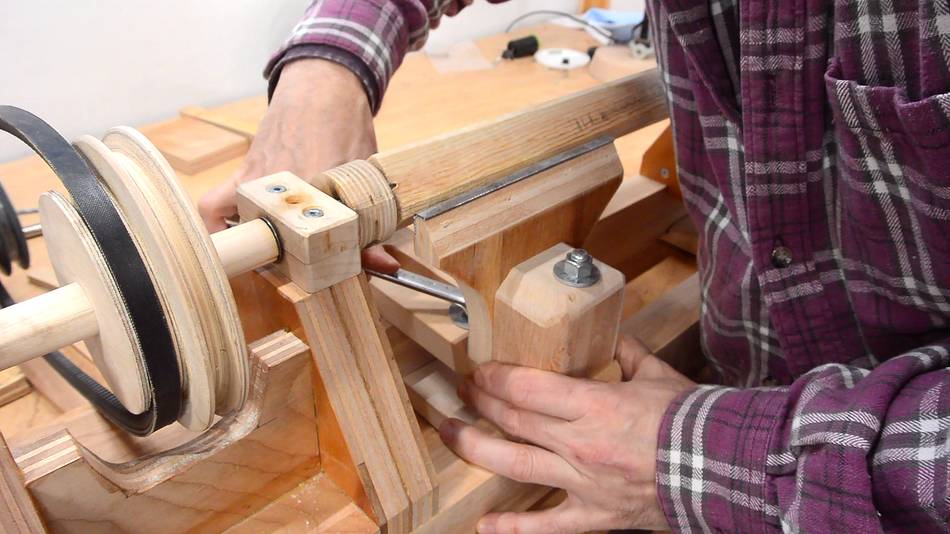
 The headstock and tailstock have a bit of play, so the shafts can be
misaligned by quite a bit. But vertically they align.
The headstock and tailstock have a bit of play, so the shafts can be
misaligned by quite a bit. But vertically they align.
 But the main headstock bearing had a bit of play in it. To tighten it
up, I sanded away part of the bearing block to make the two halves
come closer together.
But the main headstock bearing had a bit of play in it. To tighten it
up, I sanded away part of the bearing block to make the two halves
come closer together.
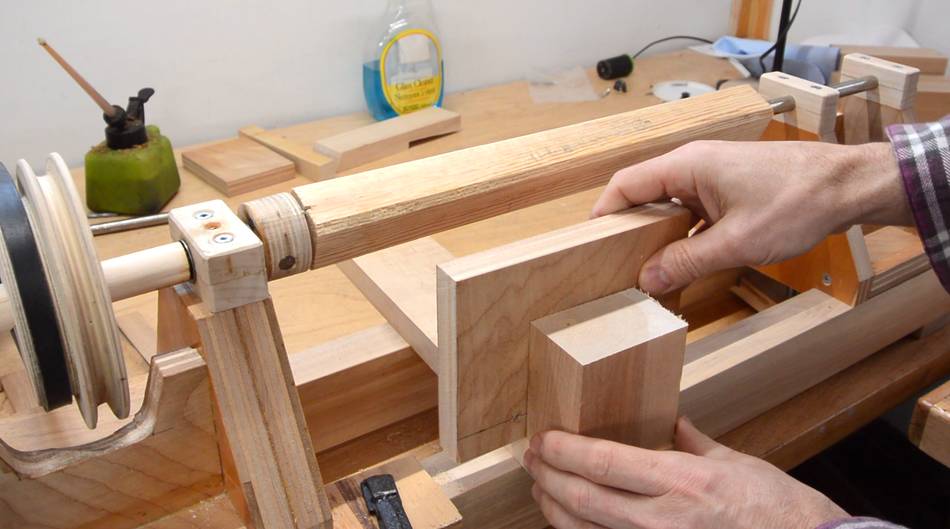
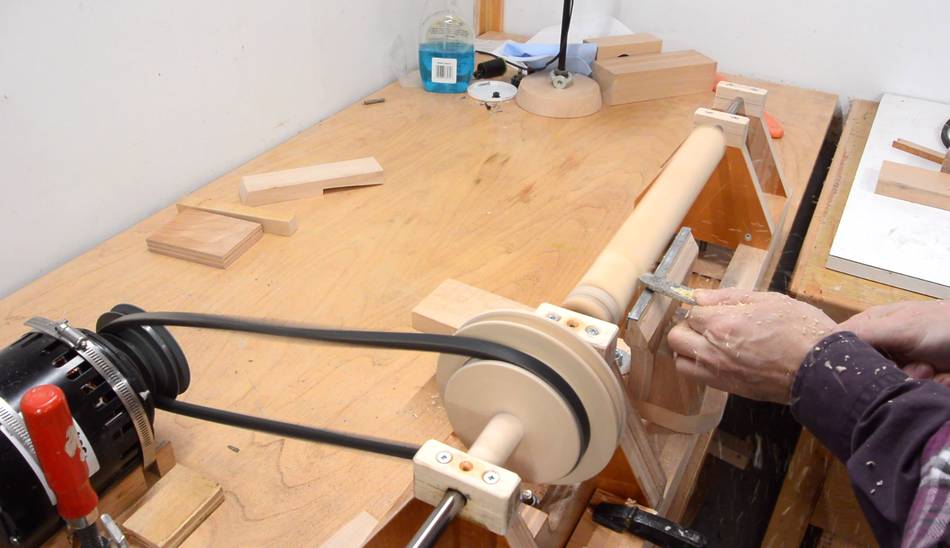
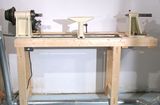
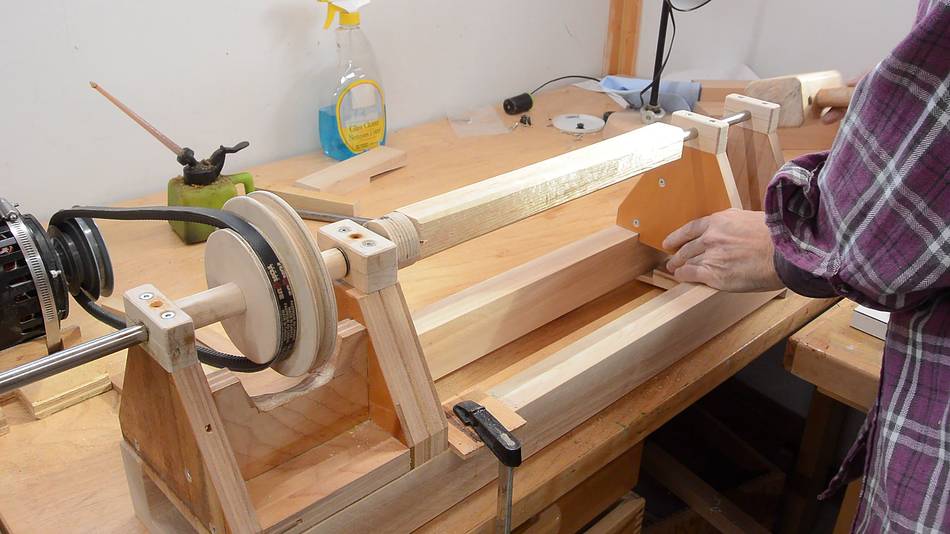 Now mounting some stock in the lathe...
 ... and spinning it up. All I need now is a tool rest.
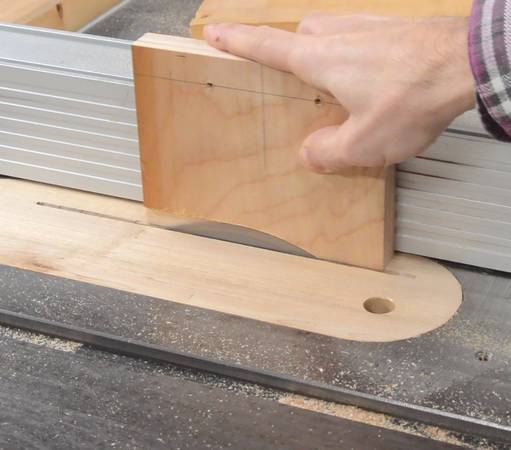
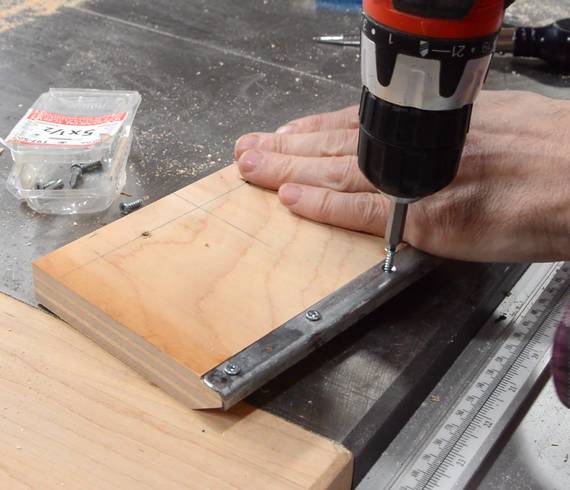
 The tool rest will consist of three pieces of wood. One on the bed
that can be clamped in various positions, a block of wood clamped to that
with a big screw, and a piece of plywood against that to provide the
actual tool rest.
The tool rest will consist of three pieces of wood. One on the bed
that can be clamped in various positions, a block of wood clamped to that
with a big screw, and a piece of plywood against that to provide the
actual tool rest.
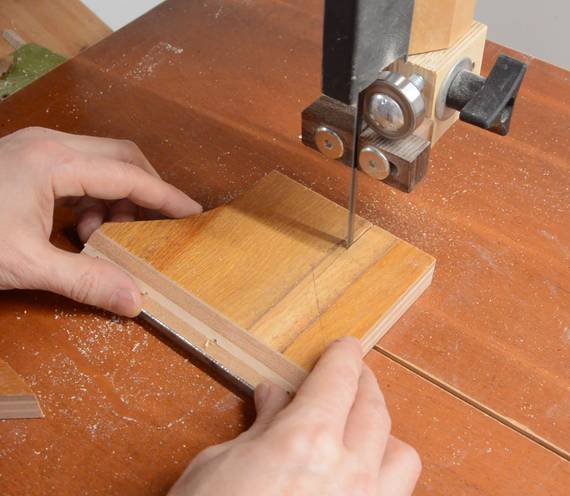
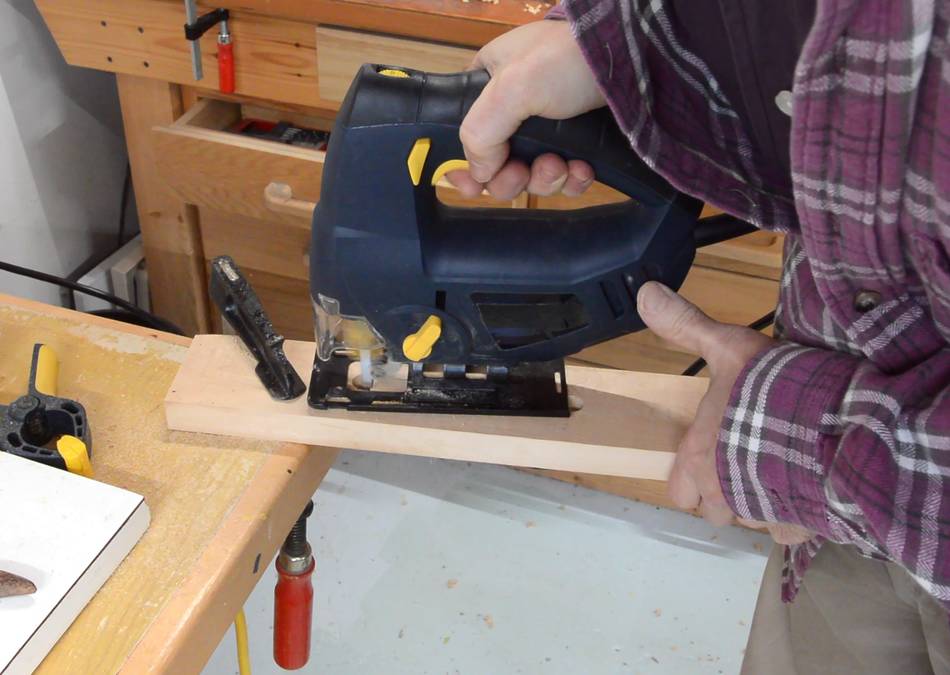 I cut a long slot in the base of the tool rest with a jigsaw.
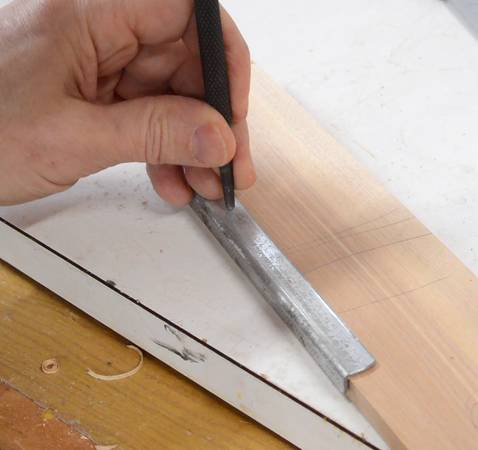
 I also drilled a hole in the end, counter-bored so that the head of
a carriage bolt can sit below the surface.
I also drilled a hole in the end, counter-bored so that the head of
a carriage bolt can sit below the surface.
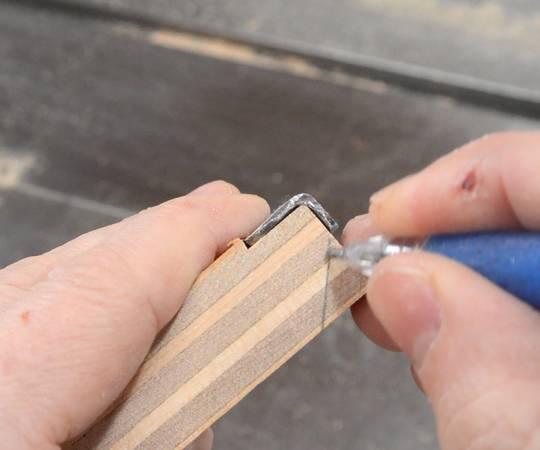 I cut a profile on the top edge of the plywood for the tool rest
to accommodate an angled strip of sheet metal. This strip
came out of the edge of some Ikea shelving.
I cut a profile on the top edge of the plywood for the tool rest
to accommodate an angled strip of sheet metal. This strip
came out of the edge of some Ikea shelving.
 Adding a beveled edge to give more clearance for the tool and hands.
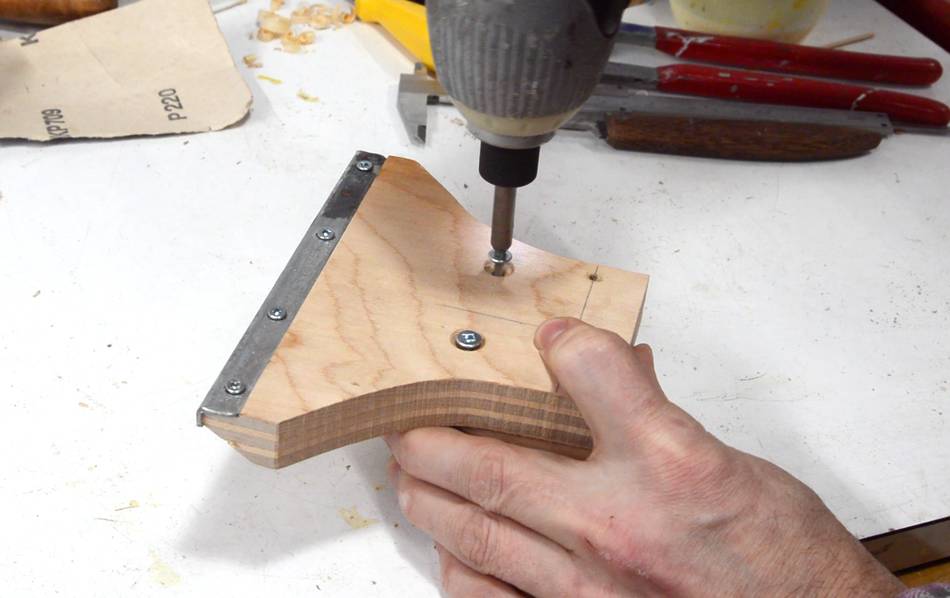
I then drilled mounting holes in the sheet metal edge. I center punched the hole locations in the metal, drilled screw holes, and added a countersink for the screw head using a larger drill bit.

 I then transferred the hole locations with an awl, drilled pilot holes,
and then screwed it on with some 1/2" long #5 screws.
I then transferred the hole locations with an awl, drilled pilot holes,
and then screwed it on with some 1/2" long #5 screws.
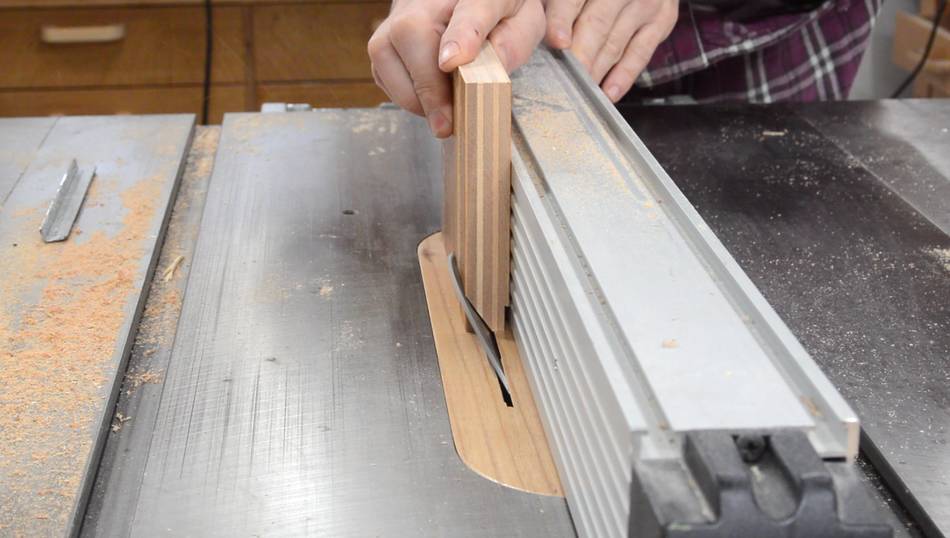
 I cut away part of the sides of the tool rest with a bandsaw to make it
less bulky, then screwed it to the block.
I cut away part of the sides of the tool rest with a bandsaw to make it
less bulky, then screwed it to the block.
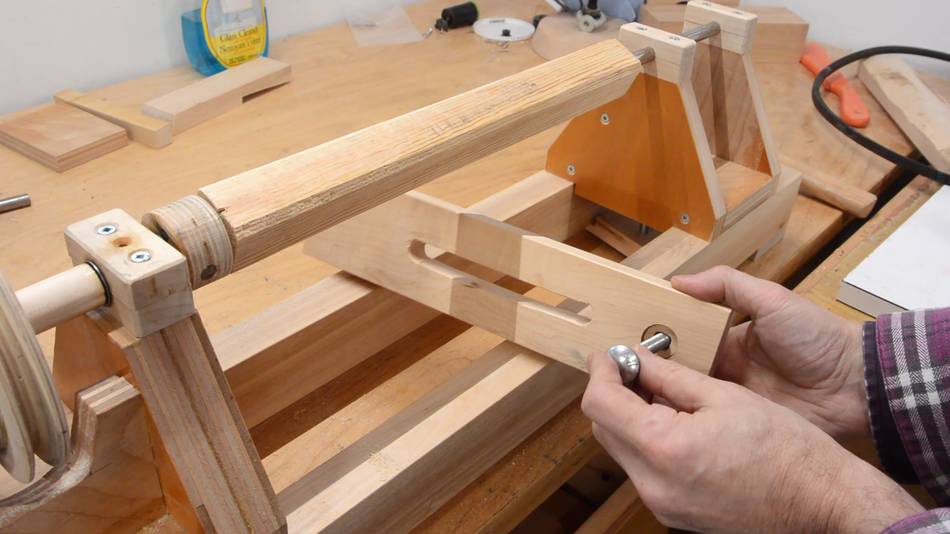
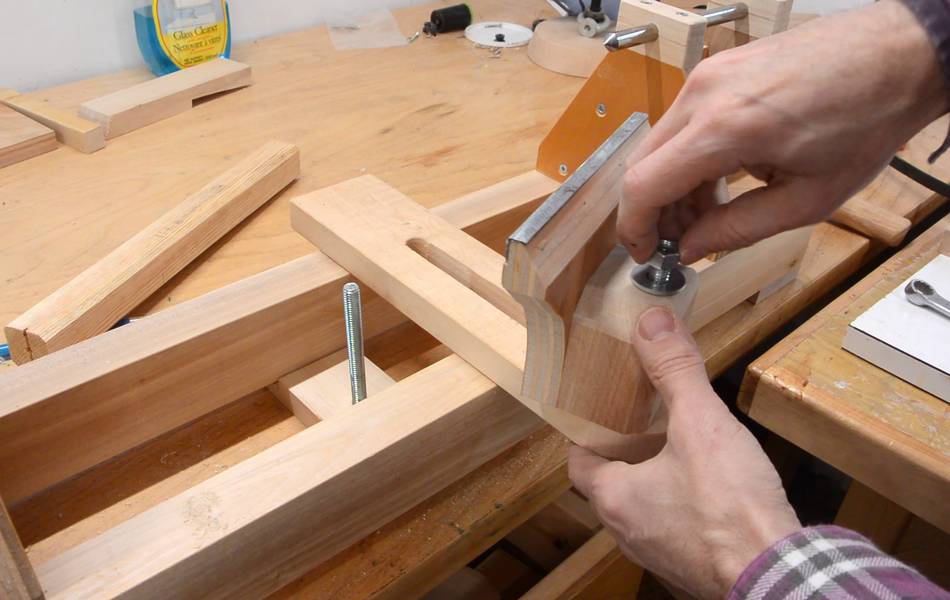 The block attaches to the base of the tool rest with a 5/16" carriage bolt.
 The tool rest is attached to the bed much like the head and tail stock is.
I'm using a wrench to tighten the nut.
The tool rest is attached to the bed much like the head and tail stock is.
I'm using a wrench to tighten the nut.
 Finally ready to do some wood turning.
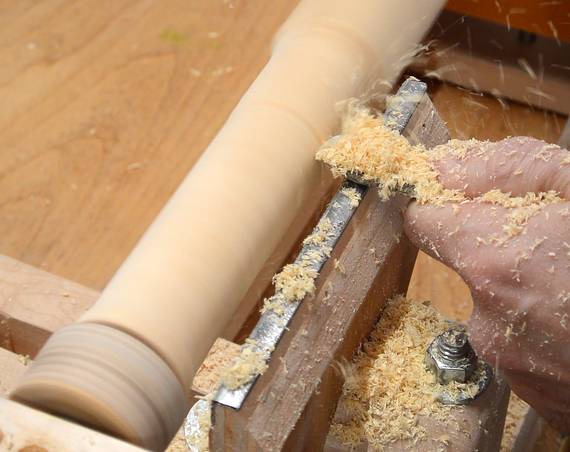
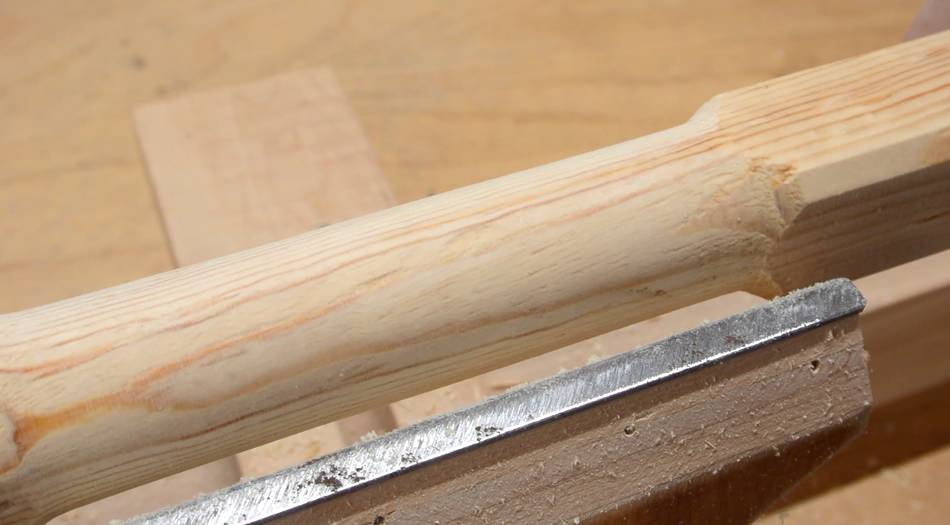 I started by turning a cylindrical section, then sanding it just to
make sure I could do that.
I started by turning a cylindrical section, then sanding it just to
make sure I could do that.
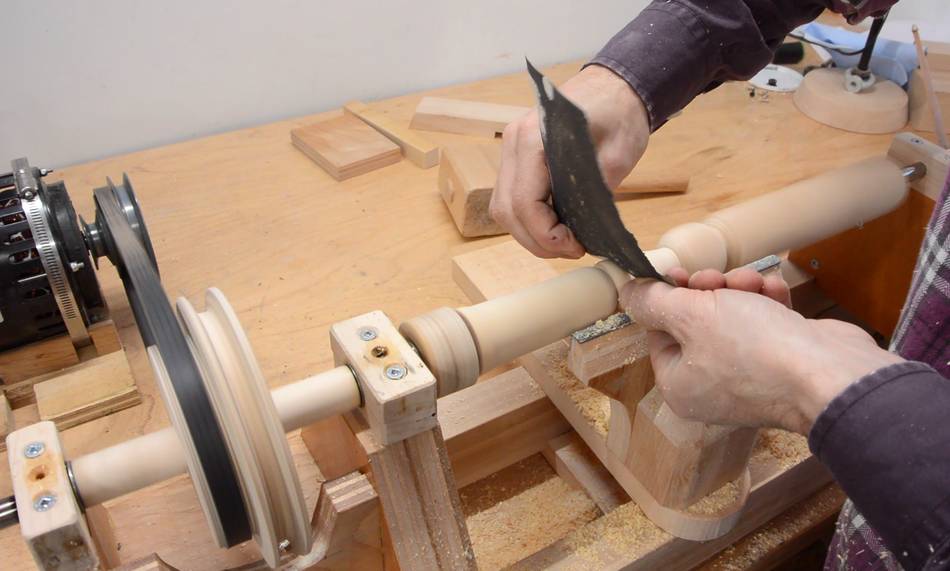 Then a little more complicated, just to play around with it. Here
sanding the contours.
Then a little more complicated, just to play around with it. Here
sanding the contours.
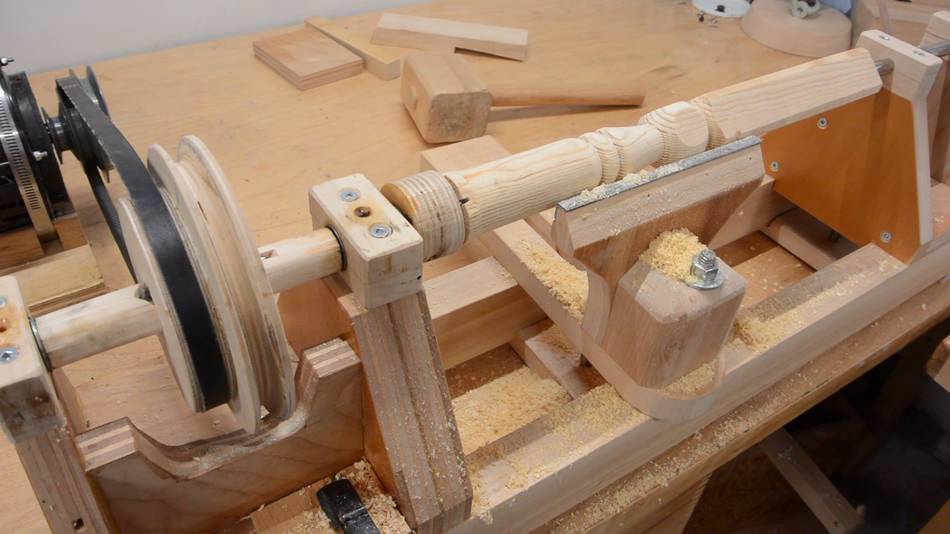 First test passed. Now I just need to turn something more complicated.
Also I still need to make a faceplate and experiment with making a chuck
for it, but that will involve further experiments.
First test passed. Now I just need to turn something more complicated.
Also I still need to make a faceplate and experiment with making a chuck
for it, but that will involve further experiments.
Update:
After using it for a small project,
I made several improvements.
 Improving the lathe
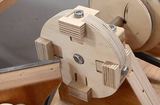 Homemade 4-jaw lathe chuck
 Ball on the lathe
 Buy the lathe plans
 Bowl on the lathe
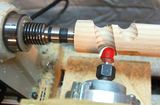 Brian Kerr's router lathe
 Better pulleys and belt tensioner for the homemade mill/drill