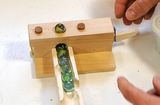
When I first built this marble pump,
I milled it out of a solid block of maple using my
slot mortiser.
But I wanted to make a set of plans available for this marble block set, so I needed
to find a way to build it using more commonly available machines. I'm just
using a table saw, drill press and bandsaw to build this marble pump.
I also used a 11/16" (or about 17 mm) drill bit.
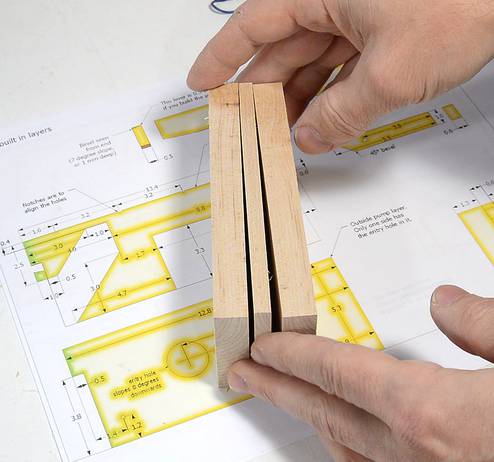
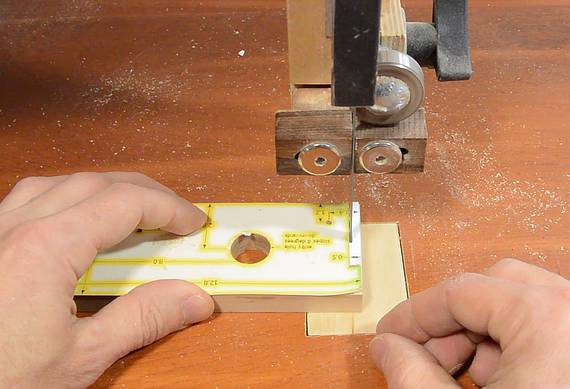
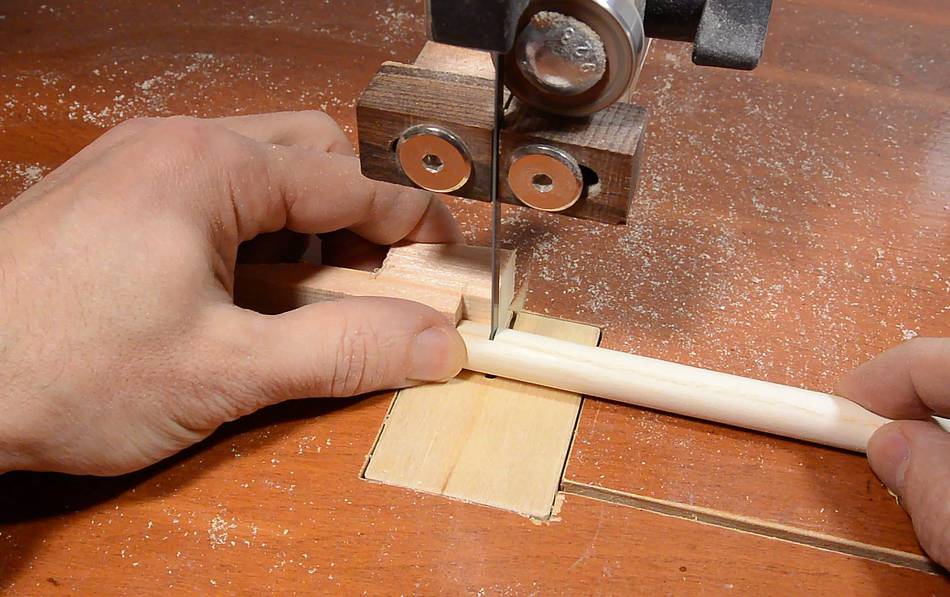
This design is made of three layers. The most complex of these
is the thin middle layer, which I'm cutting out on the bandsaw at left.
The outside layers have two small holes, and one side only has a 11/16" hole.
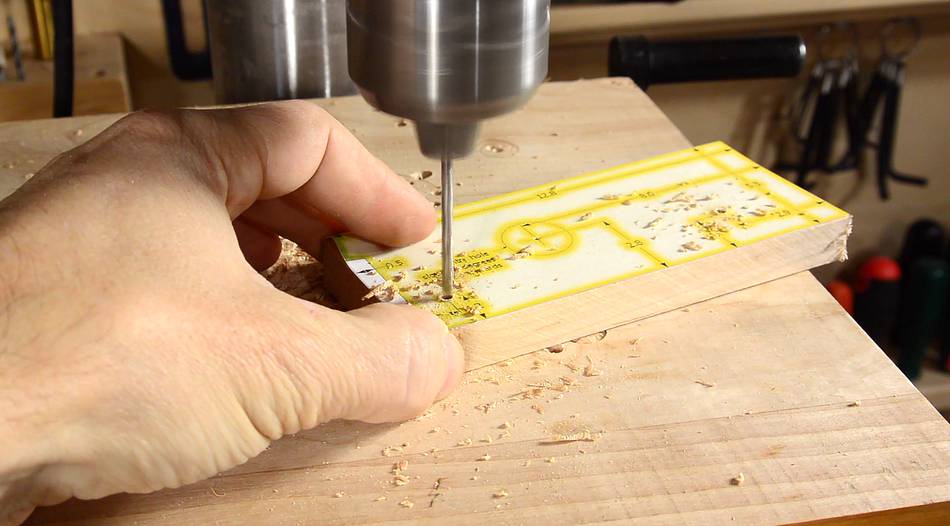
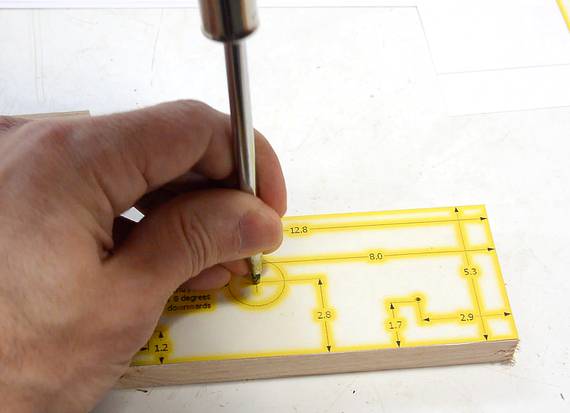
I used an awl to pre-punch the hole-centers through the paper template
to make sure I got the positions just right. Alignment is critical.
I recommend using a closed grain hardwood, such as maple, birch, cherry or
mahogany. Avoid woods with strong ring patterns such as oak or ash or
hickory, as the grain may pull the drill off to the side a bit.
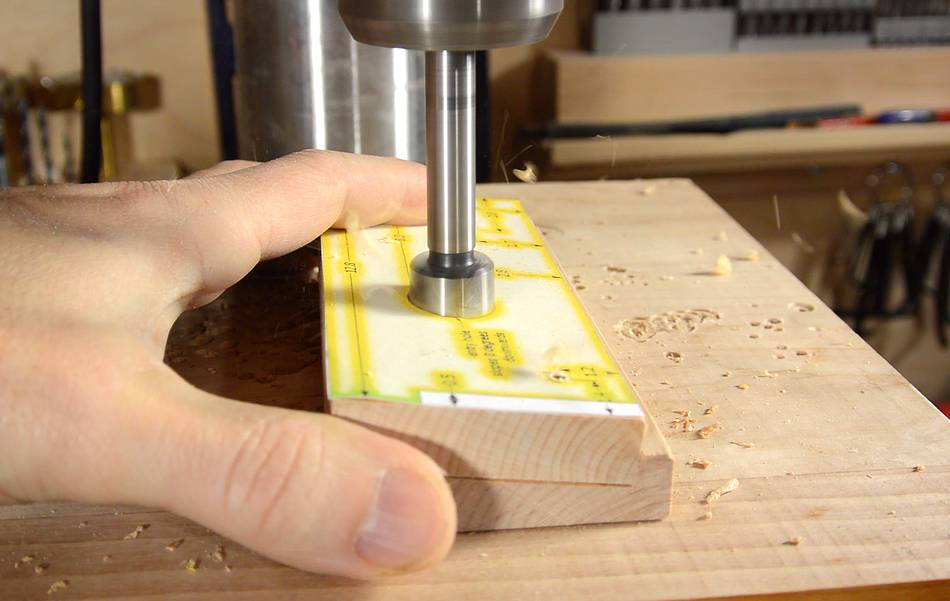
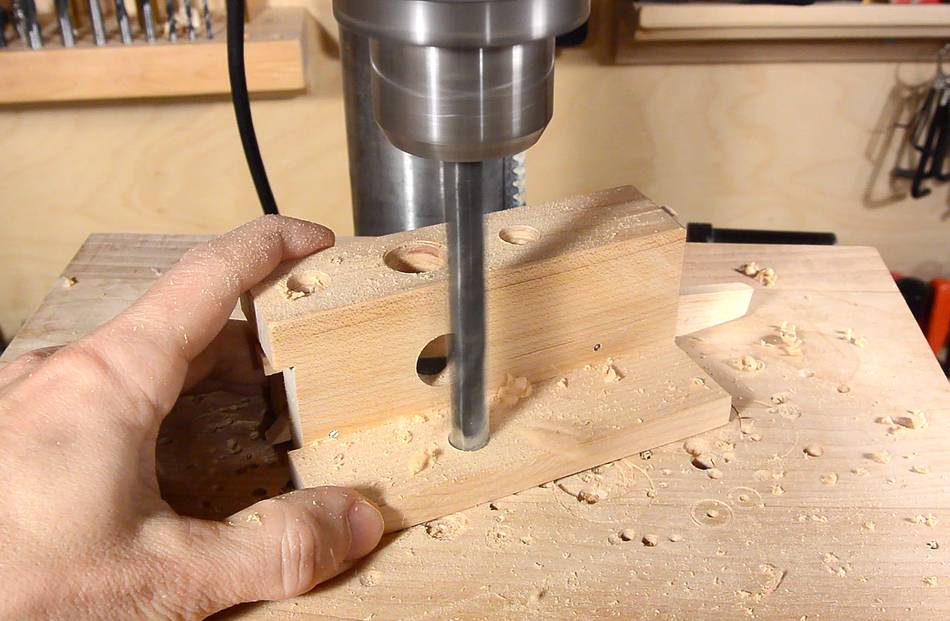
The marble entry hole is drilled at an 8-degree angle so that marbles
will roll into the hole. I cut a wedge shaped piece of wood to support
the workpiece at an angle.
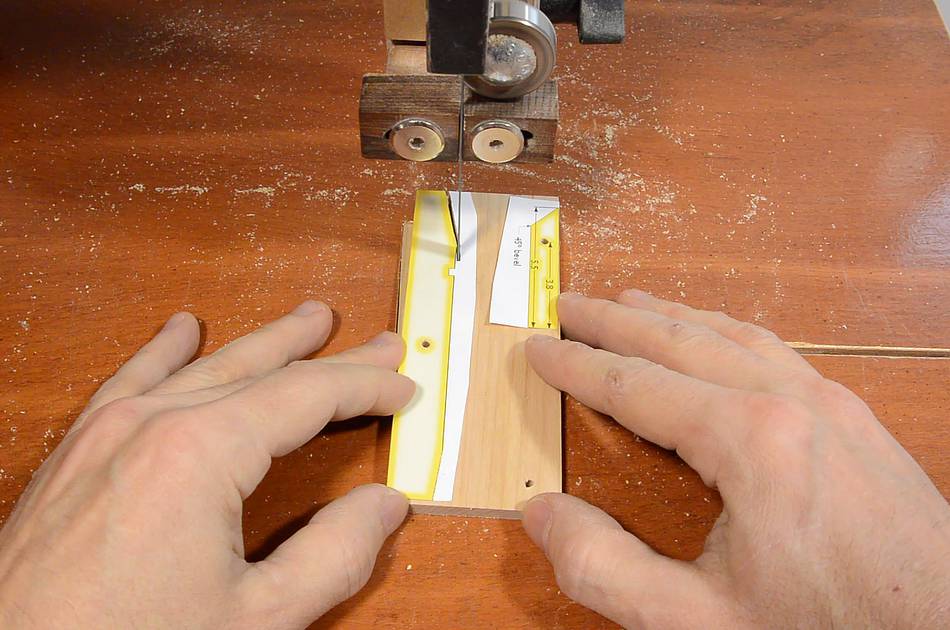
There is also a notch that needs to be cut off one end. The templates
are very handy for avoiding measuring errors. When I built my earlier
version, that notch tripped me up because I got mixed up measuring to
the notch vs. to the end of the piece of wood.
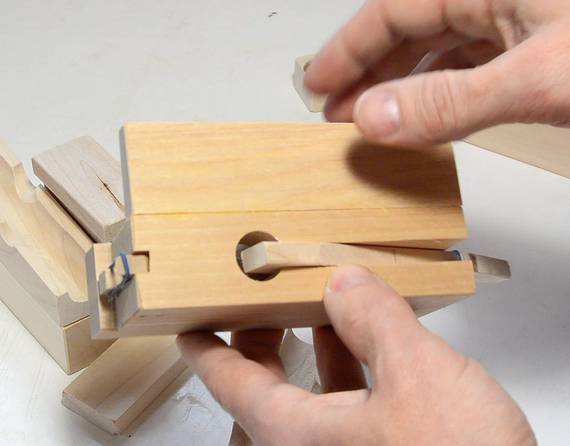
Gluing it together. Getting the layers aligned is tricky, so I start
by gluing the middle layer to the "back" layer. The back layer doesn't
have a marble entry hole.
While I was waiting for the glue to dry, I cut out the internal levers. These are
about 1 mm thinner than the middle layer of the block.
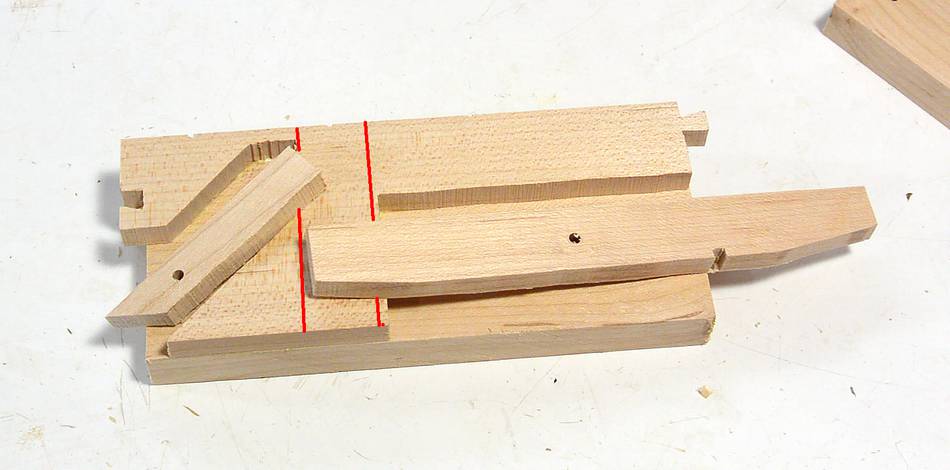
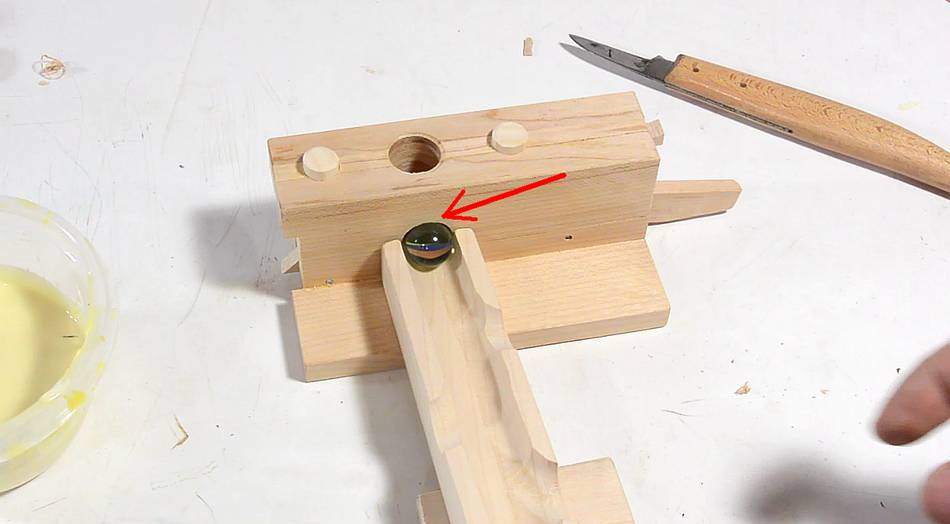
The levers placed roughly where they will end up. Note that they overlap with the
middle layer. That's because the part of the middle layer between the red lines will
get drilled away in a later step. I left this part solid because it makes it
easier to align and easier to drill out later.
Gluing on the front layer.
Note the three lines going across the middle layer. These are slight indentations
marked on the middle layer templates. I cut a slight notch where each of these
is to mark where holes need to be drilled later.
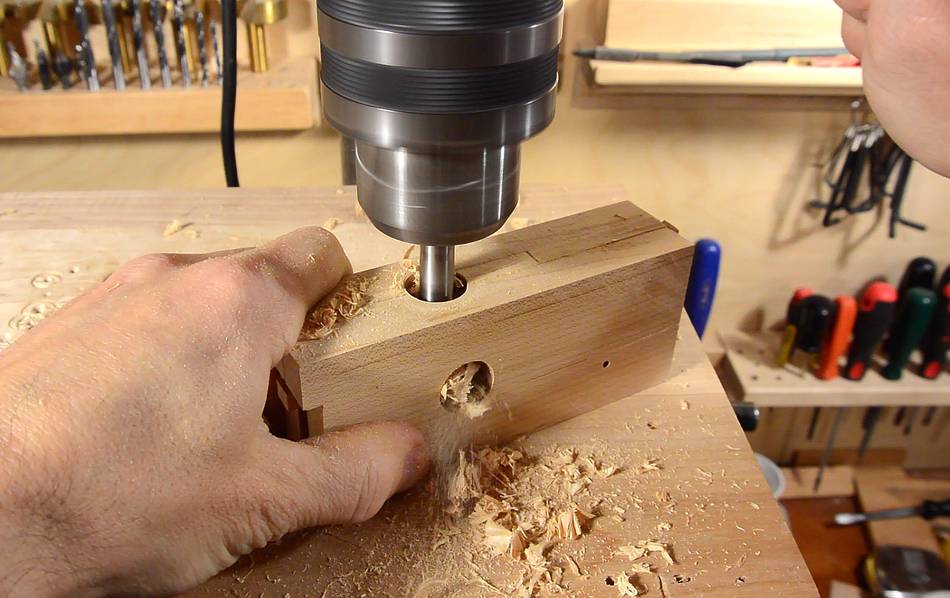
Drilling out the main hole with an 11/16" Forstner bit.
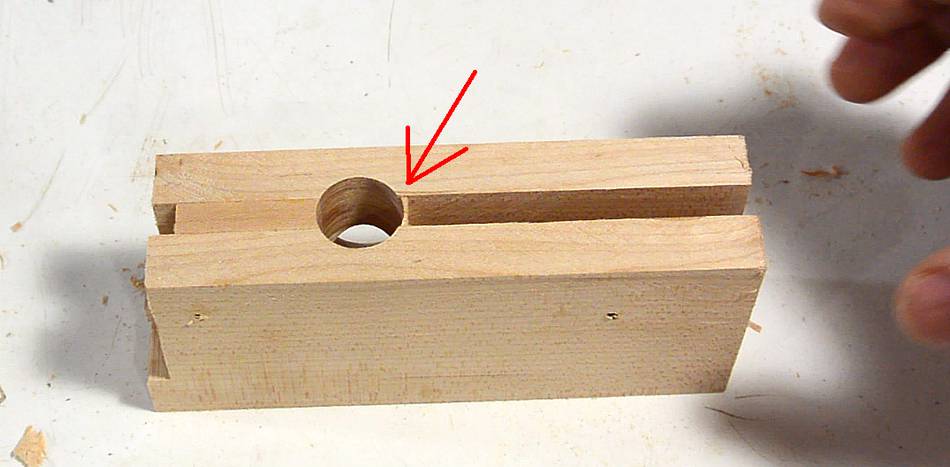
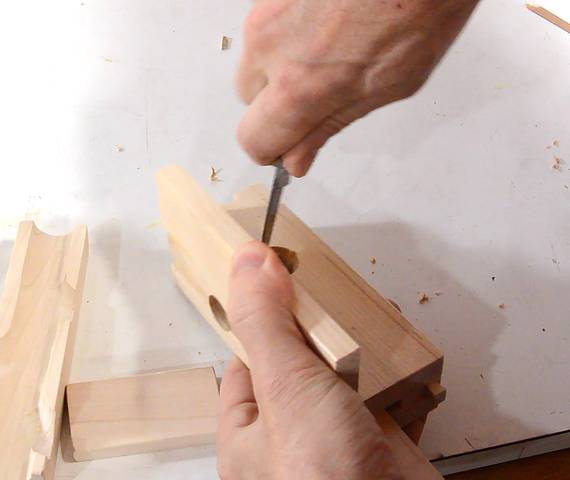
After drilling the hole, there is a slight bridge left between the long slot on
the bottom and the hole. This needs to be removed with a chisel.
Leaving this slight bridge prevents chipout as the hole is drilled and also
prevents the drill from wandering to the side. If you are using one of those
dreadful spade bits, you may want to make the middle layer a bit wider on
that side because spade bits are very messy at drilling.
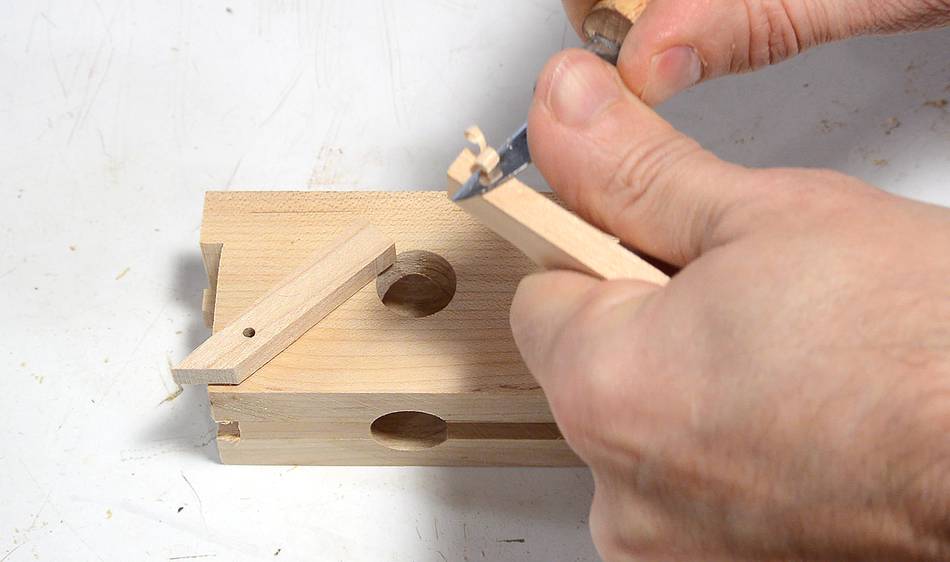
Before installing the main lever, the top of it is beveled slightly to help
the marbles roll towards the back. About an 8 degree bevel, carved with
a knife is best.
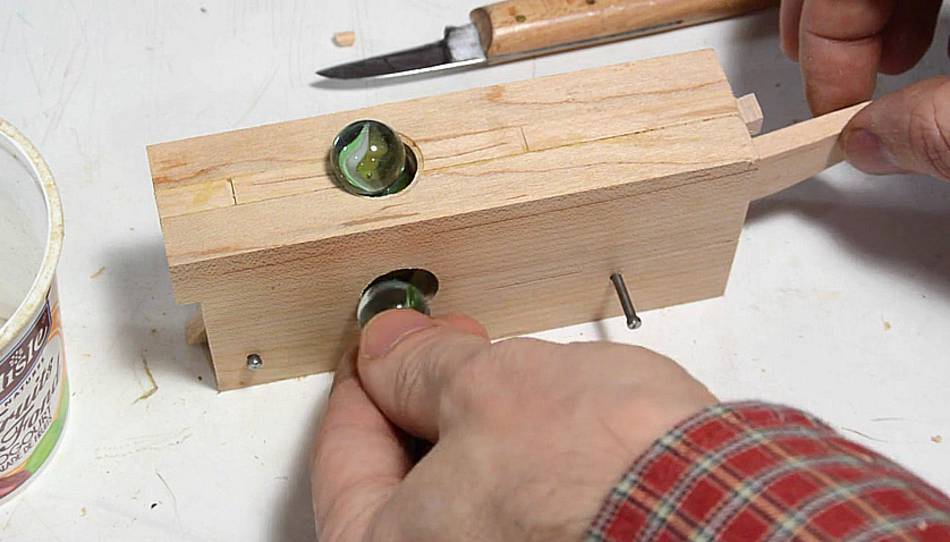
Nails loosely placed in the pivots for testing, just feeding in one
marble at a time. It's important to test at this stage while the pump
is still easy to take apart.
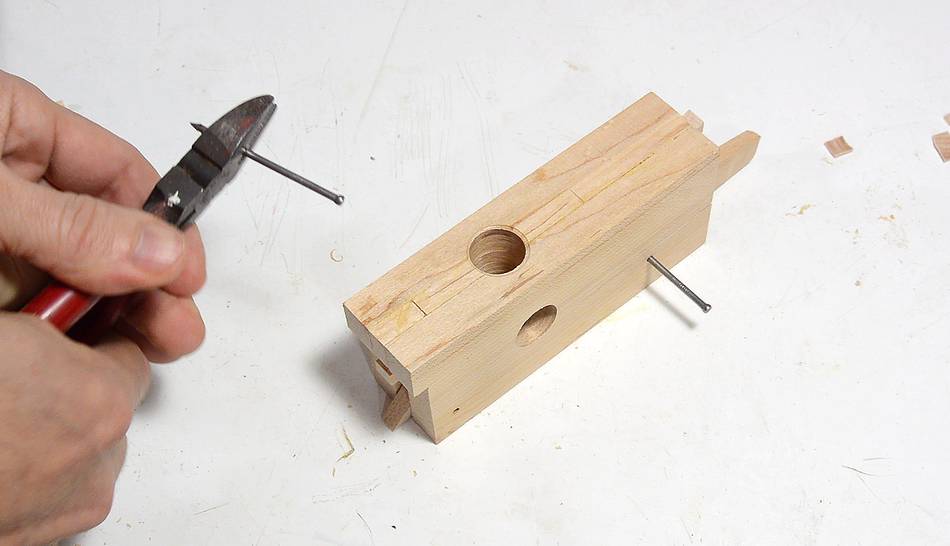
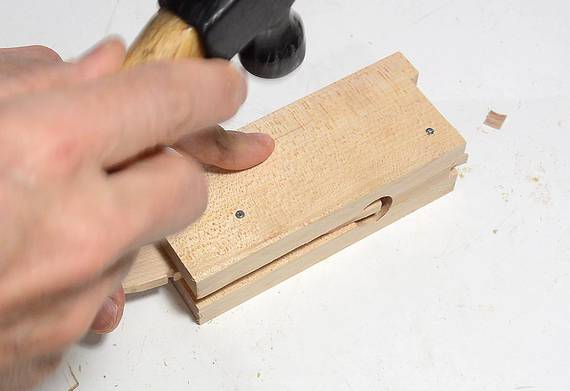
Cutting off the nails so that they are just shorter than the block is wide.
The holes for the nails should be just larger than the nails but
smaller than the heads. That way, when the nails are driven in
flush, the head will get stuck in the holes, holding them in place.
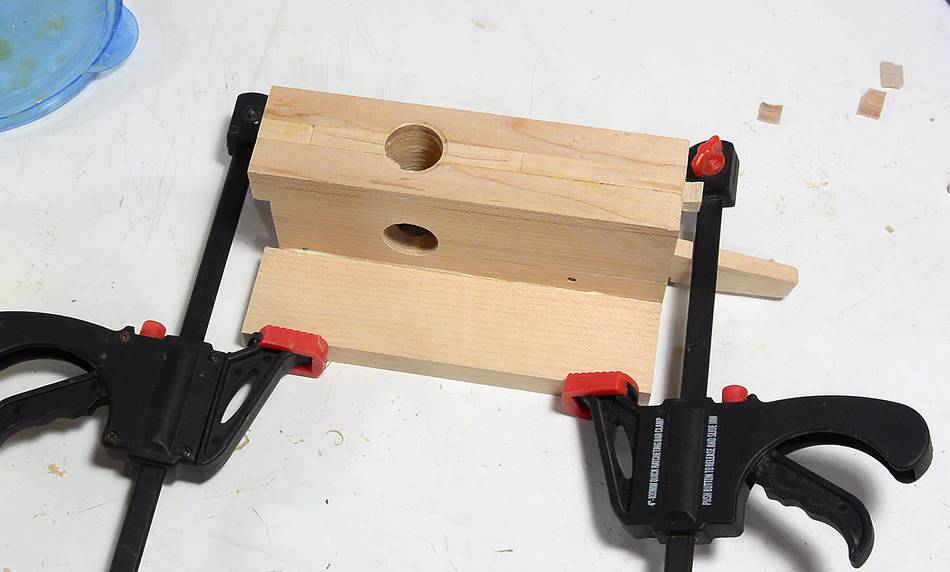
Gluing on the front ledge. This ledge helps to align the ramp
leading into it and also prevents the pump from tipping over.
Drilling the holes for the alignment pegs. I'm using a 15/32" drill,
though drilling these as small as 7/16 would also work.
The pegs need to fit loosely into 1/2" holes on the bottoms of the blocks.
For countries with sensible (not fractional) systems of measurement,
the holes for the alignment pegs should be 0.5 to 1 mm smaller
than the holes at the bottom of the blocks.
Cutting dowel pieces to go in the holes. 15/64" is an odd size. Dowels at
hardware stores are often very inaccurate, so you may be able to find one
just that size. Or you can make any size dowel using
this method.
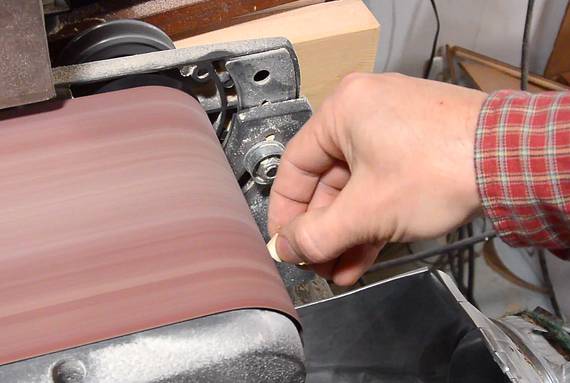
This dowel actually was made using a half
round router bit. It was one of my slightly misshapen earlier
experiments, so I just sanded it round on the belt sander.
I chamfer one end of the buttons on the belt sander. This would be easier
to do with the whole dowel, before cutting pieces off, but that would mean
going back and forth between the belt sander and the bandsaw.
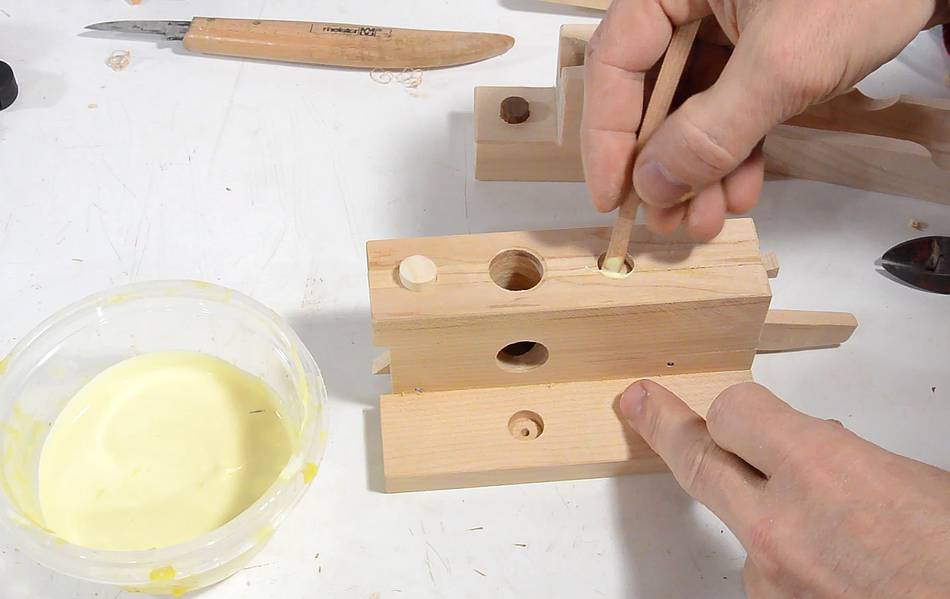
Just a bit of glue in the holes to glue in the dowels.
Testing the pump with a ramp. The marble won't quite roll in, so I need to carve
out the hole, slightly cone shaped, towards the top. I'm also widening it towards
the sides a bit, just in case the input ramp is slightly misaligned to the side.
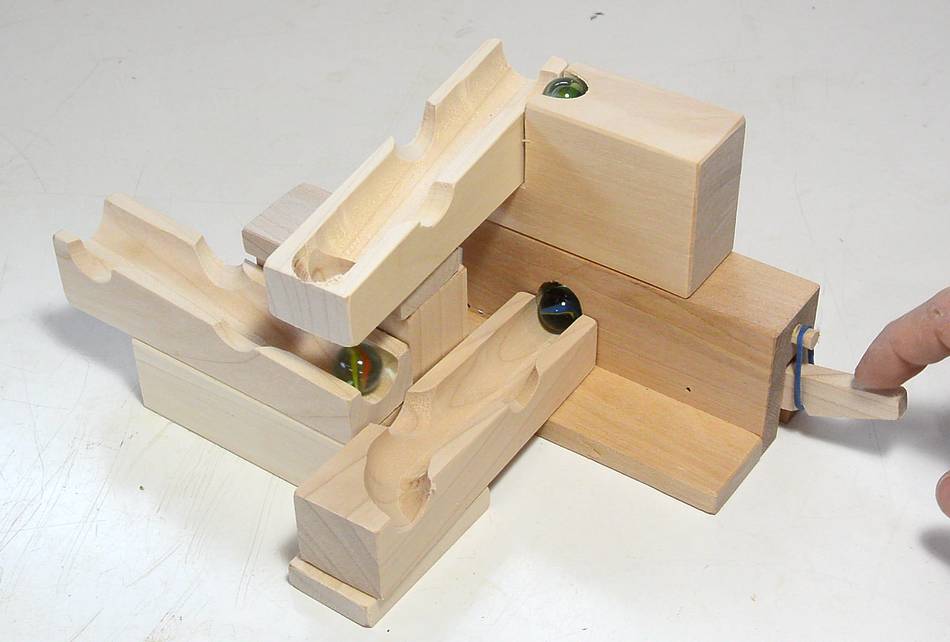
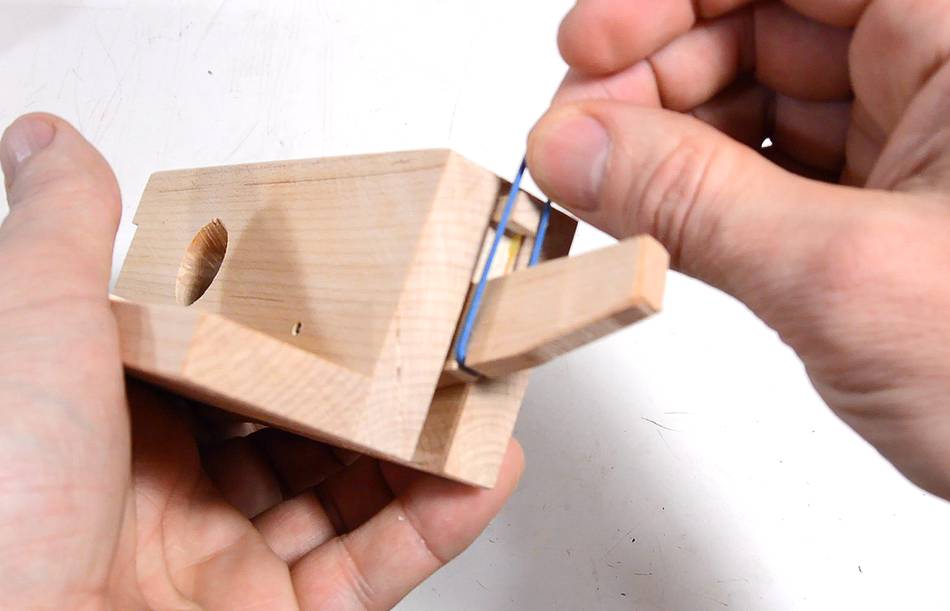
A rubber band is needed to lift the lever back up after pressing it down.
Another rubber band is used to force the small lever on the other side, which
prevents the marbles from falling back down when the lever is released.
That lever drops down by gravity, but not reliably so.
Making the top marble release
Making this part is not as tricky as making the marble pump, but I did rely
on my
horizontal boring machine to drill the 45-degree hole.
A drill press may not have sufficient rigidity to start that hole on an
outside corner.
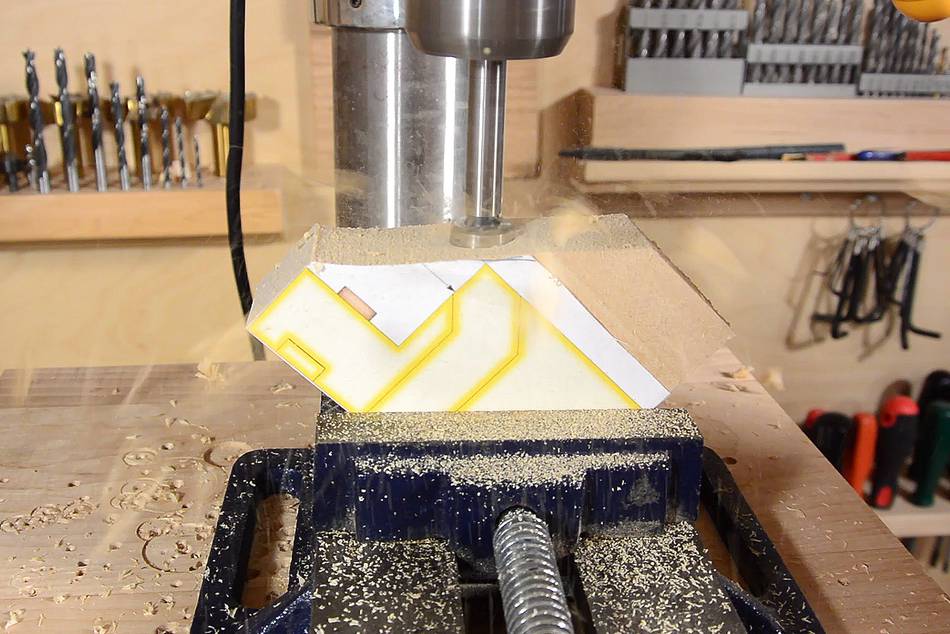
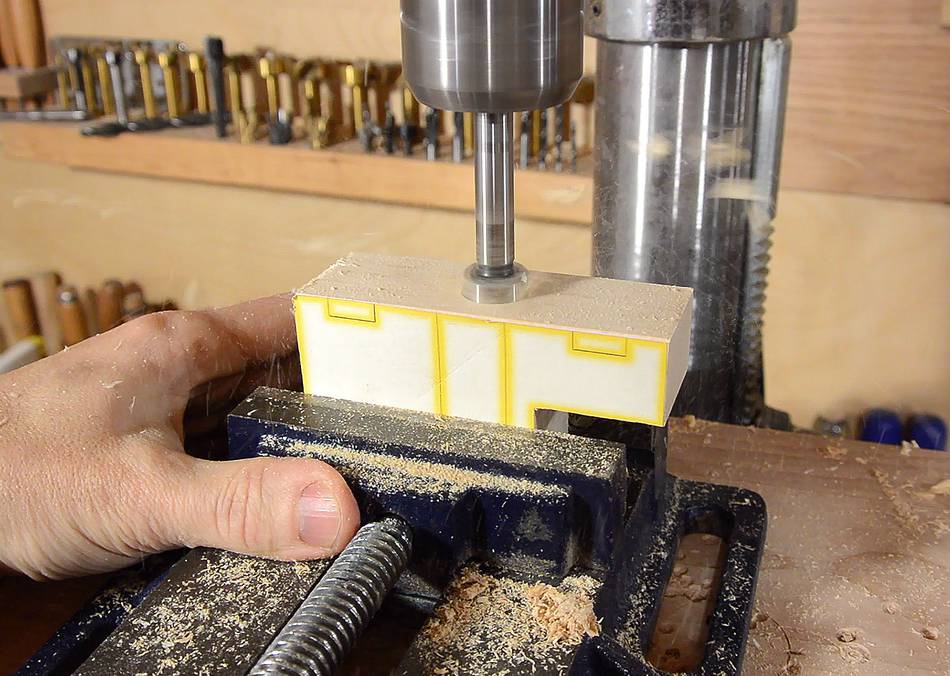
But I found cutting the block larger than needed and cutting a surface
at 45-degrees makes it easy to start the hole. The drill depth needs to be as far
as the outside of the 45-degree corner (on the right side of the outline of the bent hole
shown on the paper template).
I used a drill press vise to hold the workpiece. If you don't have a drill
press vise, you could clamp the block between two larger pieces of wood
to hold it in place.
Cutting out the notch using my table saw sled. If you don't have a table
saw sled, you can make that cut with a bandsaw.
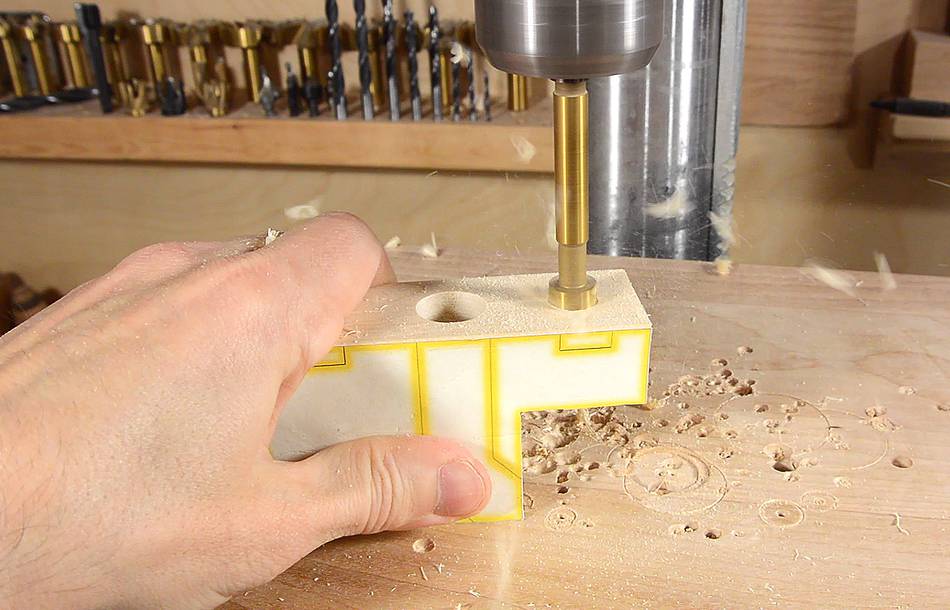
Drilling the bottom hole. This hole is fairly deep, so getting the workpiece
exactly vertical is important.
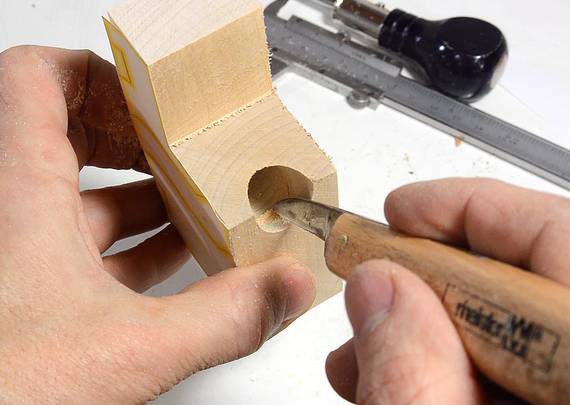
I hadn't drilled quite deep enough, so there was a bit of a ledge left between
the two holes. I cut that out with a carving knife.
Next, the 1/2" alignment holes in the bottom...
...and the 15/32" button on the top for hooking a ramp to.
Also important to chamfer or round all the edges. I prefer to do this
with a carving knife - faster and less dusty than sanding, and I can still get
into all the corners.
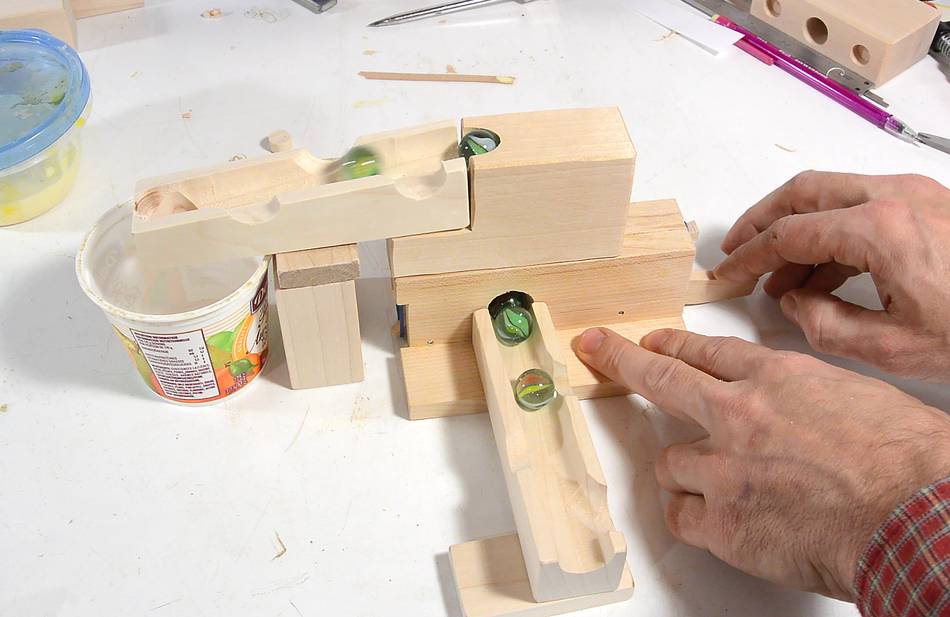
Testing the pump with the top exit block. All working ok.
Normally, I'd use more riser blocks between the pump and the exit block,
but making those is very similar to the exit blocks, so no need to go
over that again.
 When I first built this marble pump,
I milled it out of a solid block of maple using my
slot mortiser.
But I wanted to make a set of plans available for this marble block set, so I needed
to find a way to build it using more commonly available machines. I'm just
using a table saw, drill press and bandsaw to build this marble pump.
I also used a 11/16" (or about 17 mm) drill bit.
When I first built this marble pump,
I milled it out of a solid block of maple using my
slot mortiser.
But I wanted to make a set of plans available for this marble block set, so I needed
to find a way to build it using more commonly available machines. I'm just
using a table saw, drill press and bandsaw to build this marble pump.
I also used a 11/16" (or about 17 mm) drill bit.


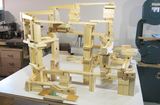 My first marble run
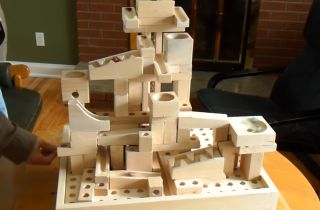 Modular marble machine
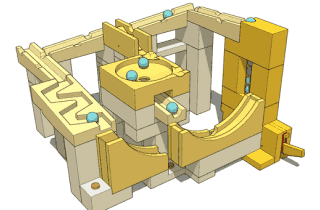 Marble block plans