 This project started with our 6 year old daughter constantly wanting to push herself
up on the armrests between two dining chairs.
This project started with our 6 year old daughter constantly wanting to push herself
up on the armrests between two dining chairs.
This project started with our 6 year old daughter constantly wanting to push herself
up on the armrests between two dining chairs.
I figured maybe I should build something dedicated for that.
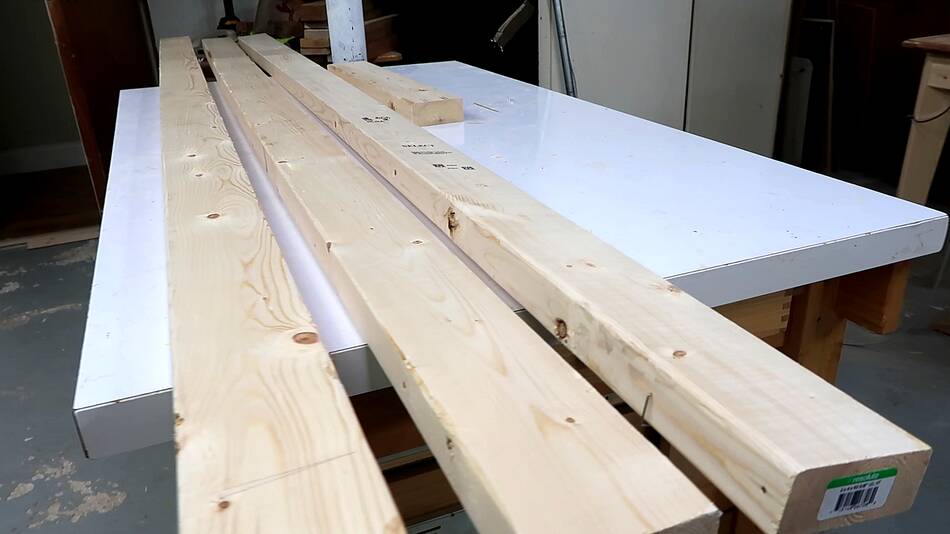
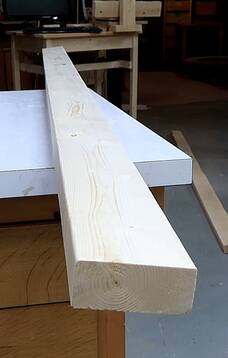 As usual, I started with a bunch of 2x4's, though one of them had quite a bit of twist to it.

 I used the twisted one to cut the shortest pieces. Along the short length, the twist
is hardly noticeable.
I used the twisted one to cut the shortest pieces. Along the short length, the twist
is hardly noticeable.
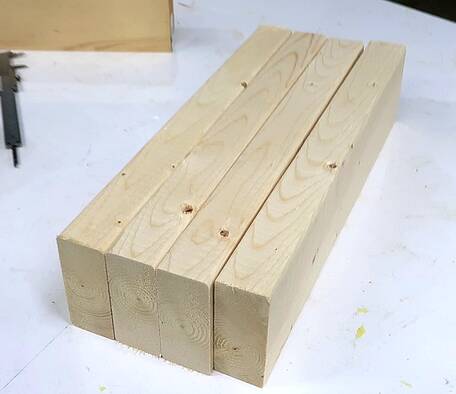
 And that way jointing and planing out the remaining didn't remove that much material.
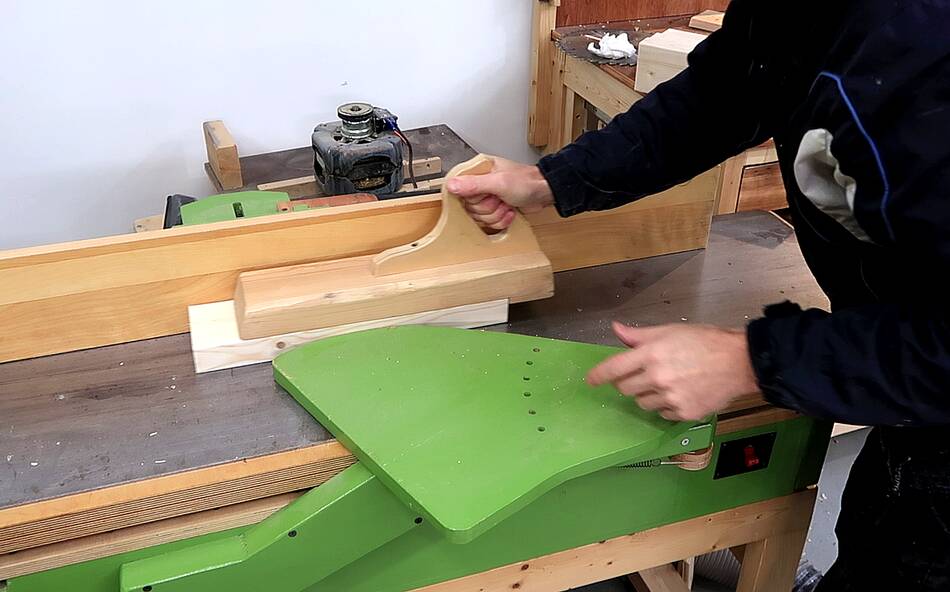
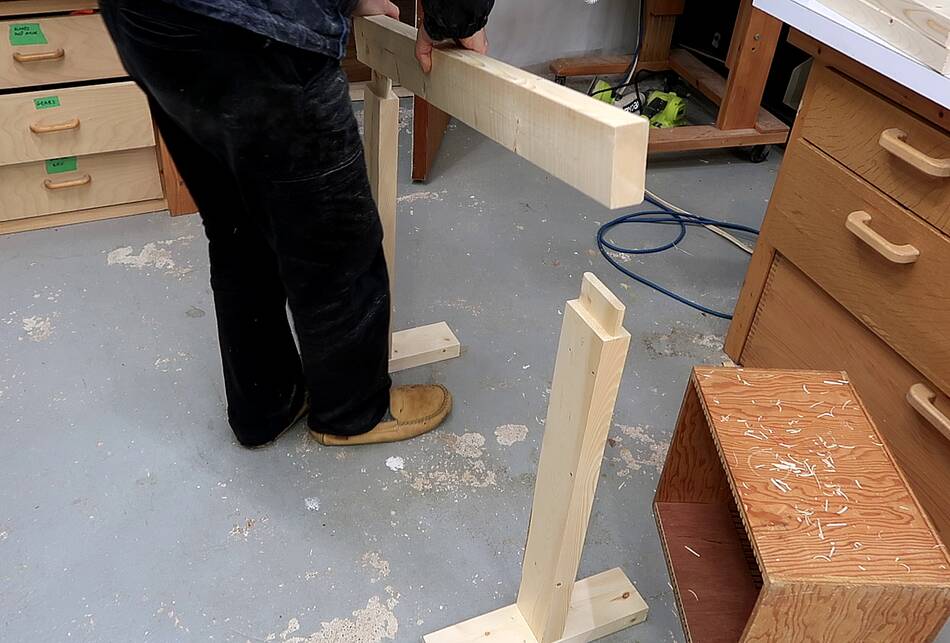
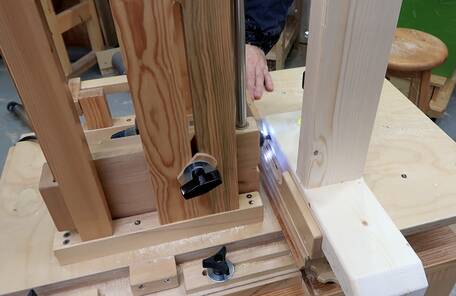
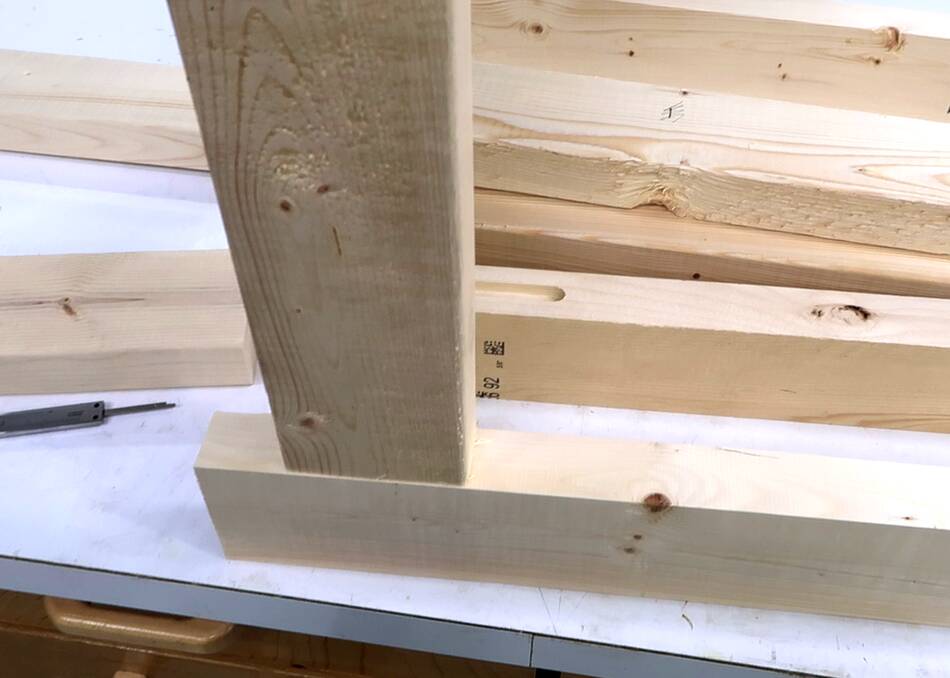 The legs will mortise into the top horizontal bar like this. I'll use my
pantorouter for that operation.
The legs will mortise into the top horizontal bar like this. I'll use my
pantorouter for that operation.
 I quite like how the dust hood on the pantorouter captures dust, but it gets
annoyingly in the way when I have to line up the router bit to my workpiece.
I have a gap in this dust hood because this one is actually for a slightly smaller
newer version of the hood, so on the larger one, it leaves a convenient opening
to look into.
I quite like how the dust hood on the pantorouter captures dust, but it gets
annoyingly in the way when I have to line up the router bit to my workpiece.
I have a gap in this dust hood because this one is actually for a slightly smaller
newer version of the hood, so on the larger one, it leaves a convenient opening
to look into.
 Cutting out the mortises, 1/2"x3.2" (12.7 mm x 80 mm).
I used the new segmented mortise and tenon templates on the pantorouter to piece
together one that wide.
Cutting out the mortises, 1/2"x3.2" (12.7 mm x 80 mm).
I used the new segmented mortise and tenon templates on the pantorouter to piece
together one that wide.
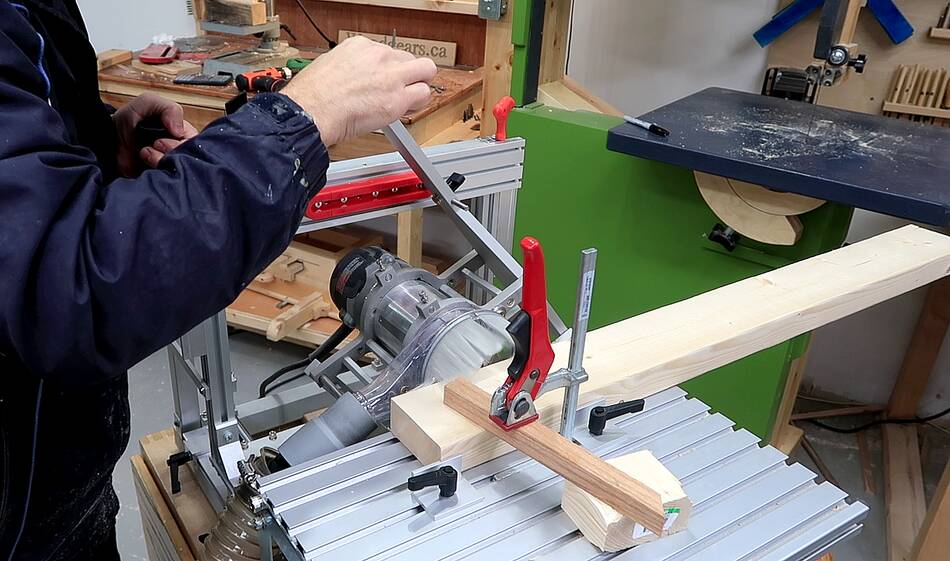
Then cutting the tenons. But I'm not using the dust hood quite the way it was intended. I like the dust hose coming off towards the bottom instead of the top, and I hook it up to my dust collector instead of a shopvac. That requires using a larger hose My combination of two adapters to connect to this hose doesn't hold on that tight, so I also supported the hose with a string, but the whole arrangement kept coming apart again and again.
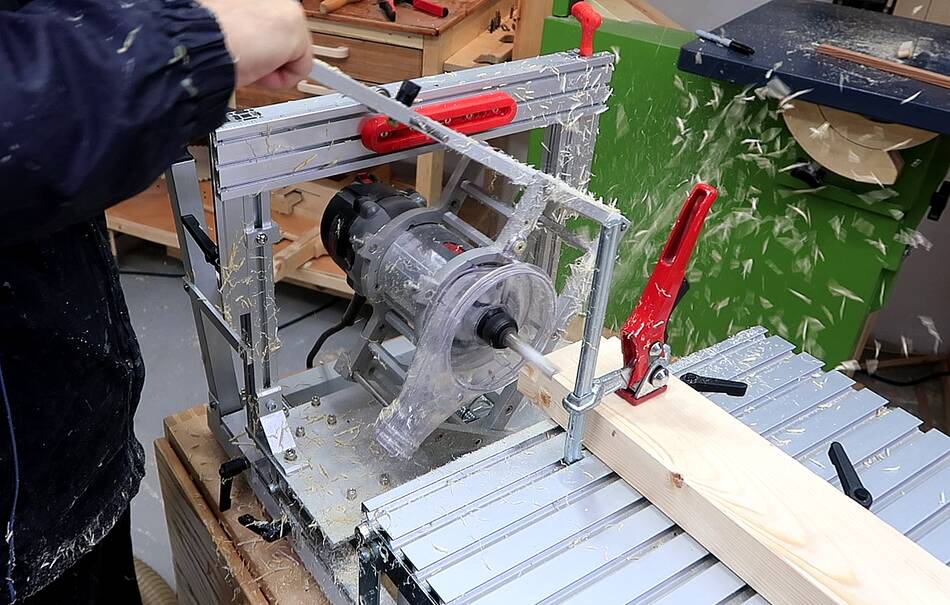 In frustration I decided "the hell with dust collection" and kept going without
dust collection, but this was messier than I remembered.
In frustration I decided "the hell with dust collection" and kept going without
dust collection, but this was messier than I remembered.
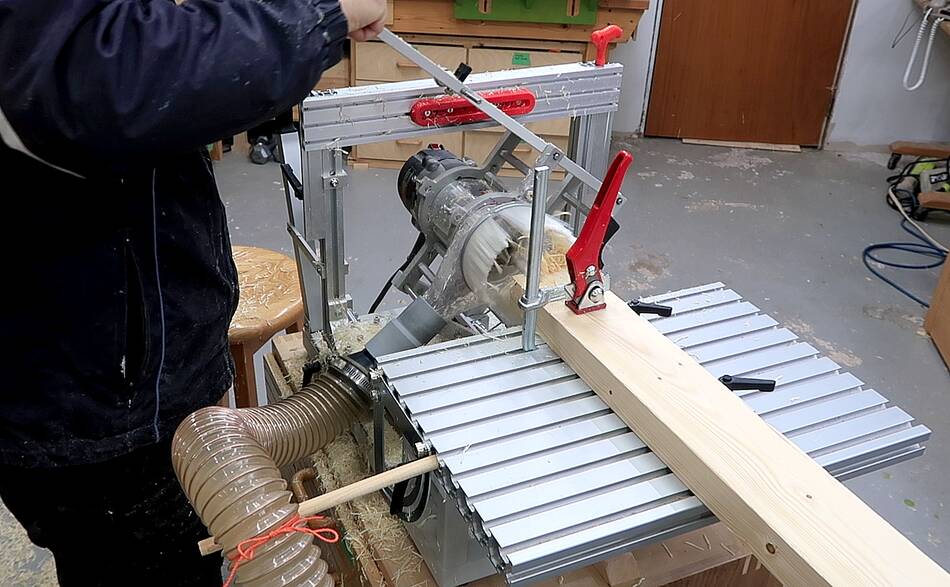 I ended up looking at one of my older articles to see how I last held the hose in
a way that didn't come off.
It was a stick stuck into the side of the table, and the hose tied to the top of it.
This worked much better, and I finished that way.
I ended up looking at one of my older articles to see how I last held the hose in
a way that didn't come off.
It was a stick stuck into the side of the table, and the hose tied to the top of it.
This worked much better, and I finished that way.
 checking the fit of the mortise and tenon joints.
 Now I need to join the upright legs to the horizontal "feet" of my sawhorse-like
contraption, in a way that gives a lot of stiffness.
Now I need to join the upright legs to the horizontal "feet" of my sawhorse-like
contraption, in a way that gives a lot of stiffness.
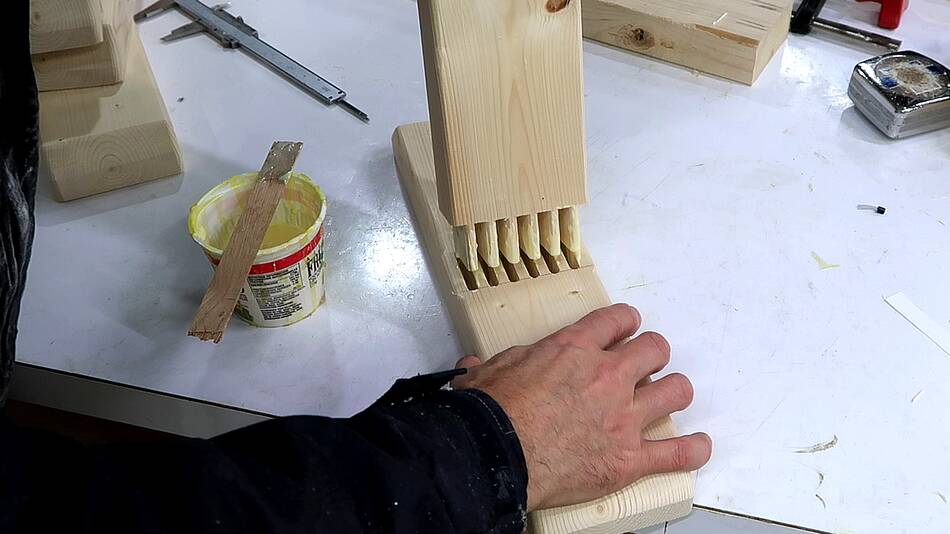
 My favorite method for that sort of joint is to put a whole lot of 1/4" wide
mortise and tenon joints side by side.
My favorite method for that sort of joint is to put a whole lot of 1/4" wide
mortise and tenon joints side by side.
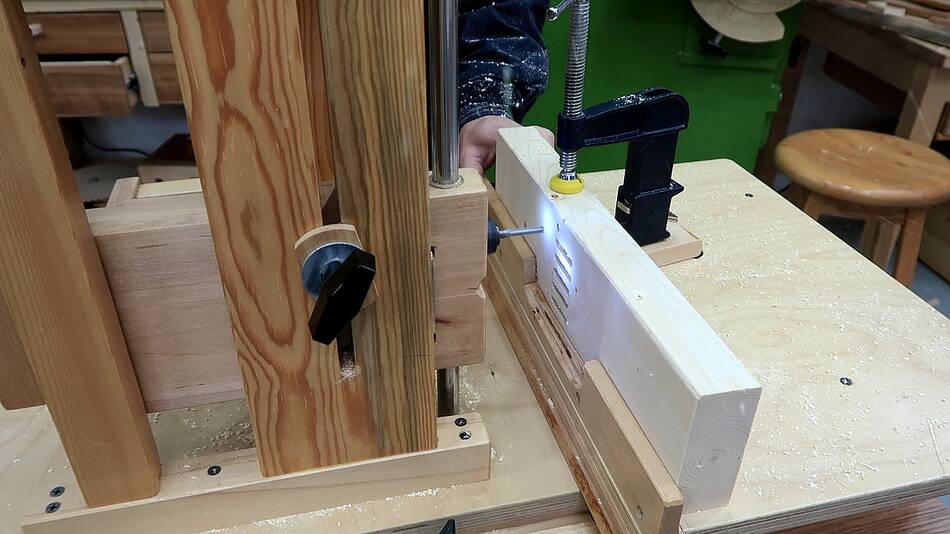
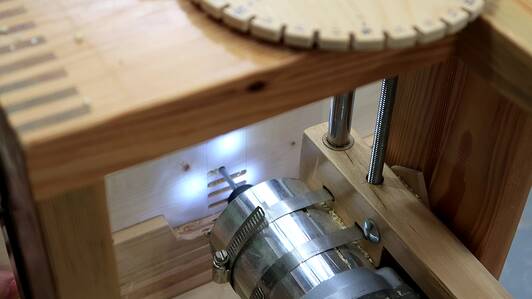
I like to cut those with my slot mortiser, which has a threaded rod with a crank and a turns counter on it to precisely space a series of mortises.
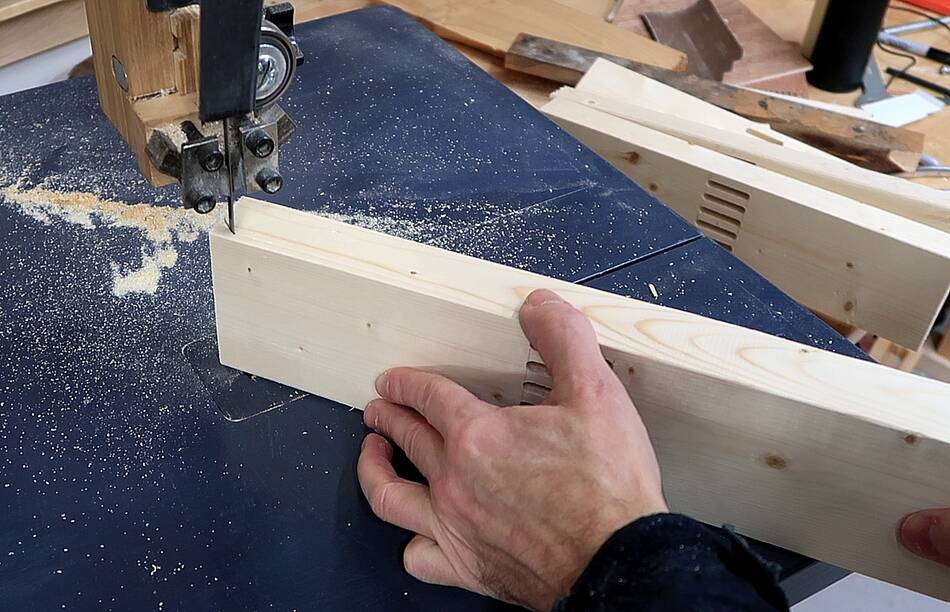
 The complimenting tenons are best cut on the screw advance
box joint jig.
The complimenting tenons are best cut on the screw advance
box joint jig.
I almost never bother to use a dado blade with this jig because making a series of cuts to hog out a 1/4" slot doesn't take long. I cut on the forward and back stroke, so it goes fast. The image at right is fuzzy, because it's a video frame grab, and I had the jig moving fast, so any shot with the blade in it had motion blur.
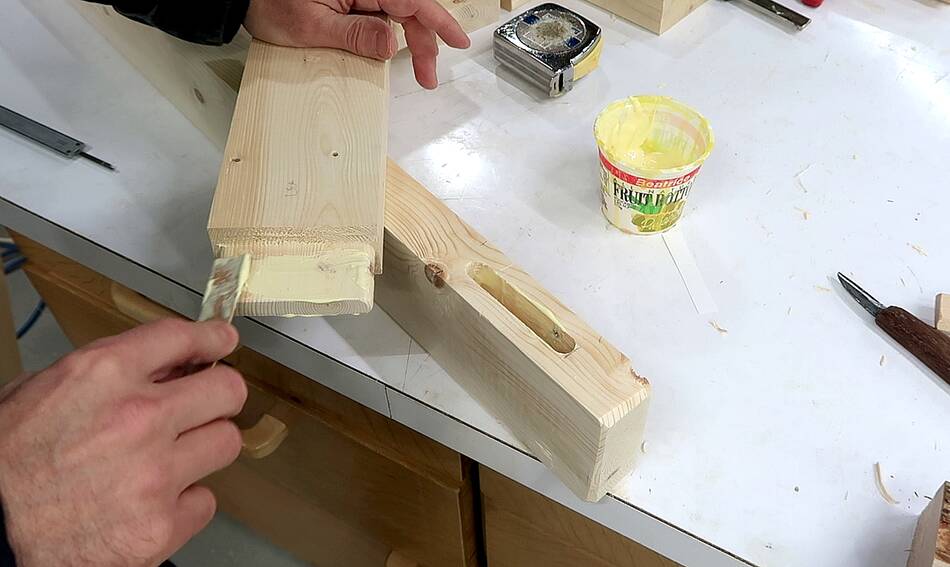
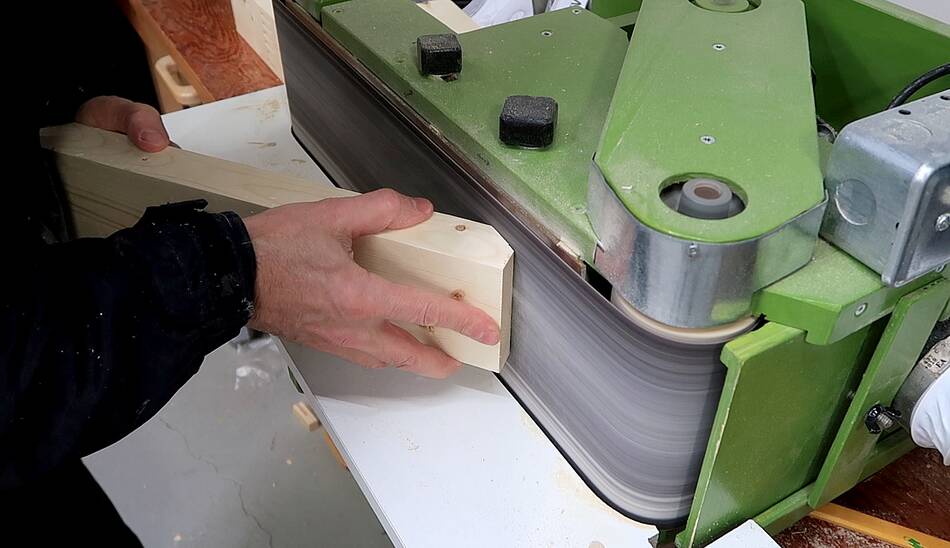
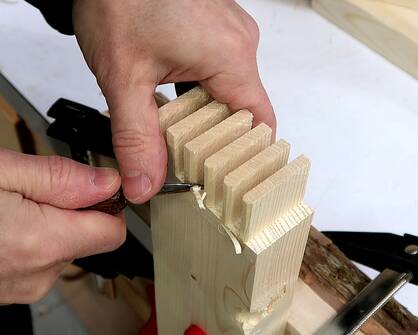 But tenons cot like this have square edges. Sometimes I just cut the mortises a bit
longer so the square tenons fit in them, but that leaves a visible gap at the end
of the tenons. So I carved the corners off the tenon edges to make them fit.
But tenons cot like this have square edges. Sometimes I just cut the mortises a bit
longer so the square tenons fit in them, but that leaves a visible gap at the end
of the tenons. So I carved the corners off the tenon edges to make them fit.
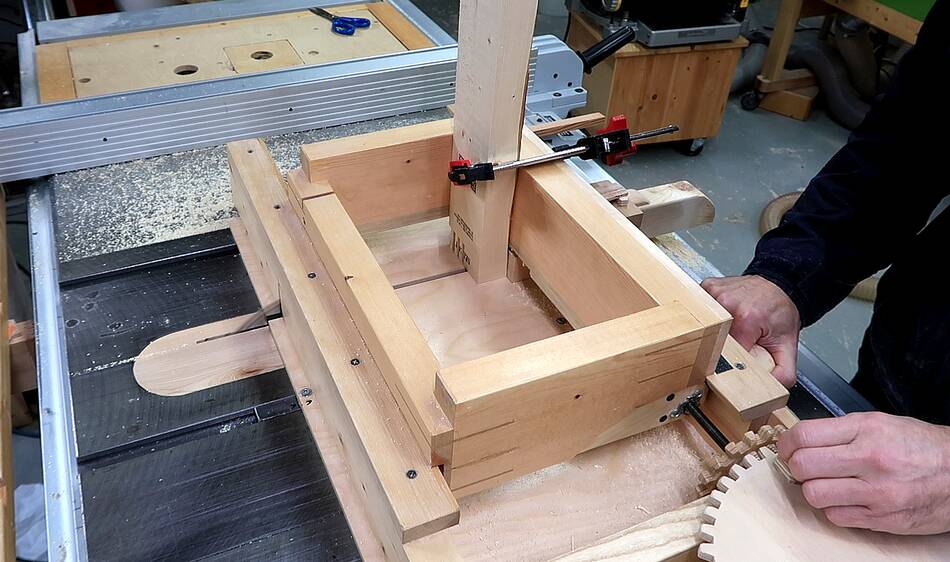
This is one of those times where having a traditional woodworking vise would be useful, but a piece of firewood clamped to the workbench makes clamping it like this easy too.
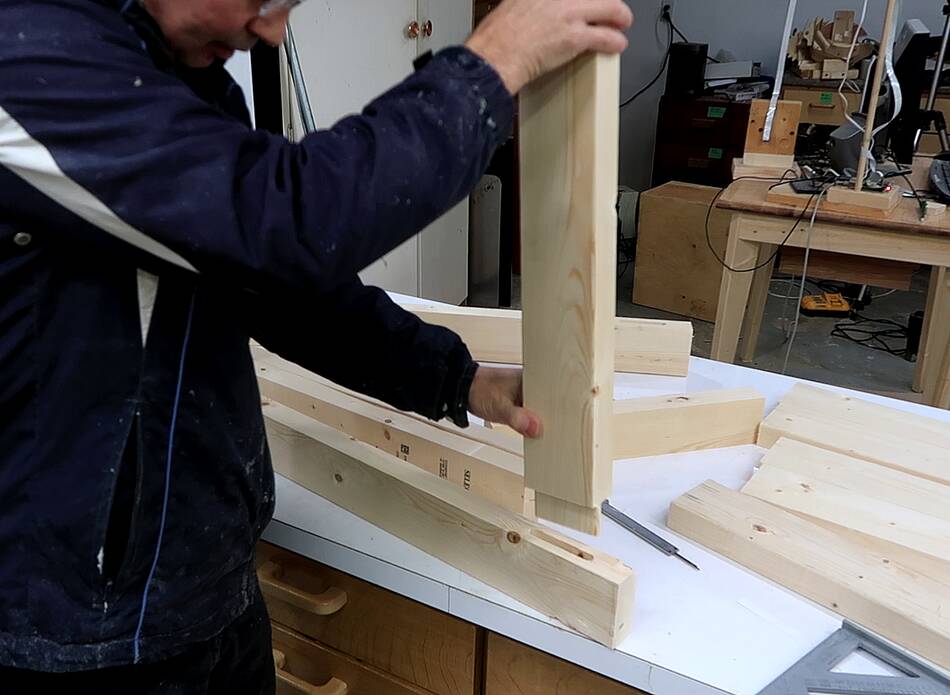
 Test fitting the six side-by-side mortise and tenon joints.
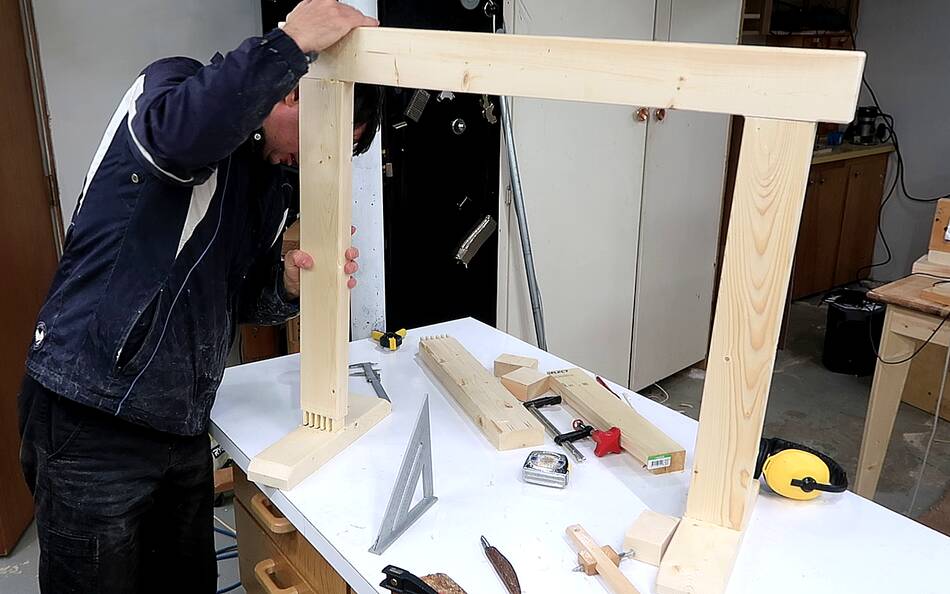
 then test fitting it with the bar across. All good.
 Time to put it together with glue!
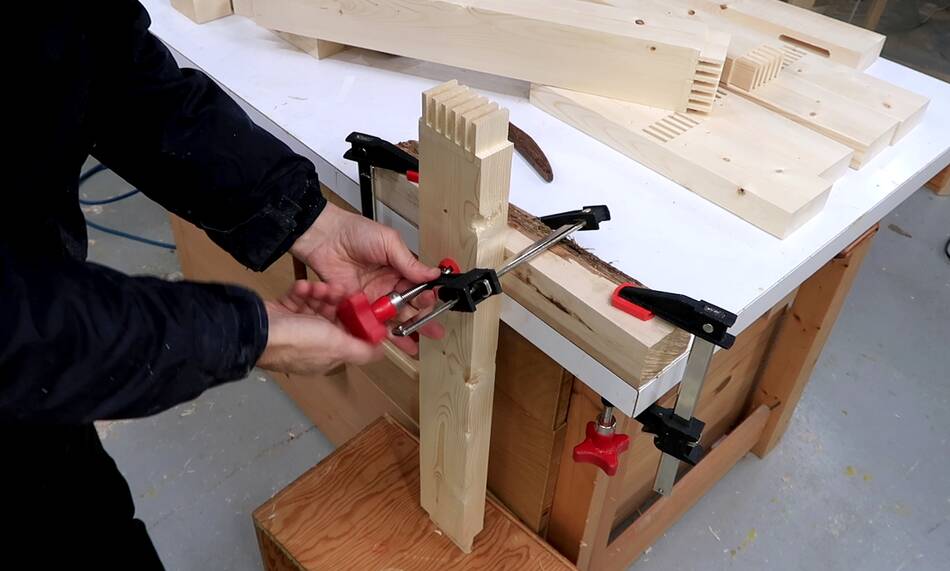
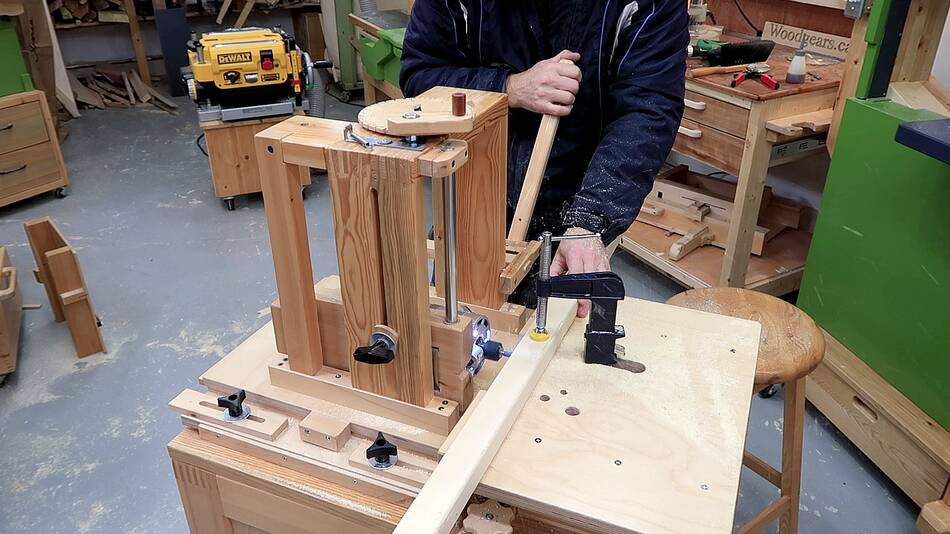
 I needed some assistance from a long clamp to get some of the tenons to
go all the way in.
I needed some assistance from a long clamp to get some of the tenons to
go all the way in.
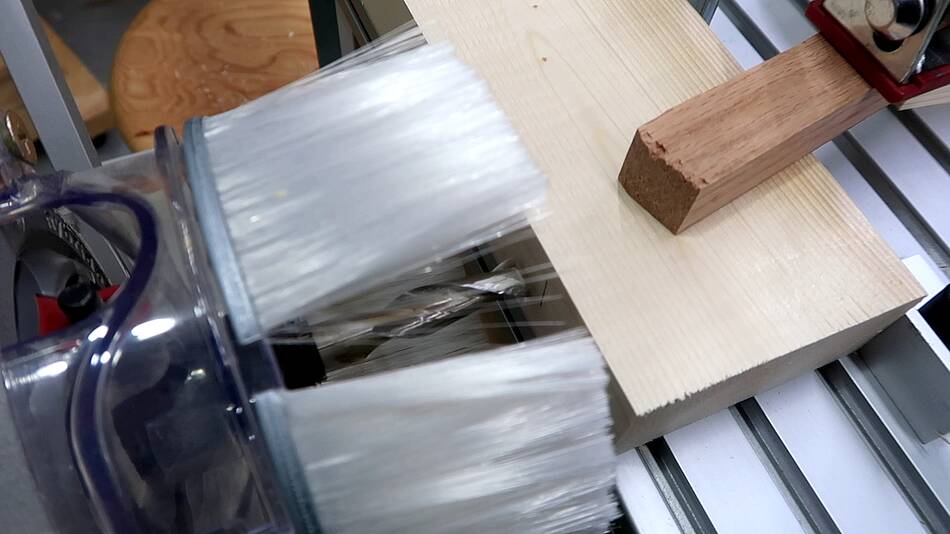
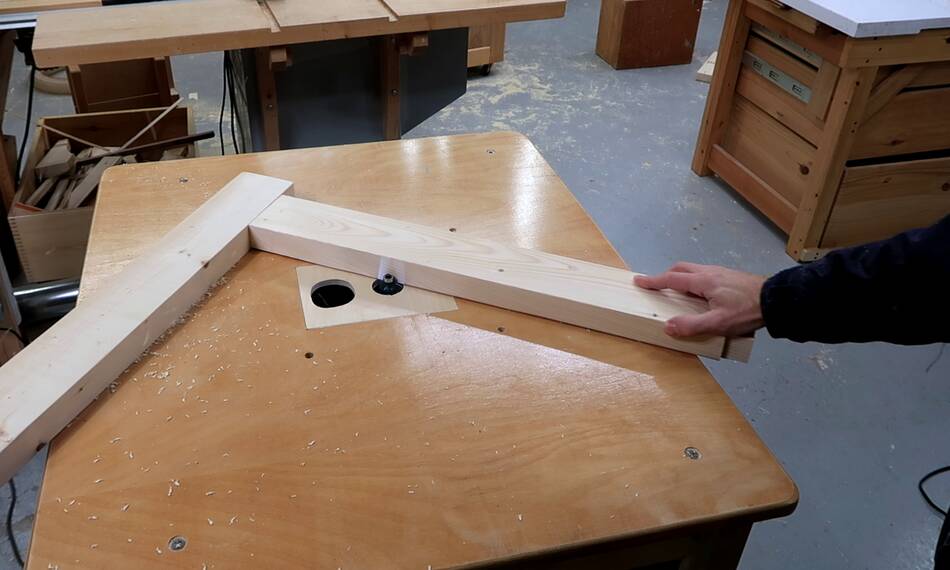 With these three pieces glued together, I rounded the edges on the router
table. I didn't do this earlier to avoid accidentally rounding the edges
where the mortise and tenon joint was, though in retrospect, I could
have rounded all the edges of the vertical legs without worry, it's only the
top bar where the round-over doesn't go everywhere.
With these three pieces glued together, I rounded the edges on the router
table. I didn't do this earlier to avoid accidentally rounding the edges
where the mortise and tenon joint was, though in retrospect, I could
have rounded all the edges of the vertical legs without worry, it's only the
top bar where the round-over doesn't go everywhere.
 Then cutting a bevel on the ends of the foot pieces, to avoid toe
stubbing accidents.
Then cutting a bevel on the ends of the foot pieces, to avoid toe
stubbing accidents.
 And sanding that bevel smooth.
 Then rounding all the edges of the foot on the router table.
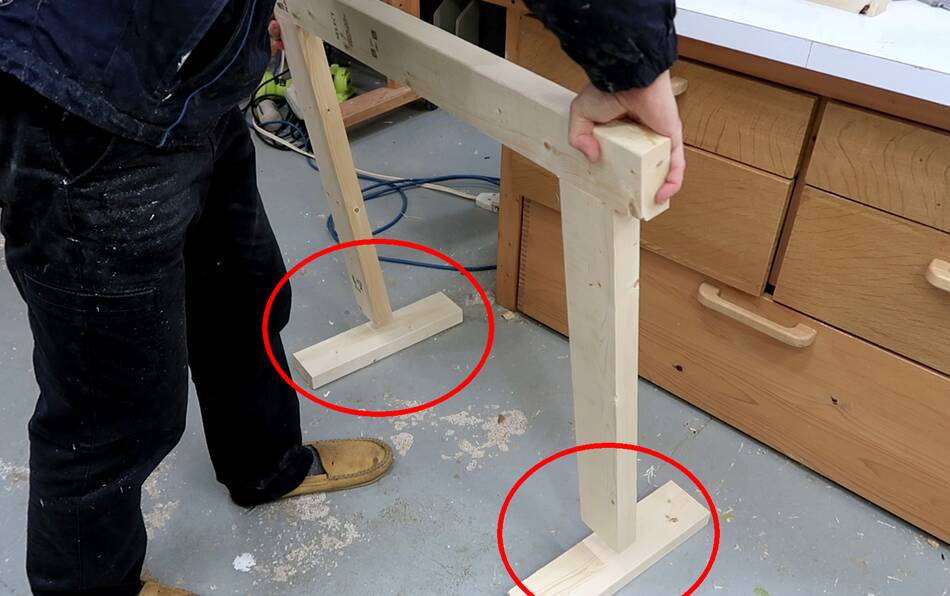
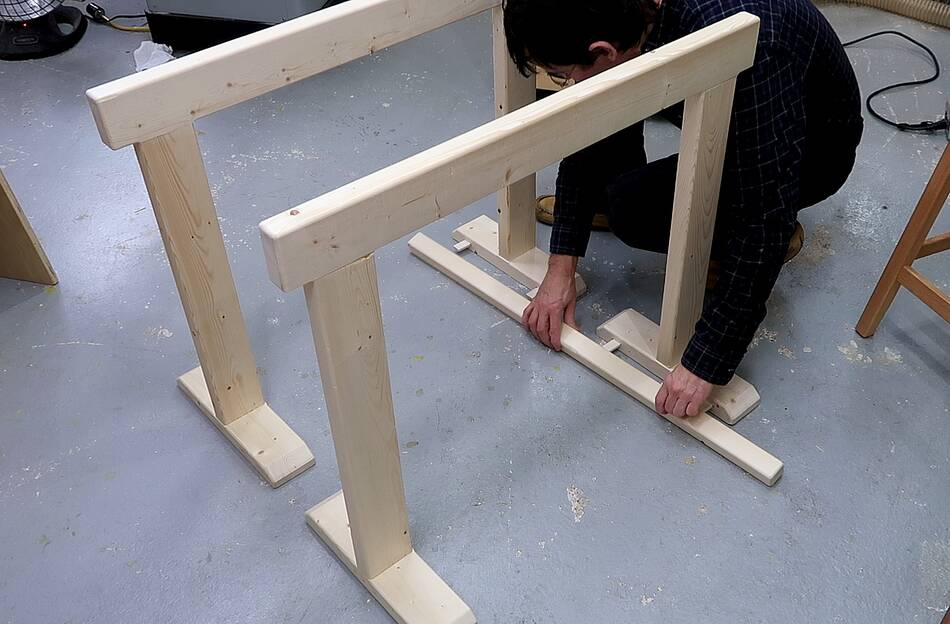
 and gluing the feet on. I checked the first foot for square
 but for the second foot, I just made sure that both feet were flat
on the workbench at the same time.
but for the second foot, I just made sure that both feet were flat
on the workbench at the same time.
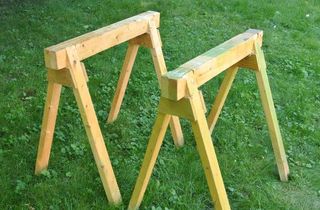
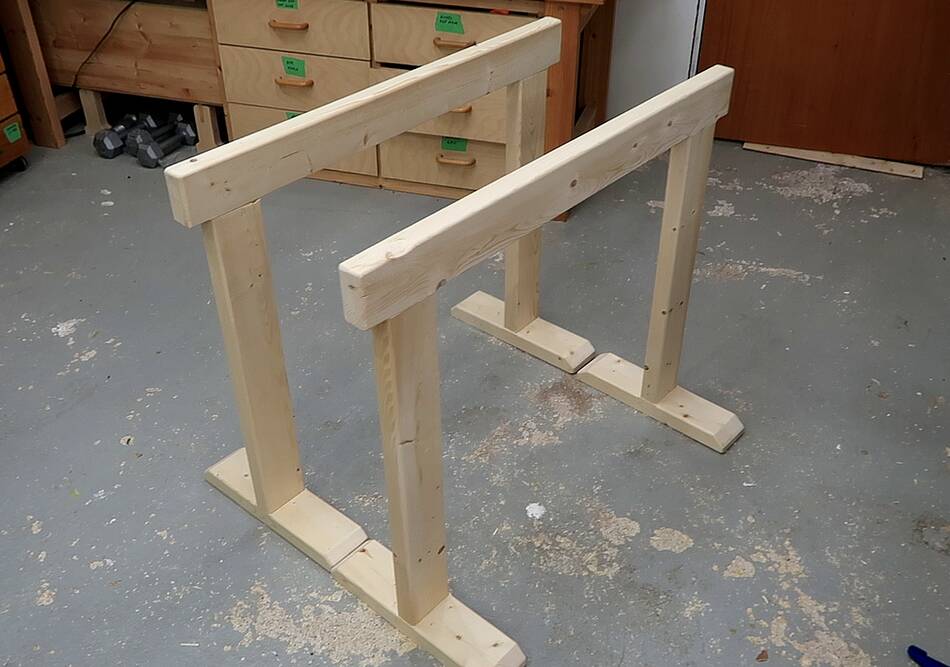 These look like minimalist sawhorses. More elegant but less
sturdy than these sawhorses
These look like minimalist sawhorses. More elegant but less
sturdy than these sawhorses
But they might be a bit tippy if Harriet ends up doing some gymnastics on them.

 So I routed some slots into the inside sides of the feet.
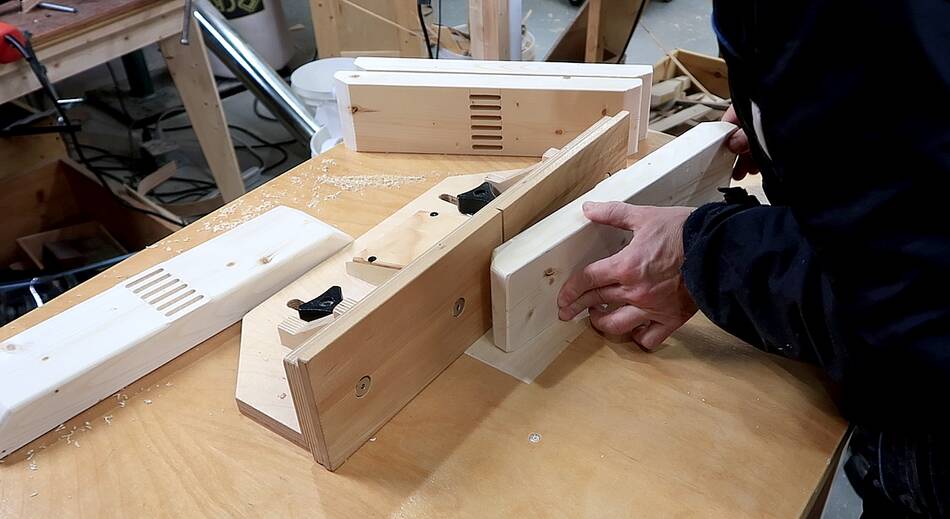
 And also made two longer bars with a series of slots routed into them.
 These bars fit against the sides of the legs, with small pieces of wood
inserted in them to lock them together.
These bars fit against the sides of the legs, with small pieces of wood
inserted in them to lock them together.
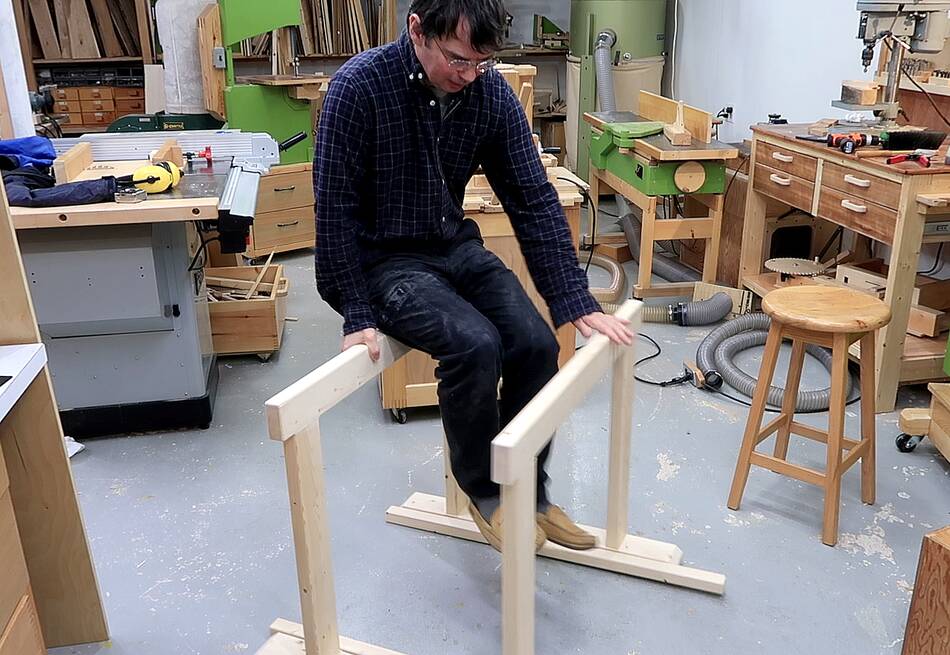 That in turn ties to sawhorses together. I tried this out by trying to
scooch the sawhorses sideways as I sat on them.
That in turn ties to sawhorses together. I tried this out by trying to
scooch the sawhorses sideways as I sat on them.
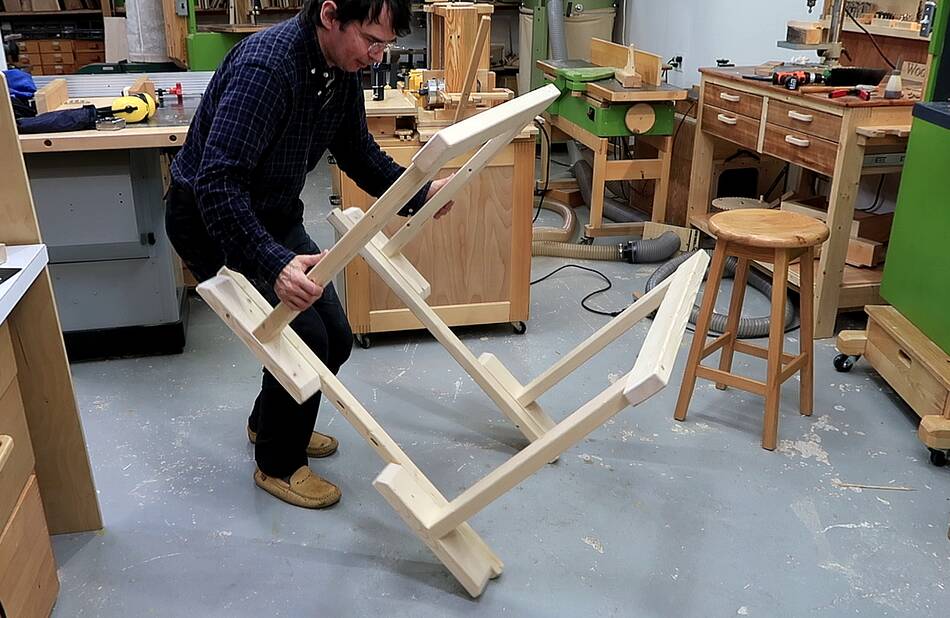 But with the feet tied together, I can also turn these upside down
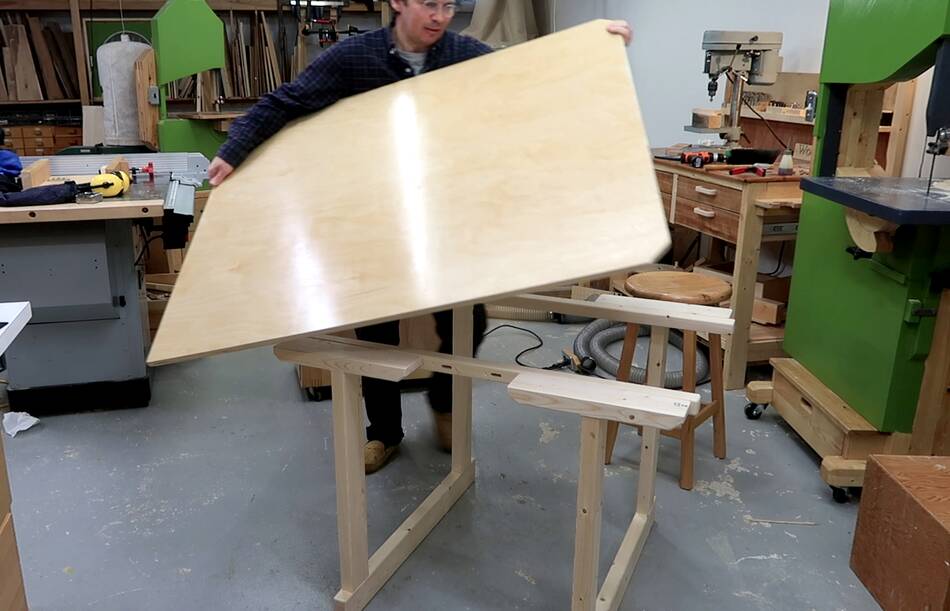 And add a piece of plywood on top to make a temporary table.
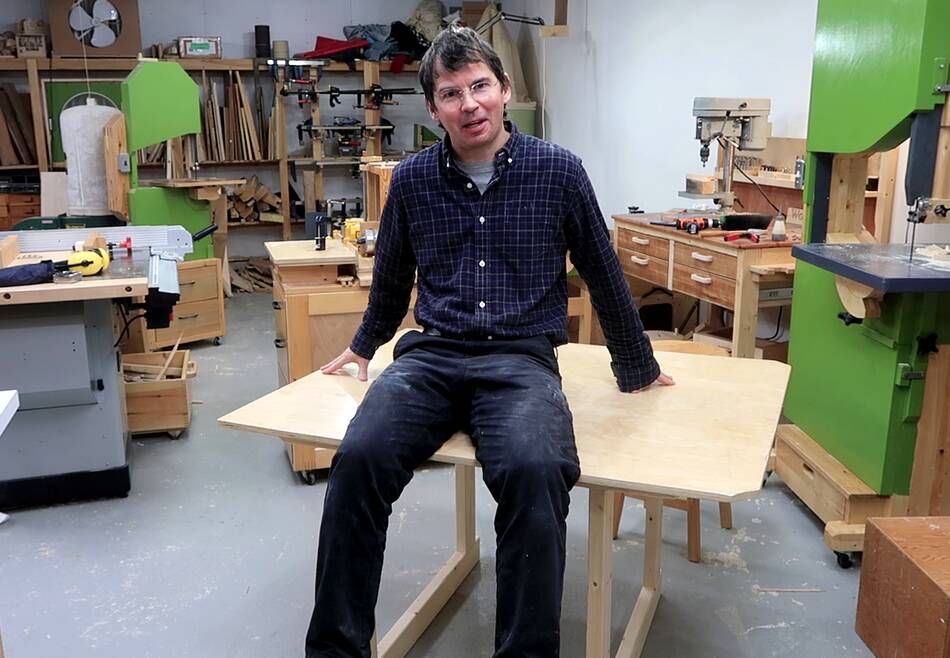 Which is sturdy enough to take a flying leap onto, though not as sturdy as
other tables I built.
Which is sturdy enough to take a flying leap onto, though not as sturdy as
other tables I built.
But if I made brackets like that strictly to make table legs, it would make sense to put the horizontal member near the top in this orientation to get out of the way. But that wowould make them useless as sawhorses.
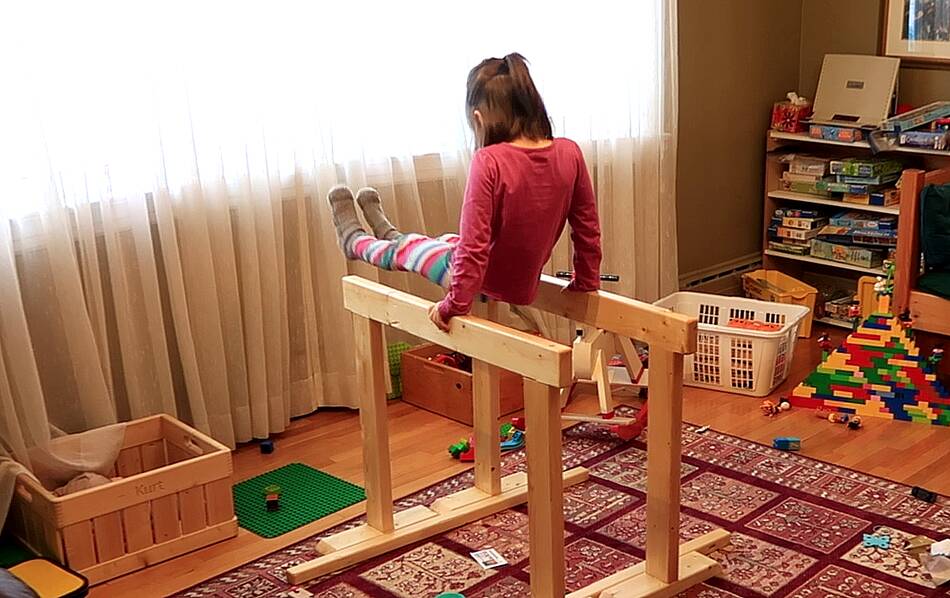
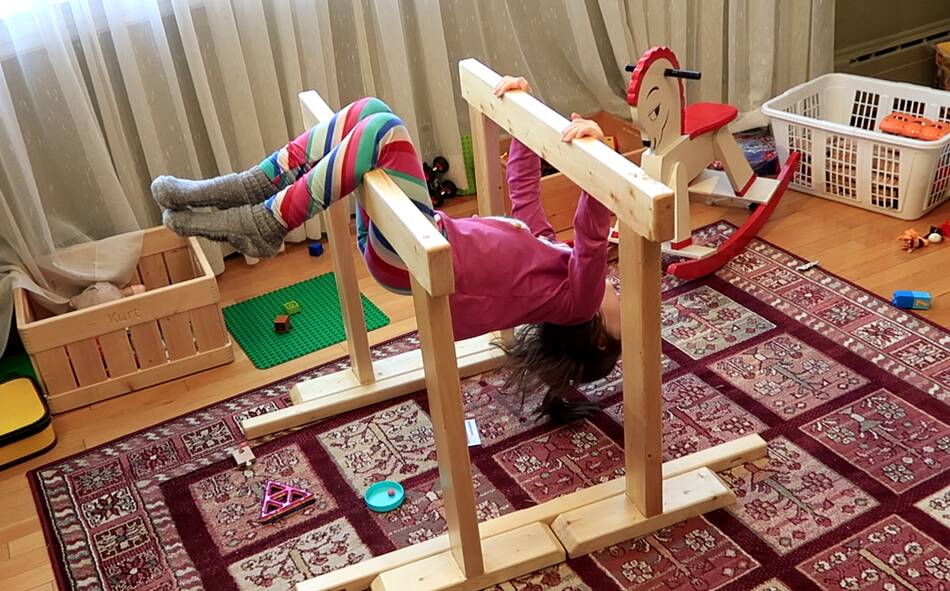
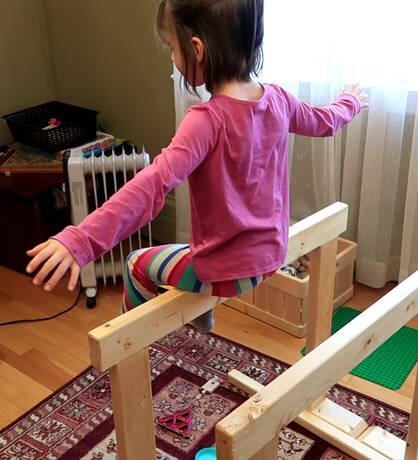 Harriet was quick to try these sahorse / barre things in various ways.
 And they are also useful for building houses!
And once the kids get bored with them, they will come in handy as sawhorses. with the top part only 1.5" thick, when the feet are offset from each other, they slide together very neatly. Even less space than stackable sawhorses.
 Making sawhorses (2013)
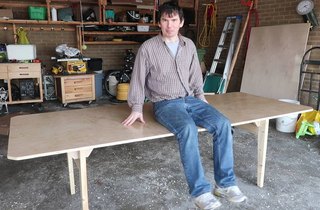 Knock-down table (2019)
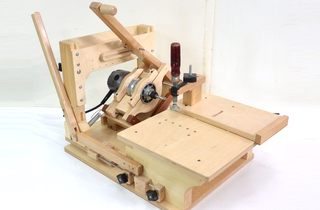 The pantorouter (2010)
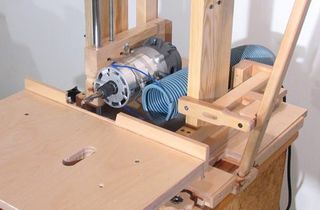 Slot mortiser (2009)
 Knock down student desk (1990)
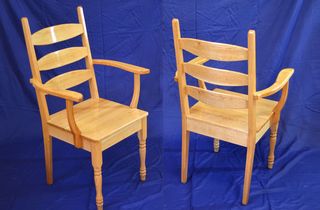 Building wooden chairs (2020)
 Sandbox build (2009)