Mobile tool-stand cabinet
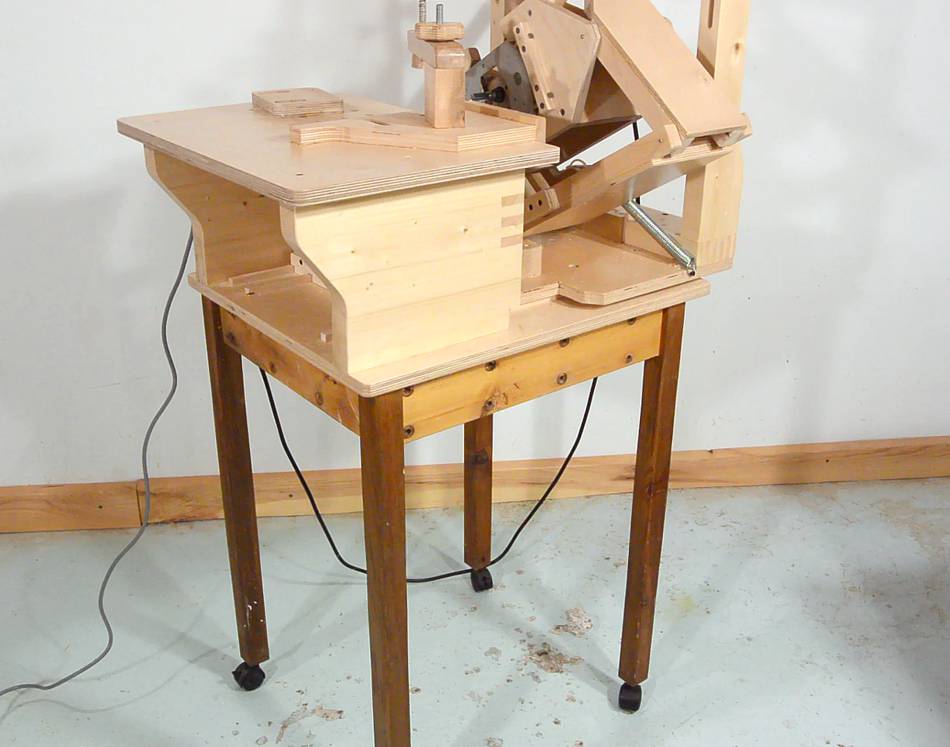 After I built my pantorouter XL, I didn't
have a good base to put it on, so I built this table from junk and scraps
for the time being.
After I built my pantorouter XL, I didn't
have a good base to put it on, so I built this table from junk and scraps
for the time being.
I'm finally getting around to building a better base for it. This will be a rolling cabinet with drawers, and about the right height and size to put one of my pantorouters or my slot mortiser on.
 For the sides of the cabinet I'm using the top of an old dresser that I got
from the garbage. The finish on this is in awful shape, but it's fairly easy
to scrape off, and the veneer underneath is still in good shape.
For the sides of the cabinet I'm using the top of an old dresser that I got
from the garbage. The finish on this is in awful shape, but it's fairly easy
to scrape off, and the veneer underneath is still in good shape.
 The sides will be joined by four pieces of wood, which I want to finger
joint with the sides to give the cabinet stiffness.
The sides will be joined by four pieces of wood, which I want to finger
joint with the sides to give the cabinet stiffness.
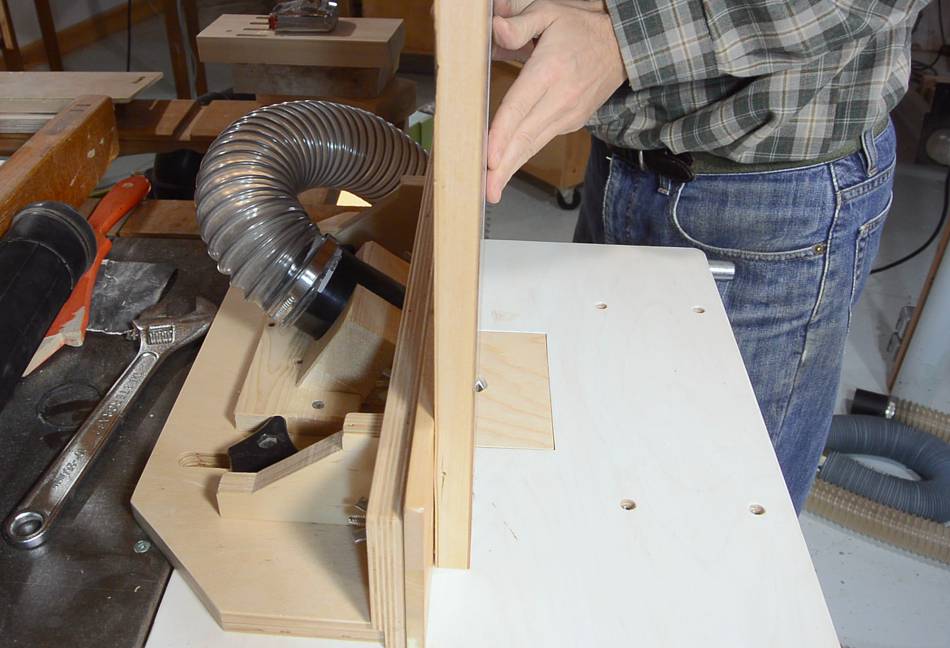
 My screw advance box joint jig would be ideal for cutting the joints, but the large
panels don't fit in the jig. So I'm using my pantorouter,
with a long 1/4" router bit and a box joint template
to cut the joints.
My screw advance box joint jig would be ideal for cutting the joints, but the large
panels don't fit in the jig. So I'm using my pantorouter,
with a long 1/4" router bit and a box joint template
to cut the joints.
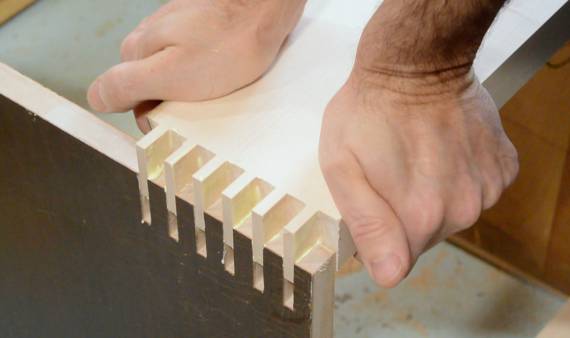
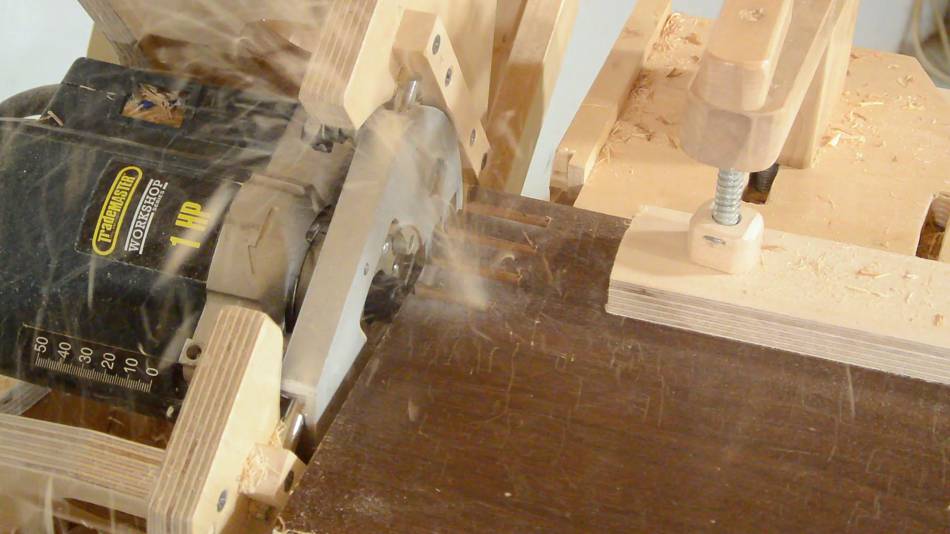 I cut a 1/4" wide slot every 3/4", leaving 1/2" fingers in between.
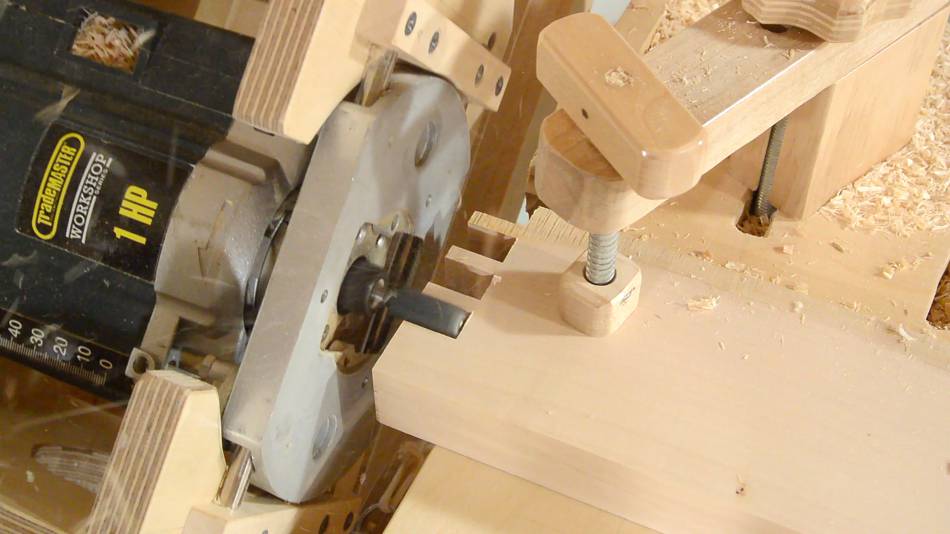 I then switched to a 1/2" router bit to cut the joints in the rails.
With the fingers on the rails being very short, I really don't have to worry about them breaking, which is why I made the fingers on the rails 1/4" wide with 1/2" gaps. That allows for 1/2" wide fingers on the side panels.
 Test fitting it. The joints were awfully tight. I should have used the trick of using
my tapered follower on the pantorouter to make wider slots like I
did here.
Test fitting it. The joints were awfully tight. I should have used the trick of using
my tapered follower on the pantorouter to make wider slots like I
did here.
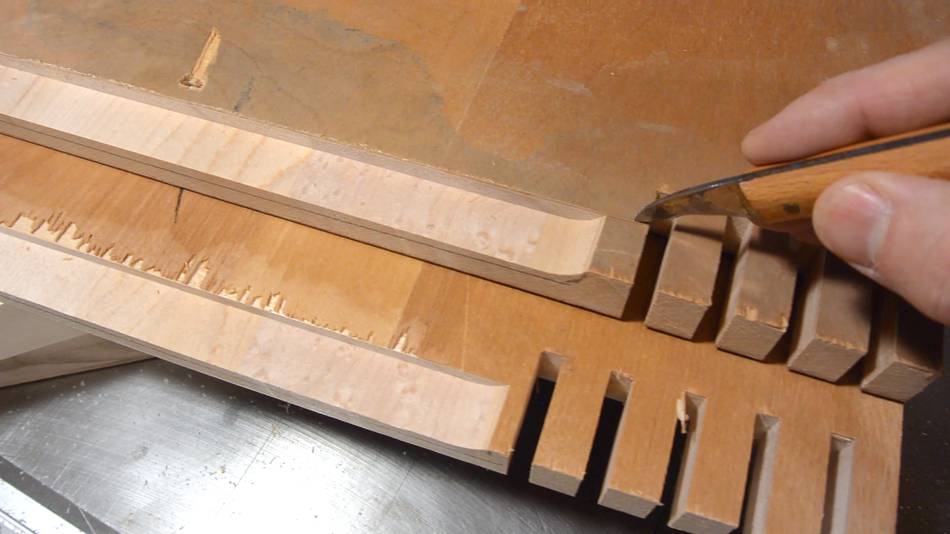
I also found that the 1/4" bit deflected to the side a bit from cutting, and the slots in the panels were slightly narrower towards the bottom than the top. So I used a chisel to slightly widen the bottoms of the slots.
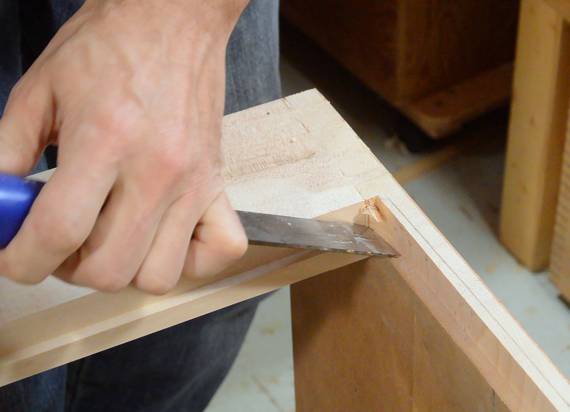
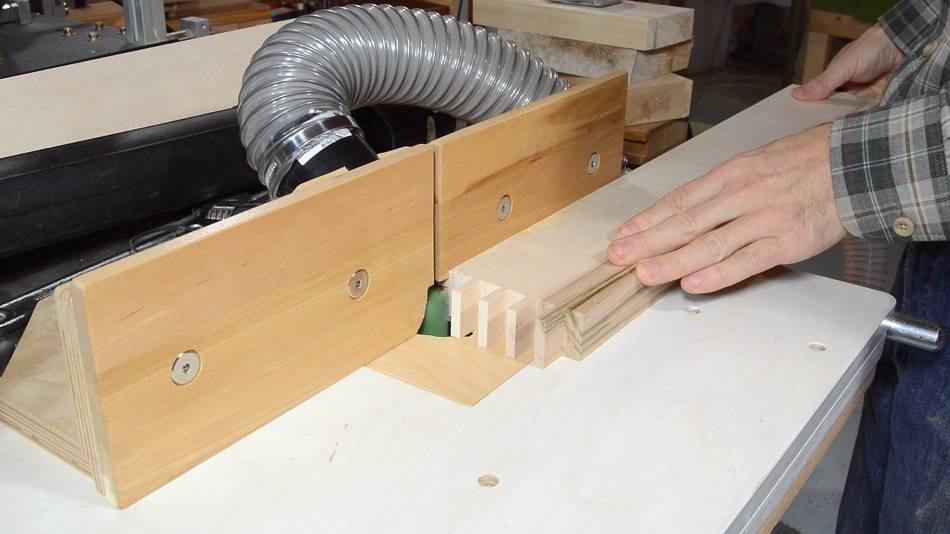 Before assembling the cabinet, I need to cut a rabbet in the top rails and side
panels for the top panel to fit in. I'm using my router table for this.
Before assembling the cabinet, I need to cut a rabbet in the top rails and side
panels for the top panel to fit in. I'm using my router table for this.
 Here cutting the rabbet in the side panel.
 When I routed the first rabbet, I had a lot of tearout. So much so that
the torn out fibers pushed the panel away from the fence. I had to clean
them off and go over it a second time.
When I routed the first rabbet, I had a lot of tearout. So much so that
the torn out fibers pushed the panel away from the fence. I had to clean
them off and go over it a second time.
Before I cut the second panel, I measured where the edge of the cut would be and scored a line with a knife. That completely eliminated the tearout. I will have to remember that trick for the future!
 Now gluing it up. With the joints very tight, I have to work fast.
Glue contains water, and water swells up the wood, making tight joints
even tighter. Worse yet, a tight joint will set very quickly and can
lock up before I'm done assembling!
Now gluing it up. With the joints very tight, I have to work fast.
Glue contains water, and water swells up the wood, making tight joints
even tighter. Worse yet, a tight joint will set very quickly and can
lock up before I'm done assembling!
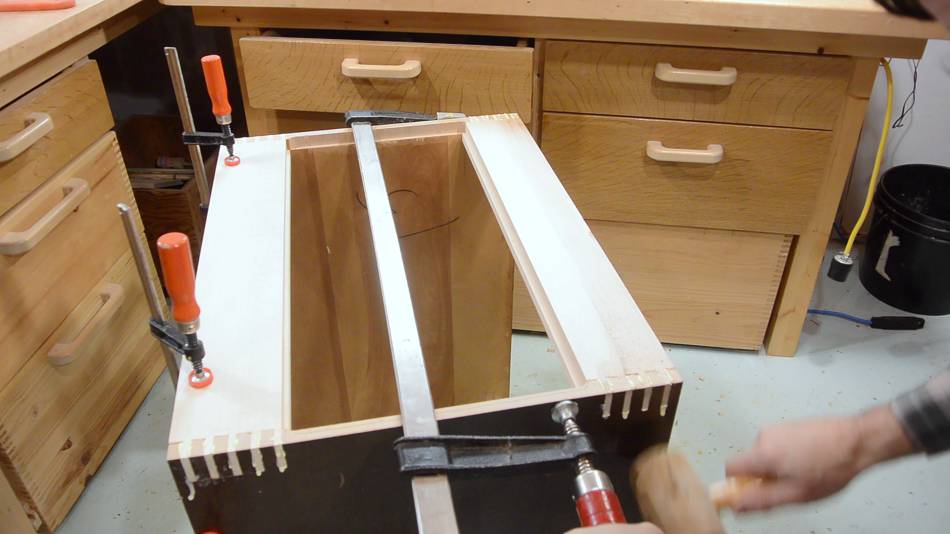 I used a big bar clamp and a mallet to force the joints closed.
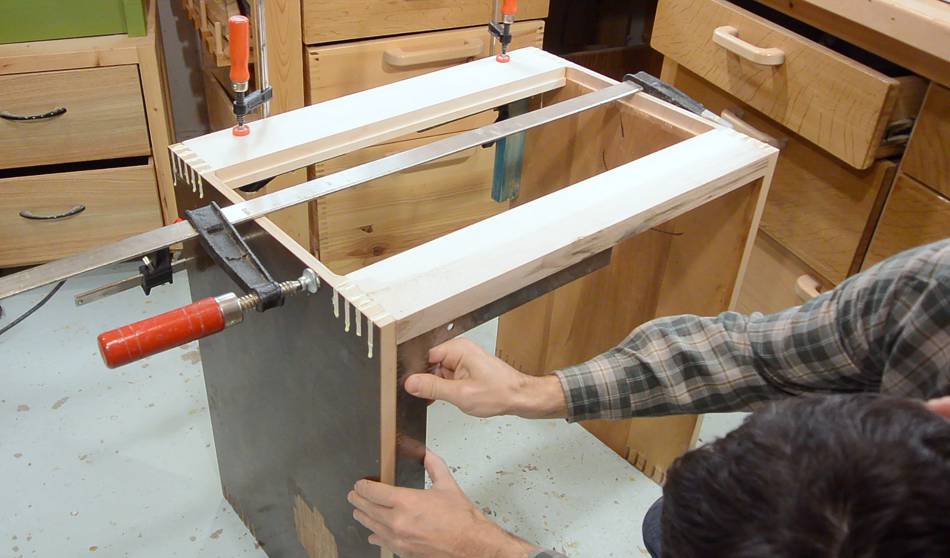
 After a lot of hammering the joints together, checking that the cabinet
is still square. Luckily, it was.
After a lot of hammering the joints together, checking that the cabinet
is still square. Luckily, it was.
I used my clamping squares when I glued the first piece in to ensure it was square, and I guess that joint was good and locked by the time I glued the second piece on.
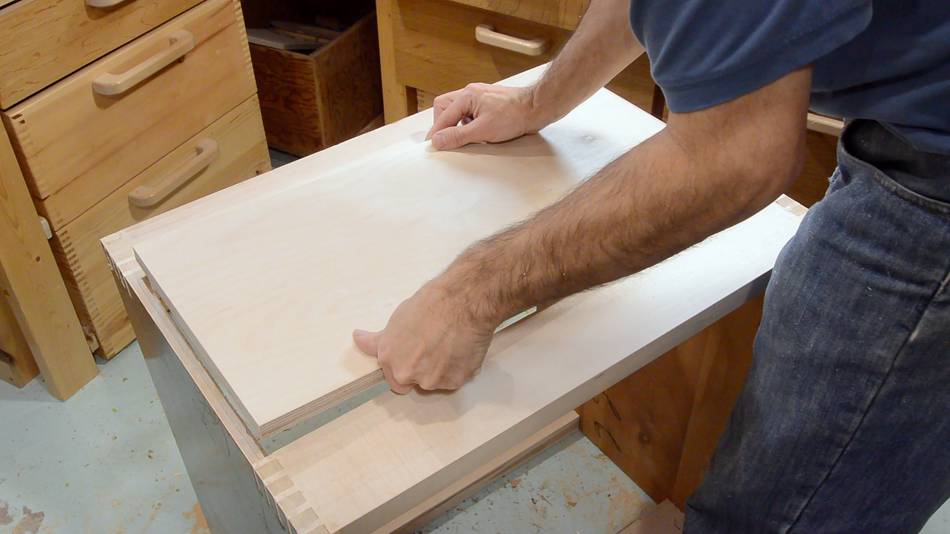
 Next I squared out the rabbets that I routed in the side panels, then
cut a panel to fit exactly in between. The gap between the pieces was
about 1/2 mm wider on one end than the other, so I cut that panel with a
very slight taper to it too. I didn't use a taper jig, just a shaving
of wood between the fence and one end of the panel as I ripped it on the
table saw.
Next I squared out the rabbets that I routed in the side panels, then
cut a panel to fit exactly in between. The gap between the pieces was
about 1/2 mm wider on one end than the other, so I cut that panel with a
very slight taper to it too. I didn't use a taper jig, just a shaving
of wood between the fence and one end of the panel as I ripped it on the
table saw.
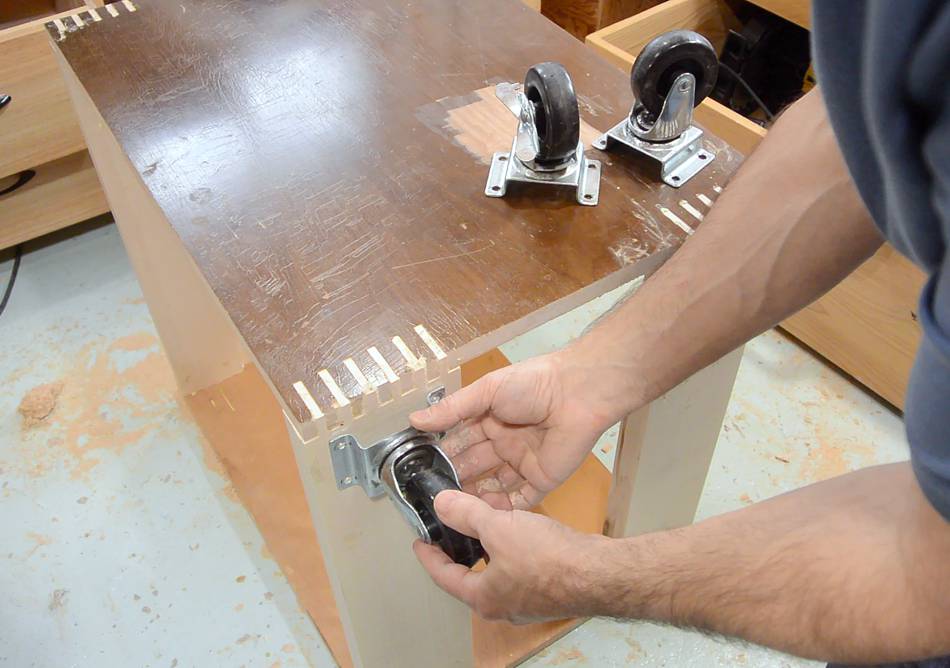 I used some casters that I found in the garbage. But these
casters had a funny sort of offset mounting plate on them.
I used some casters that I found in the garbage. But these
casters had a funny sort of offset mounting plate on them.
 To avoid adding unnecessary height, I cut the stepped
part off, using my Ridgid dual saw, which I bought on impulse for just
over $100 on sale at The Home Depot. It cut through the metal like
butter. Very satisfying. A very handy tool provided that the
blades last. Replacement blades are kind of expensive, so I avoid
playing with this saw.
To avoid adding unnecessary height, I cut the stepped
part off, using my Ridgid dual saw, which I bought on impulse for just
over $100 on sale at The Home Depot. It cut through the metal like
butter. Very satisfying. A very handy tool provided that the
blades last. Replacement blades are kind of expensive, so I avoid
playing with this saw.
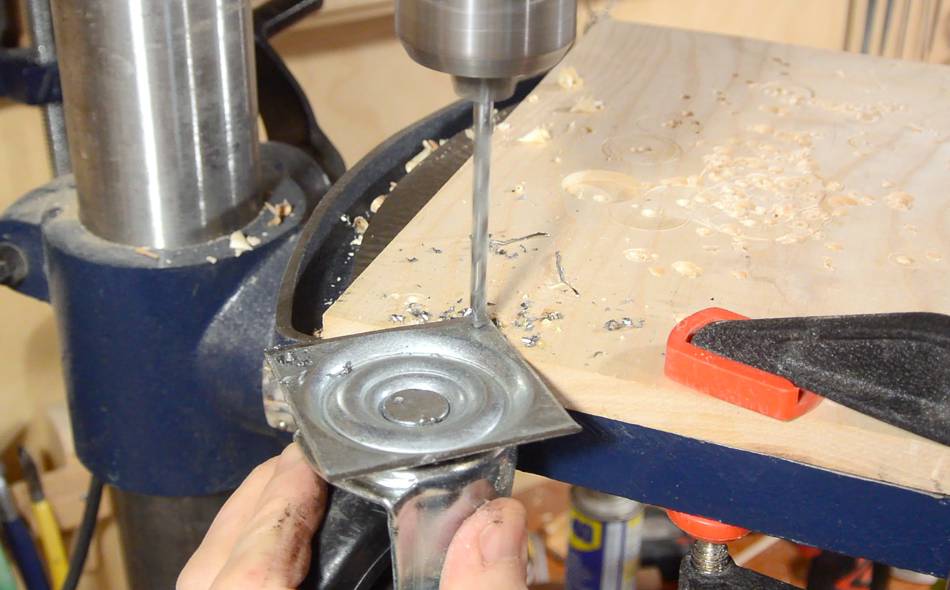
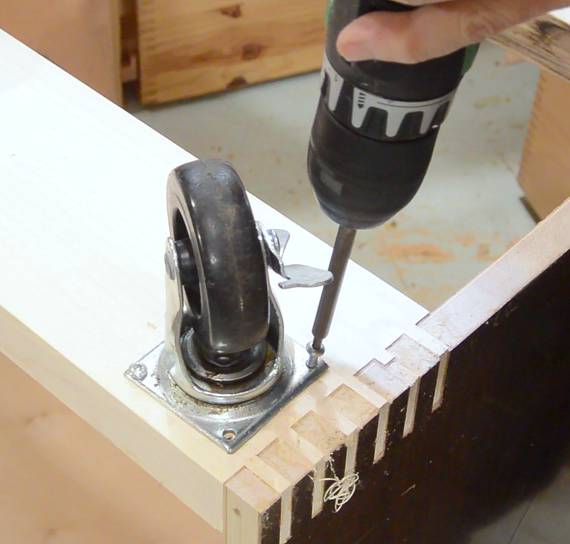 Then drilling new mounting holes and installing them on the cabinet.
Unfortunately, I only had three casters so I bought a fourth one at The Home Depot. It cost $12. Too much! I don't think Home Depot is a good place to buy casters! I can get a dolly with four casters for $20 if it's on sale at Busy Bee!
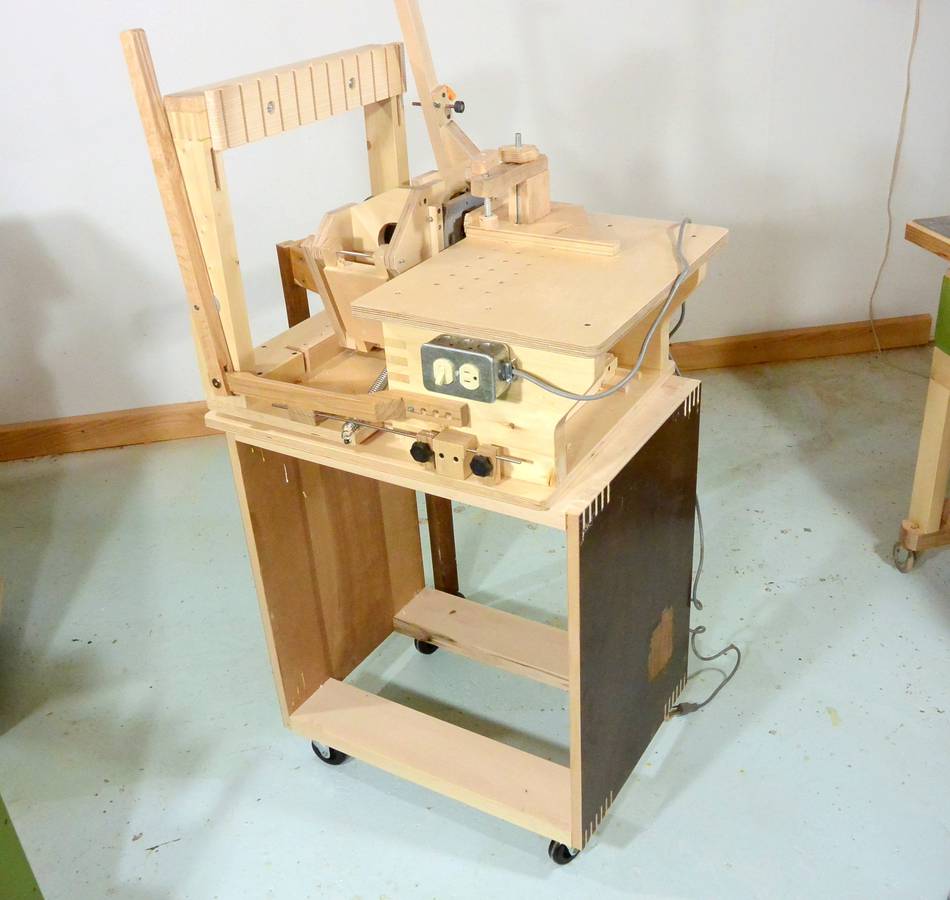 Trying the cabinet under the pantorouter. It feels very ridgid, even without
a back panel.
Trying the cabinet under the pantorouter. It feels very ridgid, even without
a back panel.
Next I have to make drawers for it, scrape the old varnish off, and finish the whole thing. But that will be for another week.
Next: Making drawers and finishing up
See also:
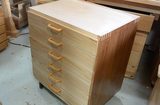 Drawers for this cabinet
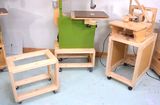 Making tool stands
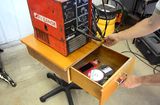 Office chair to welding
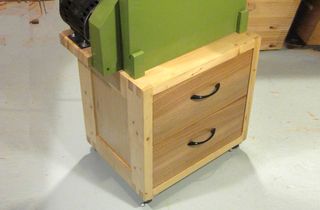 Mobile bandsaw stand
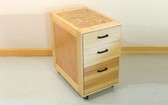 Mobile tool stand
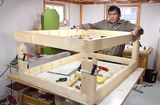 Building a dresser frame
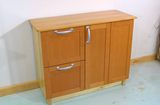 Building a storage
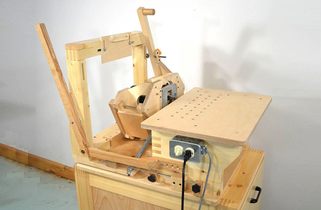 Pantorouter XL