This page also available in Spanish
Many woodworkers are intimidated at the prospect of making their own wooden gears for the screw advance box joint jig. So I figured I'd cover the topic of gear making in a bit more detail.
You can click on any image in this article to get a larger view.
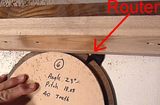
The method I use to make the gears for the box joint jig is the same as for the gears for the wooden router lift, but I'll focus on the ones for the box joint jig in this article.
It's vital to use good plywood for the gears. Ordinary spruce or fir plywood has layers that are too coarse, and the wood is not strong enough. But the Baltic birch plywood, with thin birch layers throughout, makes for an excellent material. You may also have some success using UHMW plastic, Masonite or Phenolic. But regular boards or normal plywood are not recommended.
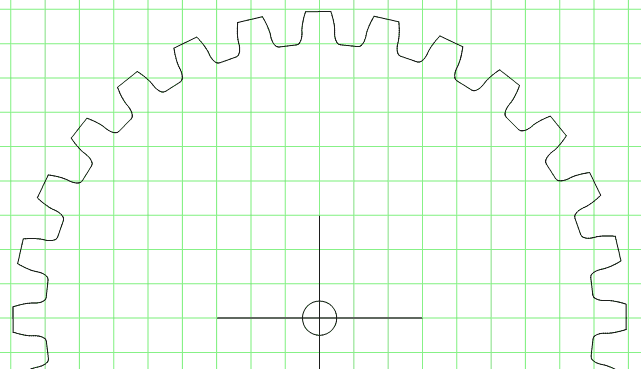 Start by making a template for the gear shape. There are several ways
to make a gear template.
You can use the free online gear template generator,
or my more sophisticated gear template generator, or, if you are
using the box joint jig plans
or the router lift plans, you can just print the
appropriate sized templates straight from the plans. The box joint jig plans even
include gears of every size up to 48 teeth.
Start by making a template for the gear shape. There are several ways
to make a gear template.
You can use the free online gear template generator,
or my more sophisticated gear template generator, or, if you are
using the box joint jig plans
or the router lift plans, you can just print the
appropriate sized templates straight from the plans. The box joint jig plans even
include gears of every size up to 48 teeth.
 Glue the paper template onto a piece of birch plywood about 10 mm (3/8") thick. I always
glue it on by putting a very thin coat of wood glue around the edge of the gear and then
pressing the paper template on.
Glue the paper template onto a piece of birch plywood about 10 mm (3/8") thick. I always
glue it on by putting a very thin coat of wood glue around the edge of the gear and then
pressing the paper template on.
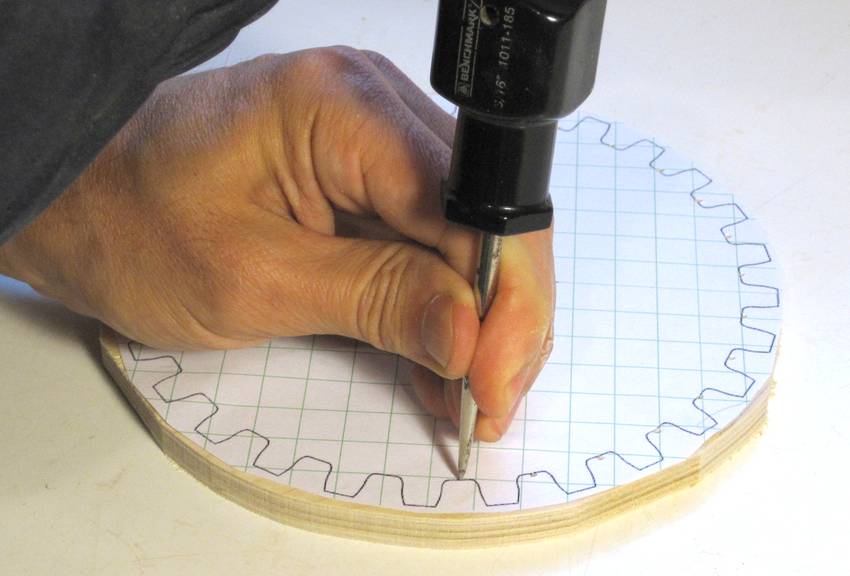
Next, use an awl to punch a divot in the center between every two gear teeth.
 Use a 5/16 (8 mm) brad point drill to drill out a hole in every space between
the teeth. 5/16" is just the right size for the tooth spacing used in the
gears for the box joint jig or the router lift.
Use a 5/16 (8 mm) brad point drill to drill out a hole in every space between
the teeth. 5/16" is just the right size for the tooth spacing used in the
gears for the box joint jig or the router lift.
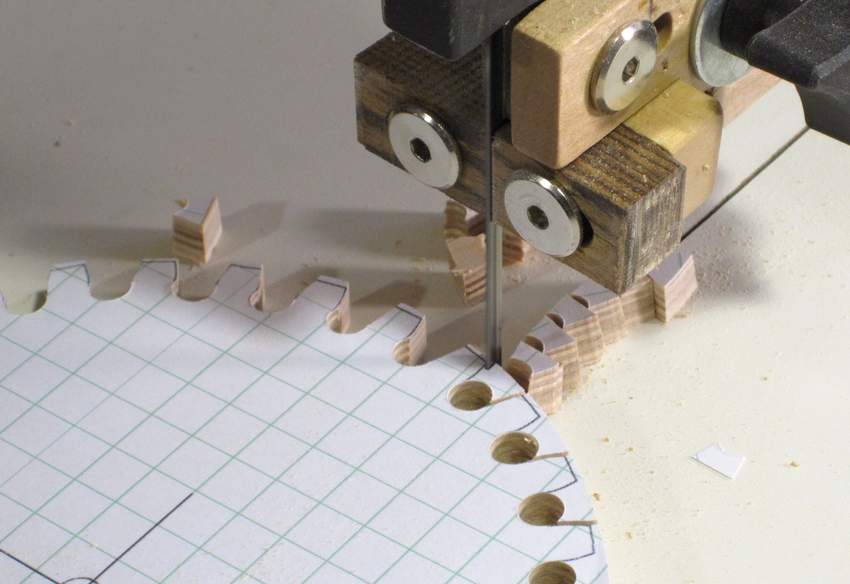
The divots made with the awl help to center the point of the drill on every hole. Note that the drill cuts a bit more away than the template would suggest, but that's ok.
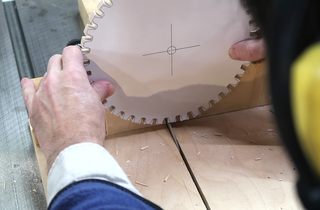
 Because my gears have to mesh at 90 degrees, it It's best to tilt the
table when making the cuts on the sides of the teeth. This results in
teeth that are slightly tapered towards the mating gear.
Because my gears have to mesh at 90 degrees, it It's best to tilt the
table when making the cuts on the sides of the teeth. This results in
teeth that are slightly tapered towards the mating gear.
The table should be tilted to the right when cutting the left sides of the teeth, and left when cutting the right sides of the teeth, so that the teeth will taper to be narrower towards the bottom.
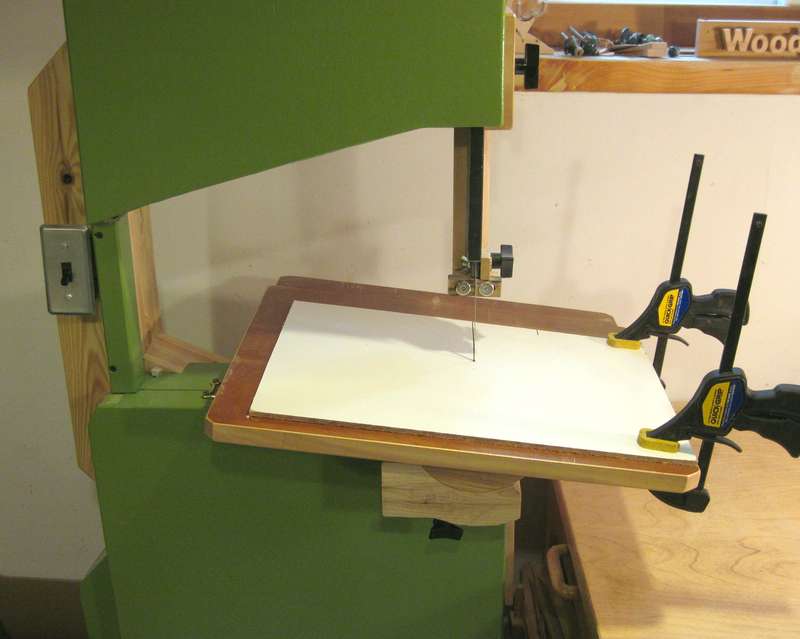
I'm also using this piece of plywood clamped to the table as a sort of zero clearance bandsaw insert which cuts down on tearout on the bottom of the gear.
Its actually relatively easy to make zero clearance inserts for my bandsaw, but tilitng the table with a zero clerance insert around the blade can be a bad idea.
 If your bandsaw table can't be tilted left (the one on
my homemade bandsaw
doesn't tilt left), you can improvise by putting a piece of plywood over the
and tilting it with a spacer.
If your bandsaw table can't be tilted left (the one on
my homemade bandsaw
doesn't tilt left), you can improvise by putting a piece of plywood over the
and tilting it with a spacer.
If you are making normal gears that mesh in the same plane (as opposed to gears that imperfectly mesh at 90 degrees for my jigs), you shouldn't cut the teeth at an angle, so the whole tilting the table aspect is unnecessary.
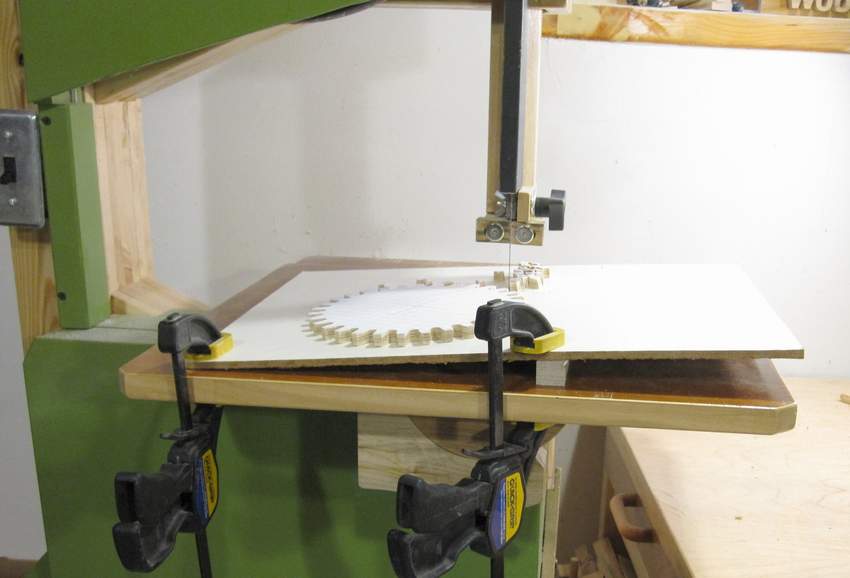
 With the spaces between the teeth already cut out by the holes we drilled,
there's no need to cut sideways at the bottom of the teeth, so the cutting
goes pretty fast.
Having seen various videos of homemade CNC machines cutting gears on YouTube,
I'm pretty sure I can cut one faster by hand than most homemade CNC machines,
especially because the CNC
machines typically need to take two or three passes for this thickness of
material.
With the spaces between the teeth already cut out by the holes we drilled,
there's no need to cut sideways at the bottom of the teeth, so the cutting
goes pretty fast.
Having seen various videos of homemade CNC machines cutting gears on YouTube,
I'm pretty sure I can cut one faster by hand than most homemade CNC machines,
especially because the CNC
machines typically need to take two or three passes for this thickness of
material.
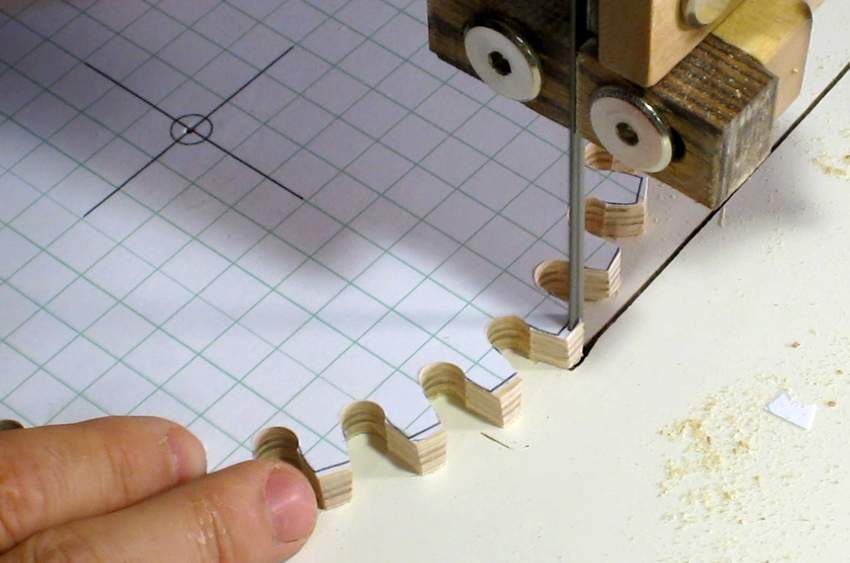 After cutting the sides of the teeth, I trim all the teeth to length.
 After cutting all the teeth, and drilling the center hole, the template isn't
needed anymore. I usually sand it off with a belt sander.
It helps to scrape as much as possible of it away with a chisel first.
After cutting all the teeth, and drilling the center hole, the template isn't
needed anymore. I usually sand it off with a belt sander.
It helps to scrape as much as possible of it away with a chisel first.
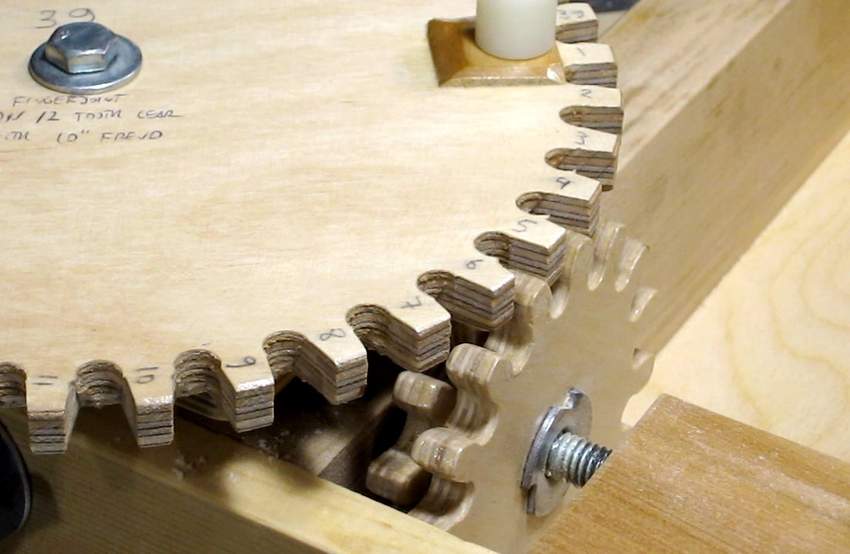
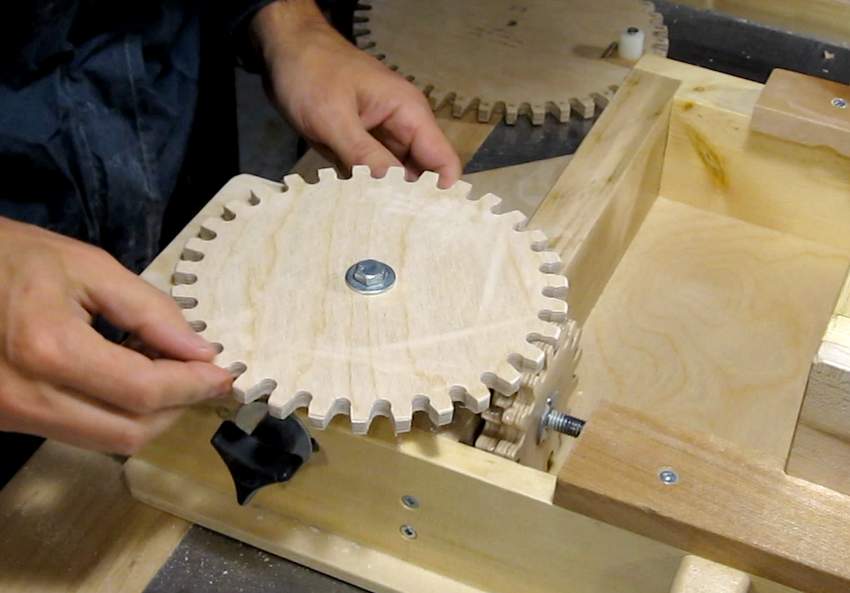 Time to try out the new gear by mounting it on my box joint jig. This one worked fine, without
any binding. If you are making your first gear, you might want to try it out
before sanding off the template, just in case you want to look at what might be left
of the lines on the template when tweaking it a bit.
Time to try out the new gear by mounting it on my box joint jig. This one worked fine, without
any binding. If you are making your first gear, you might want to try it out
before sanding off the template, just in case you want to look at what might be left
of the lines on the template when tweaking it a bit.
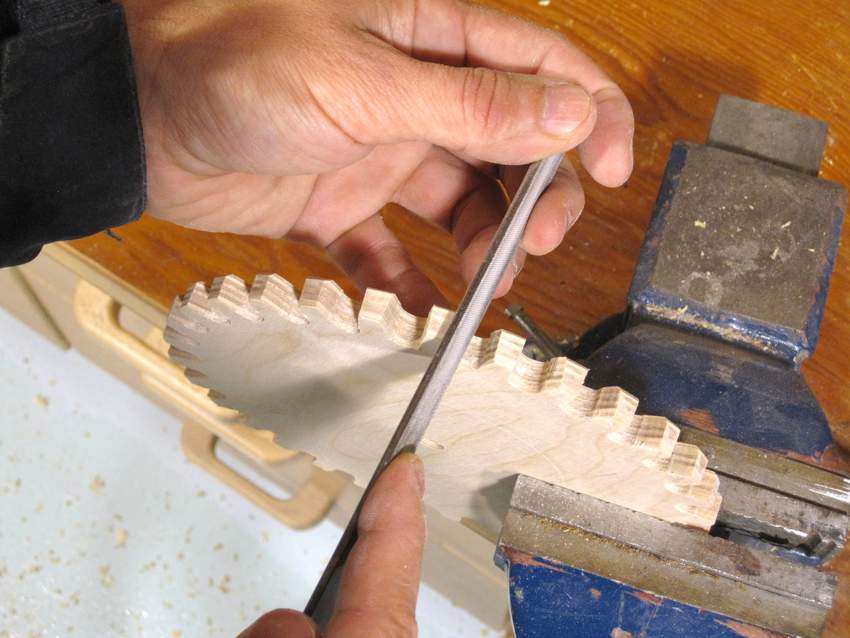 If some parts of your gear do end up binding, you can use a file to tweak the shape of
the teeth.
If some parts of your gear do end up binding, you can use a file to tweak the shape of
the teeth.
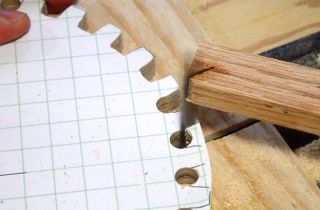
You can barely see how the teeth are slightly tapered towards the bottom in this picture. But that makes a big difference. I used to not taper the teeth, and they would usually require a bit of work with the file to get them to not bind.
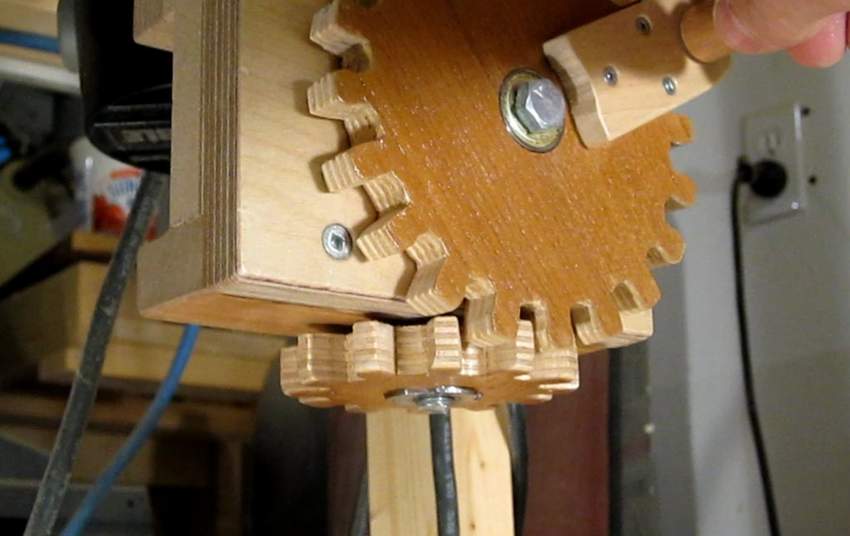
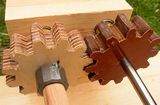
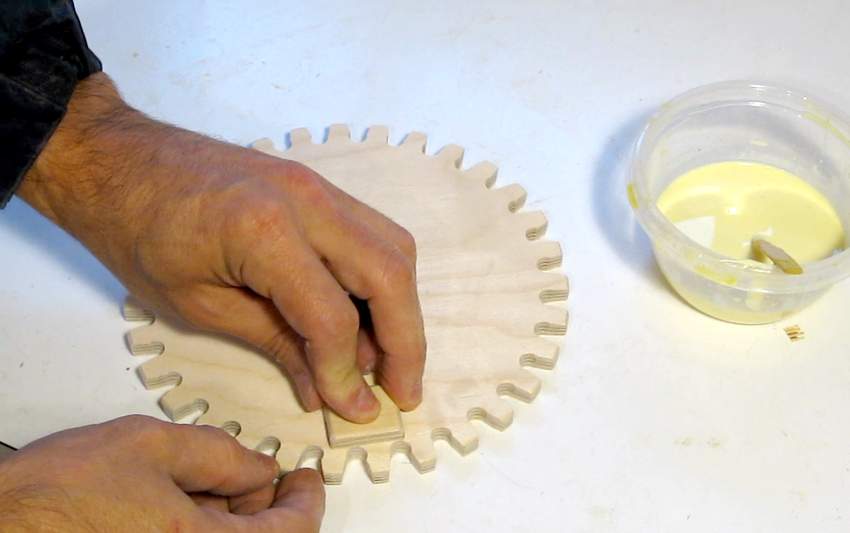 For the box joint jig gears, I need to attach a handle to the gear. But the 10 mm thick
birch plywood is a little too thin for the screw to hold well, so I always end up gluing
a block of wood to part of the gear.
For the box joint jig gears, I need to attach a handle to the gear. But the 10 mm thick
birch plywood is a little too thin for the screw to hold well, so I always end up gluing
a block of wood to part of the gear.
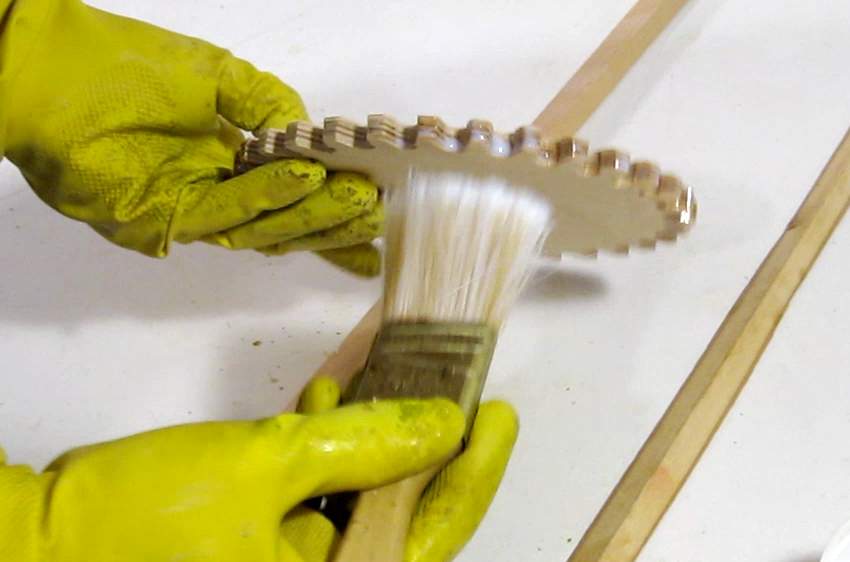 Next I apply two or three coats of varnish. I figure the varnish helps bind the fibers of
the teeth together to cut down on wear. It also helps the gear slide more easily on the
jig so it's easier to turn.
Next I apply two or three coats of varnish. I figure the varnish helps bind the fibers of
the teeth together to cut down on wear. It also helps the gear slide more easily on the
jig so it's easier to turn.
If you don't want to bother with varnish, it might be a good idea to harden the teeth by brushing a bit of wood glue on the edges.
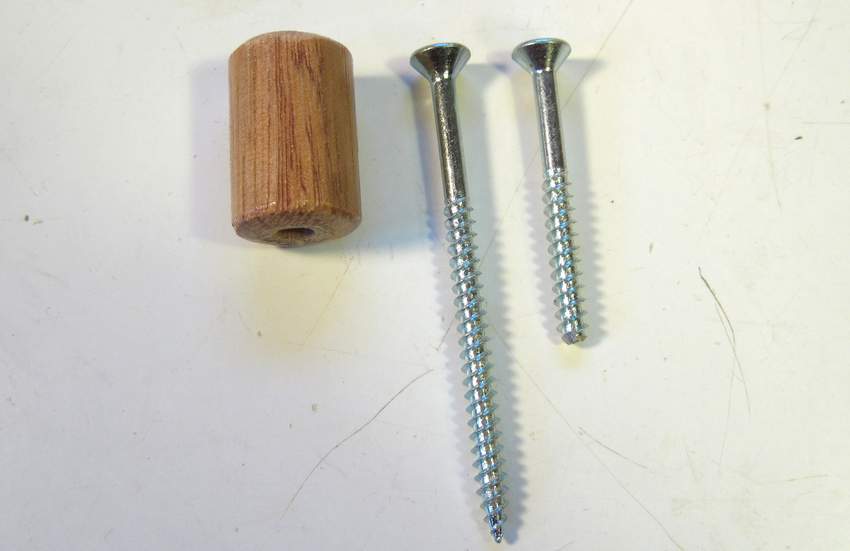 I like to use a screw with a smooth shank for the handle. But short wood screws
always have the threads all the way up to the head. So I use a much longer
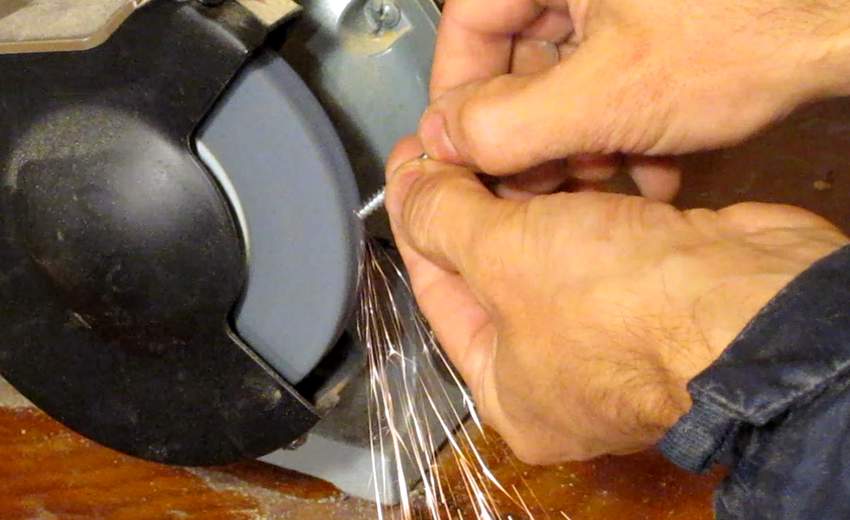
wood screw instead, and I cut the screw to the right length with an angle grinder.
I like to use a screw with a smooth shank for the handle. But short wood screws
always have the threads all the way up to the head. So I use a much longer
wood screw instead, and I cut the screw to the right length with an angle grinder.
 It's always fun to see the
sparks fly. Usually there aren't this many sparks, but I deliberately cut fast to get more
sparks in the picture. I cut through that screw in about a second. Maybe a little
too fast!
It's always fun to see the
sparks fly. Usually there aren't this many sparks, but I deliberately cut fast to get more
sparks in the picture. I cut through that screw in about a second. Maybe a little
too fast!
I held the screw by screwing it into a piece of wood, and clamping that piece of wood in the vise. You might be tempted to cut the screw off with a hack saw, but the steel in wood screws is a little too hard to cut well with a saw.
 After cutting if off, I de-burr it and put a slight taper on the end of it
so I can still get it into the hole. I deliberately drill the screw hole on the
small side, so that the screw will fit very tight.
After cutting if off, I de-burr it and put a slight taper on the end of it
so I can still get it into the hole. I deliberately drill the screw hole on the
small side, so that the screw will fit very tight.
 Screw the handle screw in all the way, then back it out by about a quarter turn
so that the handle spins freely on the screw shank. Also make sure that the screw doesn't
stick out the bottom of the gear.
Screw the handle screw in all the way, then back it out by about a quarter turn
so that the handle spins freely on the screw shank. Also make sure that the screw doesn't
stick out the bottom of the gear.
And that's all there's to it. I have made about ten gears of various sizes for my box joint jig, but you really don't need that many. Just that every time I need to space cuts at an interval I don't already have the right gear for, I just make the exact size gear for it.
And finally, a video of the whole procedure:
 Modeling gears to fit existing ones (video only)
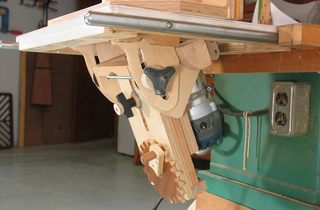
Home made wooden Router lift, with gears!
 Michael Sullivan's Router gear cutting
 Bandsaw vs CNC Which will cut a gear faster?
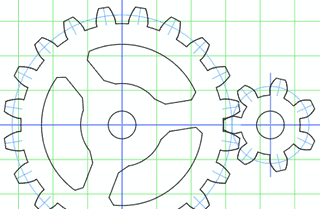
 How to update BigPrint or the Gear generator, about my programs
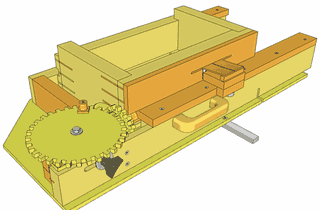
 Making gears with a table saw
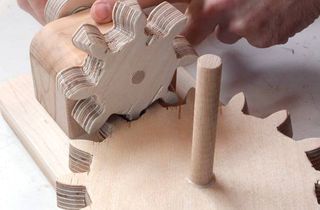
 Wood gear wear test
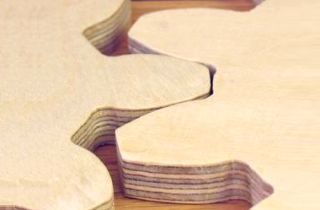 Plywood gears
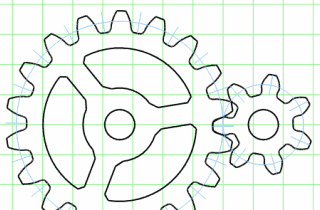 Gear design and gear template generator program
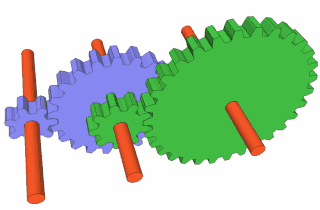 Working out compound gear ratios
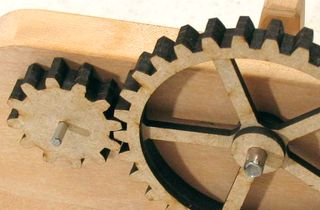 Cutting gears with a laser cutter