Prototyping the adder element concept
 Way back when I built my Marble Machine one
, I incorporated a few logic-like elements in it, including several divide by two mechanisms, as
well as a complicated and slightly unreliable divide by 6 mechanism.
Way back when I built my Marble Machine one
, I incorporated a few logic-like elements in it, including several divide by two mechanisms, as
well as a complicated and slightly unreliable divide by 6 mechanism.
It had occurred to me that perhaps with an insane amount of perseverance, it might be possible to build a whole computer that runs on marbles. But my second marble machine was much less based on logic - it was more about just making lots of cool noises.
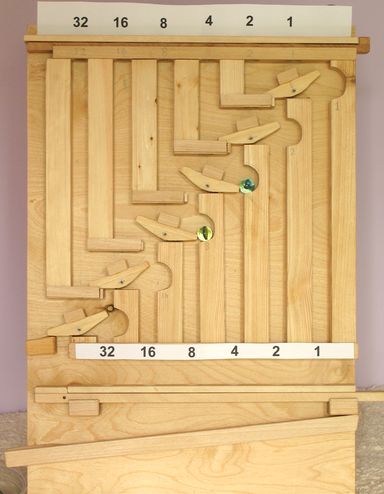
But then I had an idea as to how the divide by two mechanisms from my first marble machine could be cascaded together to function as a sort of adder register or counter. Once I had that idea, I knew I had to try it. A few months later, I spent a couple of days in my workshop and built this binary marble adding machine.
|
Prototyping the adder element concept |
The core of the invention is a modification of the divide by two flipflop to retain the marble that falls off the right side and keep it until the flipflop is flipped to the left by the next marble. The retention of this extra marble allows the state of the marble accumulator to be dumped. The adder would just as well add without it, but the number would have to be read off by the position of the rockers, rather than have the device dump the count out. Really, if such an adder were integrated into a hypothetical marble computer, reading out the result as a series of marbles would be an essential element.
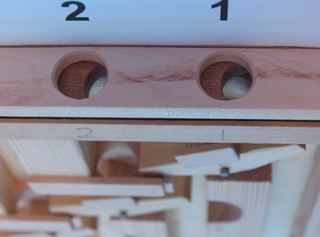
 The top flipflop in this picture is rocked to the right, with a retained marble (stores a '1'),
and the lower flipflop is rocked to the left, storing a '0'.
The top flipflop in this picture is rocked to the right, with a retained marble (stores a '1'),
and the lower flipflop is rocked to the left, storing a '0'.
If a another marble is dropped onto the top rocker, the marble will be deflected to the left because the top tip of the rocker is pointing to the right. This in turn rocks the rocker to the left, releasing the stored marble on its right side. The marble that rocked the top rocker to the left falls through the hole in the piece just above the next lower rocker and flips the rocker to the right. The marble is retained, as it is prevented from falling out by that rocker.
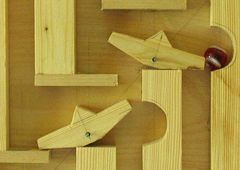
The photo was taken before I added a few extra pieces of wood to help guide the marbles. These were necessary because sometimes a marble would bounce off at an odd angle and become ejected from the machine, resulting in a computational error.
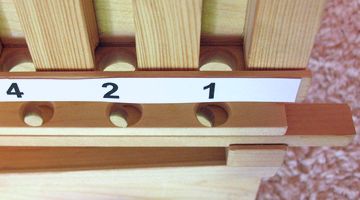
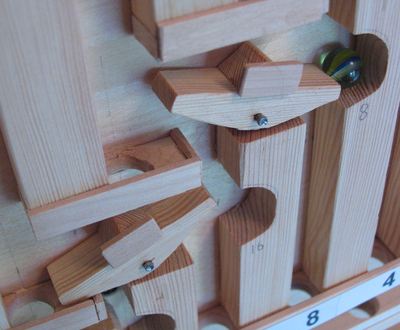 This photo shows the mechanism, with extra guides to keep the marbles from falling out.
With the marbles falling from considerable height from the top of the machine, getting them to
consistently not bounce out of the machine, without obstructing the view of the mechanism too much
was actually quite tricky.
This photo shows the mechanism, with extra guides to keep the marbles from falling out.
With the marbles falling from considerable height from the top of the machine, getting them to
consistently not bounce out of the machine, without obstructing the view of the mechanism too much
was actually quite tricky.
Also tricky was getting the rockers to consistently work. I spent a lot of time figuring out
what dimensions to make them so that they would work, even if two marbles arrive
onto the rocker right on top of each other. I knew it was physically possible to build
such a rocker, because the Lego rockers I built into the original
Lego marble machine just
happened to have this property.
The trick turned out to be to make peak of the rocker, which deflects the
marbles, short enough, and the rocker shallow enough. That way, if a marble arrives before
the rocker has had a chance to flip, the previous marble, which is still on the rocker, will
help to deflect the next marble onto the other side, even if the rocker has not yet flipped.
 Input marble drop slider |
Another challenge was a mechanism to capture the output of the machine. I wanted the result to gather at the bottom of the machine. But during computation, the machine also needs to dump marbles whenever 1's turn in to zeros.
My solution was to make a result slider that is normally open so that marbles can flow out of the machine. But when the result is to be dumped, this slider is slid closed. A mechanism on the back of the machine then also forces all the toggles to flip left, which dumps out all the stored marbles onto theresult lever.
 Output capture slider |
Note how the marbles must fall through a hole first before arriving at the output slider. This is very important, as these holes ensure the marbles are positioned correctly for the output. Otherwise, with some of the marbles falling down at high speed, it is likely that they would bounce out of the result hole.
 Resetting beam on back |
At right, the back of the reset mechanism. At the bottom right is a screw which is part of the output slider. When the output slider is slid all the way to the left (or right as seen from the back), the screw pushes the reset beam over. The reset beam moves in a parallelogram motion using two pieces of coat hanger wire links (one of which can be seen). A spring is attached to one of these to pull the reset beam back.
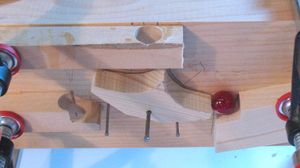
Individual pieces of copper wire are used to catch the pins of the sliders. This allows for some adjustments to be made. There are wooden blocks just below the copper wire catches and pins. These are to provide additional support for the pins (nails) on which the toggles are able to pivot. The plywood I used is only about 6 mm thick, so I couldn't rely on it to always hold the pins straight.
More on this machine and
Video demonstration of the adding machine:
some dimensions
Building version 2 of this machine
Plans for version 2 of this machine
You can see an online simulation of the machine
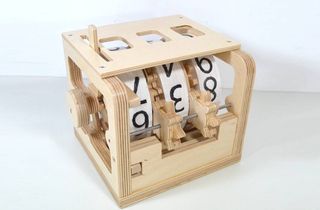 Mechanical counter (counts in decimal)
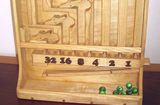 Aleksandar Momcilovic's marble adding machine
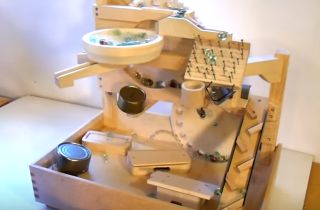 Marble machine 2.1
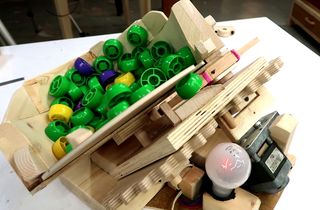 Hoper fed automatic plastic cap catapult
 Modular marble machine
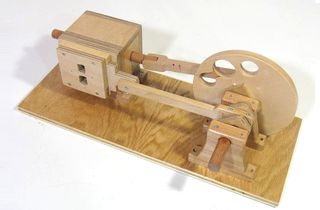 Wooden air engine
 The slinky machine
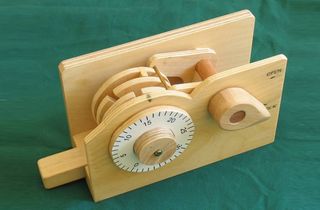 Wooden combination lock model
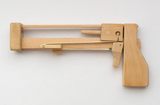 Jenga pistol
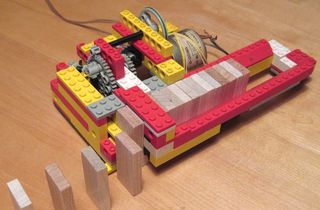 Lego domino row building machine
 Wooden burr puzzles
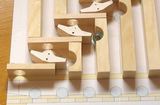 Building the marble adding machine