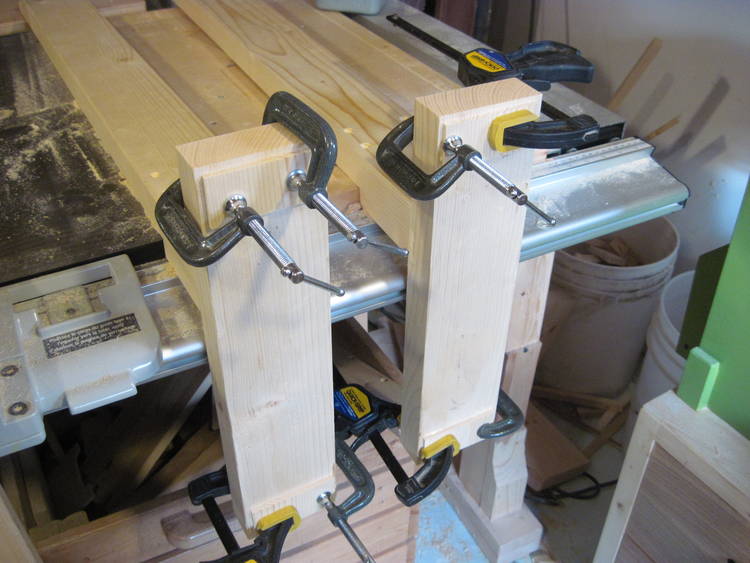
 I added some little blocks to the bottom of the legs that
my ledge-piece could rest on.
I added some little blocks to the bottom of the legs that
my ledge-piece could rest on.
I added some little blocks to the bottom of the legs that
my ledge-piece could rest on.
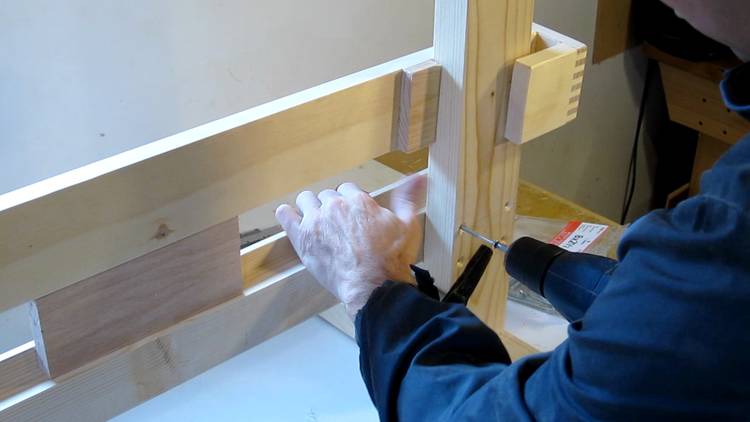 Now attaching the ledge. The ledge is only screwed on. That way, the whole stand can be
taken apart.
Now attaching the ledge. The ledge is only screwed on. That way, the whole stand can be
taken apart.
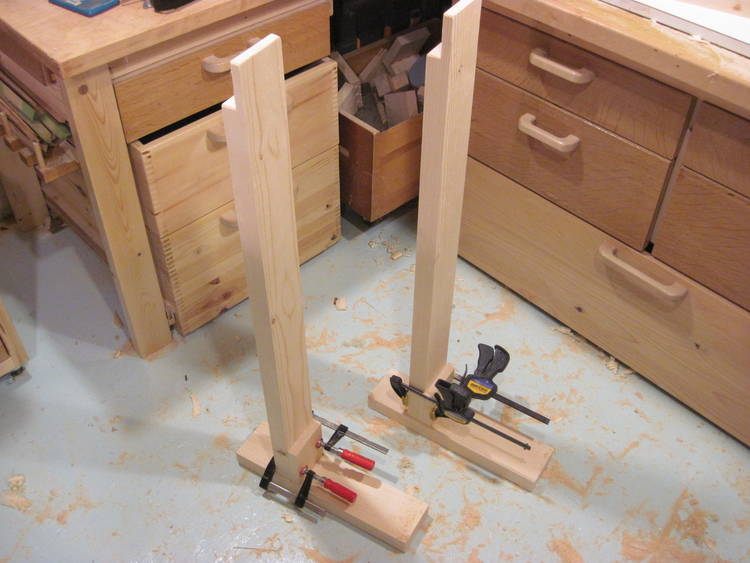
 I also added some wooden pads to the bottom of the legs. These aren't to protect the
floor. They are to keep the stand from rocking back and forth if the floor is uneven.
I also added some wooden pads to the bottom of the legs. These aren't to protect the
floor. They are to keep the stand from rocking back and forth if the floor is uneven.
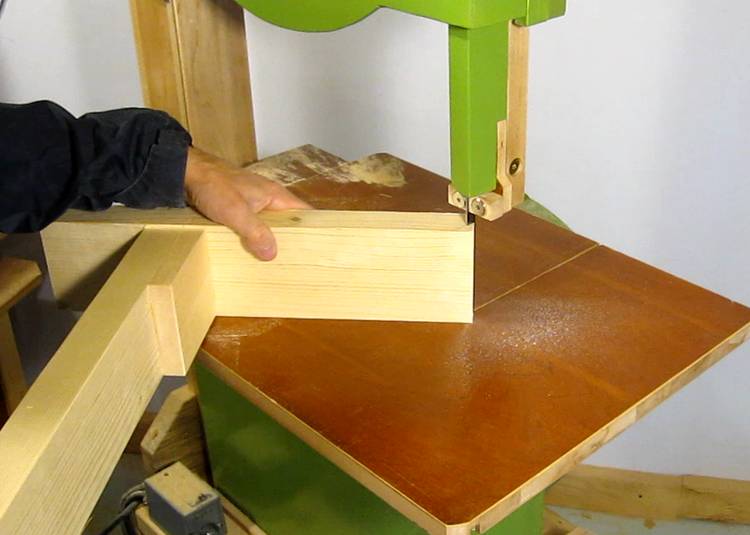 An afterthought was to bevel the ends of the legs. But I'd already glued them together.
The easiest way to bevel them at this point was to cut that bevel on the bandsaw.
I'm using my older, larger homemade bandsaw because I already
had the right blade for the job in that one. I had a
fine blade in my newer bandsaw.
That's why I have two bandsaws in the shop - so I don't have to keep changing blades.
An afterthought was to bevel the ends of the legs. But I'd already glued them together.
The easiest way to bevel them at this point was to cut that bevel on the bandsaw.
I'm using my older, larger homemade bandsaw because I already
had the right blade for the job in that one. I had a
fine blade in my newer bandsaw.
That's why I have two bandsaws in the shop - so I don't have to keep changing blades.
 A little bit of sanding to smooth out that cut.
 Also cutting a lap into the tops of the legs for the C-bracket to rest on.
I clamped the whole leg into the tenon jig for this cut.
Also cutting a lap into the tops of the legs for the C-bracket to rest on.
I clamped the whole leg into the tenon jig for this cut.
 Here's how the C-bracket fits onto the legs
 Stand complete....
 And delivered. I tried to get Andrea to pose with it, but she declined.
I also found that it was tempting to pick up the mirror stand by the C-bracket, but the C-bracket is only held on by gravity. So I put two wood screws into the C-bracket from the back to firmly attach it to the legs.
 Cheap curtain rods
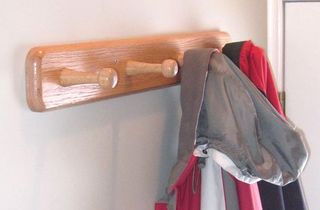 Making coat hooks
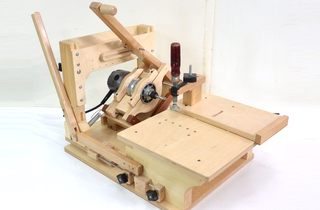 Pantorouter machine
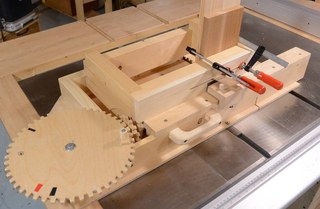 Screw advance Box joint jig