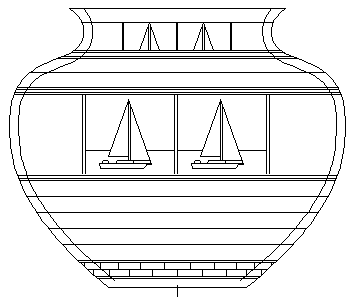
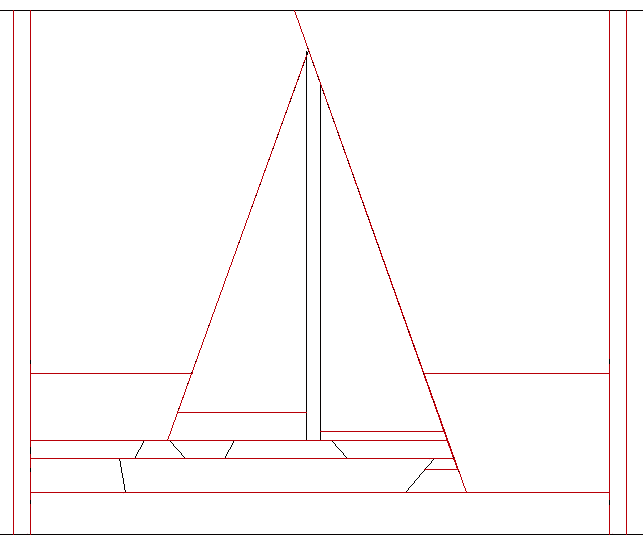
It all starts with a design. I draw all my projects with AutoCad or SketchUp. That way it's easy to scale it to different sizes.
The sailboat figure is divided into horizontal layers. The sky and hull are maple, sails are beech, and the water is merbau. The thickness for each piece can be measured from the drawing.
With my table saw (home made, of course) and bandsaw I rip boards to the right dimensions. Then I thickness sand them on my homemade thickness sander / disk sander.
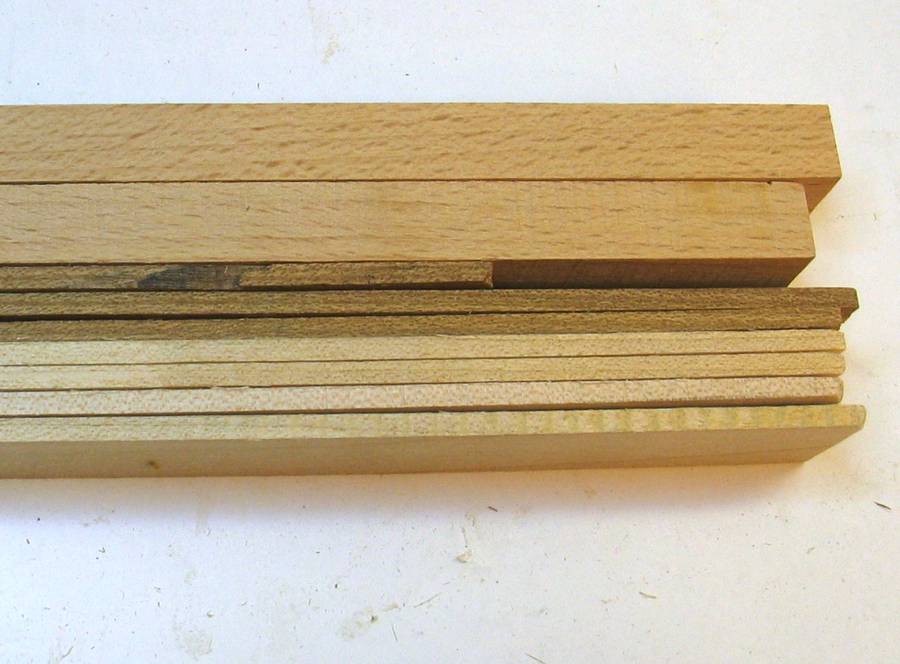
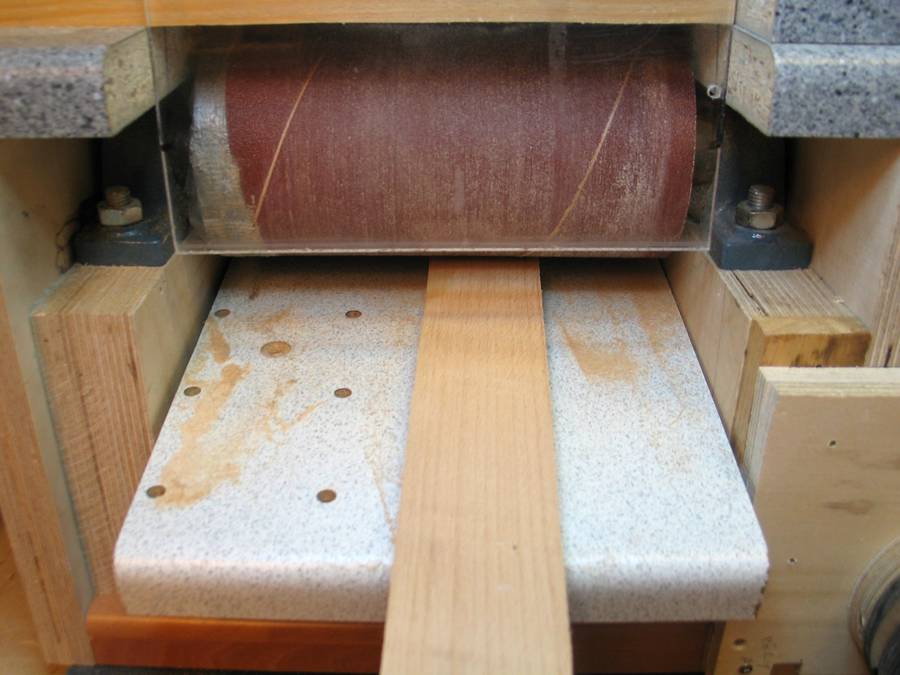
 It's important to keep wood grain for all pieces in the same
direction for segmented turning (except very small pieces).
It's important to keep wood grain for all pieces in the same
direction for segmented turning (except very small pieces).
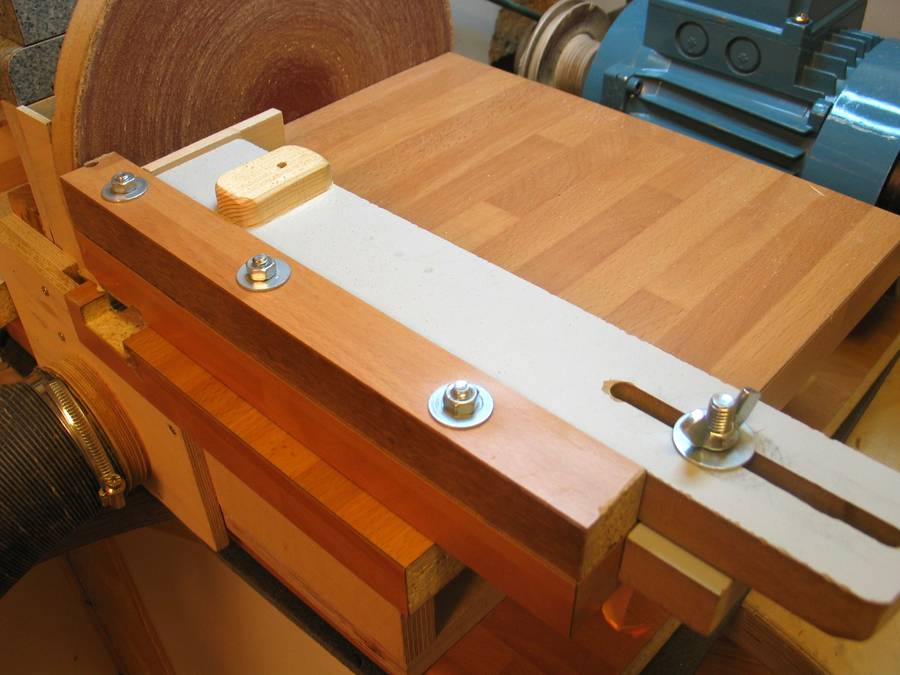
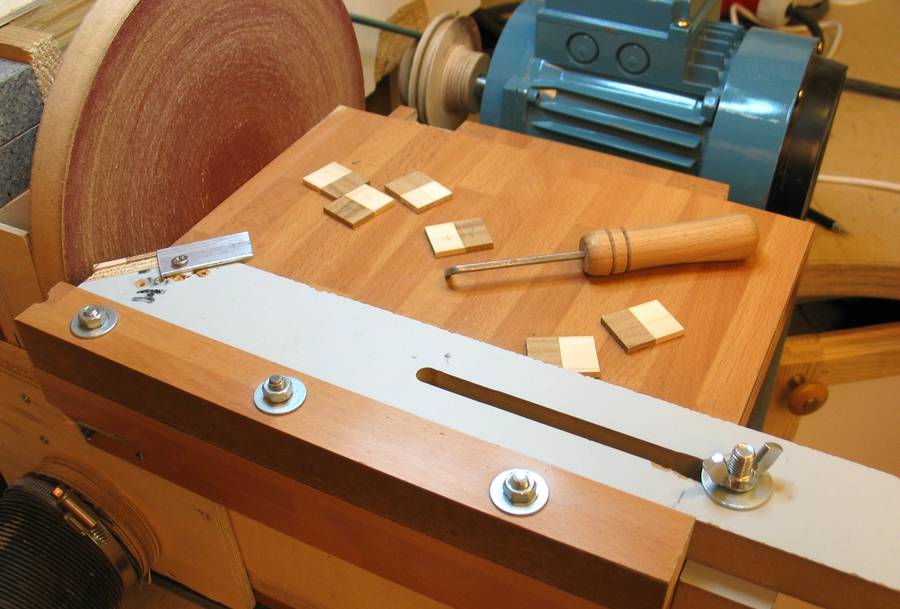
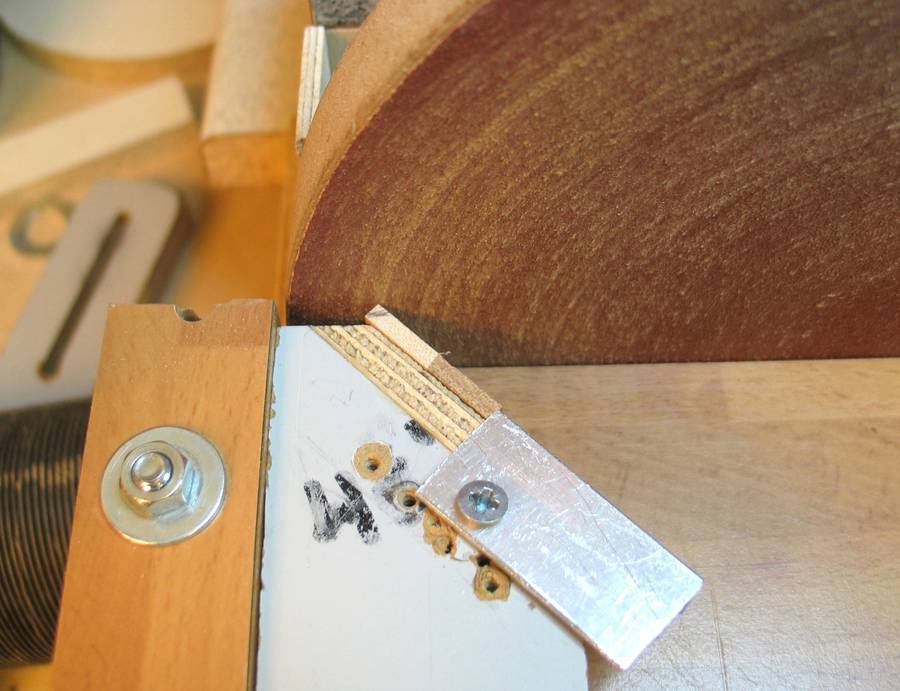
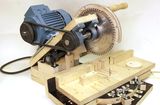
I sand pieces to the right dimensions and angles with the disk sander. I have a sliding table and a 90 degree fence on the left. I have several depth stops (gray) and these with an adjustable stop block to set a consistent distance between the sanding disk and the stop block. If I need to trim small pieces to the same thickness I use a 90 degree stop block. When I need another angle I modify or make a new stop block.
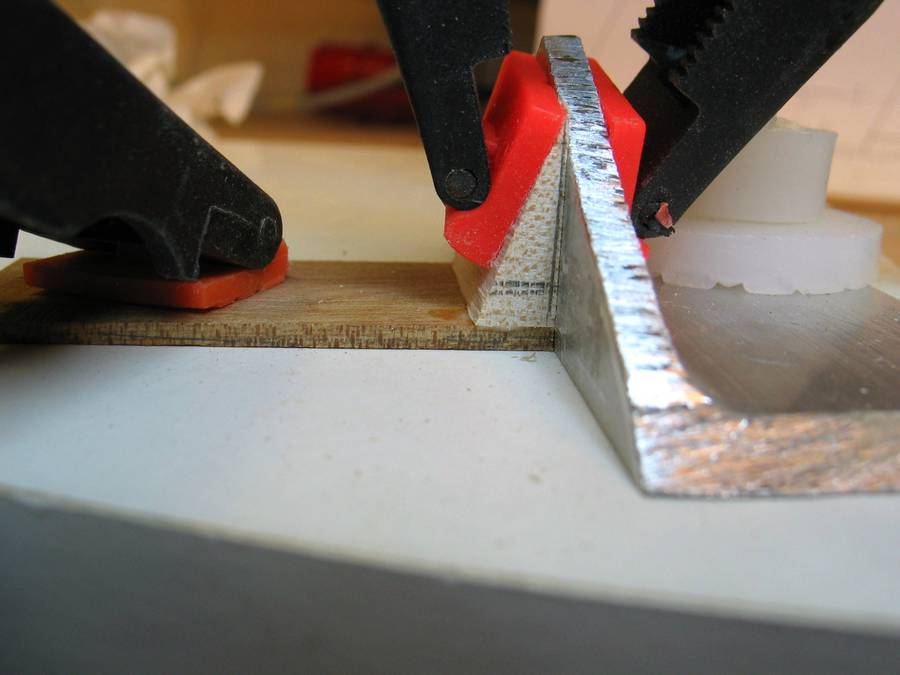
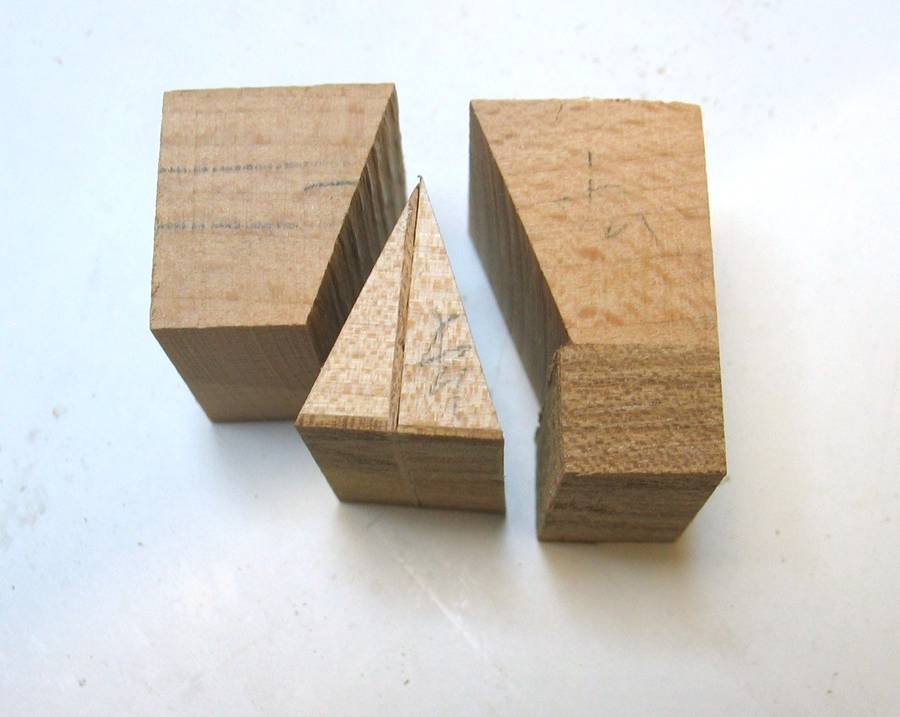
The sails are cut to right angle with sanding. Under the sails a
thin strip of "water" is glued. For the mast, mahogany veneer is glued.
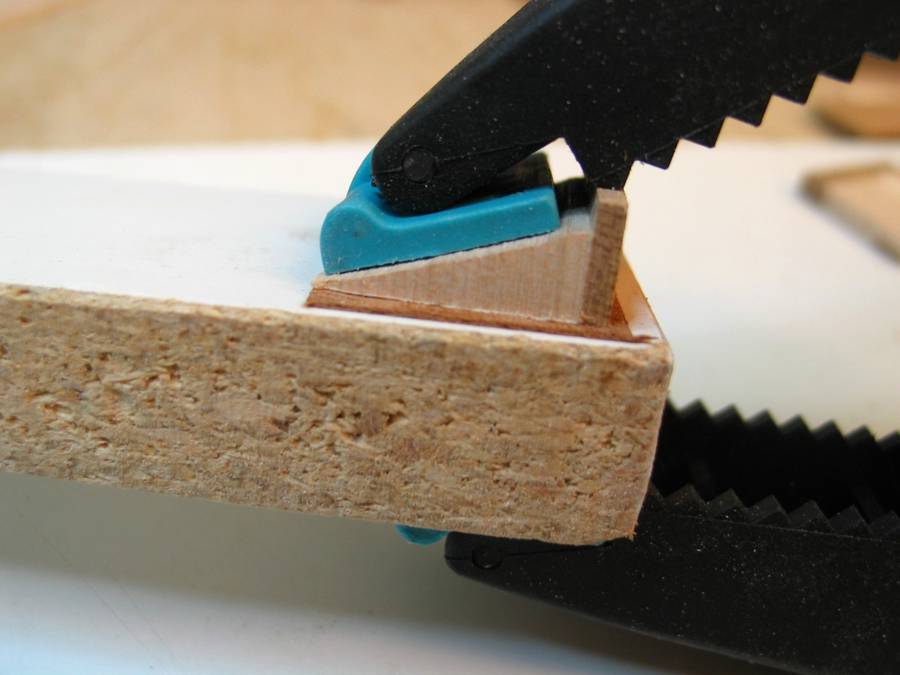

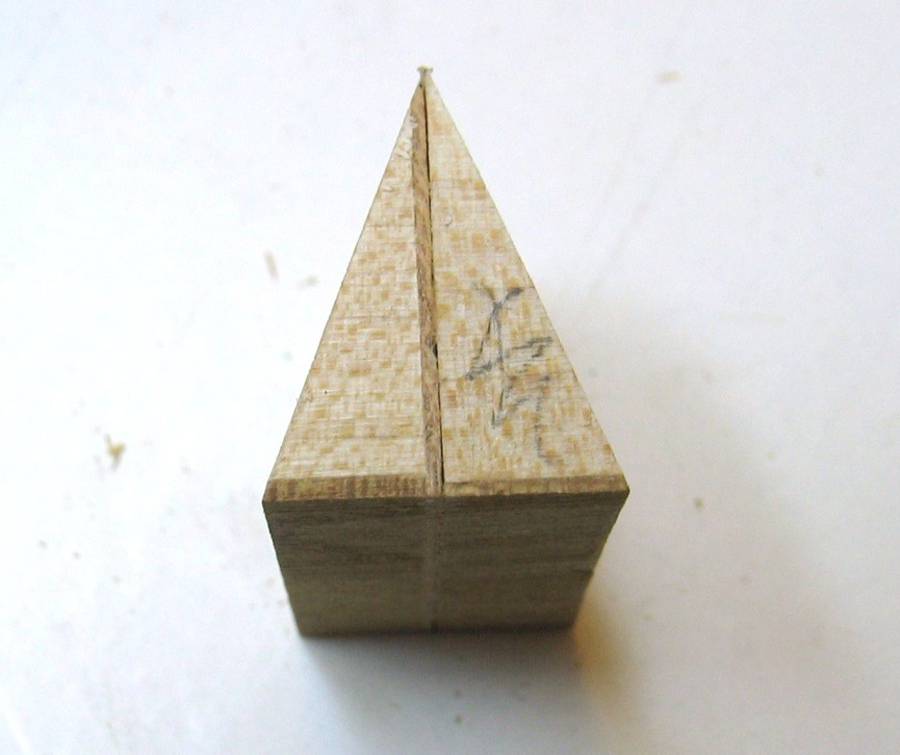
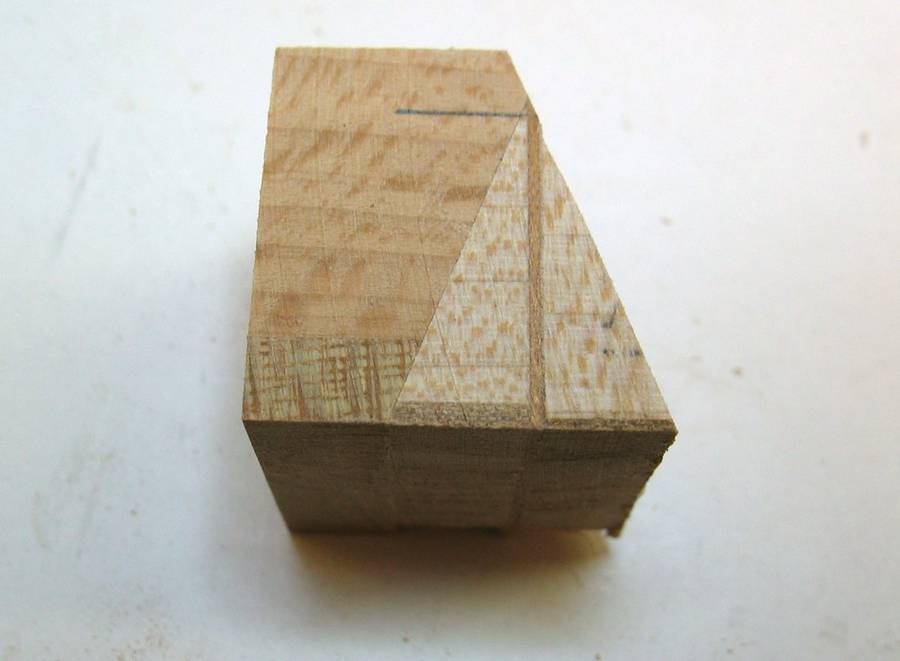
Main sails back angle and jib sail back surface are sanded. Sails are glued together and foresails front surface is sanded.
Blocks for the sky are cut and sanded.
Hull pieces are sanded to the angle and glued. Then the ends are disk sanded with a fence with a stop to get them all the same length.
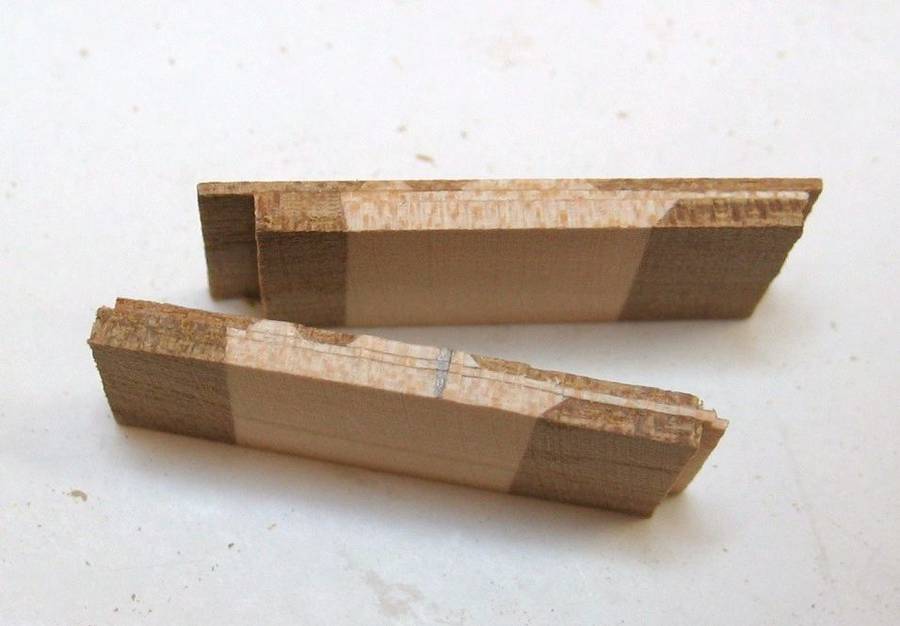

The hull of the boat takes shape. Every layer is sanded to the right thickness.
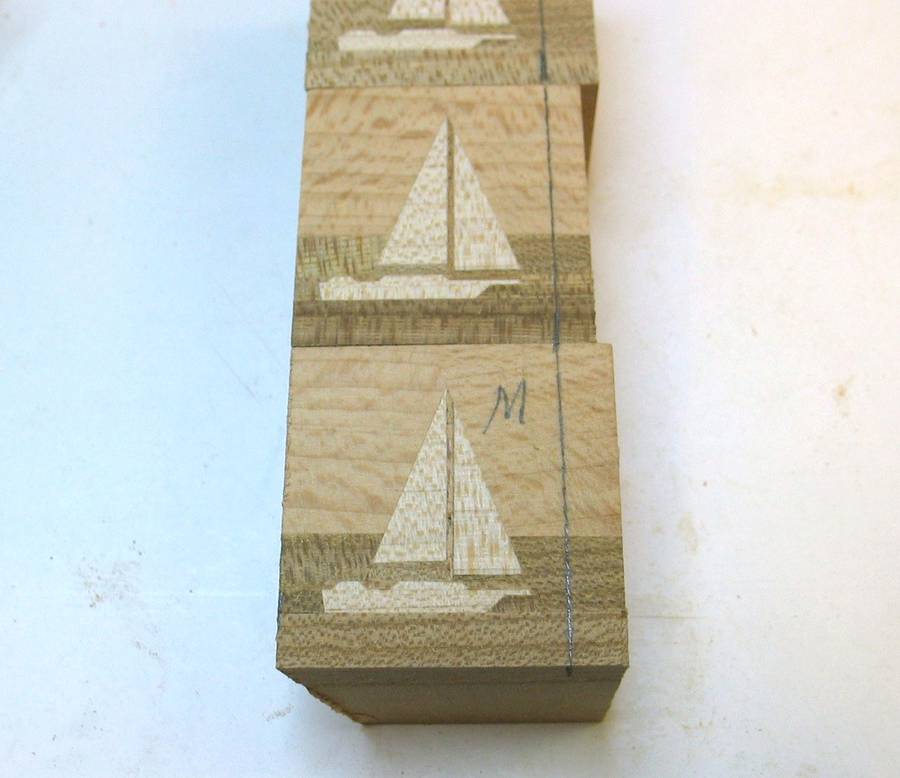
Hull is glued to the sails. Then all are sanded to the same dimensions.
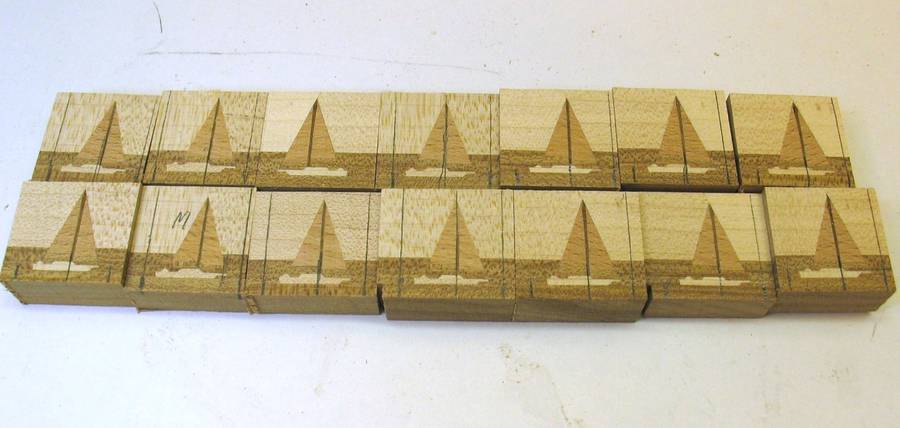
I made a smaller bowl and made sailboat pieces of thicker material, then cut two layers to save time.

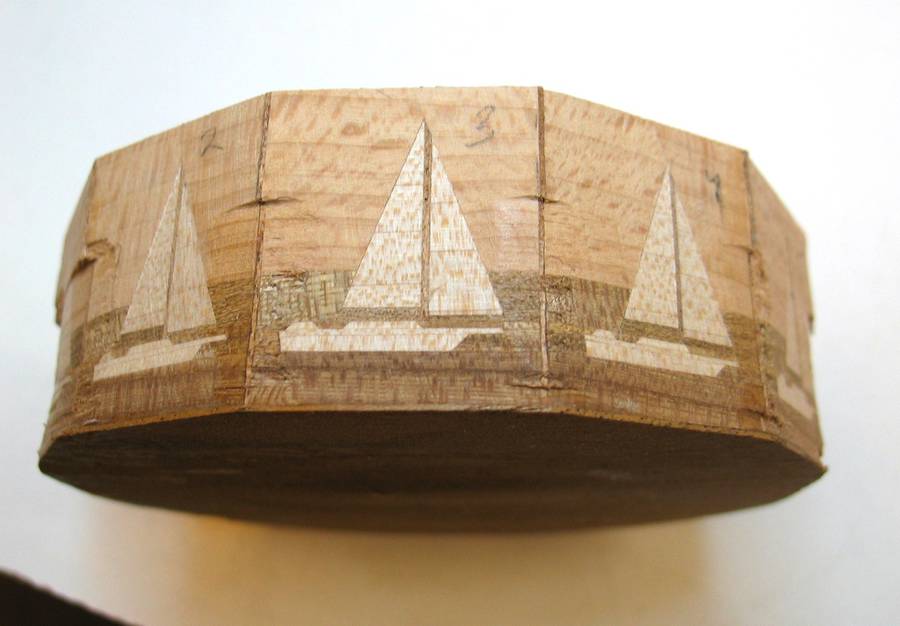
Miter angles are cut and sanded. The segments are then glued into a ring.
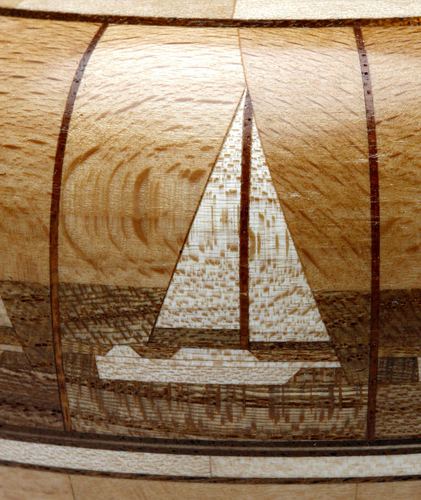
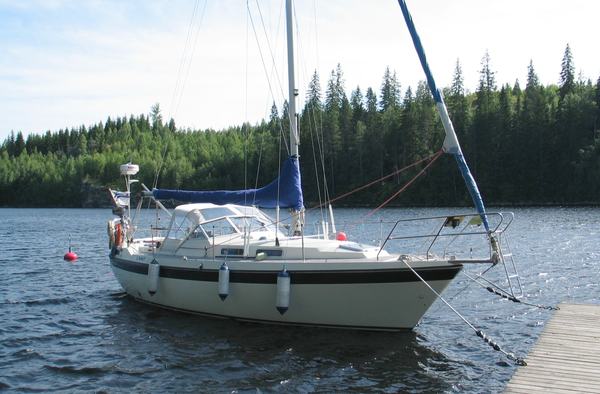
 This sailboat is actually patterned on our family sailboat.
Pekka Svinhufvud


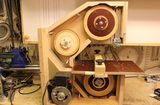 Pekka's bandsaw
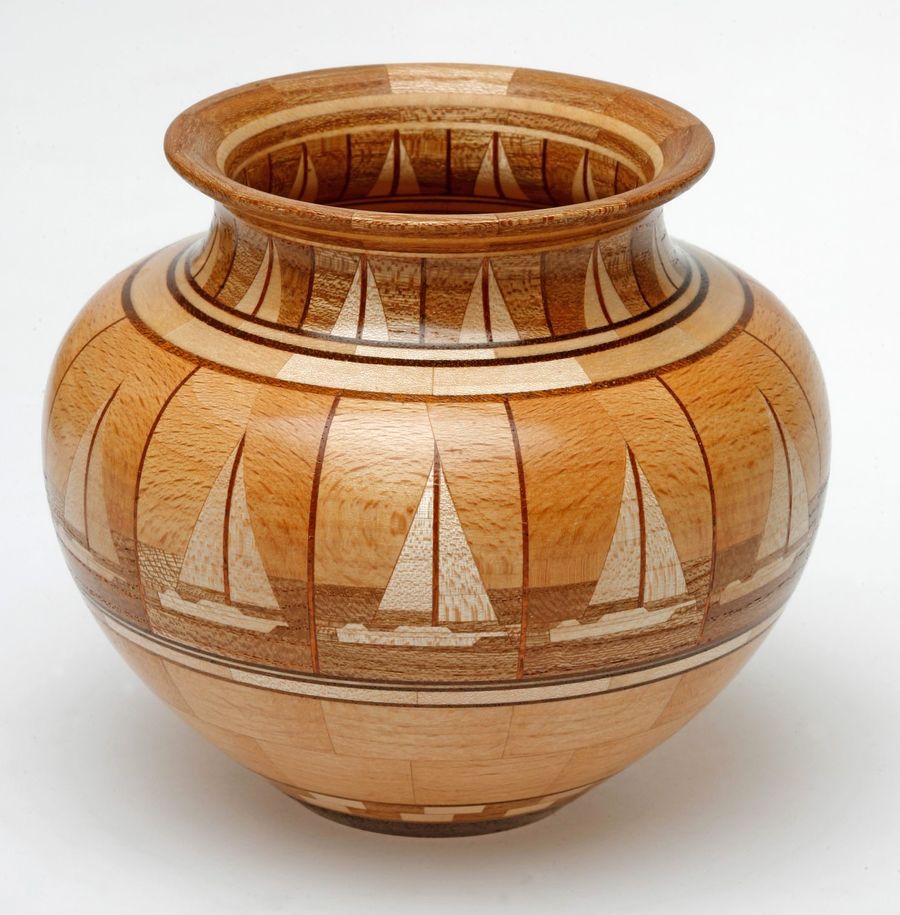
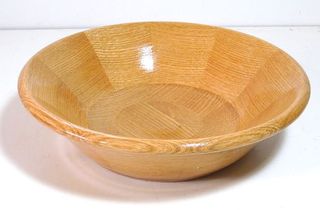 Segmented bowl
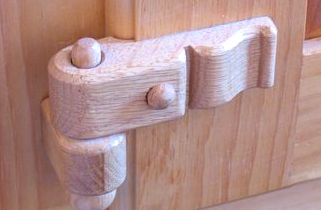 Wooden hinges