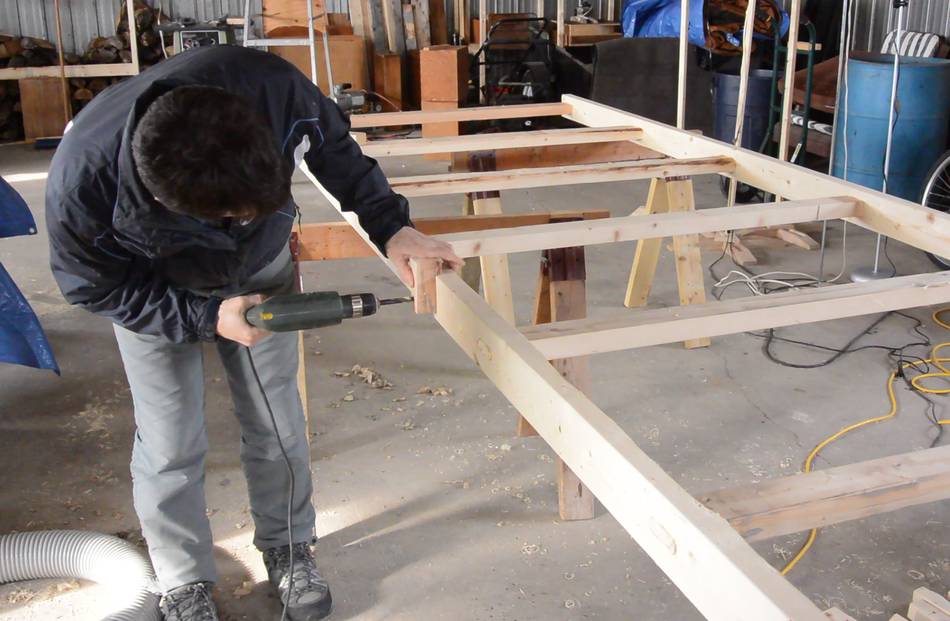
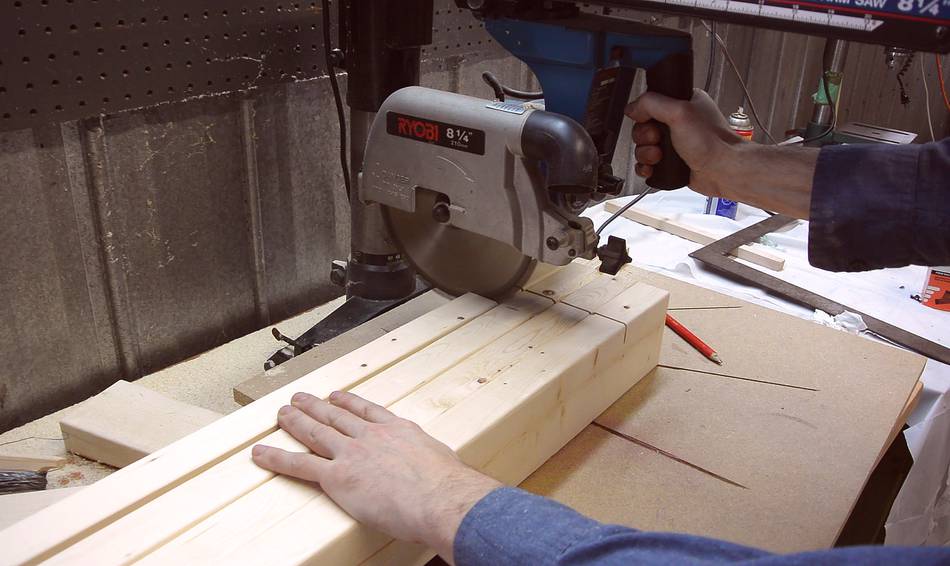
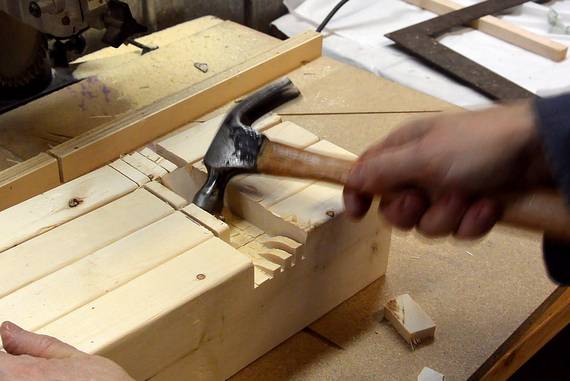
 I drilled a hole between each set of rungs on the ladders for attaching
the diagonal bracing.
I drilled a hole between each set of rungs on the ladders for attaching
the diagonal bracing.
I made an improvised drilling jig out of a piece of hard maple. This worked surprisingly well, though after using it for 28 holes, the guide hole had become a fair bit looser than when I started.

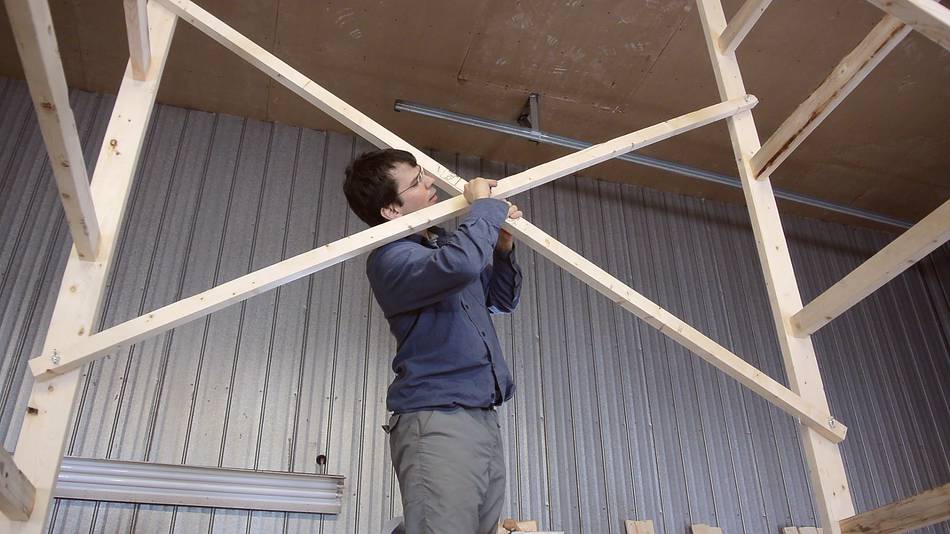
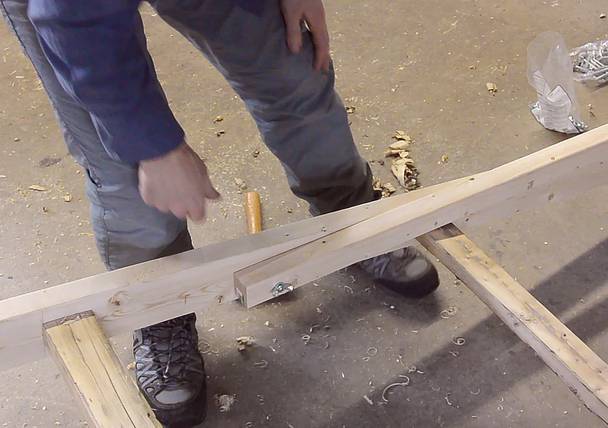 3.5" carriage bolts and wing nuts will hold the cross braces on.
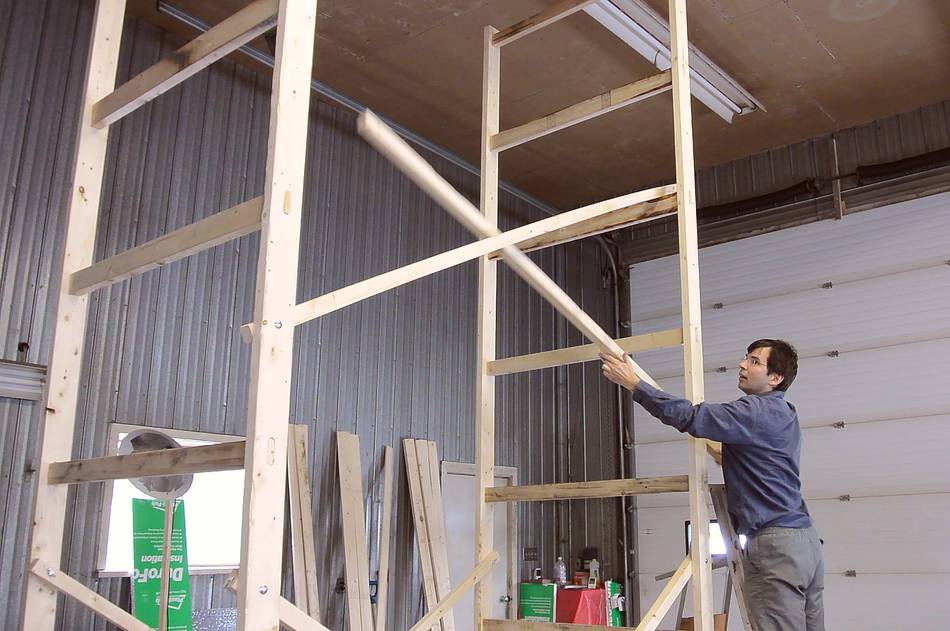
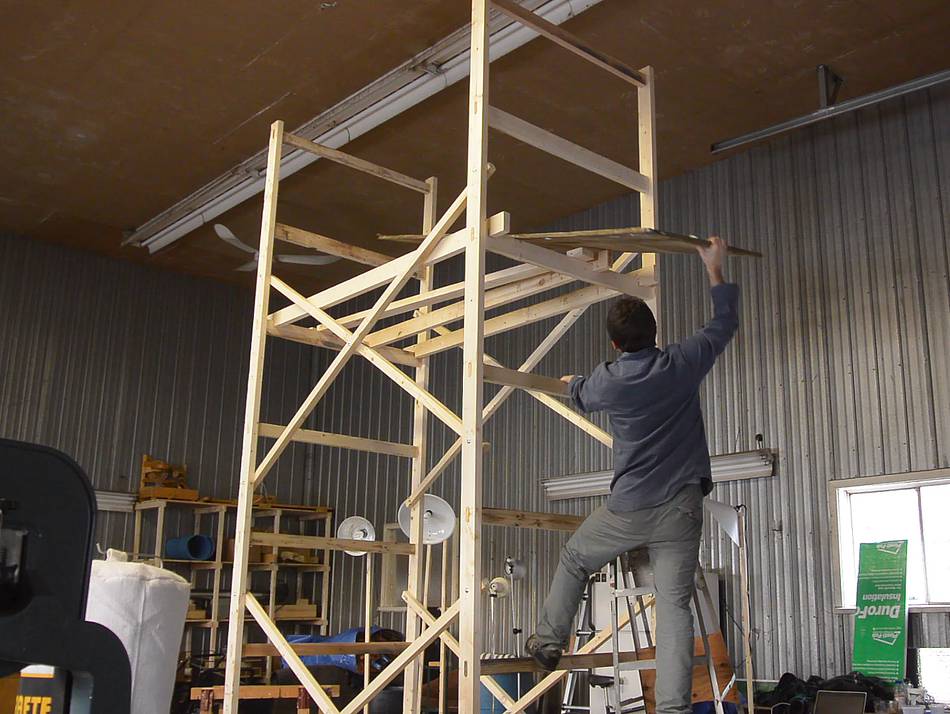
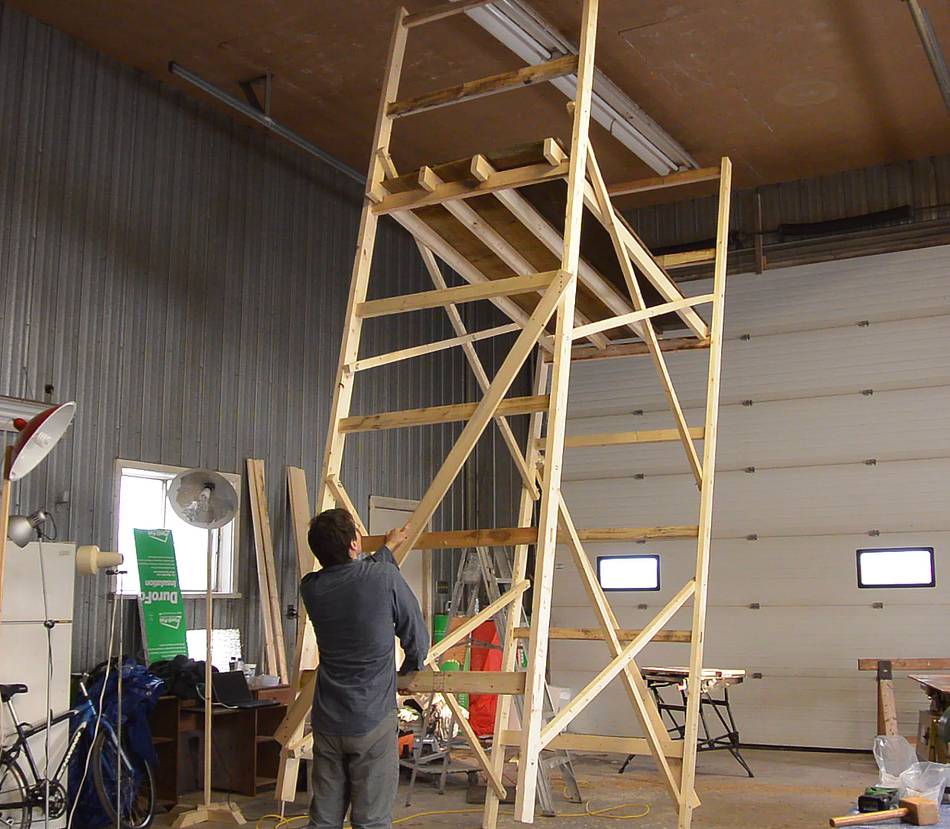
I put one cross brace on each "ladder" while they were still lying on the ground.
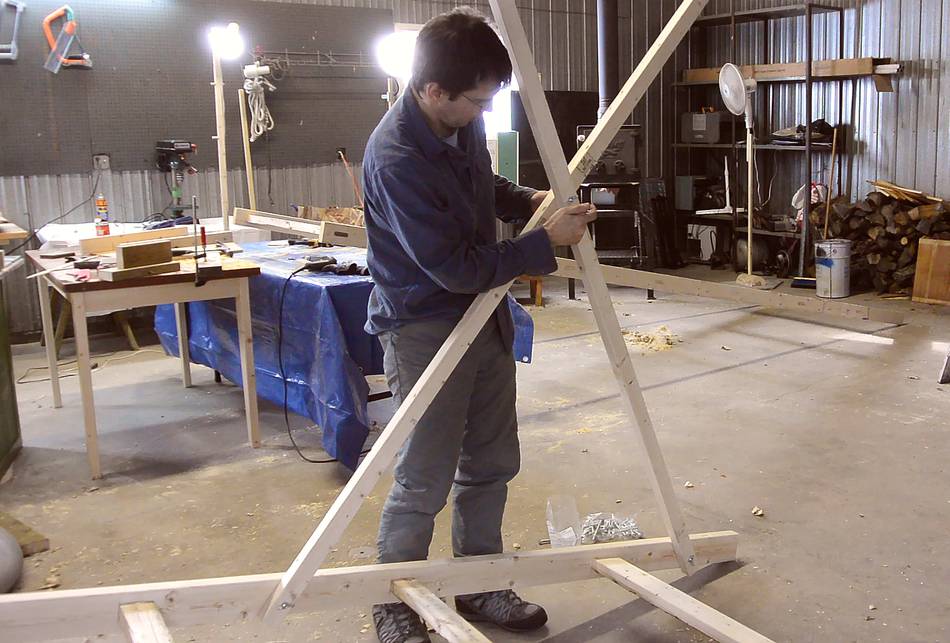

 These cross braces were very useful when erecting the scaffold.
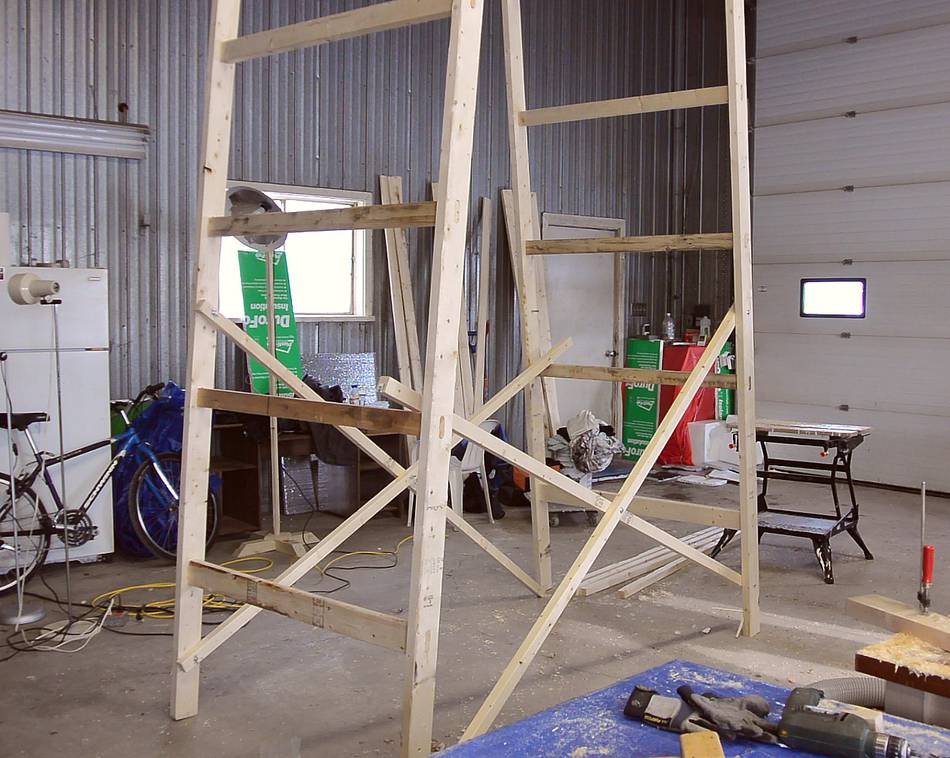
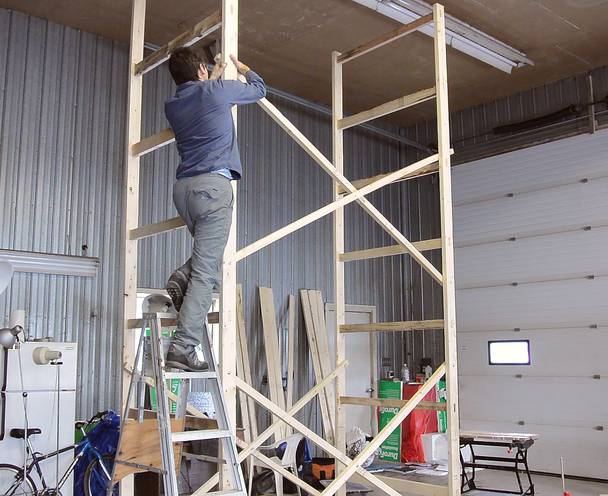
The cross braces allowed each ladder to lean against the cross brace to keep it from tipping over. After that, I bolted the cross braces to the other ladder. With just the first cross braces in place, the scaffold already held together. Out of curiosity, I climbed one of the ladders to the top. A bit wobbly, but it held.
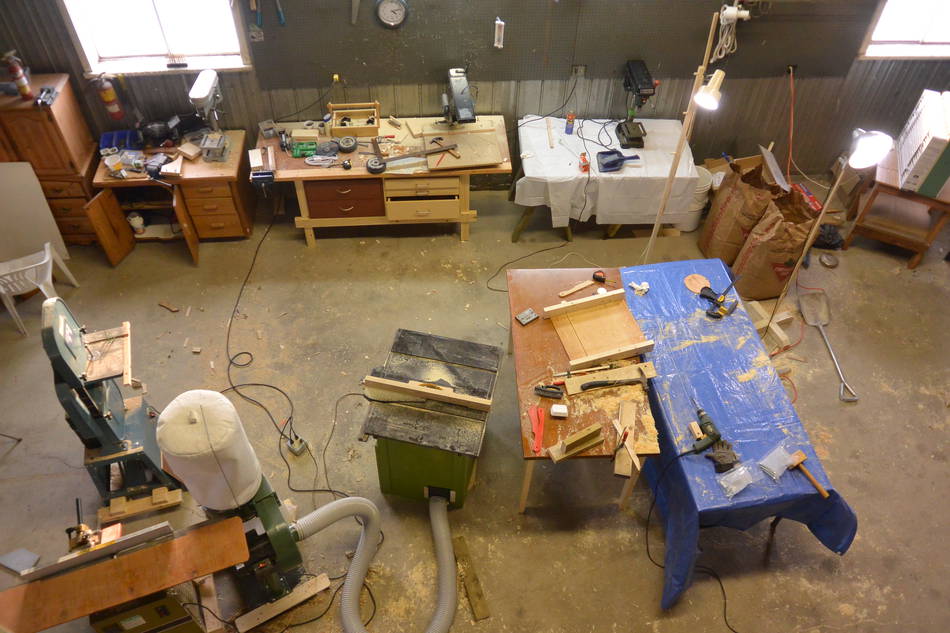
Looking down from the scaffold. You can see my homemade table saw hooked up to cheap dust collector. To the right of that a table I use as a workbench, and against the wall my mortise and tenoned workbench against the wall
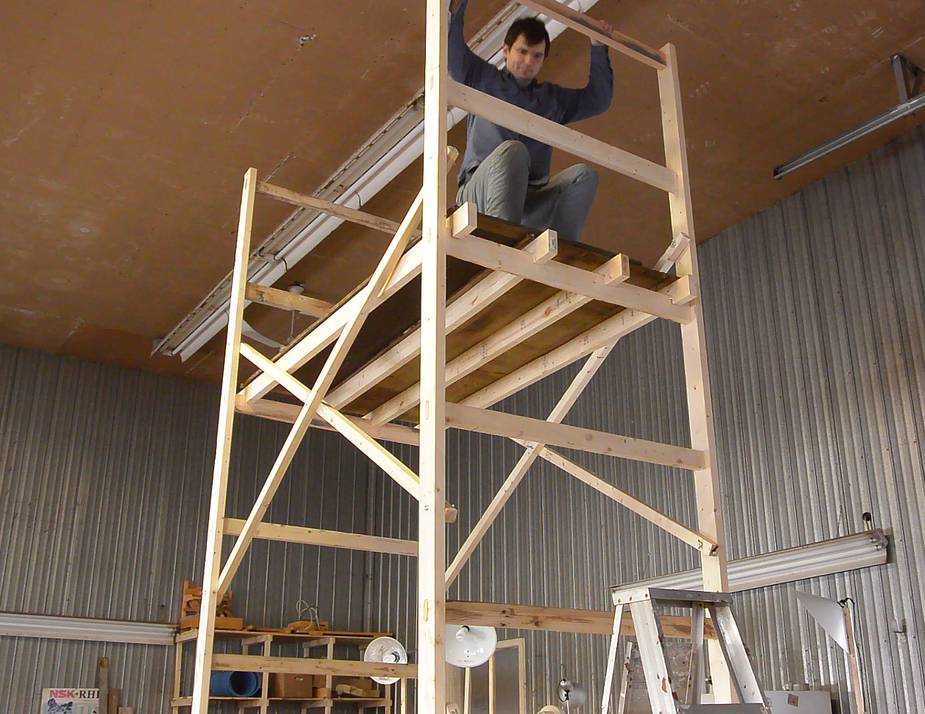
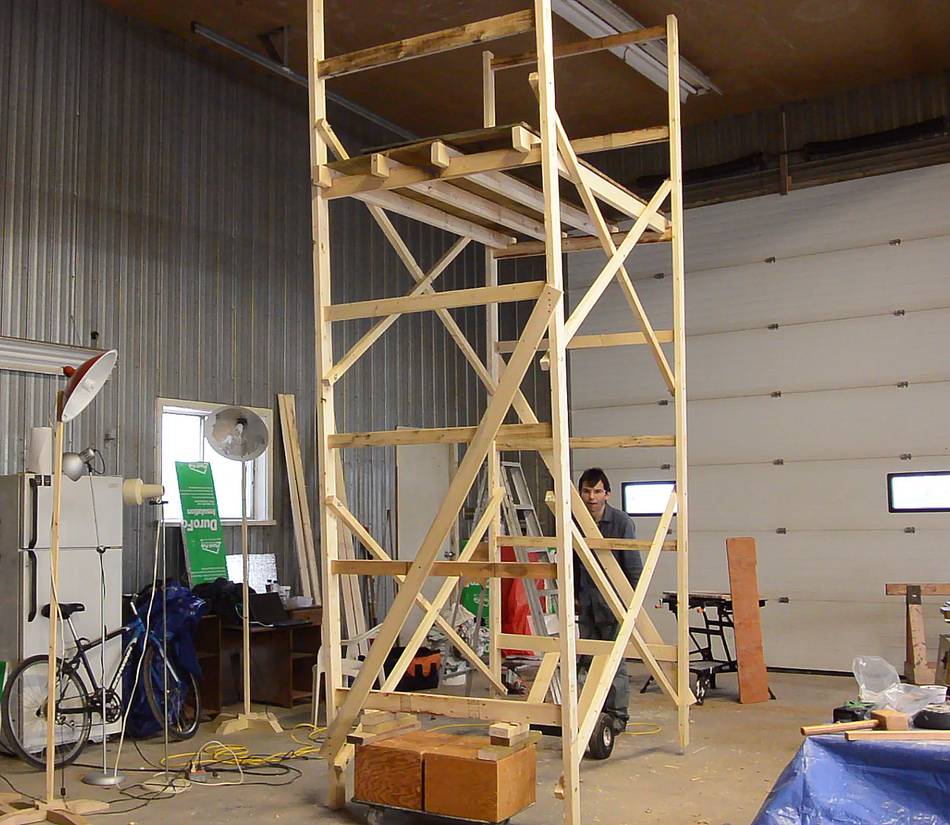
I screwed a 1x4 diagonally against each ladder. That eliminated most of the side-to-side wobble. The scaffold had gotten quite heavy at this point, but I was still, just barely, able to lift it by one side.
I used a hand truck to lift the other side of the scaffold and, as such, it was pretty easy to move around the shop.
With the moving dolly jammed under the middle of the opposite end to the wheels, it became quite maneuverable, and I used it to change the bulbs in three of the lights on the ceiling. It's hard to imagine using a stepladder to work on the lights, though they do make stepladders this tall.
See also:
Articles where I used the scaffold:
Back to my Woodworking website
|


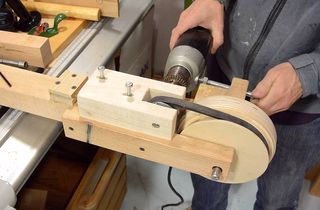 Motorizing the scaffold
 Big garage workshop
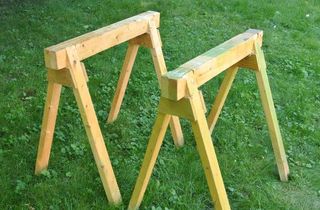 Building sawhorses
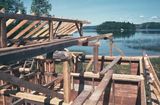 Framing a cottage
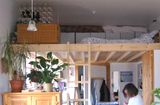 Building a bed loft
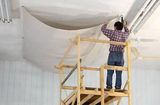 Echo reduction in the workshop
 Making sound absorbing panels
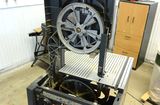 Bandsaw repair fail