Gordon Millar's bandsaw build
Gordon Millar has taken an extensive series of photos of his wooden bandsaw build from these bandsaw plans. He took many photos that I neglected to take of my build. Check out his flickr photo set of the build.You can also click on any of the photos below to go to that photo in the flickr photo set.
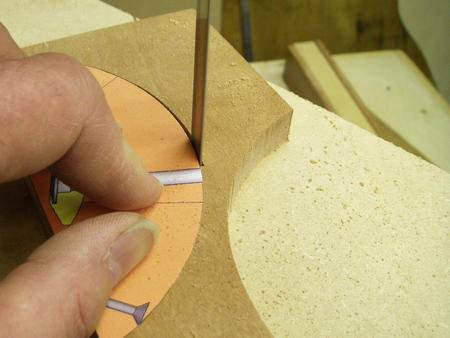
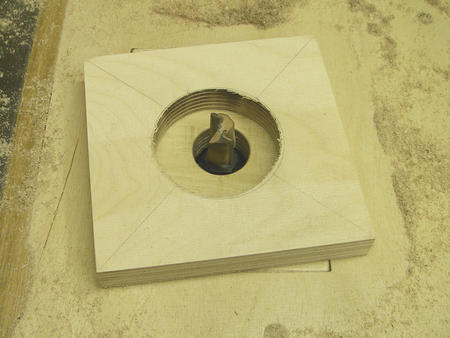 "Making the hub bearing support. Used router to get correct diameter for a push fit"
[Matthias]: I find this an interesting technique for cutting out the circle. Straightforward enough, but there is the risk that the resulting hole is not round and may distort the outside ring of the bearing. This could cause the bearing to wear faster and/or run rough. Gordon reports that he hasn't had any problems with the bearings. Realistically, the bearings don't get stressed even close to their rated load or speed, so it's probably OK. But a circle cutter on the drill press would probably be better.
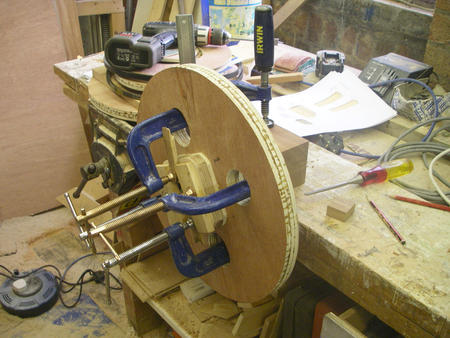 "Turning the wheel looking for wobble!
Positioning the front hub to get wheel to run true."
"Turning the wheel looking for wobble!
Positioning the front hub to get wheel to run true."
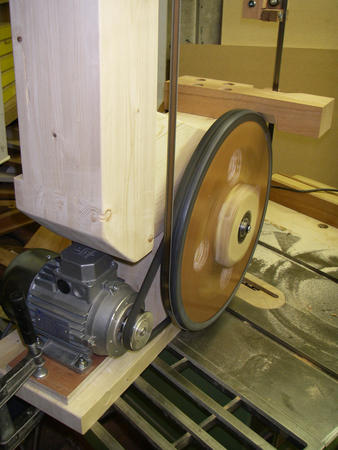
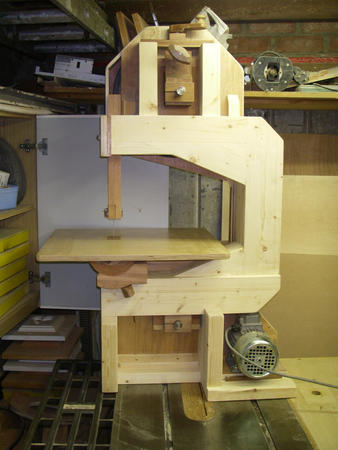
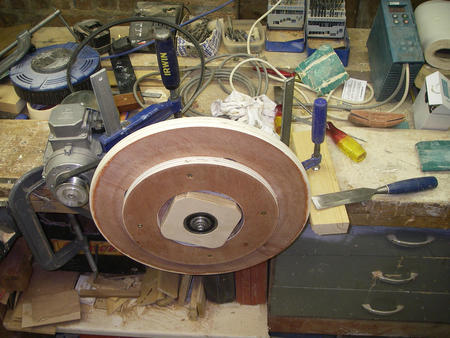 "Motor setup.
Turning the chamfer on the wheel edge 5 deg either side.
Somehow this is enough to keep the saw blade from falling off."
"Motor setup.
Turning the chamfer on the wheel edge 5 deg either side.
Somehow this is enough to keep the saw blade from falling off."
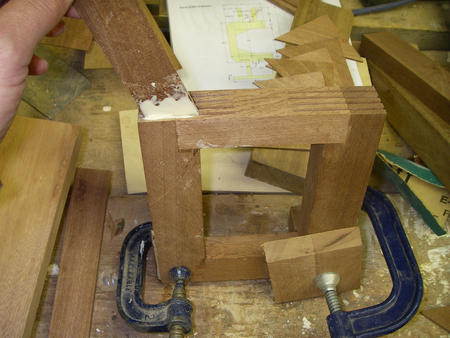
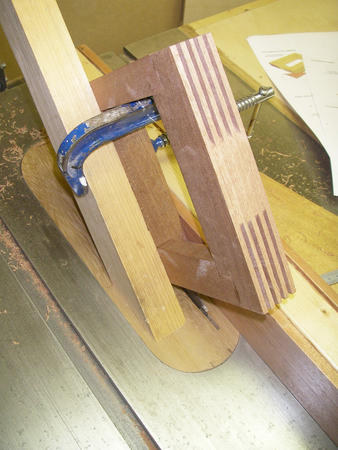 "Adding Splines.
Cutting splines for hardwood triangles to fit into to give the joint some strength. Used 45 deg stick as a guide.
"
"Adding Splines.
Cutting splines for hardwood triangles to fit into to give the joint some strength. Used 45 deg stick as a guide.
"
[Matthias]: A tenon jig would be ideal for this sort of cut. Clamping another piece of wood next to it to stabilize it is a good idea if you don't have a tenon jig. Though I would recommend clamping it to a much larger piece of wood laying flat against the table and fence to the right of the work piece
 "Spline Glue-up. Will be trimmed on table saw."
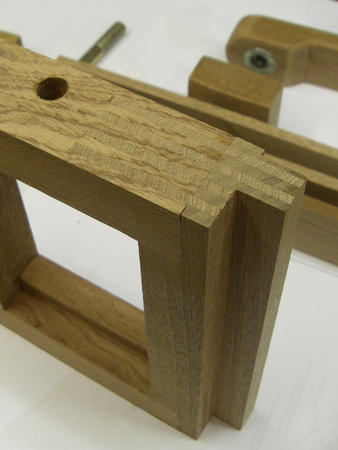 "My splines cut flush"
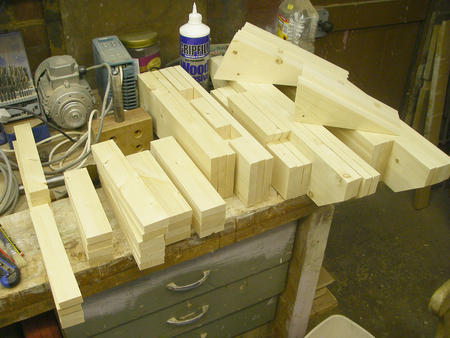 "Frame parts. Cut out of 8 planks 120 x 18 x 2.25 meters"
 "1st Glue up of Middle piece.
Referenced to the saw table by same thickness blocks to get it all in the one plane."
"1st Glue up of Middle piece.
Referenced to the saw table by same thickness blocks to get it all in the one plane."
[Matthias]: Wish I'd done that when I built mine. I hadn't anticipated the possibility of the frame having a slight twist, so I had to correct it afterwards. Good thing I warn people about this in the plans!
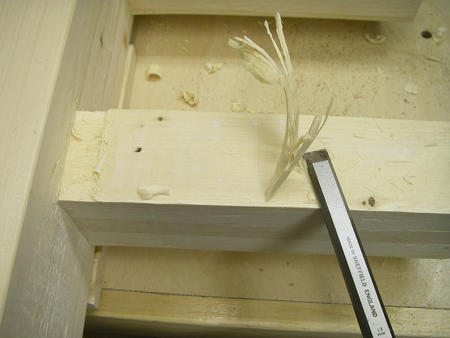 "Truing Uprights.
Level at the bottom, then level at the top, then straighten a side, then flatten by shaving with the chisel."
"Truing Uprights.
Level at the bottom, then level at the top, then straighten a side, then flatten by shaving with the chisel."
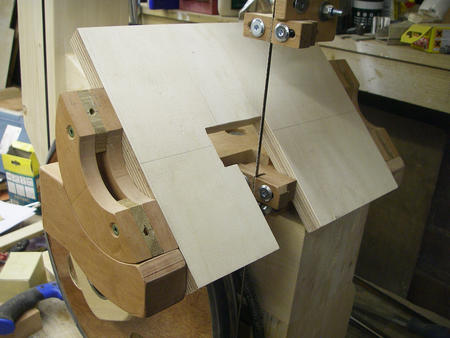
 "Top and Bottom Band guides"
 "Going a treat"
[Matthias]: Ah yes, once the blade is running on the wheels, you know everything is going to work out! That was so satisfying when I built mine too!
 "Just held the paper onto the wood and I managed ok. Great to get to use the saw!
"
"Just held the paper onto the wood and I managed ok. Great to get to use the saw!
"
 "Sanding block"
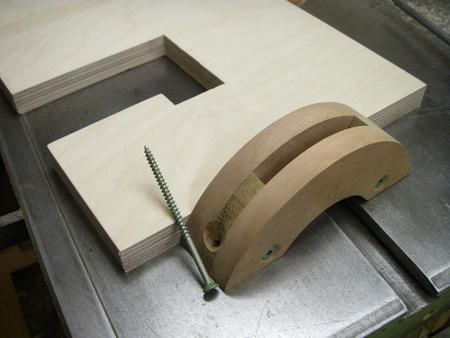 "Table support. Using
square headed serrated thread anti splitting decking screw. Great grip."
"Table support. Using
square headed serrated thread anti splitting decking screw. Great grip."
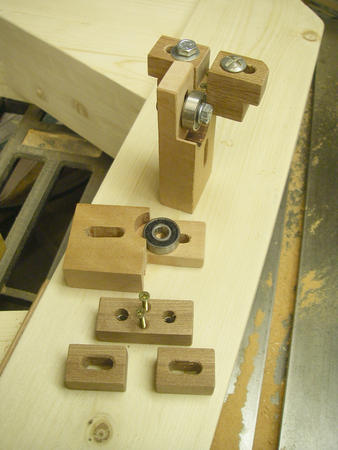
 "Lower support fitting"
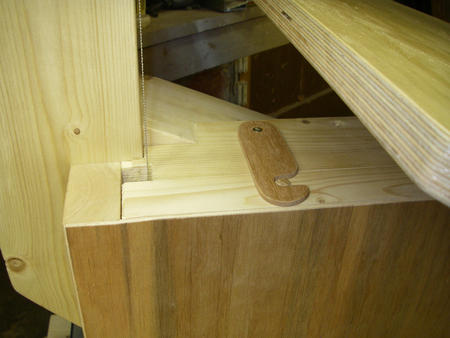 "Bottom cover closure clip
Dowel in the cover
"
[Matthias]: Cool alternative to the metal hook that I used
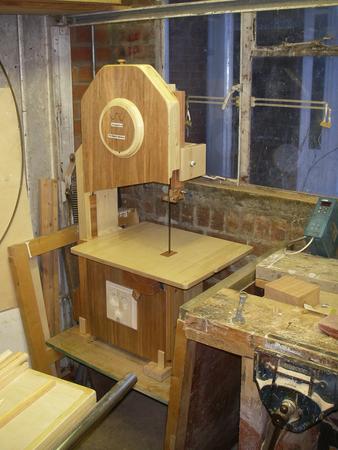
 "Bandsaw Back
What a great solid simple design."
|
The completed bandsaw, varnished, and with some decorations. Still needs a stand. See also:
Fernand Robichaud's bandsaw (same design) Hessam Sane's bandsaw (same design) More reader projects including Gordon Millar's table saw lift |