 Air cleaner units for home workshop are getting popular these days. They
usually consist of some sort of blower pulling air through some filter
media, usually fine filter bags.
Air cleaner units for home workshop are getting popular these days. They
usually consist of some sort of blower pulling air through some filter
media, usually fine filter bags.
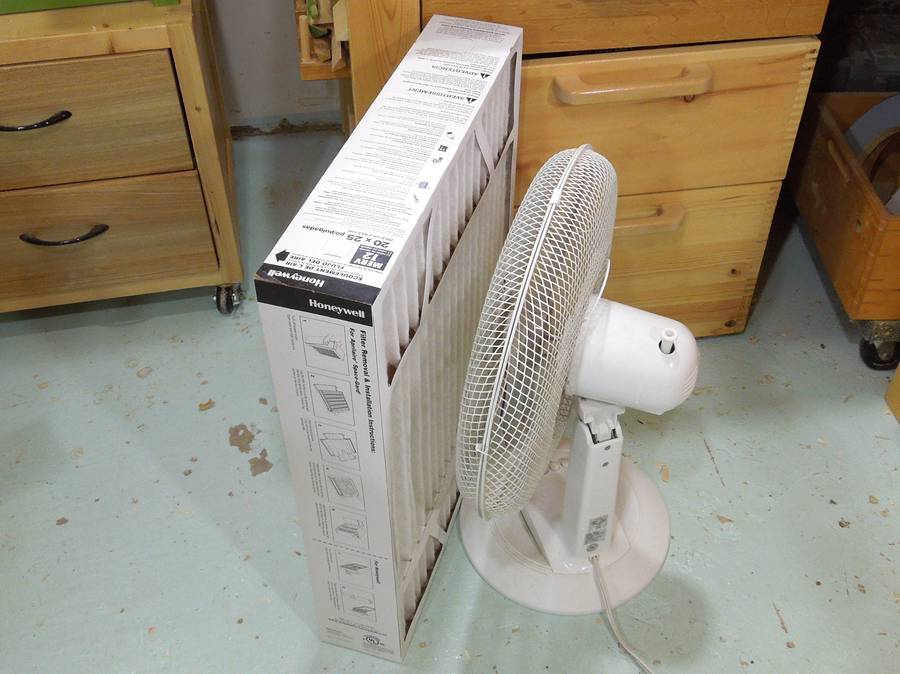
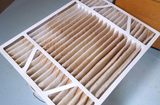
I thought I'd try building an air cleaner using a fancy furnace filter. So I bought the biggest furnace filter I could find. Testing this furnace filter just by blowing air through it with a fan, I found that my Dylos particle counter showed much lower readings for the air coming out of the filter. So this appeared to be working.
 I started with the motor and fan blade from a discarded oscillating fan,
the sort that costs about $30 new.
I started with the motor and fan blade from a discarded oscillating fan,
the sort that costs about $30 new.
In the fan's configuration, the fan blade blows air away from the motor, but the way I wanted to use it was to have the fan blow air towards the motor. If you mount the fan blade backwards on the rotor, its screw-action still blows air away from the motor. The motor itself needs to be reversed as well.
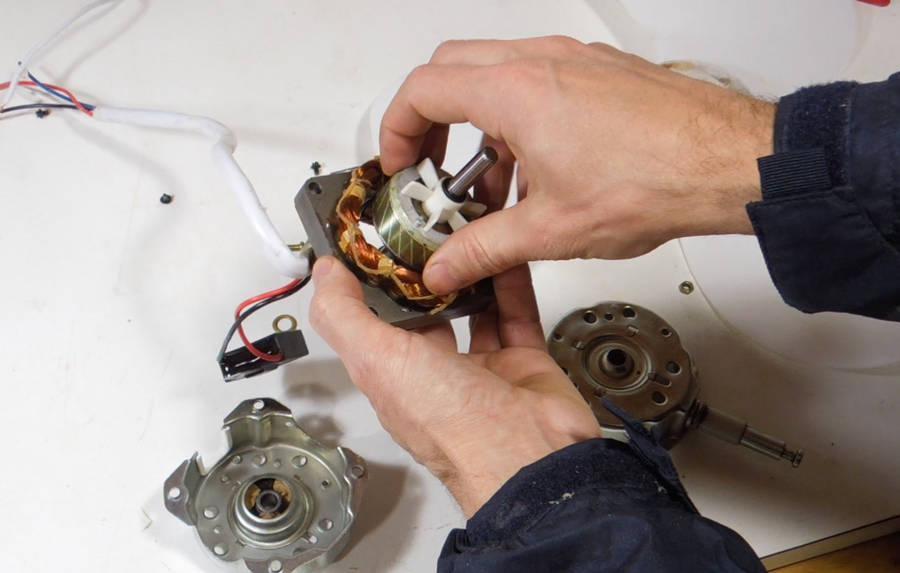 Oscillating fan motors are usually split phase (capacitor run) motors,
which can be reversed electrically by connecting power to the other leg of
the capacitor. However, only one leg of the windings has the multiple taps
for speed control, so I reversed this motor by flipping around the whole
stator with the windings instead. Essentially, I took
the motor's shaft and rotor and inserted it the other way around, then
flipped over the whole motor.
Oscillating fan motors are usually split phase (capacitor run) motors,
which can be reversed electrically by connecting power to the other leg of
the capacitor. However, only one leg of the windings has the multiple taps
for speed control, so I reversed this motor by flipping around the whole
stator with the windings instead. Essentially, I took
the motor's shaft and rotor and inserted it the other way around, then
flipped over the whole motor.
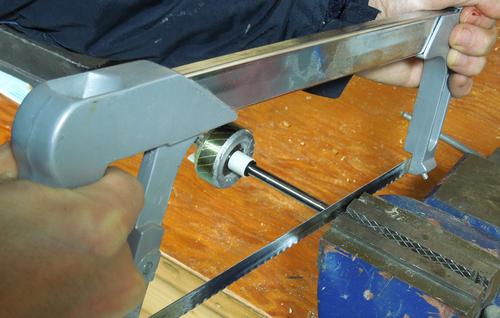 While I was at it, I also cut the shaft to just the length I needed.
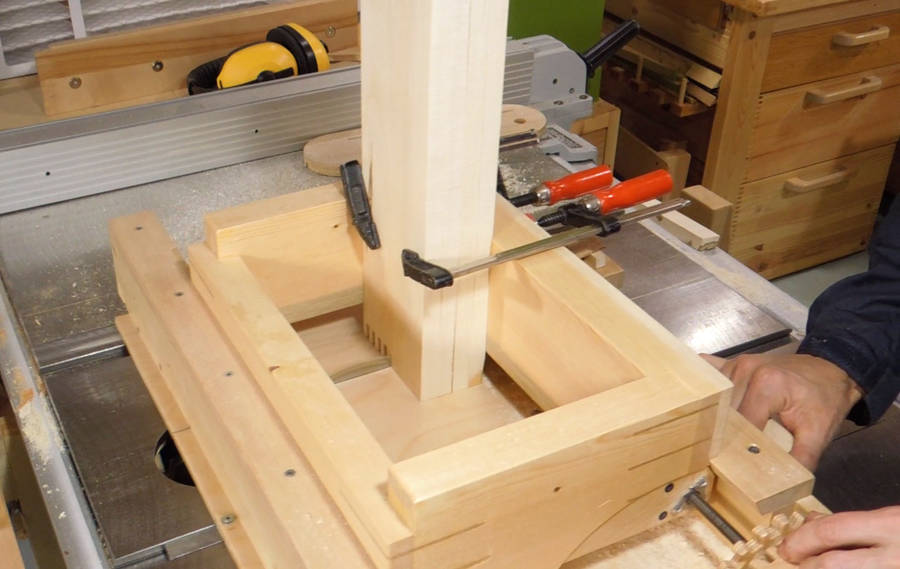 I made the box for the fan from some boards of silver maple that I
milled on my sawmill last year.
My moisture meter indicated it was sufficiently
dry already. I used my
screw advance box joint jig to join the corners. Not that they needed
to be that strong, just that it was expedient to do it with my jig. I cut these with
multiple cuts of a regular saw blade, so I don't even need to put in a dado blade
anymore.
I made the box for the fan from some boards of silver maple that I
milled on my sawmill last year.
My moisture meter indicated it was sufficiently
dry already. I used my
screw advance box joint jig to join the corners. Not that they needed
to be that strong, just that it was expedient to do it with my jig. I cut these with
multiple cuts of a regular saw blade, so I don't even need to put in a dado blade
anymore.
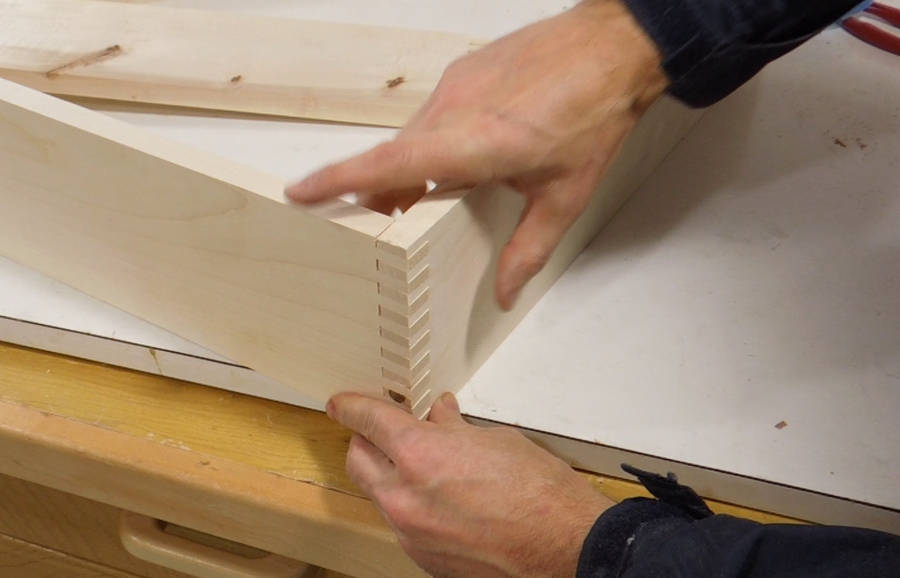 Fit check. When I cut the first set of ends, I checked the fit against each
other, and it was a bit tight. So for the second set of fingers, I turned the
gear by just 1.5 teeth further on each last cut for each slot
(for an extra .010" or 0.2 mm). I wasn't aiming for a super tight fit
since I found that more glue in the joint
can make for a stronger joint
Fit check. When I cut the first set of ends, I checked the fit against each
other, and it was a bit tight. So for the second set of fingers, I turned the
gear by just 1.5 teeth further on each last cut for each slot
(for an extra .010" or 0.2 mm). I wasn't aiming for a super tight fit
since I found that more glue in the joint
can make for a stronger joint
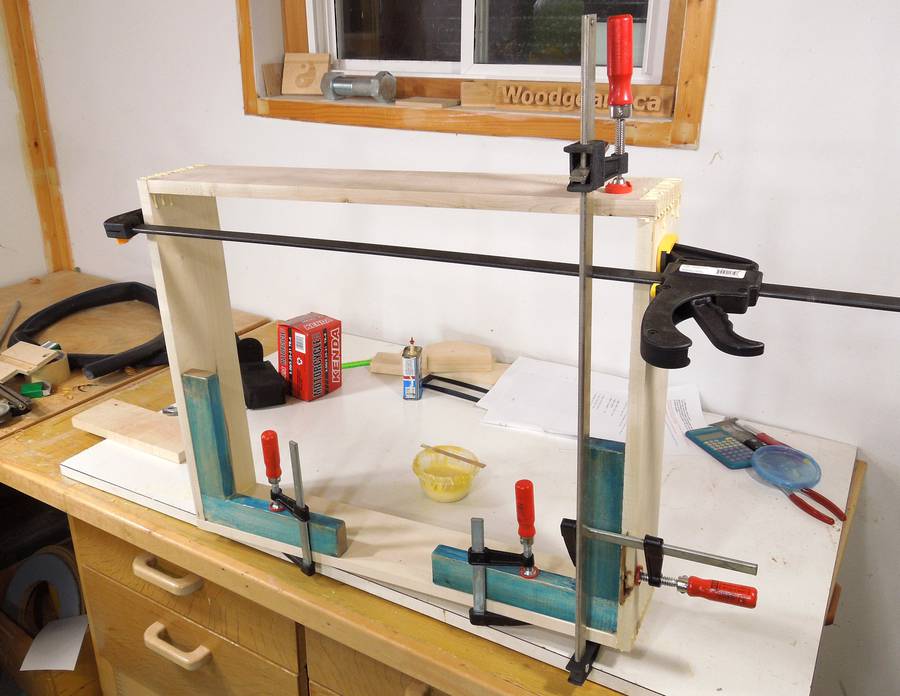 Gluing it together, using my clamping squares
to hold it square.
Gluing it together, using my clamping squares
to hold it square.
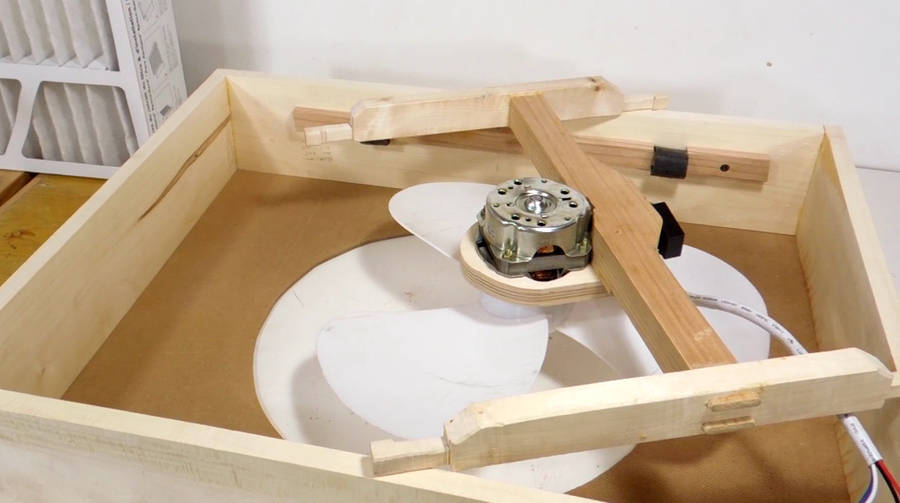 I built an H-shaped frame for the motor. The ends of the H are joined with double
tenons. Double tenons weren't really necessary, but while I was already using the
box joint jig, I figured I might as well cut the ends of the cross piece as a double tenon.
I then cut the double mortise with my slot mortiser.
Both jigs use 16 TPI threaded rod for the position control, so getting the spacing exactly
the same for the mortises and tenons wasn't any extra effort.
I built an H-shaped frame for the motor. The ends of the H are joined with double
tenons. Double tenons weren't really necessary, but while I was already using the
box joint jig, I figured I might as well cut the ends of the cross piece as a double tenon.
I then cut the double mortise with my slot mortiser.
Both jigs use 16 TPI threaded rod for the position control, so getting the spacing exactly
the same for the mortises and tenons wasn't any extra effort.
 The H is suspended in the box using wide "rubber bands" cut from a bicycle inner tube.
That way, any hum from the motor aren't transmitted and amplified by the enclosure.
The H is suspended in the box using wide "rubber bands" cut from a bicycle inner tube.
That way, any hum from the motor aren't transmitted and amplified by the enclosure.
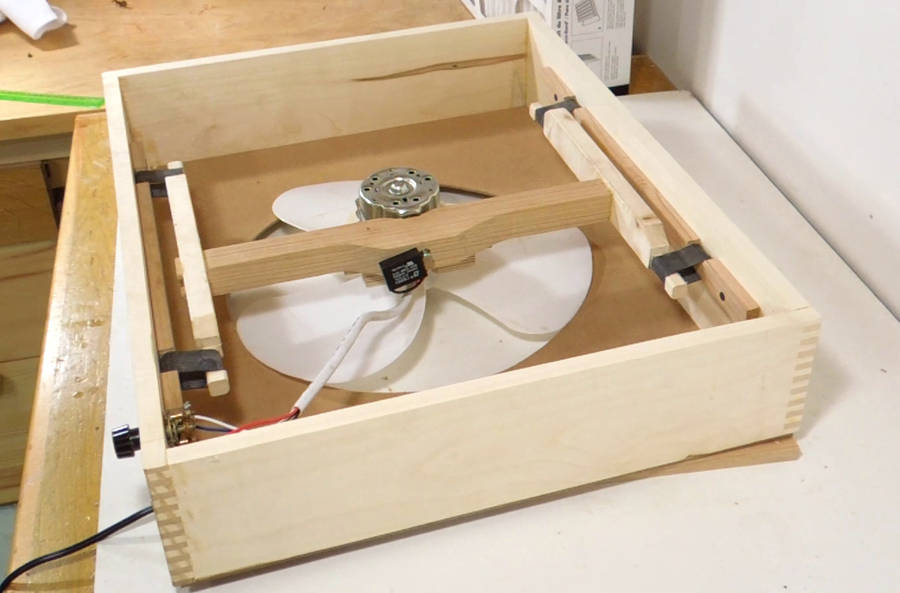 Motor suspended.
Note that the hole in front of the fan is slightly smaller than the actual fan blade. I figured that way, centrifugal force from the air swirling would, maybe, add to the pressure. Certainly, these oscillating type fans don't produce any significant amount of pressure. I measured a furnace blower to produce about 16 mm (of water) static pressure, whereas I'd guess this fan would at most produce 2 mm. So a furnace filter might have a bit more air resistance than is ideal for a fan like this. But then again, the new furnace filter didn't restrict the air flow by much.
 First test. Seems to work just fine.
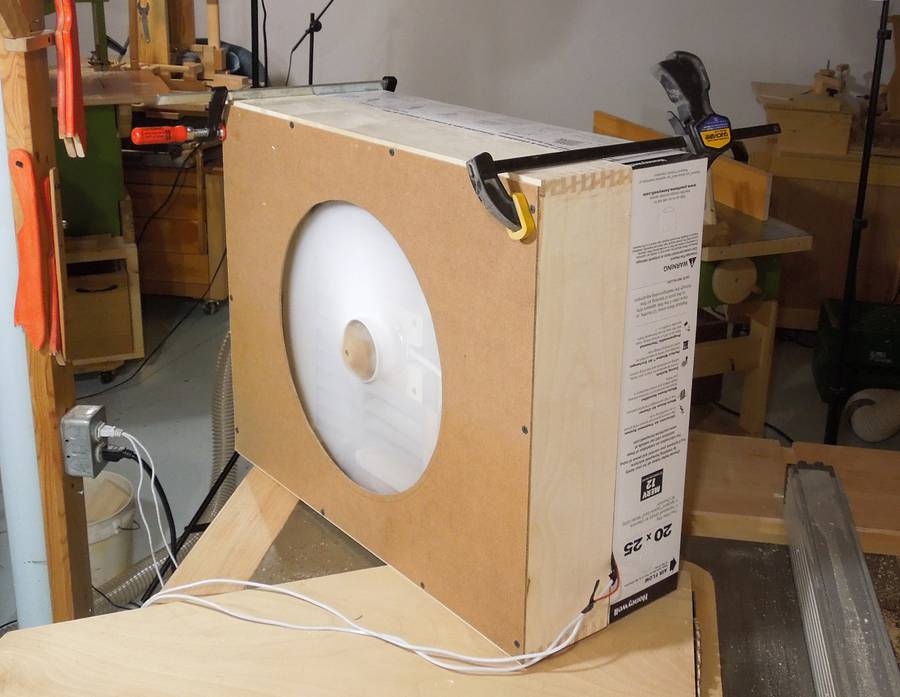
 My box doesn't actually enclose the filter (no real need to), so to hold the filter
in place, I added some slats, or prongs, to hold the filter against the box.
My box doesn't actually enclose the filter (no real need to), so to hold the filter
in place, I added some slats, or prongs, to hold the filter against the box.
 Two rubber straps, also cut from bicycle inner tube, hook onto screws to hold the filter
in place.
Two rubber straps, also cut from bicycle inner tube, hook onto screws to hold the filter
in place.
These aren't terribly strong, but the filter is light and the air pressure is low.
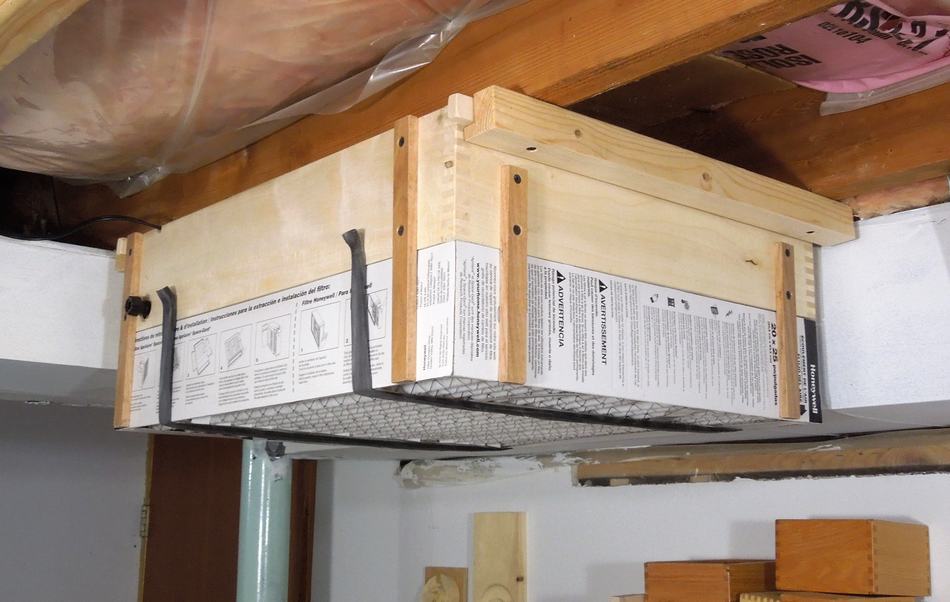
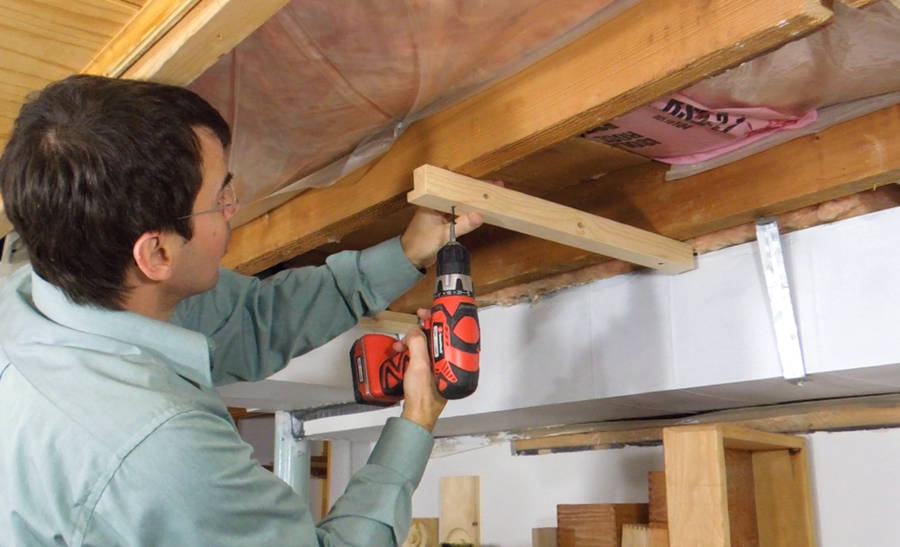 For mounting, I made two L-profile pieces of wood and screwed these to the joists
in the ceiling.
For mounting, I made two L-profile pieces of wood and screwed these to the joists
in the ceiling.
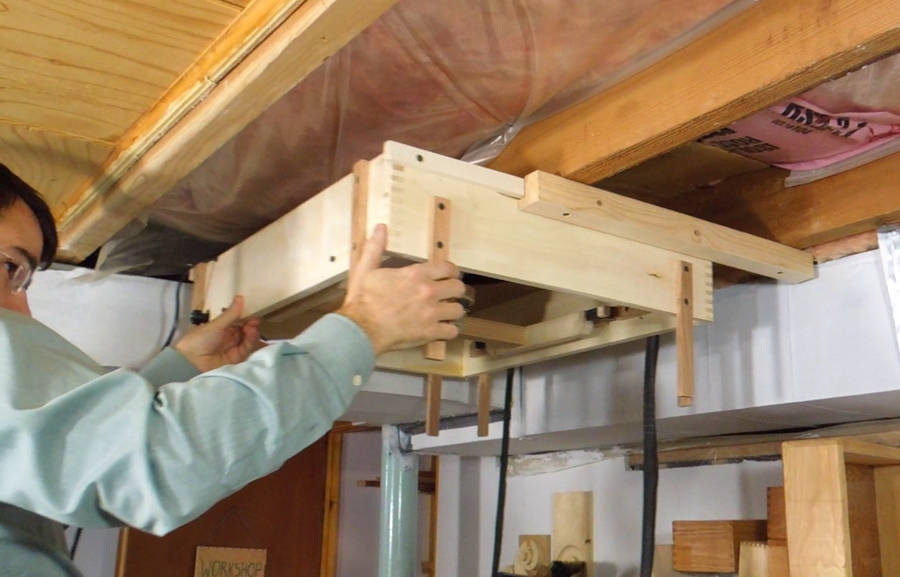 Two strips of wood, screwed to the sides of the box slide into these L profiles
to hold it up.
Two strips of wood, screwed to the sides of the box slide into these L profiles
to hold it up.
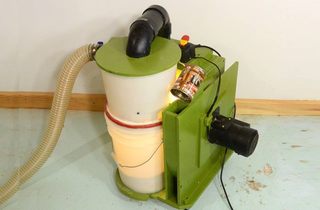
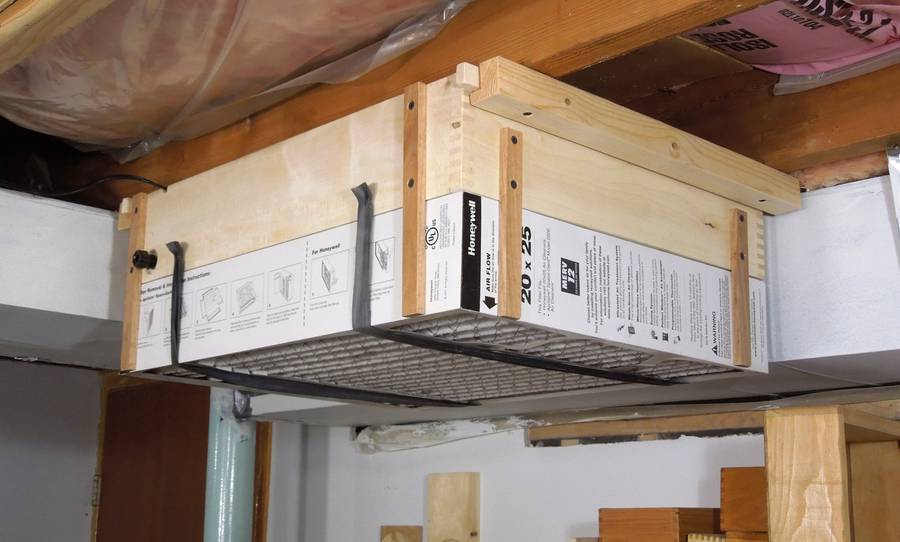 The air cleaner is right up against the ceiling. The space between the joists allows
for air to flow into the top of the unit.
The air cleaner is right up against the ceiling. The space between the joists allows
for air to flow into the top of the unit.
 Most air cleaners suck air through the filter, then eject it through a small port.
I didn't want to stir up more dust in the shop, so I built
this unit to eject the air through the filter. That way, I have a large area
of slow moving air coming out instead of a jet of air shooting across the room.
Most air cleaners suck air through the filter, then eject it through a small port.
I didn't want to stir up more dust in the shop, so I built
this unit to eject the air through the filter. That way, I have a large area
of slow moving air coming out instead of a jet of air shooting across the room.
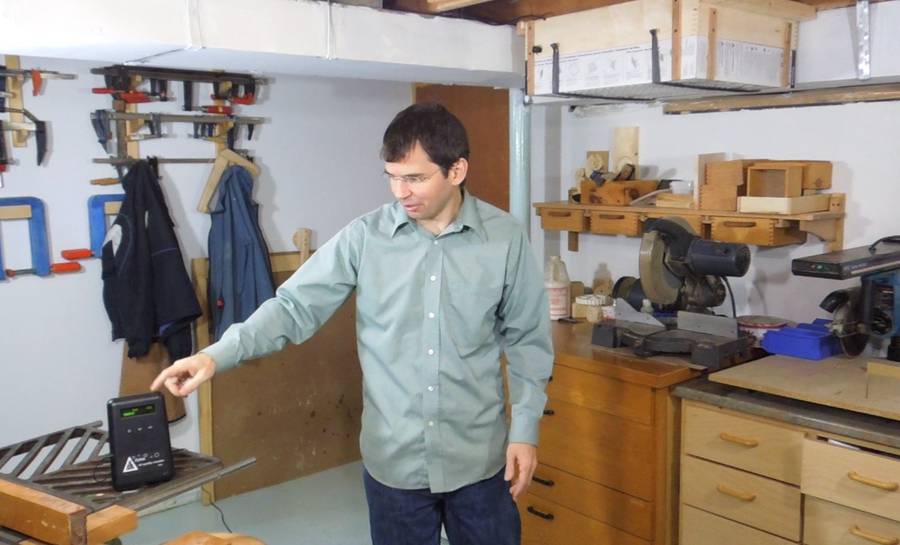
The Dylos air quality monitor, sitting below it, sees the particle count dropping substantially within seconds of turning it on, and the particle count soon drops very low.
But as it turns out, with slow moving air coming out of this air cleaner, it really doesn't circulate air throughout the room. It will very quickly clean the air around the unit, but if I take a reading just two meters away, even after a few minutes running, I don't see significant change in particle counts.
 So this configuration would work quite well for cleaning the air in a
specific area. It would make sense to mount it directly overhead, above
my workbench.
This might be a good configuration if one was working in a large workshop
and just wanted to clear the area in one's immediate workspace.
So this configuration would work quite well for cleaning the air in a
specific area. It would make sense to mount it directly overhead, above
my workbench.
This might be a good configuration if one was working in a large workshop
and just wanted to clear the area in one's immediate workspace.
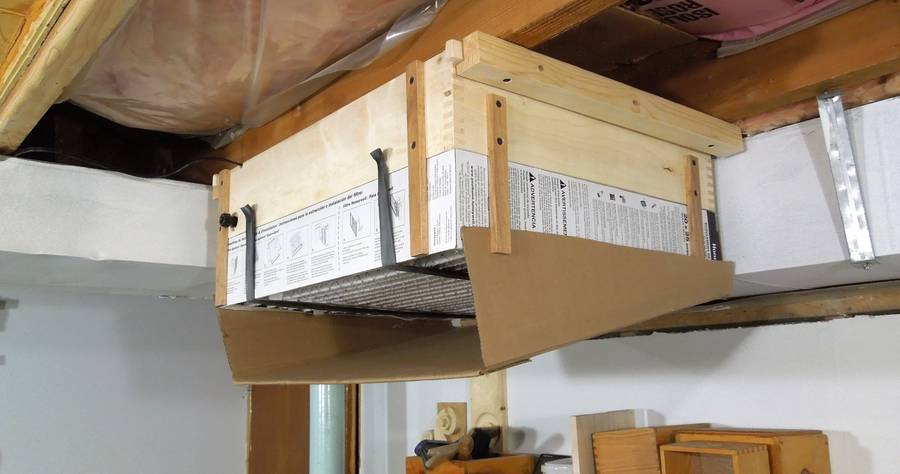
But with the low ceiling height in my workshop, mounting it over my workbench isn't a practical option.
So I added this cardboard chute, which directs air towards the shop. Standing two meters away from it, I can feel a breeze coming from the unit, so it definitely circulates air through the shop. But with this configuration, there isn't the same immediate drop in particle counts in a specific area.
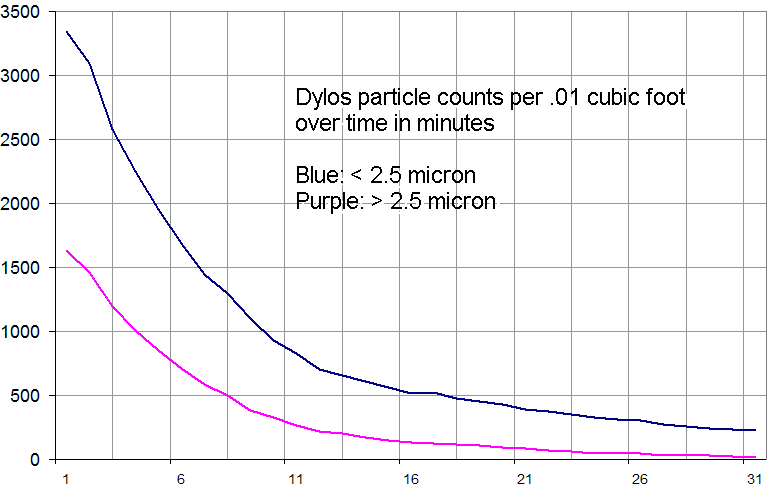 With the chute in place, and the Dylos meter
in different positions, I found that the air cleaner will take about half the
dust out of the air every six or seven minutes, then eventually settles around
particle counts of 50 for the 0.5-2.5 micron count and 0 for the than 2.5 micron
count. The counts are particles per 0.01 cubic foot.
Without the air cleaner running, it typically takes about an hour for half of
the small particles to settle out.
With the chute in place, and the Dylos meter
in different positions, I found that the air cleaner will take about half the
dust out of the air every six or seven minutes, then eventually settles around
particle counts of 50 for the 0.5-2.5 micron count and 0 for the than 2.5 micron
count. The counts are particles per 0.01 cubic foot.
Without the air cleaner running, it typically takes about an hour for half of
the small particles to settle out.
Getting mathematical, if it clears half the dust every seven minutes, that would be an exponential decay time constant of 10 minutes. Assuming the shop air mixes perfectly, for a time constant of 10 minutes, the unit has to filter a volume equivalent to the workshop every 10 minutes. With my workshop about 400 square feet (or about 35 square meters), and about 6.5 feet (2 meters) high, I have a volume of 2600 cubic feet. So the air cleaner probably does a volume of about 260 CFM. Not bad for a unit that only draws 40 watts of power.
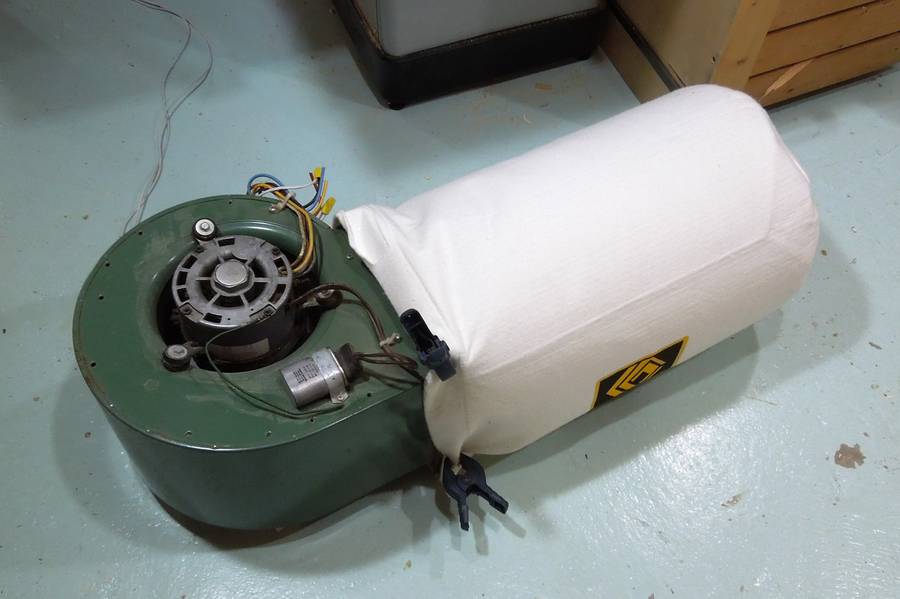 Another option to clearing shop air is to just run your dust collector
(assuming it has a good quality filter or bag). As long as
you have good bags (the felt-like variety) on your dust collector, that will
take a lot of dust out of the air.
Another option to clearing shop air is to just run your dust collector
(assuming it has a good quality filter or bag). As long as
you have good bags (the felt-like variety) on your dust collector, that will
take a lot of dust out of the air.
I also experimented with just putting a bag over a furnace filter. That seems to work ok, but it's not ideal. The furnace fan only produces about 16 mm of static pressure. I also measured the pressure inside my large dust collector, which does a superb job of cleaning the air. The pressure inside the filter for that unit is 42 mm.
 An update, five months
 Dylos air quality monitor
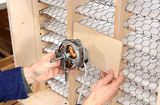 Another workshop air cleaner
 Yet another air cleaneer
 Photographing
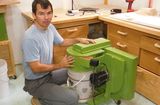
 Macro photographing
 Mini tornado experiment
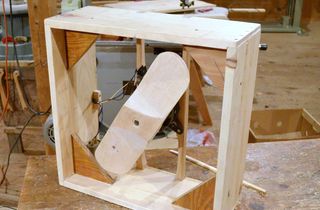 Homemade box fan
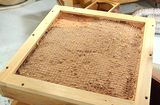 Fiberglass insulation
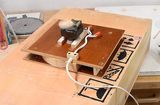 Mini dust collector
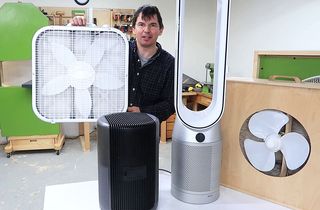 Comparing air purifier solutions to clear smoke from the air
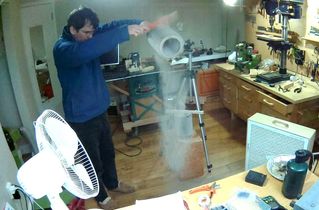 Measuring how long it takes dust to settle
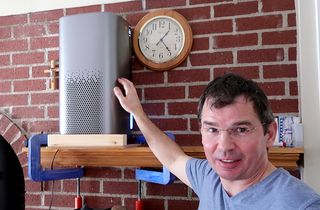 Air purifier vs wood stove