Making a sheet-goods lumber cart
 I'm still trying to get organized in my big garage workshop. I figured
it made sense to build a rack for odd sized pieces of plywood.
I'm still trying to get organized in my big garage workshop. I figured
it made sense to build a rack for odd sized pieces of plywood.
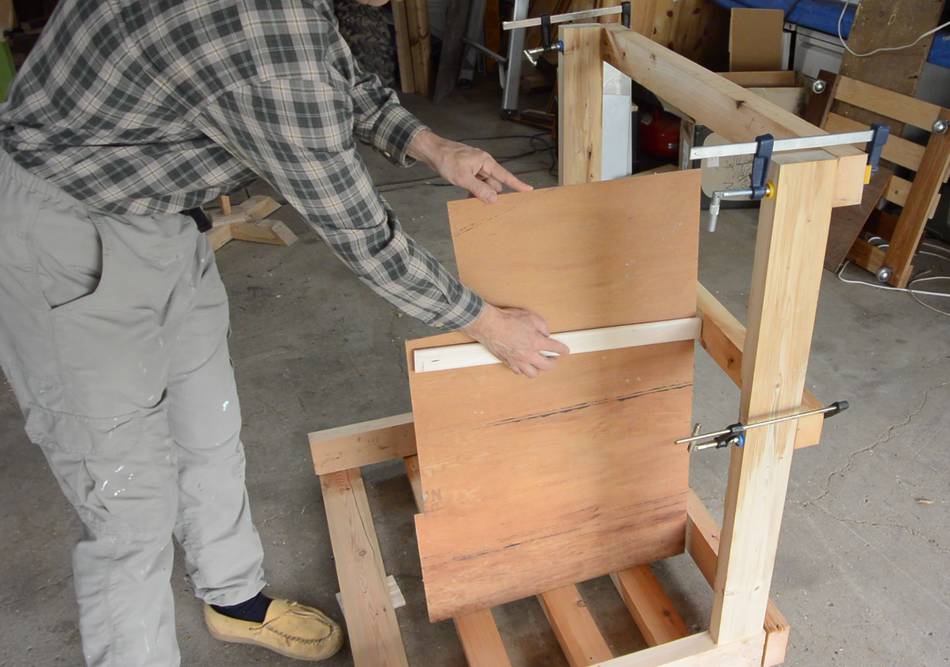
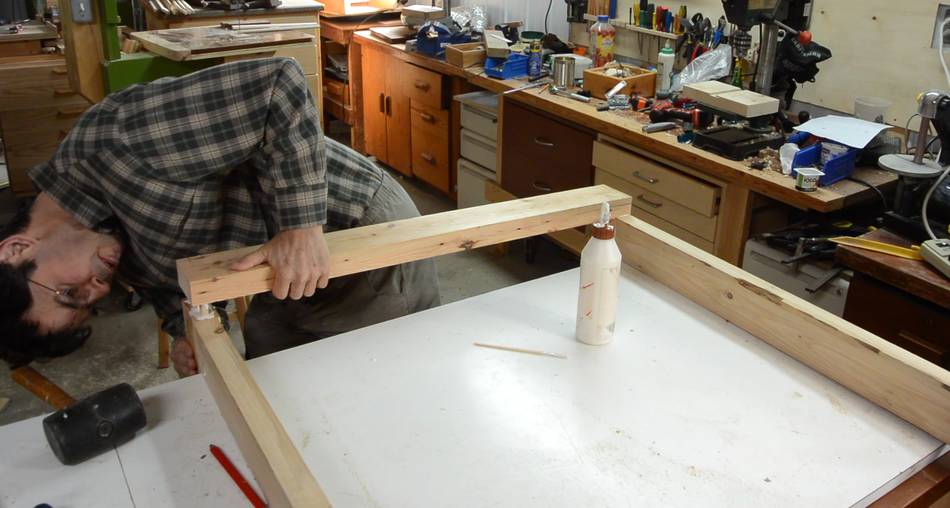
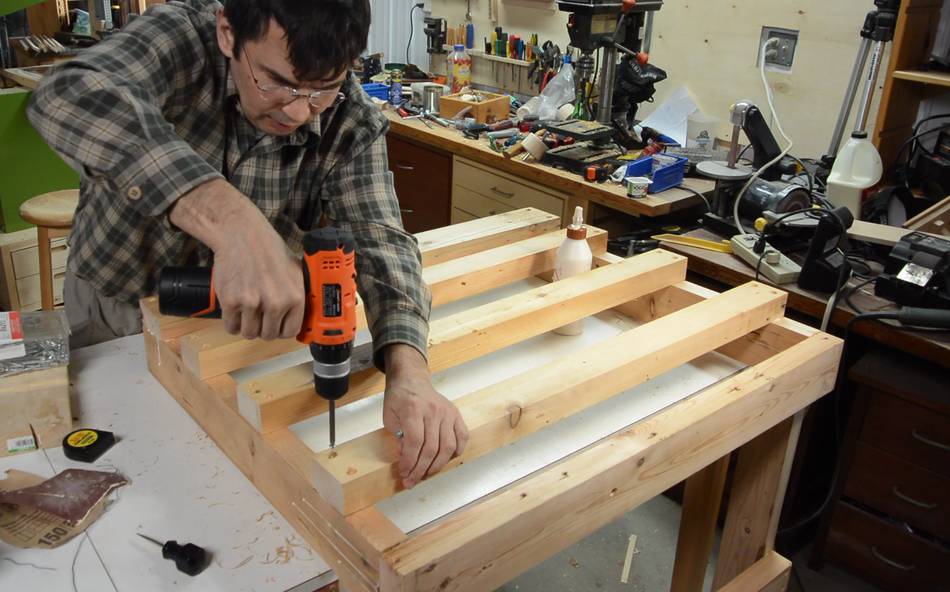
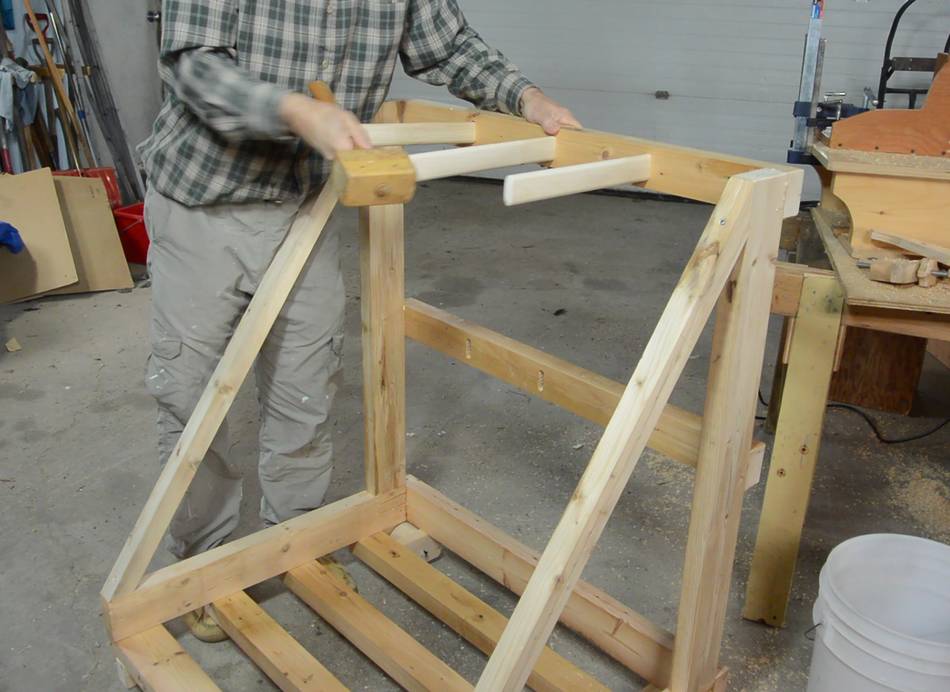
Here I already have the pieces for the cart cut to length and mocked up. The pieces of plywood and such are going to stand upright, with a few pieces of wood sticking out the back of the rack to keep the sheets from tipping onto each other.
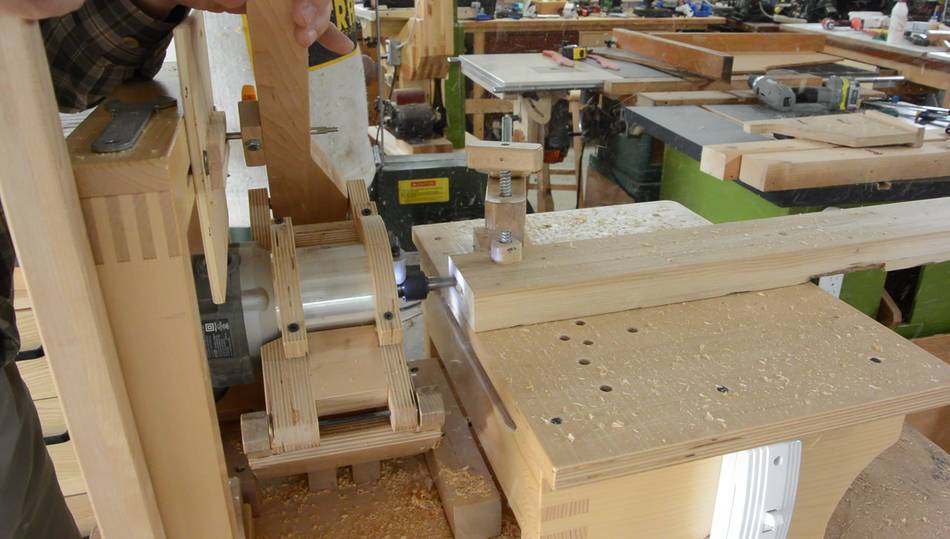
 Joining these pieces is best with a mortise to be cut at a right angle
to the piece of wood. The pantorouter
is a machine that can do that.
Joining these pieces is best with a mortise to be cut at a right angle
to the piece of wood. The pantorouter
is a machine that can do that.
I should add, most instances of mortises at a right angle to the grain are the result of poor design. The mortise cuts across too much of the piece of wood, weakening it. A pair of dowels is usually better than a mortise across the grain.

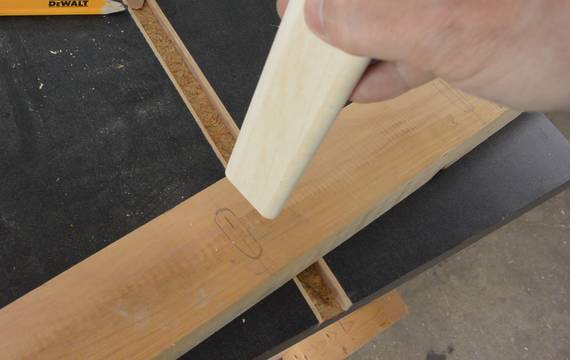
 I made a template with a vertical slot and used that to cut the mortises,
then checked the fit.
I made a template with a vertical slot and used that to cut the mortises,
then checked the fit.
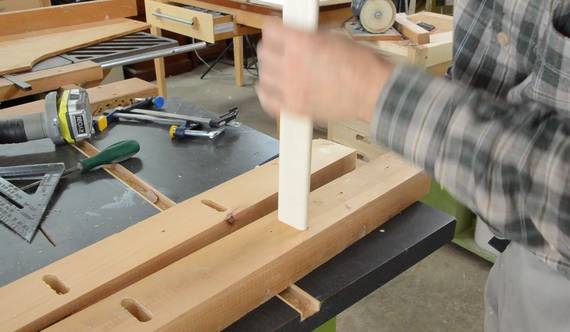
 Since I was already using the pantorouter, I figured I might as well use it to
cut mortises to join some of the pieces of the frame with floating tenons later.
Since I was already using the pantorouter, I figured I might as well use it to
cut mortises to join some of the pieces of the frame with floating tenons later.
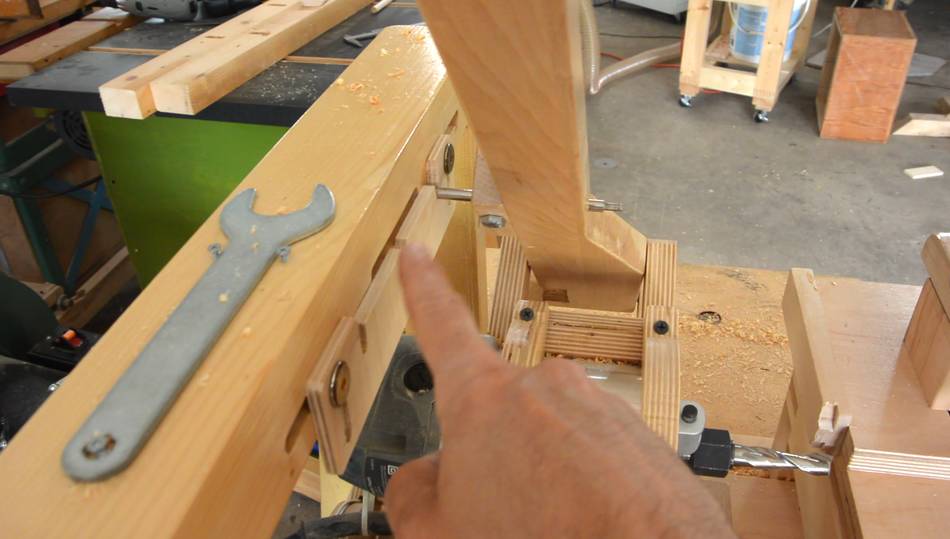
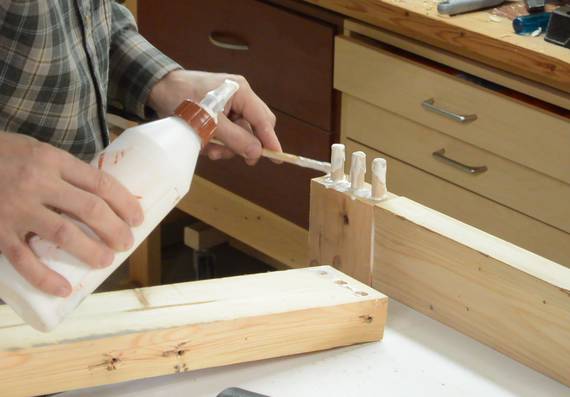
 And seeing that I was already using the pantorouter, I might as well also use
it as a doweling machine to join the back corners of the frame.
And seeing that I was already using the pantorouter, I might as well also use
it as a doweling machine to join the back corners of the frame.
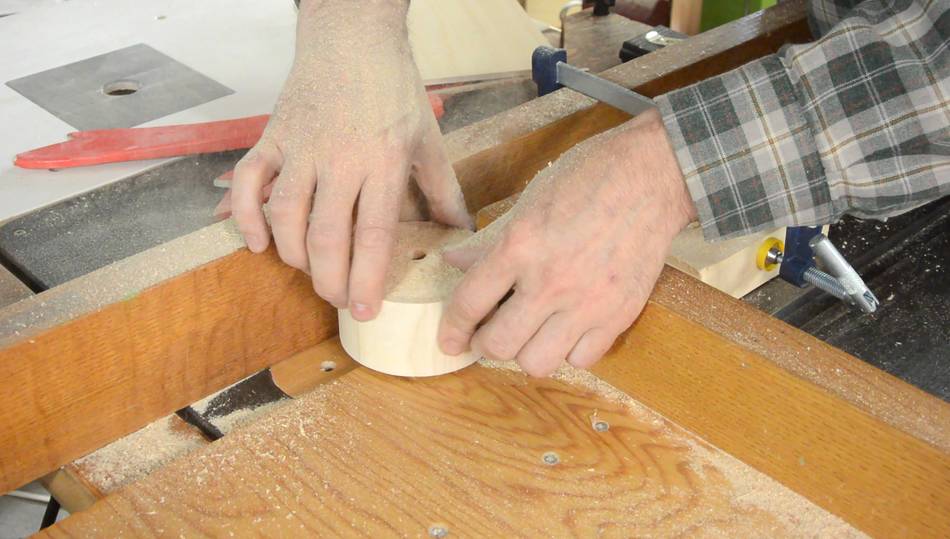
I made a template with three notches in it to position the router for drilling three holes in line side-by-side.
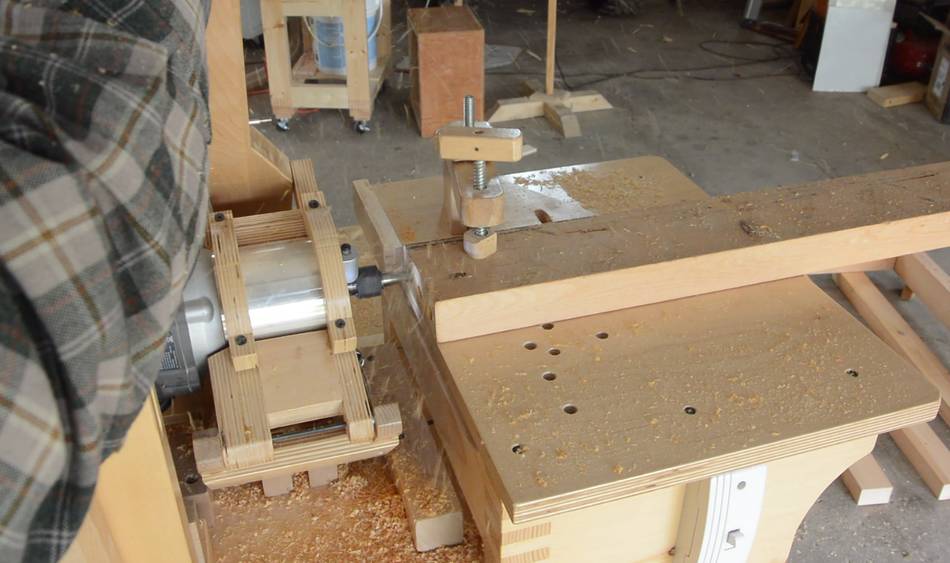 For the holes in the end of the piece of wood, the pantorouter acts as a horizontal
boring machine.
For the holes in the end of the piece of wood, the pantorouter acts as a horizontal
boring machine.
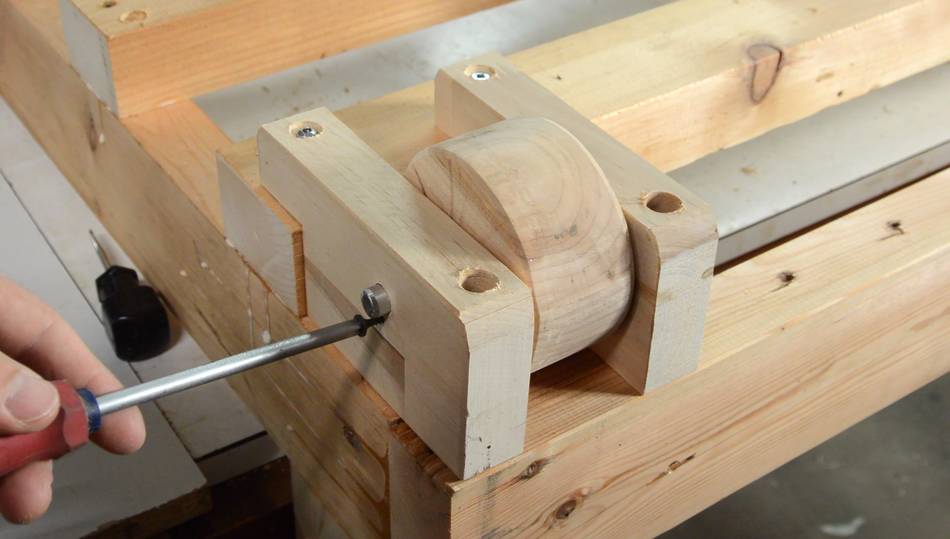
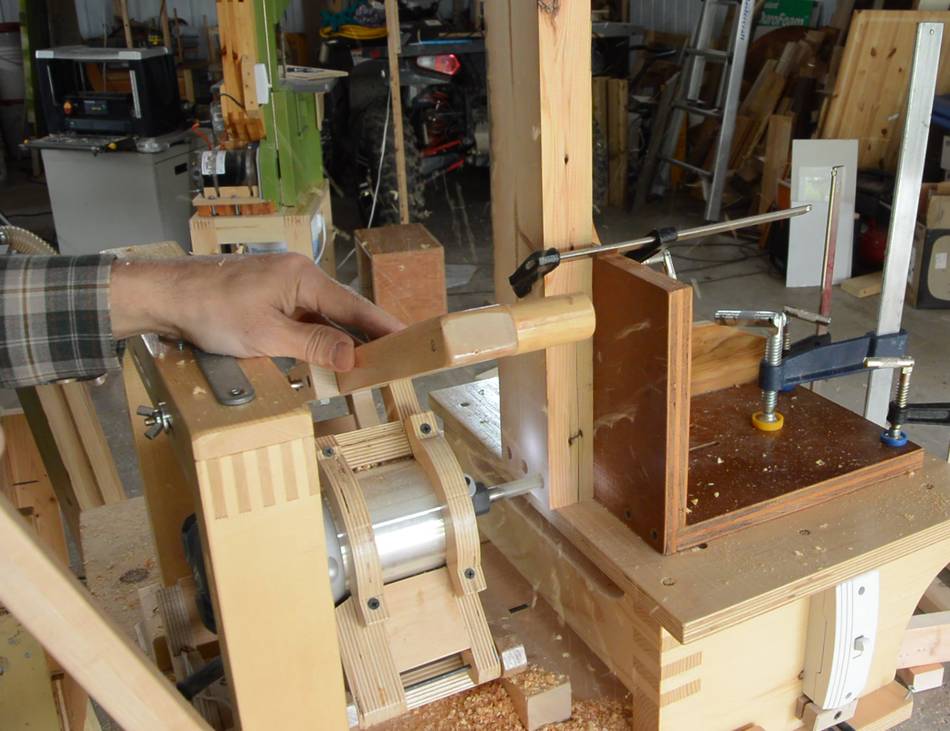 But for the mating pieces I had to jig the workpiece up vertically to drill them.
My pantorouter doesn't have a tilting table, so I used a jig to hold
the wood. This jig is actually my very first, very basic
tenon jig (that I built around 1997).
But for the mating pieces I had to jig the workpiece up vertically to drill them.
My pantorouter doesn't have a tilting table, so I used a jig to hold
the wood. This jig is actually my very first, very basic
tenon jig (that I built around 1997).
 Assembling the corner joints with floating tenons.
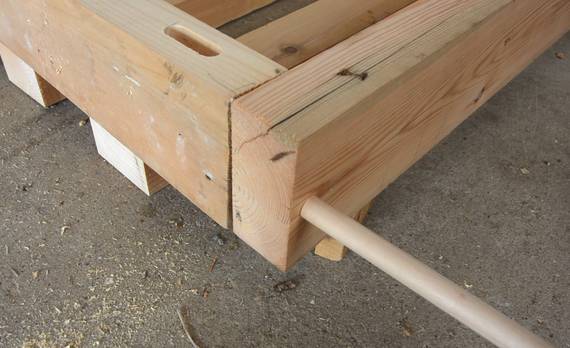
 Then joining the other corners with the three dowels.
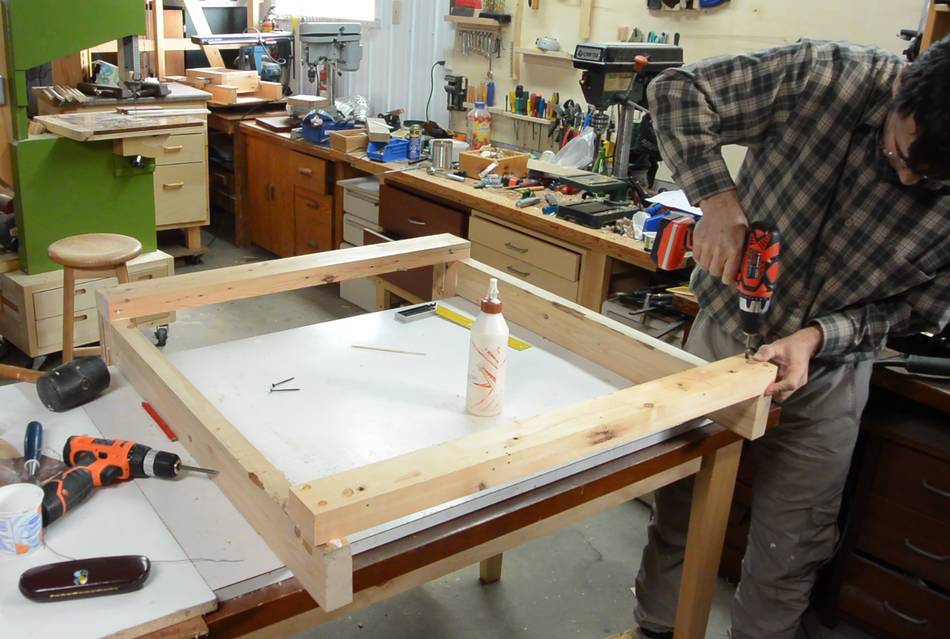 Other, less critical parts of the frame are just joined with screws
and glue.
Other, less critical parts of the frame are just joined with screws
and glue.
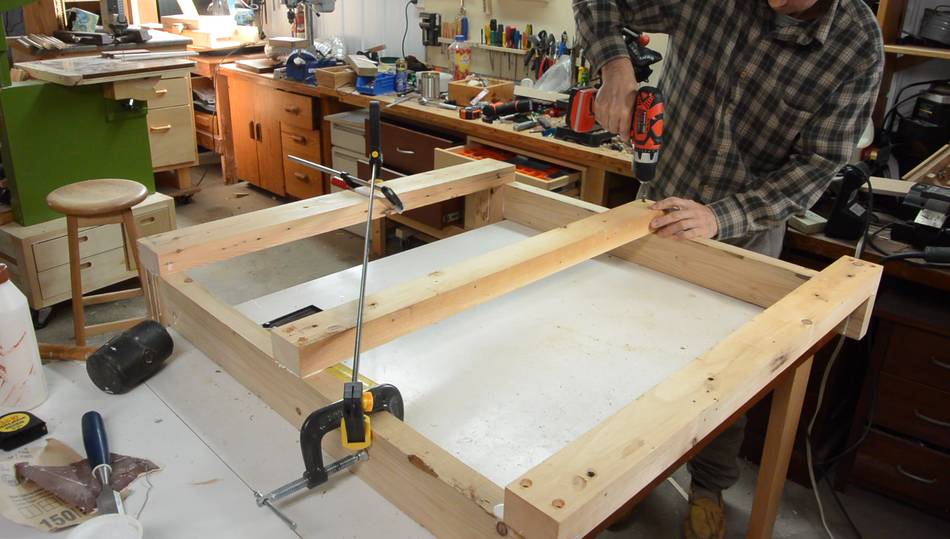
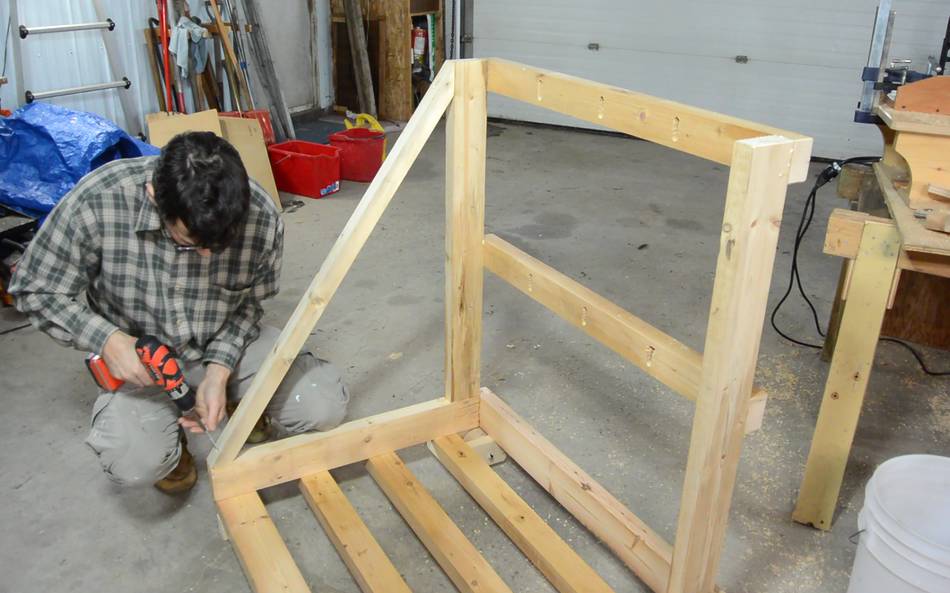
 Checking it for square. It was a bit out of square. I didn't
have a clamp long enough to span the diagonal so I attached two
clamps to the frame and clamped to those to pull the frame into square.
Checking it for square. It was a bit out of square. I didn't
have a clamp long enough to span the diagonal so I attached two
clamps to the frame and clamped to those to pull the frame into square.
 Attaching the last cross-piece to the back.
After that I let the glue dry for an hour before removing the diagonal clamp.
 Then flipping the rack over and screwing cross-pieces to the bottom.
These will support the sheet goods in the rack.
Then flipping the rack over and screwing cross-pieces to the bottom.
These will support the sheet goods in the rack.
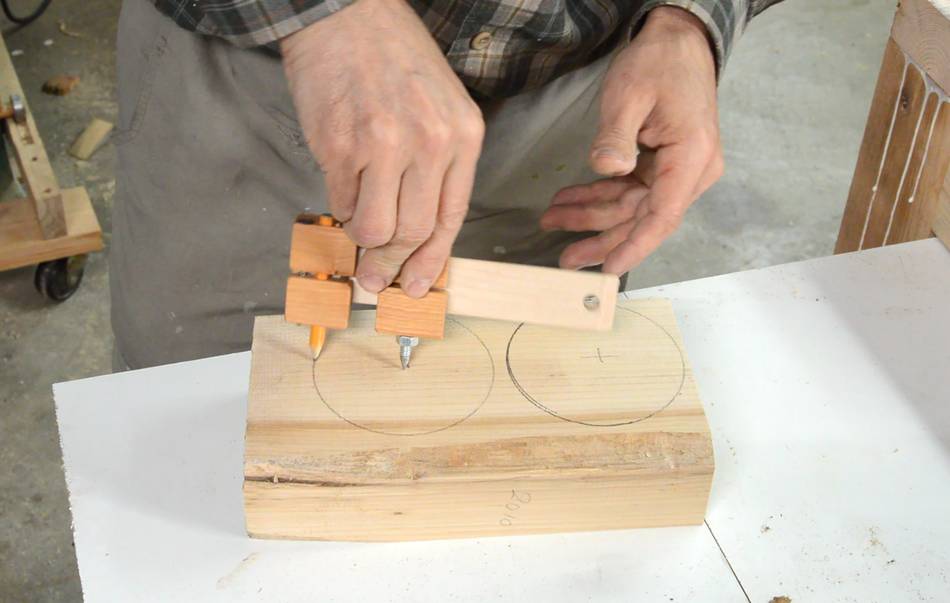
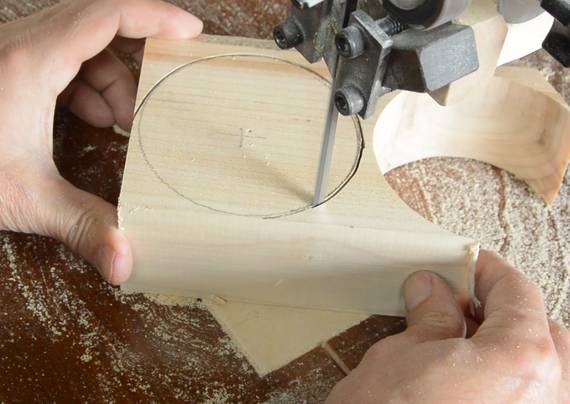 I made some wooden wheels, marking circles with my
beam compass, using it with a
very short beam to be less awkward.
I made some wooden wheels, marking circles with my
beam compass, using it with a
very short beam to be less awkward.
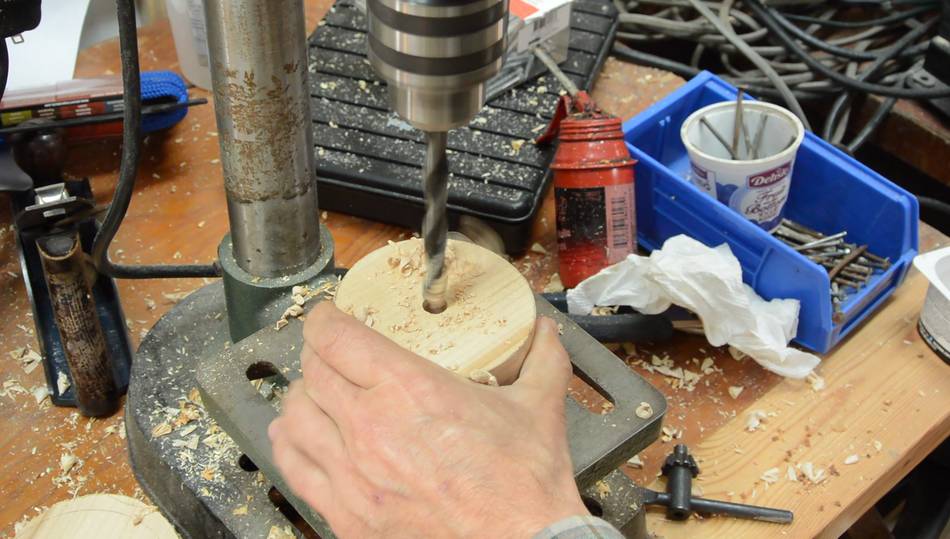 As I drilled the axle holes, I drilled by about 1 cm, then turned the wheel 180
degrees, drilled another cm, and so on. This mostly cancels out any angle error
that the drill press may have.
As I drilled the axle holes, I drilled by about 1 cm, then turned the wheel 180
degrees, drilled another cm, and so on. This mostly cancels out any angle error
that the drill press may have.
 I then jigged something up to cut the wheels slightly thinner towards the edges.
The main goal for this is to make them slightly wider near the "hub", so when
they rub against their mounts, they will rub near the middle, with less friction.
I then jigged something up to cut the wheels slightly thinner towards the edges.
The main goal for this is to make them slightly wider near the "hub", so when
they rub against their mounts, they will rub near the middle, with less friction.
Washers on the axles would have solved that problem, but I didn't have any washers of the right size handy. Think of the bump near the hub as an integral washer.
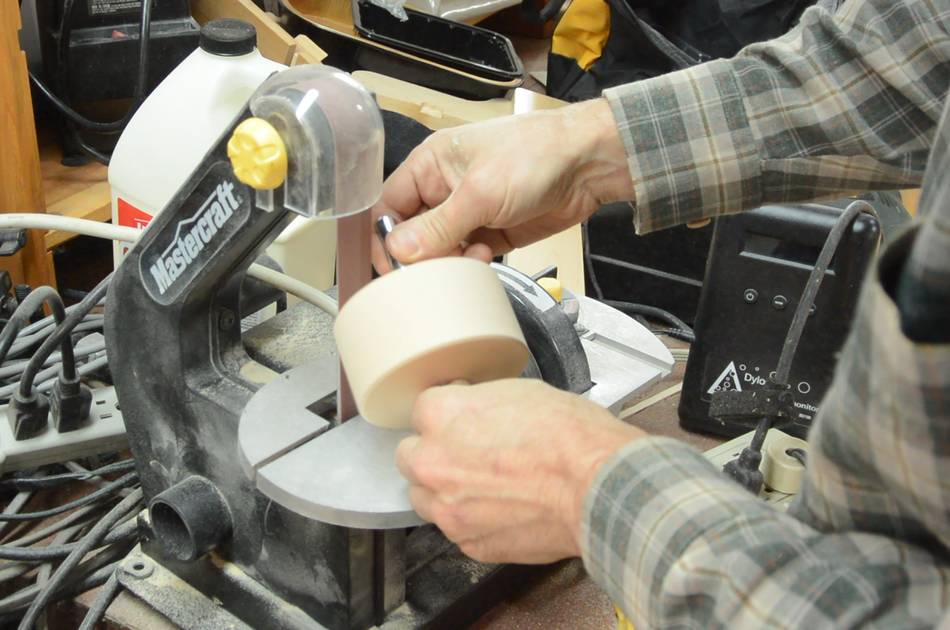 I added a bevel to the edges of the wheels using a strip sander.
 Wheel mounted on the frame, using a steel axle. I put some screws in near
the axle ends to keep the axle from working its way out the side.
Wheel mounted on the frame, using a steel axle. I put some screws in near
the axle ends to keep the axle from working its way out the side.
 I also added some blocks to the front to act as feet.
 Adding some diagonal braces. These stiffen it up and also help support the sheet goods
on either side.
Adding some diagonal braces. These stiffen it up and also help support the sheet goods
on either side.
 Then adding the pieces to keep the wood from tipping over sideways. Three along the
top, and three more in the rail below for shorter pieces.
Then adding the pieces to keep the wood from tipping over sideways. Three along the
top, and three more in the rail below for shorter pieces.
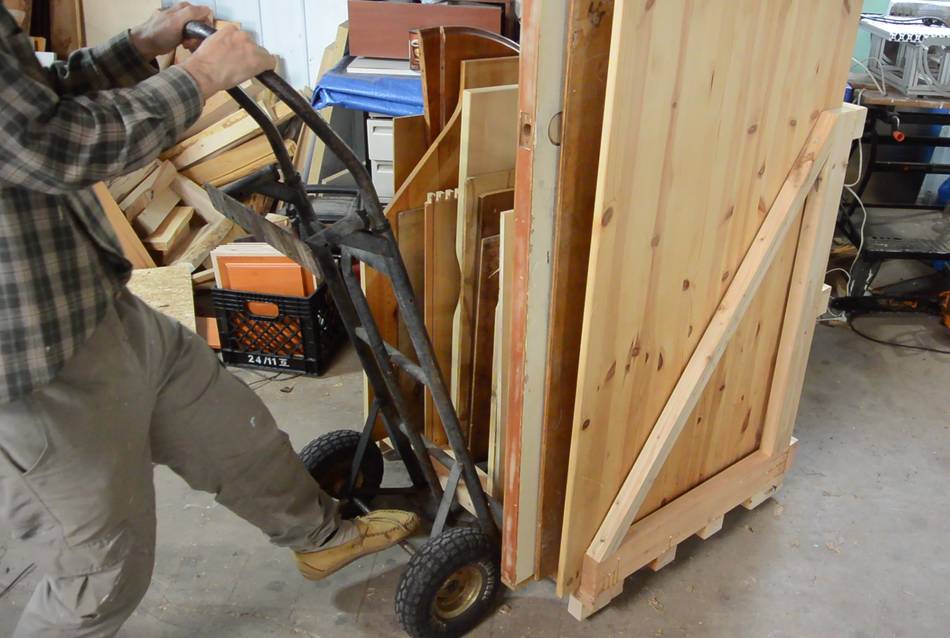 The idea was that the cart only has wheels on the back, and if I need to move it,
I'd just pick up the other end with a hand truck. This was inspired by
this technique for moving,
hitching and unhitching a loaded trailer.
The idea was that the cart only has wheels on the back, and if I need to move it,
I'd just pick up the other end with a hand truck. This was inspired by
this technique for moving,
hitching and unhitching a loaded trailer.
But fully loaded with sheet goods, the cart was very heavy and awkward to manoeuvre this way. It was very difficult to move it other than in a straight line.
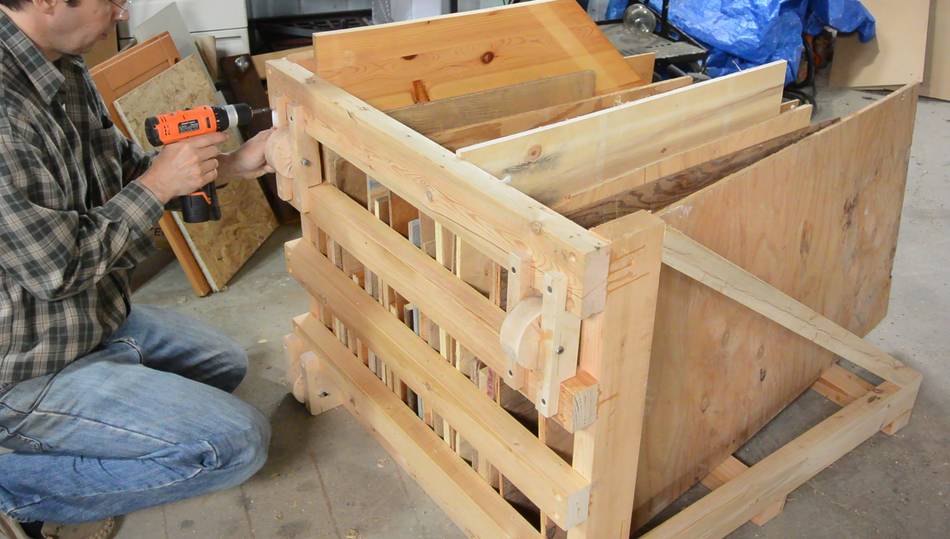
 So I figured it made more sense to add wheels to the front as well. I took
the heaviest pieces of wood off the cart and tipped it on its back to
attach a second set of wheels.
So I figured it made more sense to add wheels to the front as well. I took
the heaviest pieces of wood off the cart and tipped it on its back to
attach a second set of wheels.
 This makes the cart relatively easy to push in a straight line, but impossible
to steer. To change direction, I can lever it up with a piece of 2x4
and move the front to the side.
This makes the cart relatively easy to push in a straight line, but impossible
to steer. To change direction, I can lever it up with a piece of 2x4
and move the front to the side.
This is awkward, but my main motivation for putting wheels on it is that it's easier to move it into position once I decide where it goes (I still haven't figured out a final layout for the shop yet).
But with the cart easy to move in a straight line, it will be easy to pull away from the wall to get at stuff behind it, so I may end up storing more sheet goods there.
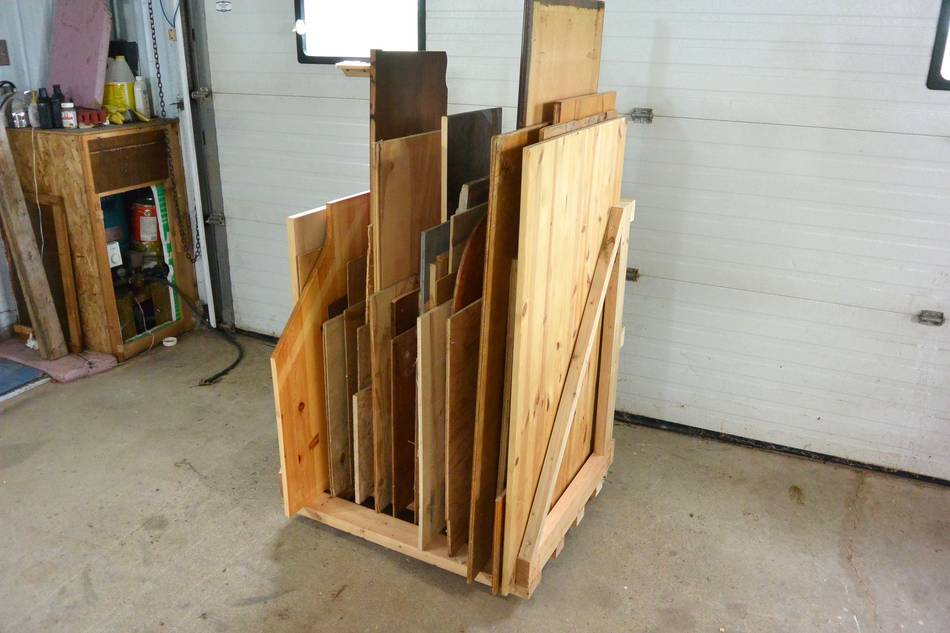
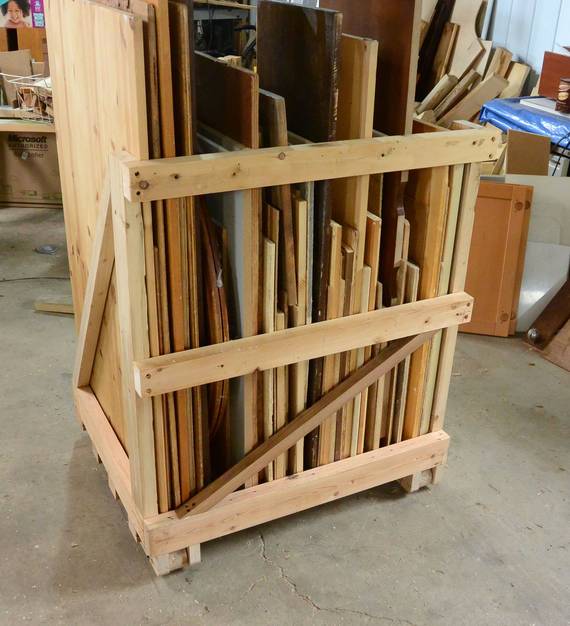 I thought I'd have spare room in this lumber cart, but by the time I gathered all
my sheet goods in one place it was completely full.
I thought I'd have spare room in this lumber cart, but by the time I gathered all
my sheet goods in one place it was completely full.
Also, with the cart heavier than anticipated, I also added a diagonal brace to the back to give it more side-to-side stiffness.
Most of the "sheet goods" are reclaimed material from the garbage. Except for Baltic birch plywood, I have not bought any new plywood in at least five years. But having moved to the country, my opportunities for scavenging wood from the curb will be fewer, so I may have to buy some new plywood again, maybe a year from now.
See also:
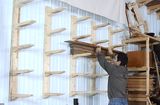 Big lumber rack
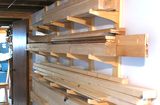 Hallway lumber rack
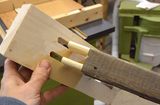 Double tenoned shelves
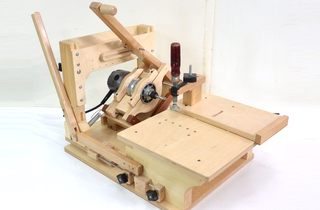 The pantorouter
 Big garage workshop
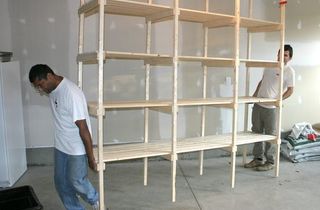 Storage shelves
Back to my Woodworking website