 Here is how I have been keeping my spare lumber in my
big garage workshop.
I guess I could call this a "vertical storage system", but mostly it's
just a mess. Time to build a proper lumber rack.
Here is how I have been keeping my spare lumber in my
big garage workshop.
I guess I could call this a "vertical storage system", but mostly it's
just a mess. Time to build a proper lumber rack.
Here is how I have been keeping my spare lumber in my
big garage workshop.
I guess I could call this a "vertical storage system", but mostly it's
just a mess. Time to build a proper lumber rack.
 A lot of people build lumber racks out of 2x4s, with the horizontal 2x4s held
onto the vertical ones with some plywood brackets, as shown at left.
A lot of people build lumber racks out of 2x4s, with the horizontal 2x4s held
onto the vertical ones with some plywood brackets, as shown at left.
But getting at some of the boards further down means unstacking all the boards on top of them. So I figured it would be better to have more supports closer together so the stacks aren't as high. But with this design, that means a lot of vertical space is taken up by the supports.
I figured I'd make mine by flipping the 2x4s on their side so they don't take up as much vertical space, But that makes the joinery much more critical.
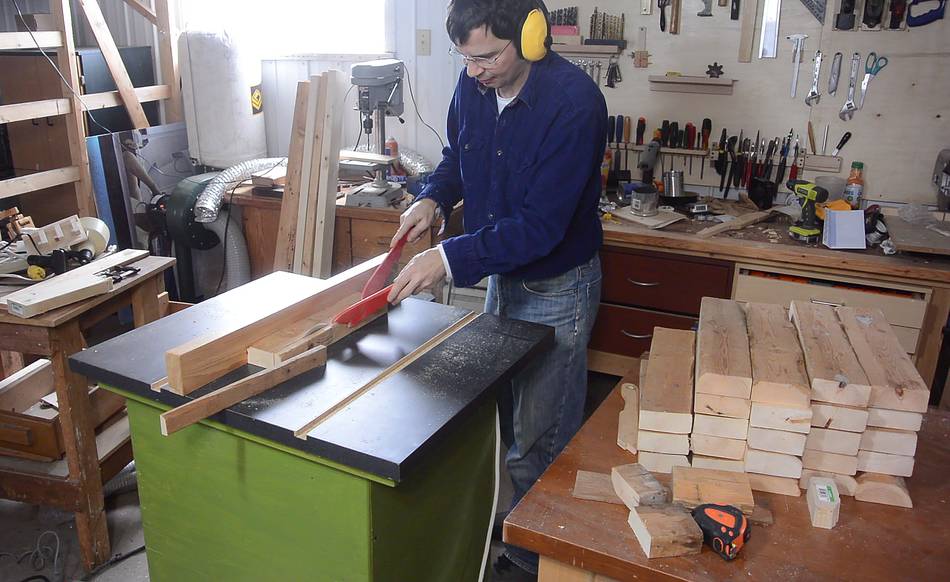
 I started by cutting the shorter pieces that will form the "shelf" part
of the lumber rack on my homemade
table saw. I'm making the cross cuts by plunging the saw through
from the bottom using the lever that sticks out the front of the saw.
This keeps most of the dust inside the saw.
I started by cutting the shorter pieces that will form the "shelf" part
of the lumber rack on my homemade
table saw. I'm making the cross cuts by plunging the saw through
from the bottom using the lever that sticks out the front of the saw.
This keeps most of the dust inside the saw.
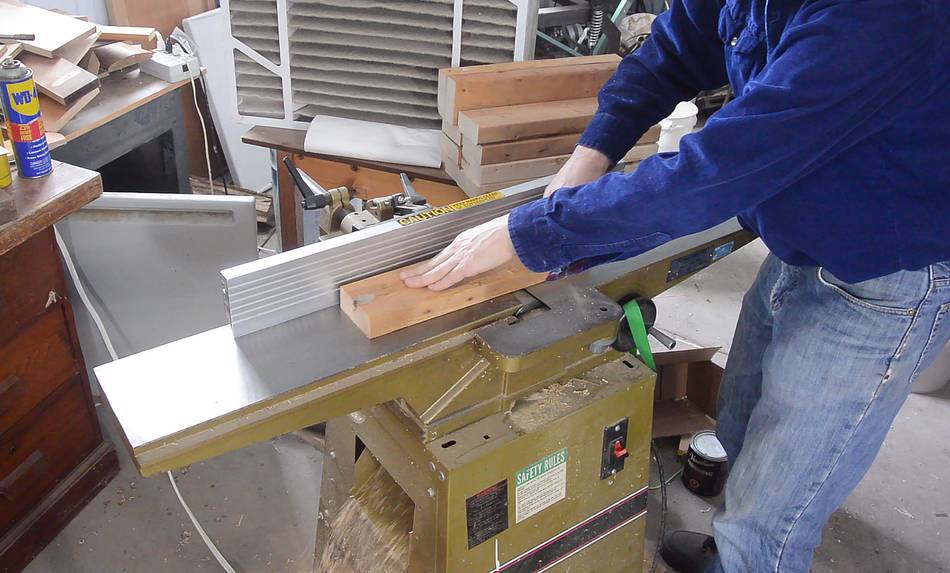 Then straightening and flattening the pieces on the jointer. Some of the
old 2x4s I used were quite twisted. But cutting into short sections and
passing them over the jointer takes care of that.
Then straightening and flattening the pieces on the jointer. Some of the
old 2x4s I used were quite twisted. But cutting into short sections and
passing them over the jointer takes care of that.
 Then ripping the pieces to their final width.
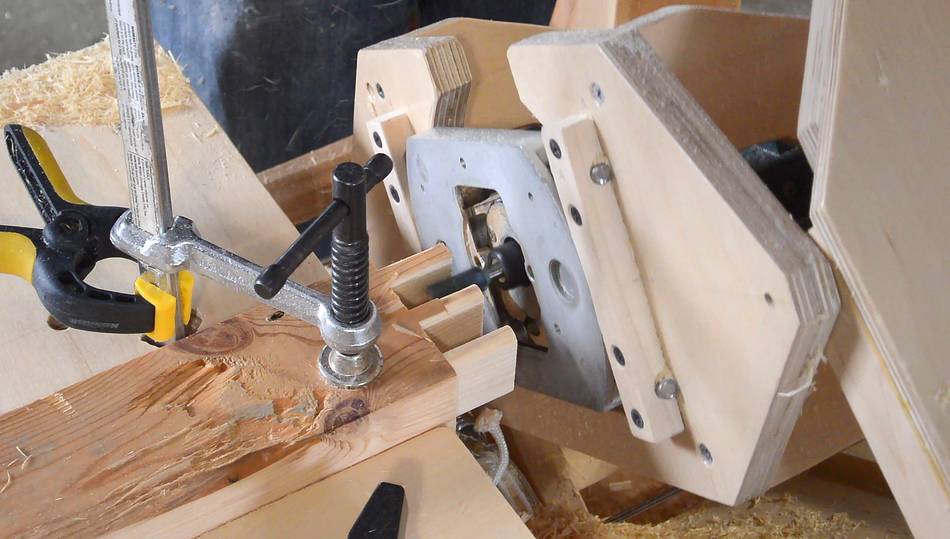
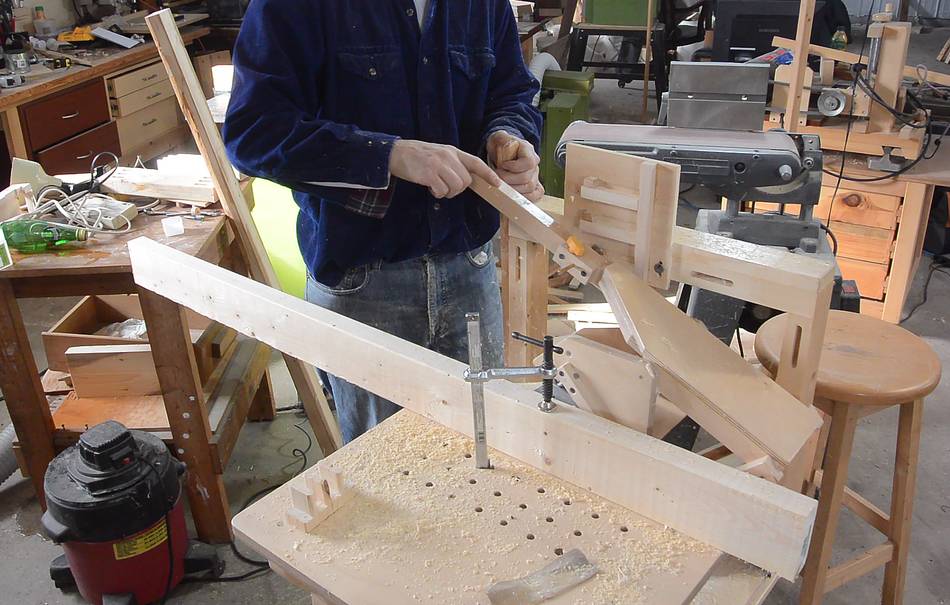 Cutting the slots for triple mortise and tenon joints in the uprights
for the shelves. I'm using my pantorouter XL
for this, with a template with three straight tracks on it to make the slots
for the mortises.
Cutting the slots for triple mortise and tenon joints in the uprights
for the shelves. I'm using my pantorouter XL
for this, with a template with three straight tracks on it to make the slots
for the mortises.
 With five uprights and five horizontals joining with three mortises into each,
that makes for 75 mortises in total. Where are all the guys saying they could
do it faster by hand now?
With five uprights and five horizontals joining with three mortises into each,
that makes for 75 mortises in total. Where are all the guys saying they could
do it faster by hand now?
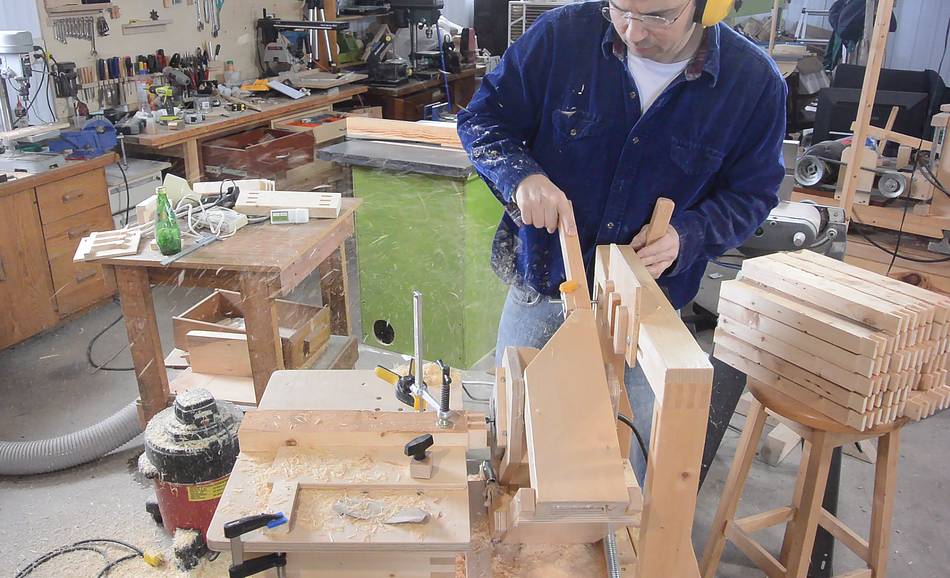 Then switching over to a tenon template and cutting the tenons.
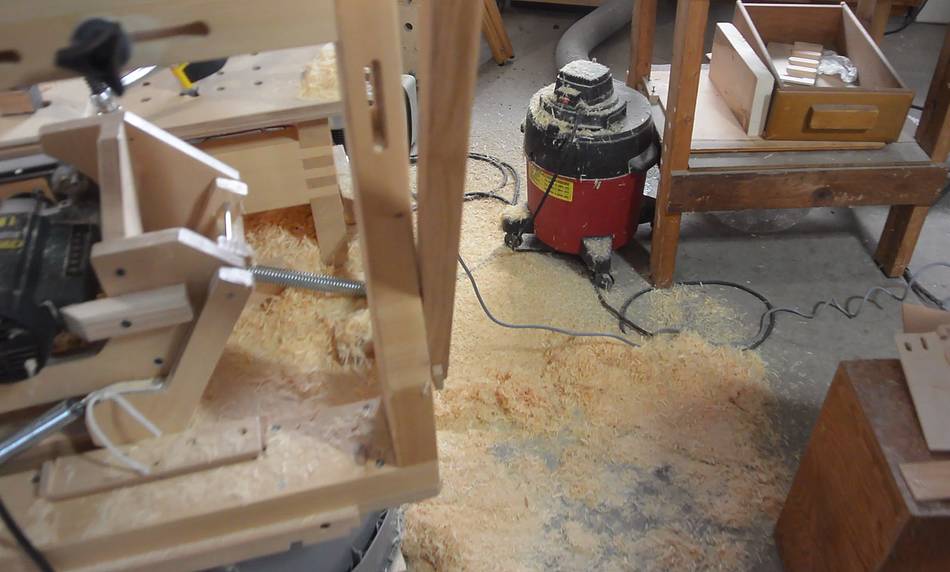
The pantorouter kicks up a lot of dust, especially when cutting tenons. I set up a fan to the right of it to blow it away from me. That worked out pretty well.
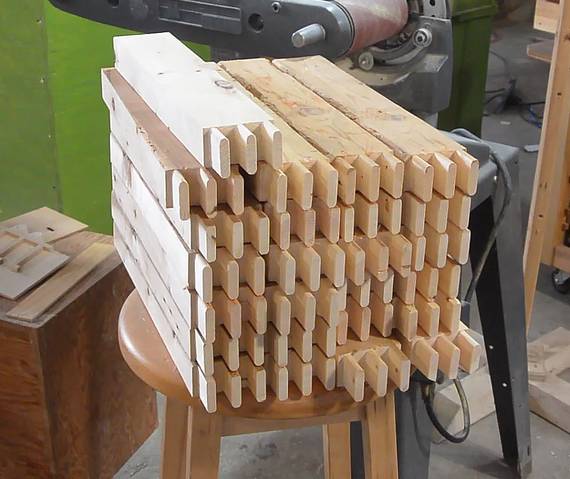 Cutting the triple tenons, 75 tenons in all.
 Cutting tenons makes lots of big shavings.
There is a very effective dust collection shroud for the metal pantorouter, which could also be retrofit onto the wooden pantorouter, but not onto the pantorouter XL.
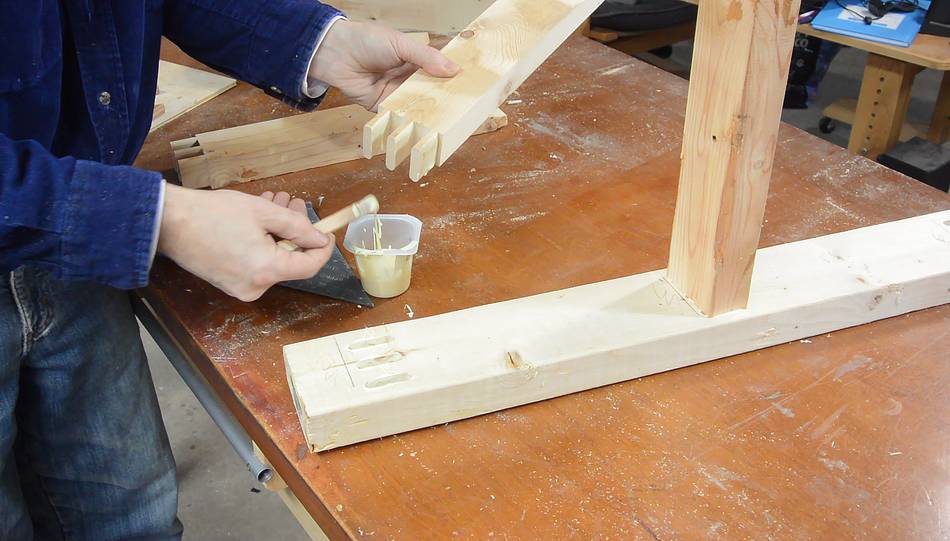 Gluing the joints together.
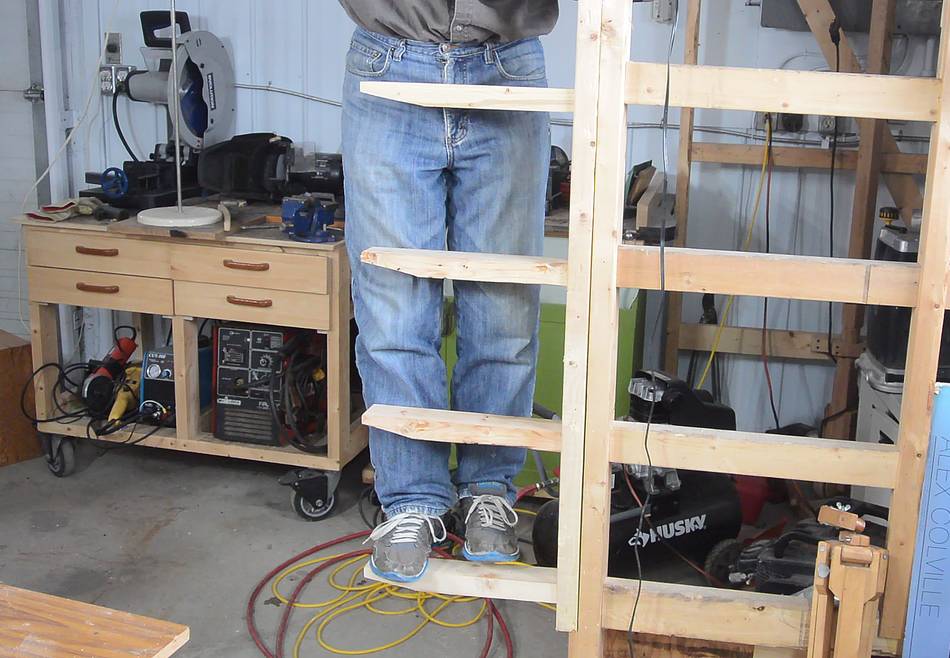 I clamped one of the supports onto the side of my scaffold
and stepped onto it to test the strength. I think stepping near the end
of the support was very close to the limit. With three 3/8" tenons side by side,
that only makes for 9/8" total, so only so much wood.
I clamped one of the supports onto the side of my scaffold
and stepped onto it to test the strength. I think stepping near the end
of the support was very close to the limit. With three 3/8" tenons side by side,
that only makes for 9/8" total, so only so much wood.
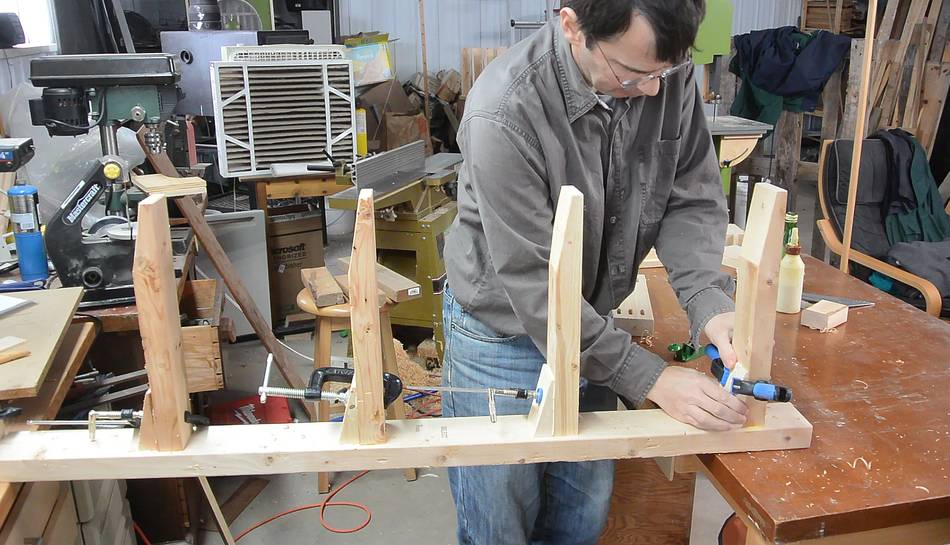
 So I made a whole bunch of triangular wood braces to glue to the bottom of
each support. These don't have any tenons on them, but the braces are only
under compression, so a tenon wouldn't help much. Effectively widening the
support at the end makes for much better leverage, strengthening the joint.
So I made a whole bunch of triangular wood braces to glue to the bottom of
each support. These don't have any tenons on them, but the braces are only
under compression, so a tenon wouldn't help much. Effectively widening the
support at the end makes for much better leverage, strengthening the joint.
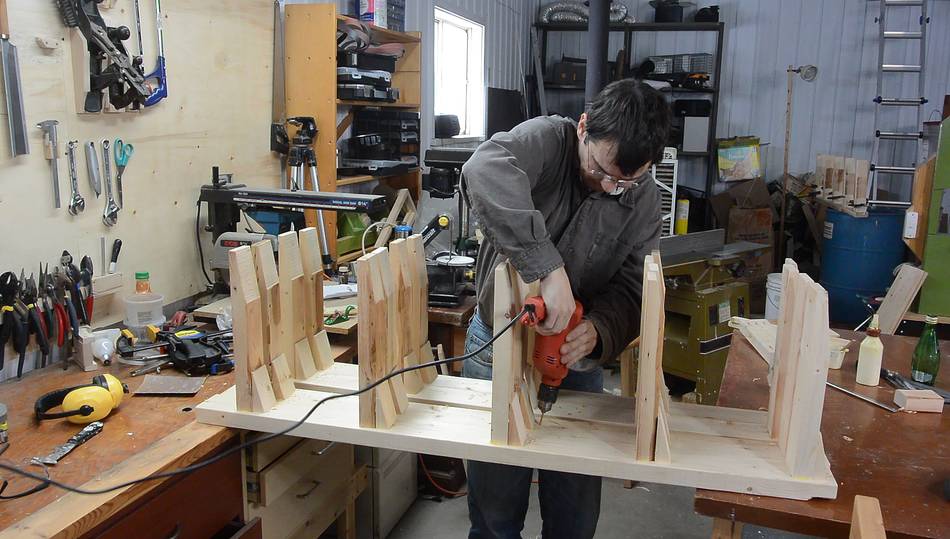 Drilling holes for screwing the supports to the walls.
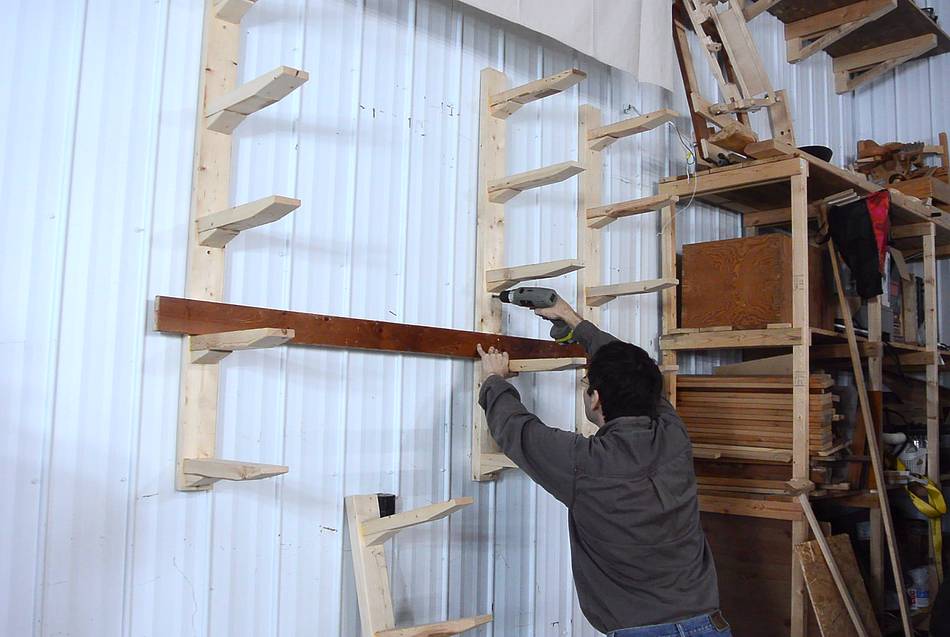 Then screwing them to the walls. I used a piece of wood on
the supports to line them up vertically.
Then screwing them to the walls. I used a piece of wood on
the supports to line them up vertically.
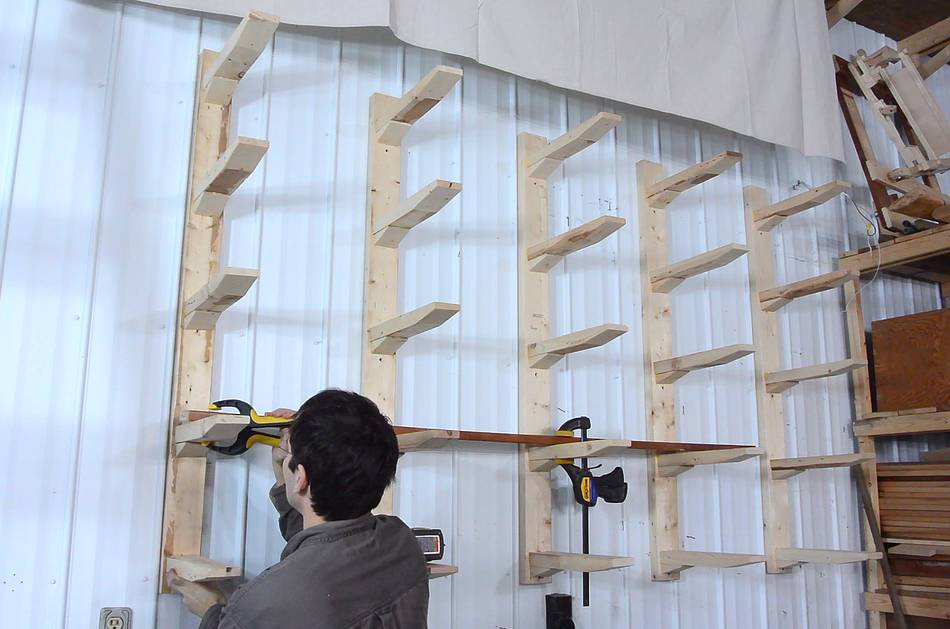 Attaching the last one. This time I clamped it to a piece of wood on the
other supports to hold it in place.
Attaching the last one. This time I clamped it to a piece of wood on the
other supports to hold it in place.
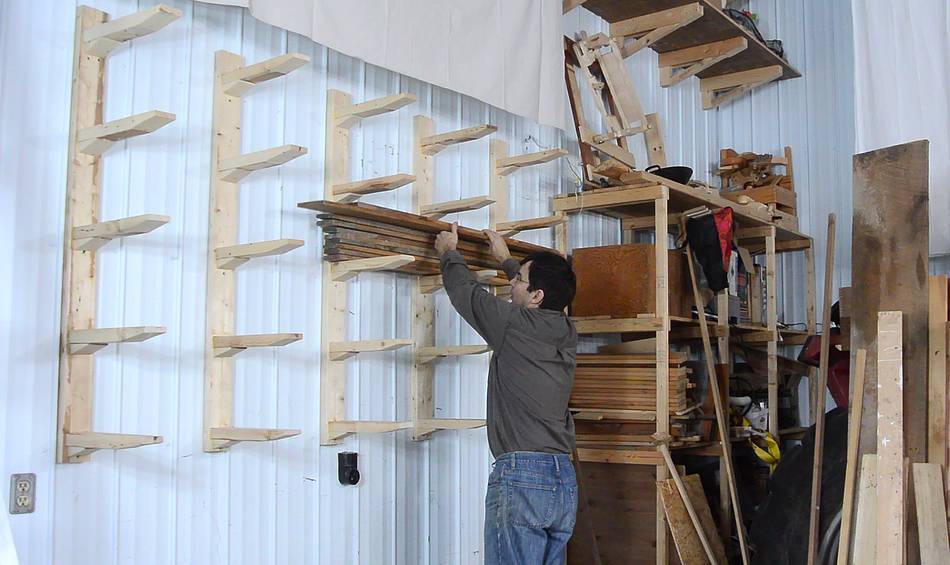 Loading it up.
 I have to stand on a stepladder to reach the top rack (2.4 m or 8' above
the floor)
I have to stand on a stepladder to reach the top rack (2.4 m or 8' above
the floor)
 There is enough room underneath to lean a 4' wide sheet of plywood against
the wall. But for the time being, I rolled some machines that I don't
use all the time underneath - my
horizontal boring machine and pantorouter XL
There is enough room underneath to lean a 4' wide sheet of plywood against
the wall. But for the time being, I rolled some machines that I don't
use all the time underneath - my
horizontal boring machine and pantorouter XL
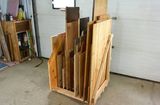 Sheet goods lubmer cart
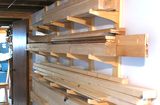 Hallway lumber rack
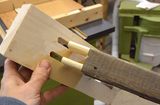 Double tenoned shelves
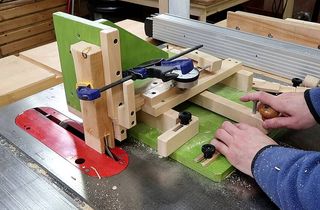 Double tenon shelf brackets
 Homemade table saw
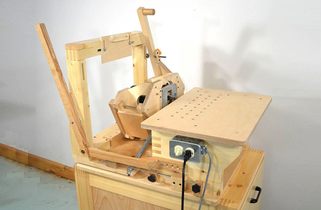 Pantorouter XL
 Big garage workshop
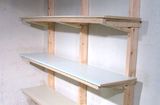 Basement shelving
 Wooden shelf brackets
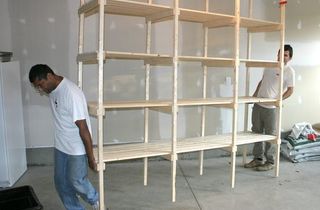 Storage shelves
 Mortised shelves