Open ended mortise on the table saw
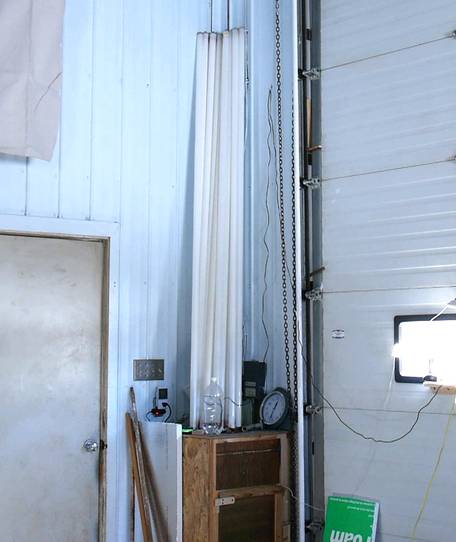 This little project started with a desire to have a safe place to store
a bunch of spare 8-foot (2.4 meter) long fluorescent tubes
in my big garage workshop.
This little project started with a desire to have a safe place to store
a bunch of spare 8-foot (2.4 meter) long fluorescent tubes
in my big garage workshop.
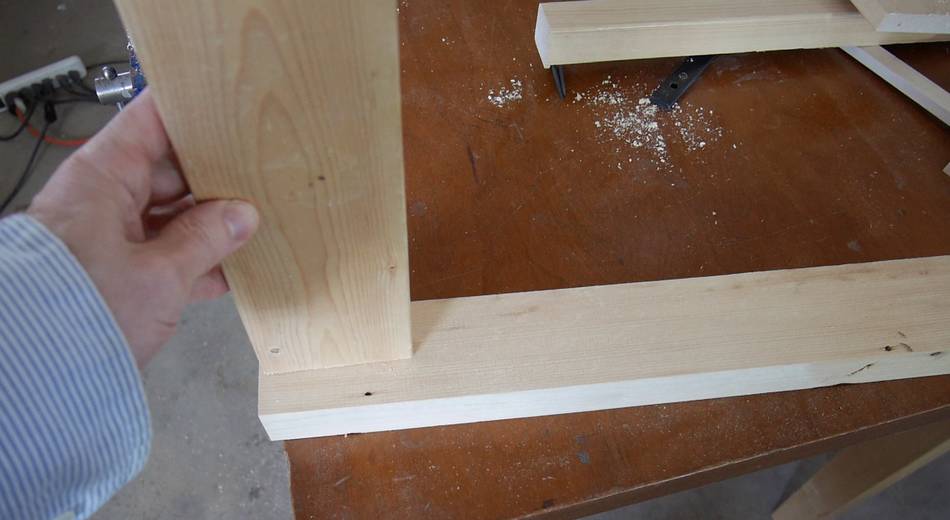 I wanted to make some shelf brackets, consisting of a piece of 2x4
screwed to the wall, with a board sticking out at a right angle.
I wanted to make some shelf brackets, consisting of a piece of 2x4
screwed to the wall, with a board sticking out at a right angle.
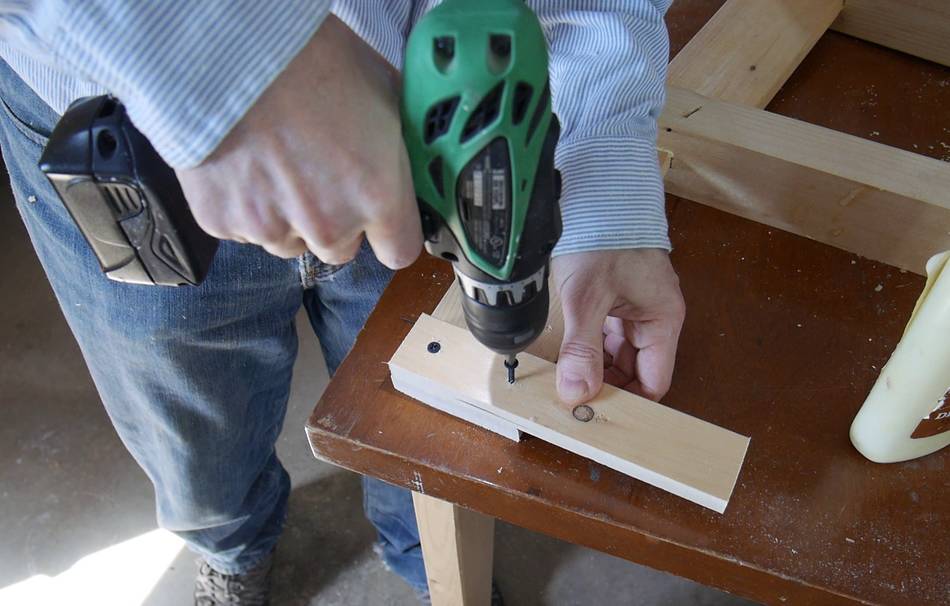
 Pocket holes are very popular. So just for the heck of it, I joined
it with a pocket hole joint to see how well that holds...
Pocket holes are very popular. So just for the heck of it, I joined
it with a pocket hole joint to see how well that holds...

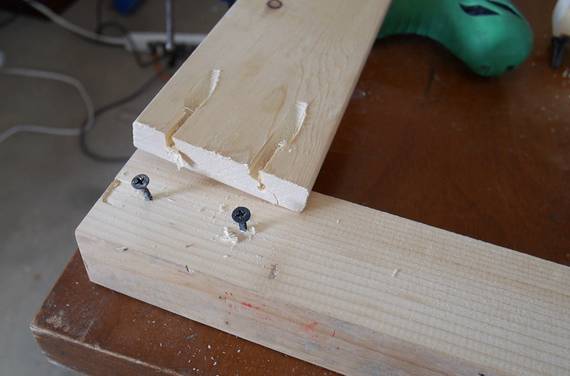 I took a quick yank at it and the joint popped right apart.
That's a good reason to use better joinery.
I imagine the joint would have held a little better if I had used the Kreg washer head screws instead of drywall screws.
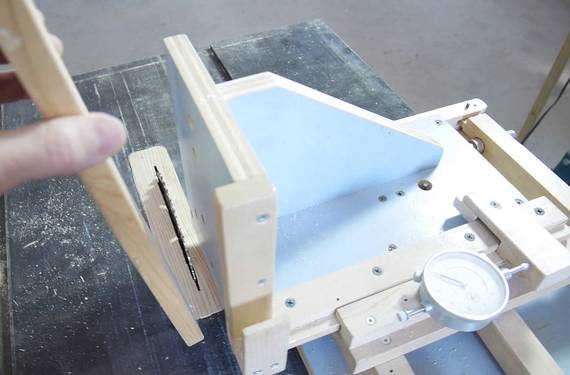 Normally I'd make the tenons using my
pantorouter, or my
quick-set tenon jig (shown at right),
but to show that you don't need a whole workshop full of tools, I'll do this with
more basic tools.
Normally I'd make the tenons using my
pantorouter, or my
quick-set tenon jig (shown at right),
but to show that you don't need a whole workshop full of tools, I'll do this with
more basic tools.
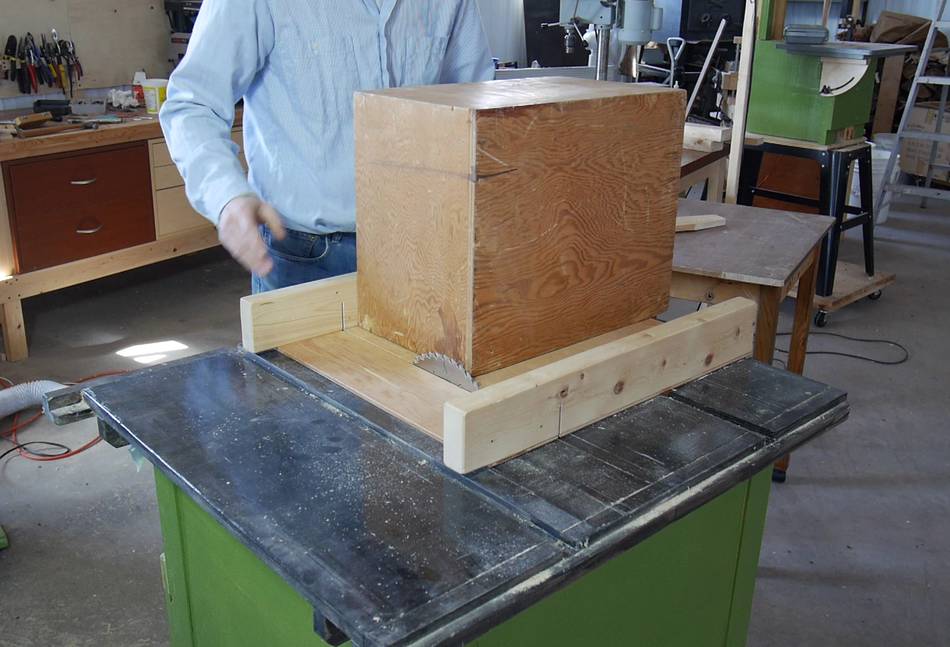
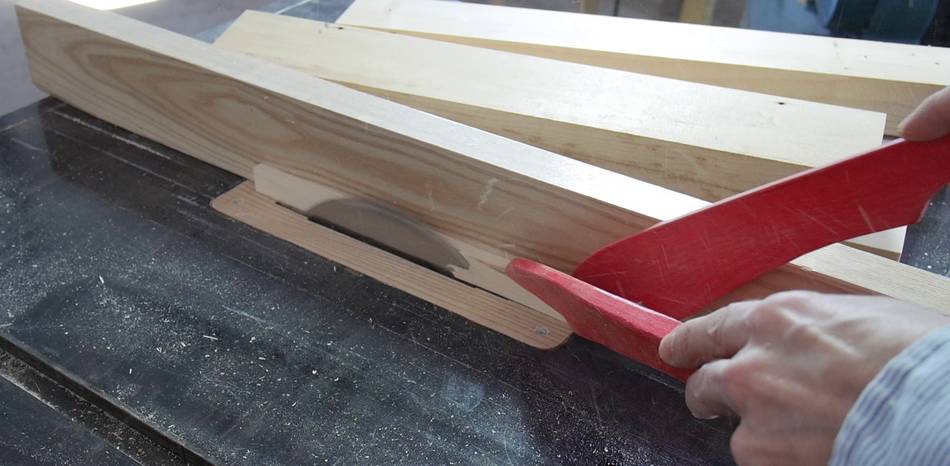
I'm going to cut the tenons using my table saw sled, with a plywood box on it.
 The box is pinned down on the table saw sled with a block of wood
that is clamped to the sled. A shim under the far end of the block causes
it to rack a bit, exerting downward pressure on the inside the box, locking
it in place.
The box is pinned down on the table saw sled with a block of wood
that is clamped to the sled. A shim under the far end of the block causes
it to rack a bit, exerting downward pressure on the inside the box, locking
it in place.

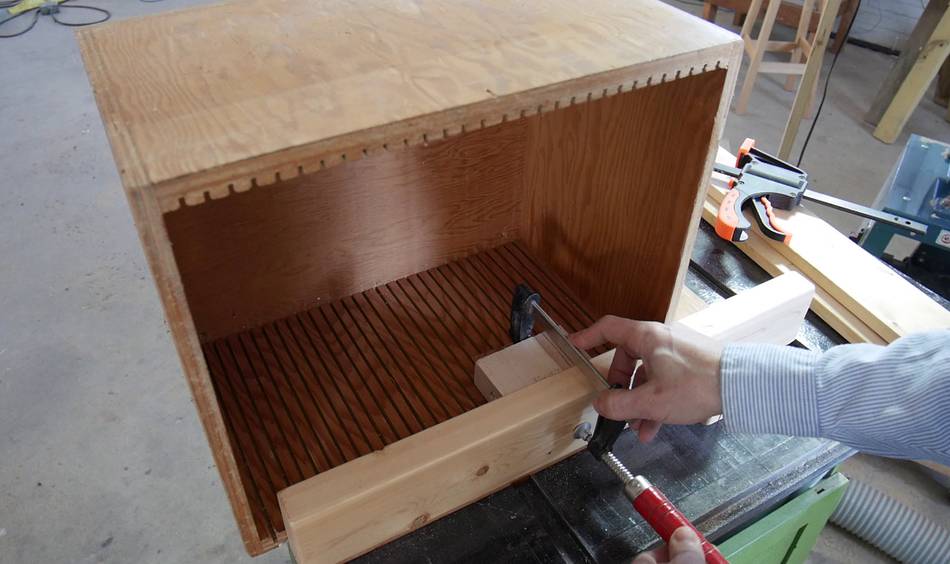
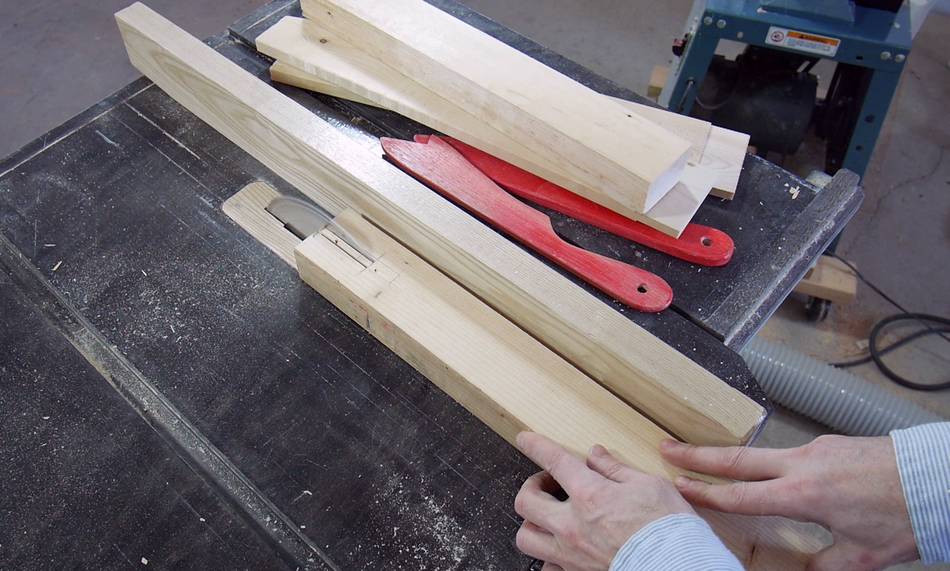
 The workpiece is clamped to the box and the tenons are cut. I flipped the workpiece
to do the other side. I normally advise against flipping the workpiece, because
any inaccuracy in the wood will translate into inaccuracy of the tenon. But I only
had two joints to make.
The workpiece is clamped to the box and the tenons are cut. I flipped the workpiece
to do the other side. I normally advise against flipping the workpiece, because
any inaccuracy in the wood will translate into inaccuracy of the tenon. But I only
had two joints to make.
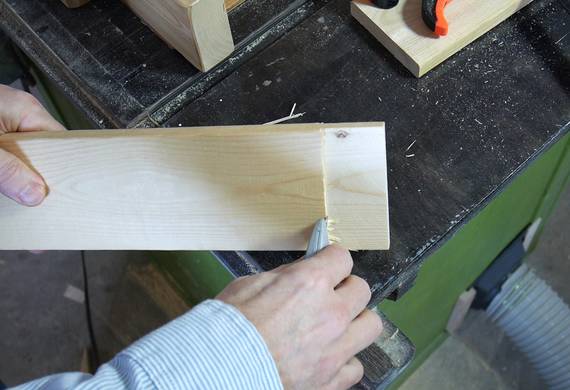
There was about half a millimeter of waste left on the tenons. I broke these off by hand and cleaned up the edges with a utility knife. If the waste was a thicker, I would have trimmed it on the table saw.
 Next I need to cut a strip of wood that is one blade thickness less than the thickness
of the tenons. So I hold the tenon next to the fence, and set the fence such that
the left side of the tenon is flush with the left edge of the blade.
Next I need to cut a strip of wood that is one blade thickness less than the thickness
of the tenons. So I hold the tenon next to the fence, and set the fence such that
the left side of the tenon is flush with the left edge of the blade.
If in doubt, err on the side of making the strip too thin. If you make the strip too thick, your mortises will be too wide.
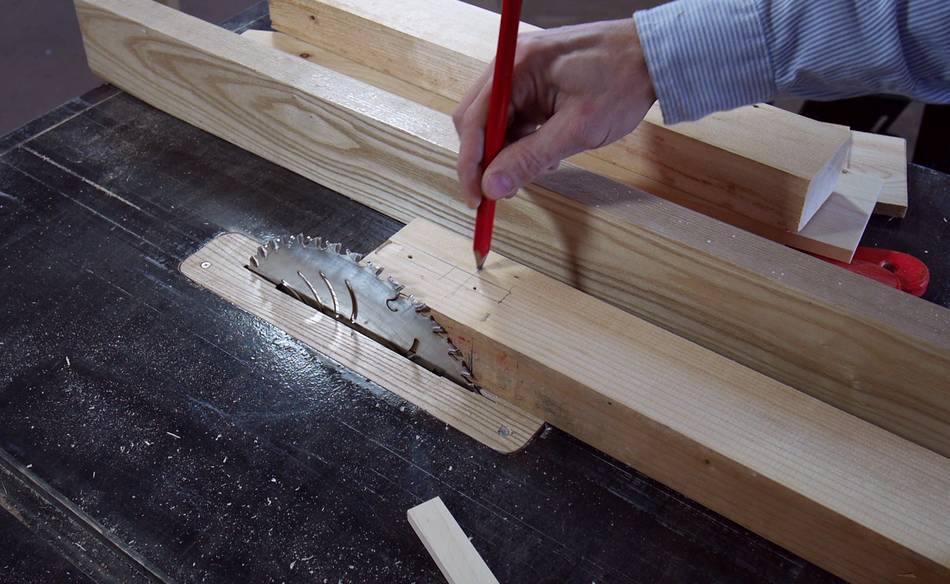
 Then I run the piece along the fence to cut the left edge of the mortise. After that,
I add the strip of wood between the fence and the workpiece and make another cut.
Then I run the piece along the fence to cut the left edge of the mortise. After that,
I add the strip of wood between the fence and the workpiece and make another cut.
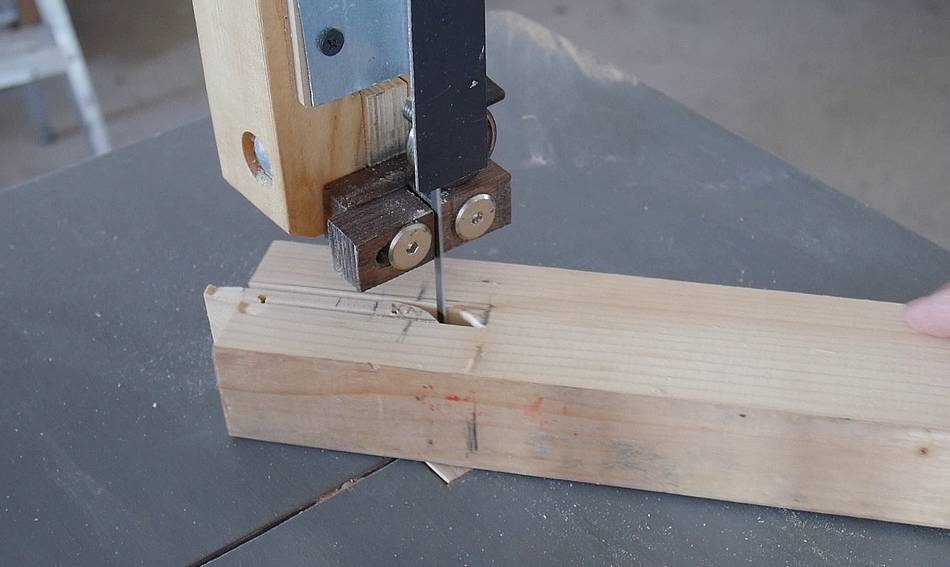 I square out and cut the end of the mortise on the bandsaw.
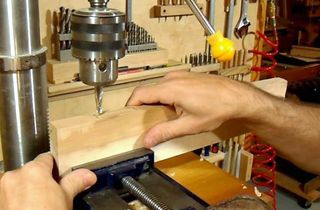
You could also drill a hole at the end of the mortise (with a Forstner bit),
and / or chisel it out.
I square out and cut the end of the mortise on the bandsaw.
You could also drill a hole at the end of the mortise (with a Forstner bit),
and / or chisel it out.
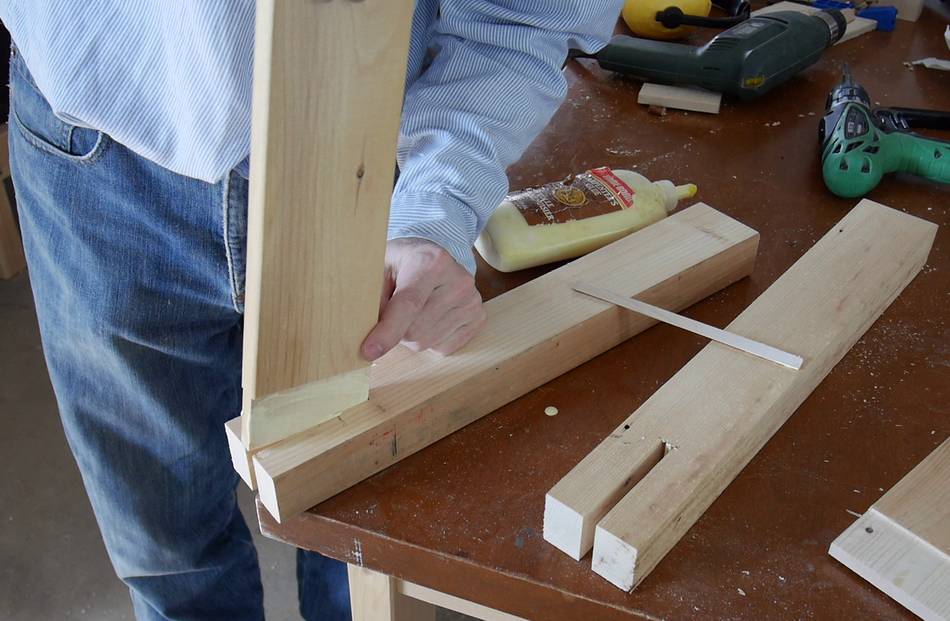 With glue spread on the tenon and the insides of the mortise, it's time to assemble.
If your fit is too tight, you can re-set the fence on the saw to re-cut one
of the sides slightly wider.
With glue spread on the tenon and the insides of the mortise, it's time to assemble.
If your fit is too tight, you can re-set the fence on the saw to re-cut one
of the sides slightly wider.
An open ended mortise can also be called a "bridle joint", though a typical example of a bridle joint would join two pieces of wood with similar cross sections.
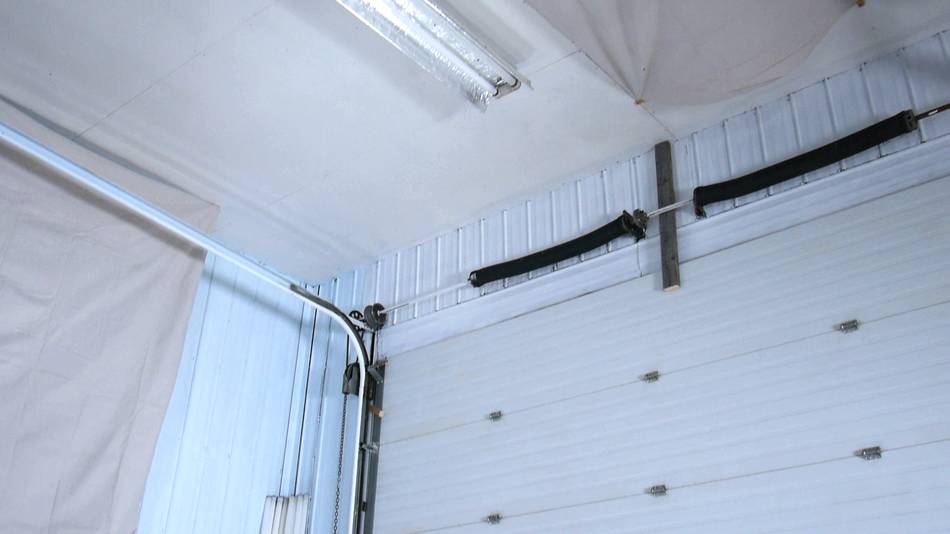
 Adding a "hook" to keep the light bulbs from rolling off the front of the shelf
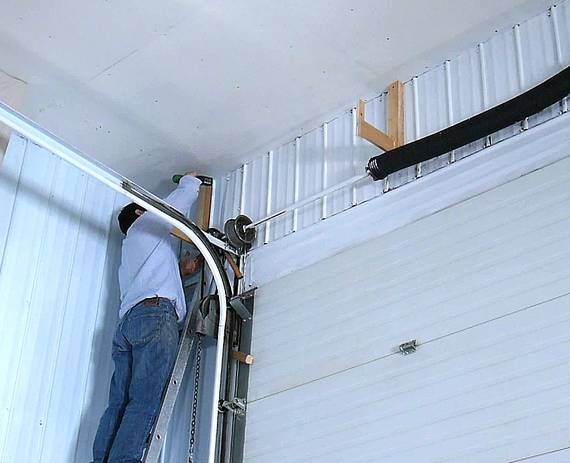 Then mounting the brackets above the garage door.
 I carried the bulbs up the ladder, two at a time (that's all I can hold in
one hand). Quite a few trips up and down the ladder!
I carried the bulbs up the ladder, two at a time (that's all I can hold in
one hand). Quite a few trips up and down the ladder!
See also:
 Mortising on the
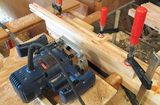 A really simple
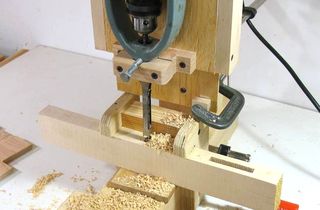 Hollow chisel
 Shelves with mortise
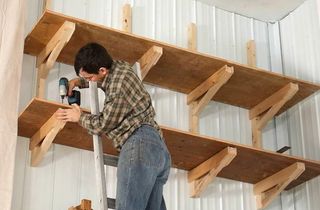 Way-up-high garage shelves
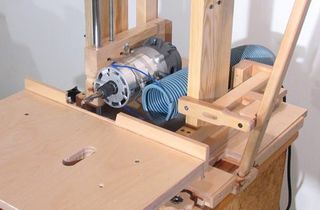 Home made slot
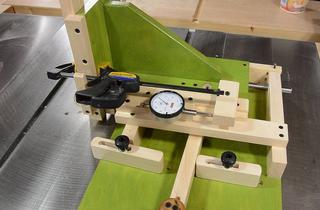 Quick set tenon jig
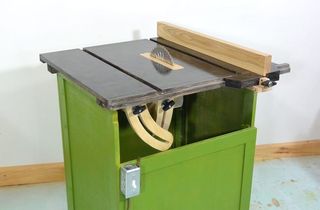 Homemade table saw
Back to my woodworking website.