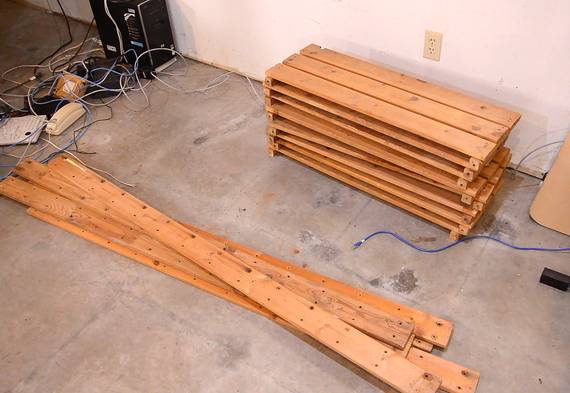
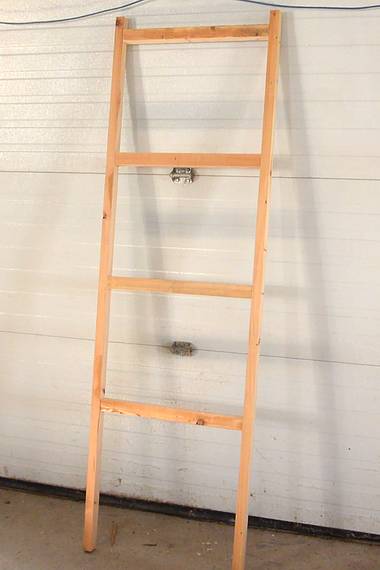
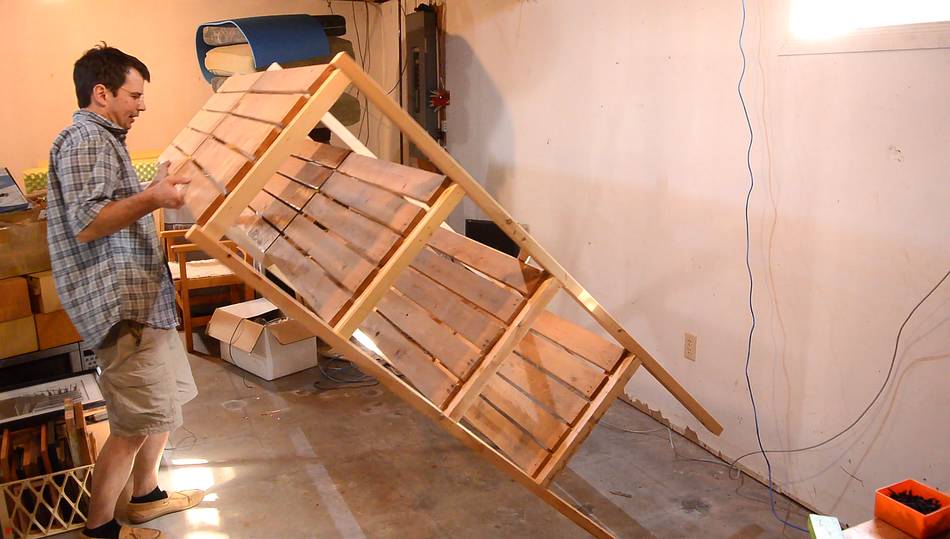
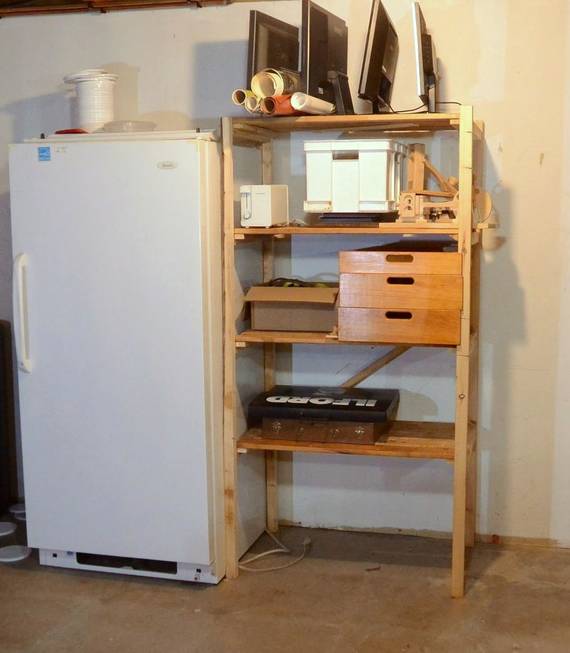
The previous occupants of our new house left behind these shelves,
which are very wobbly. I guess they are meant to be
screwed to the wall to make them safe. I didn't want to do that,
so I figured I'd use some of the materials from these to make something
more to my liking and sturdier.
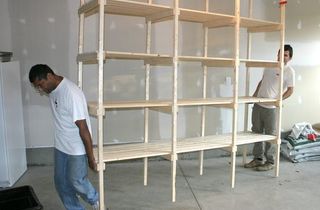
I could have built something like these ones,
but I don't like building the same thing twice.
Taking the old ones apart. A 1/2" nut driver in a cordless drill made
quick work.
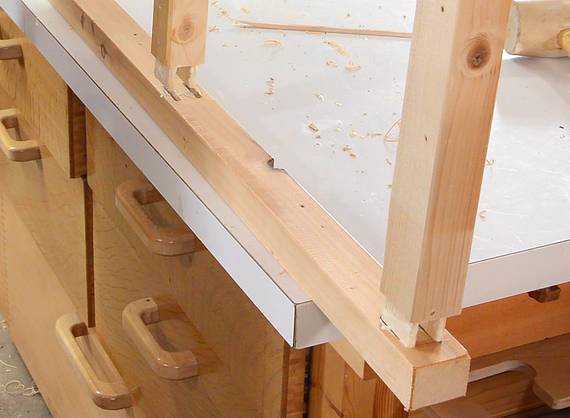
I figured I might as well re-use the actual shelf platforms of these, but
I didn't want to attach them with bolts like they were (that would just
end up wobbly). The boards of the platform overhang the support
just a bit on either end, so I figured if I screwed the supports to the side
of the shelf frame, that would work.
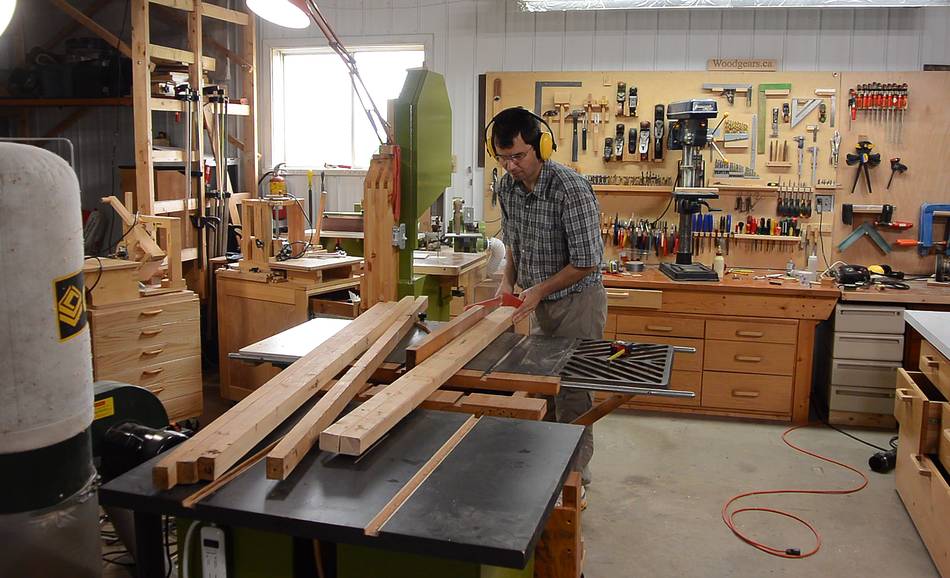
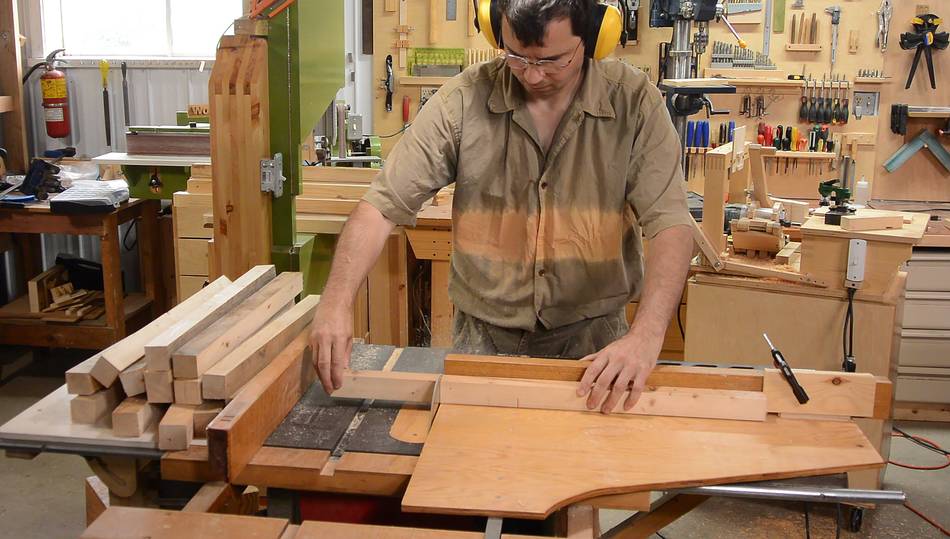
Cutting up some short 2x4s into halves to make the uprights for the shelves
And a bunch of short 2x4s cut in half will be the horizontal supports,
here cutting these to length with a table saw sled.
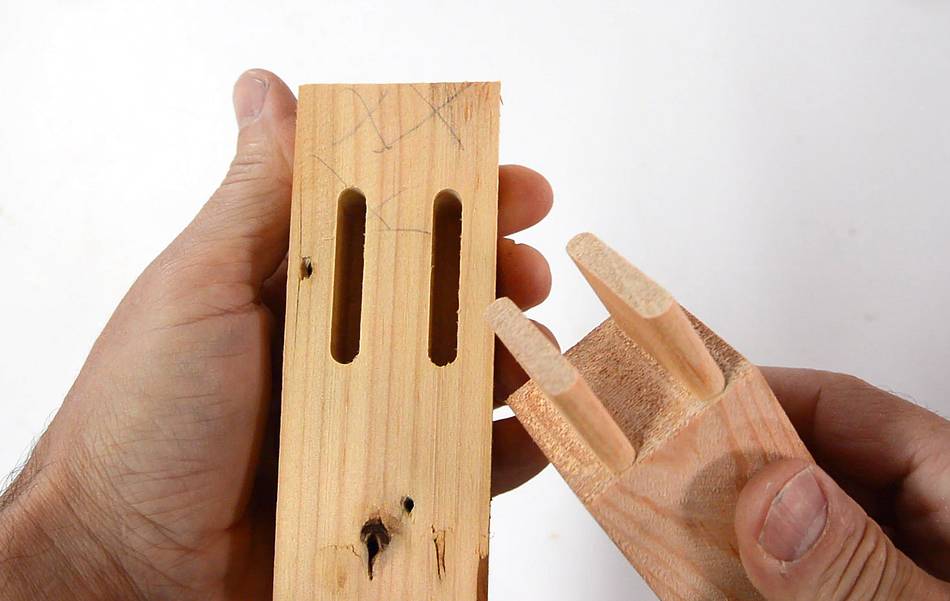
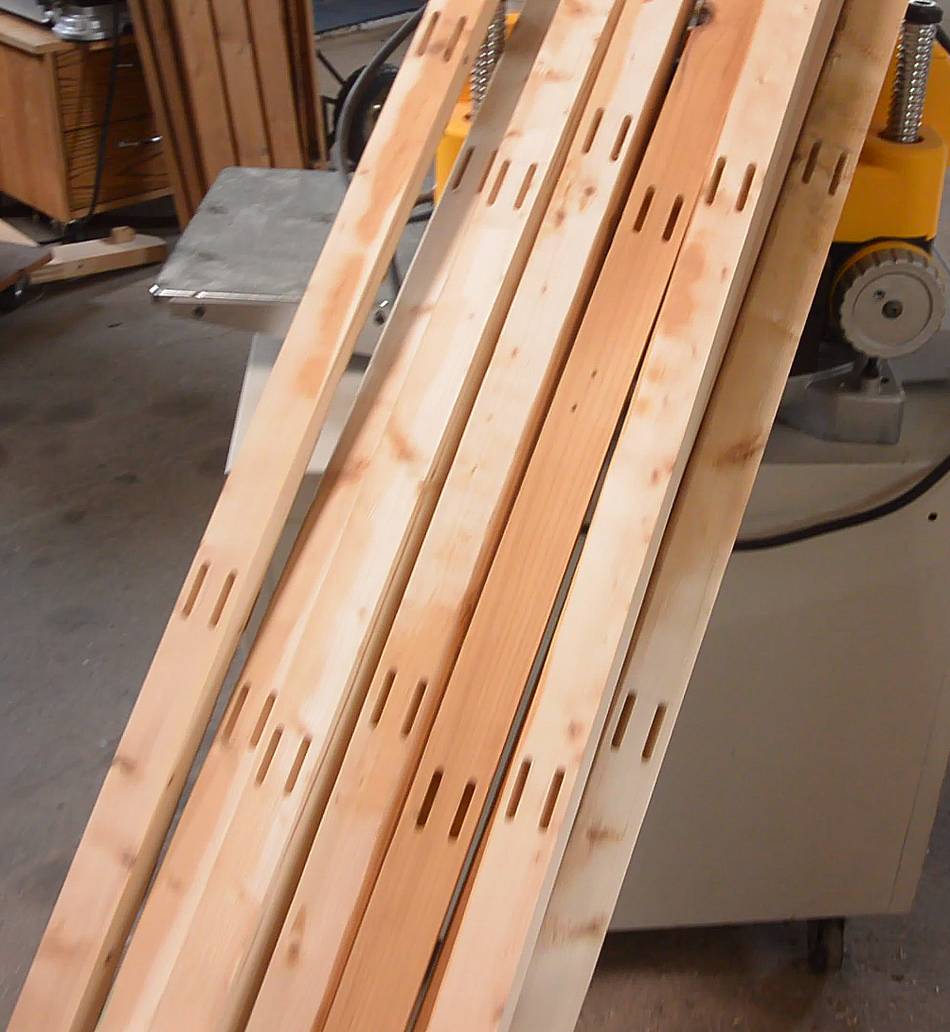
The frames for the shelves will be a bunch of "ladders" like the one
shown at right. I'm joining these together with double mortise
and tenon joints.
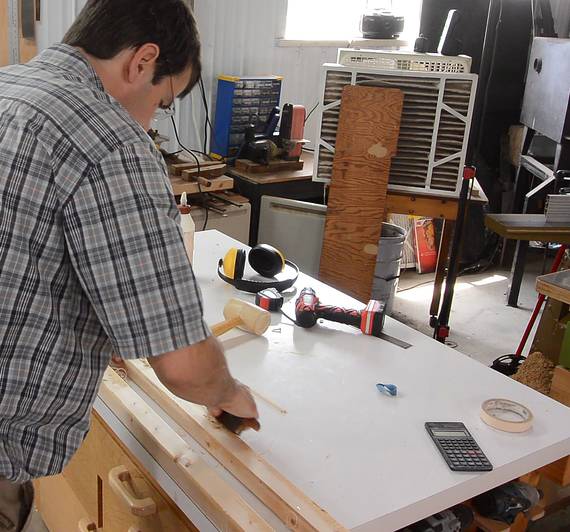
Marking where the horizontal rungs will go. First I measured them,
then marked across several pieces with a square.
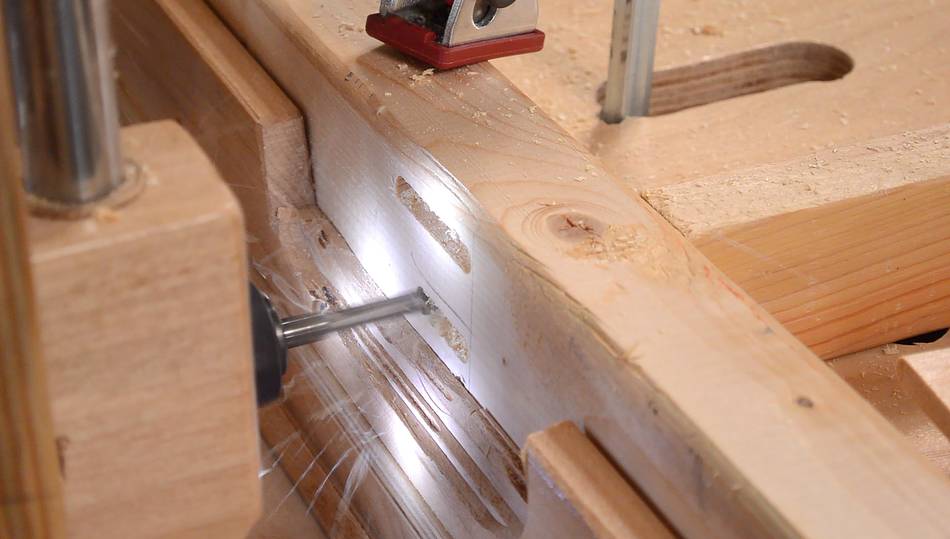
Two 1/4" mortises, spaced 13/16" apart (6 mm mortises spaced 20.6 mm).
Inches are awful, but with the mortiser's vertical adjustment threaded rod
in inches and the router bits in inches, it makes sense to put things
on even 16'ths of an inch.
Some of the mortises. I cut a total of 80 mortises for these shelves
(I made five ladders - two more for another shelf)
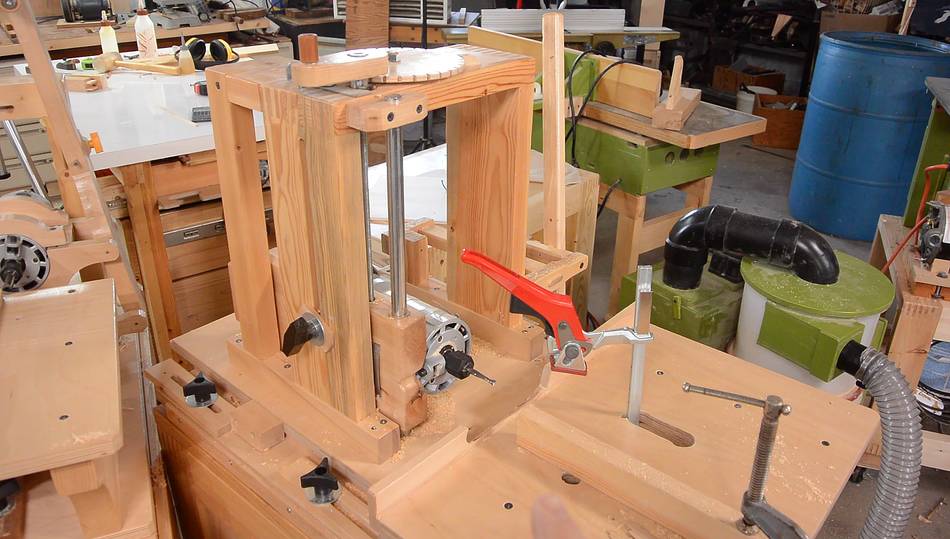
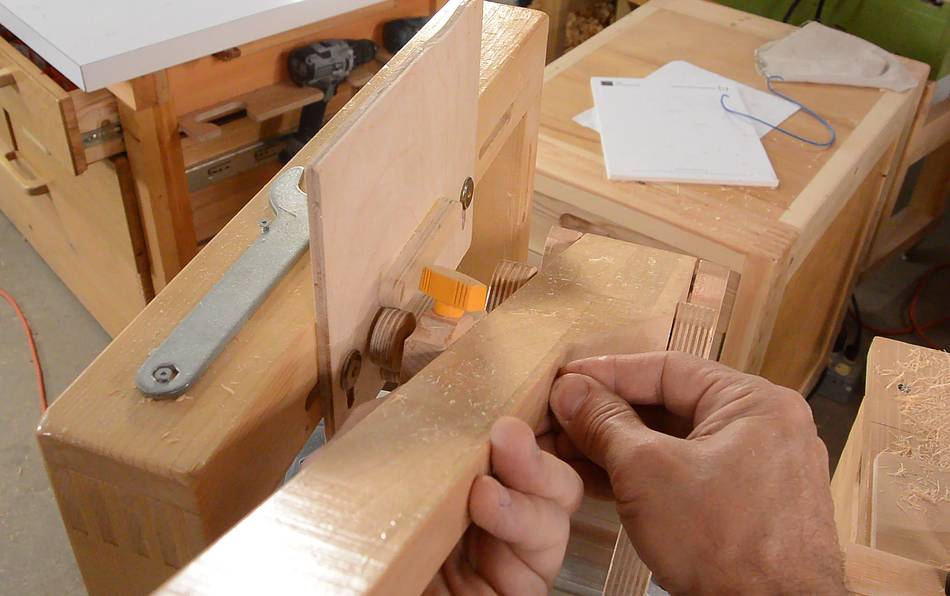
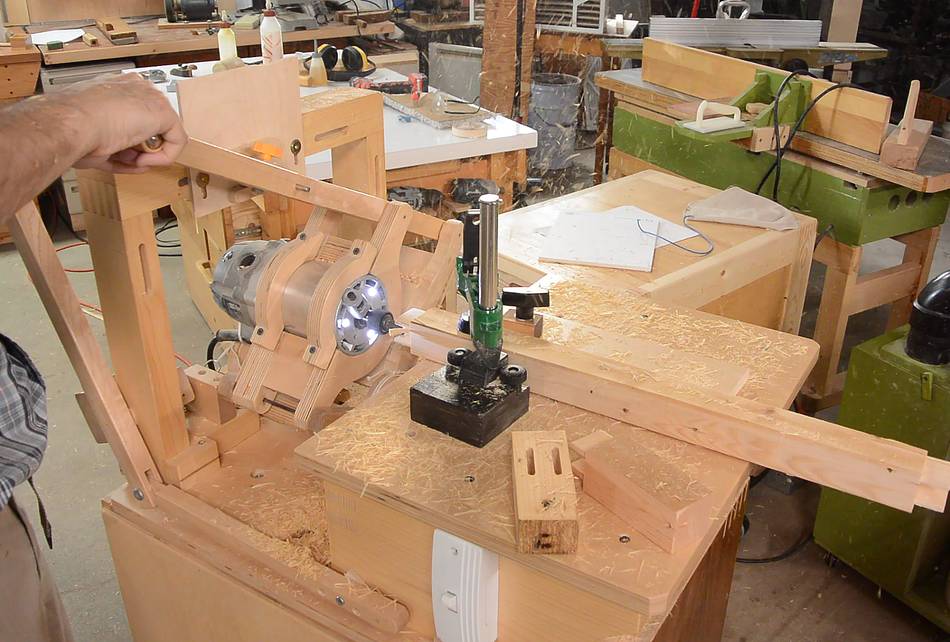
Then switching to the pantorouter
to cut the tenons. I could have cut the
mortises with the pantorouter as well, but I like to cut these on separate
machines so I can go back and forth between the two joints without
having to change the setup.
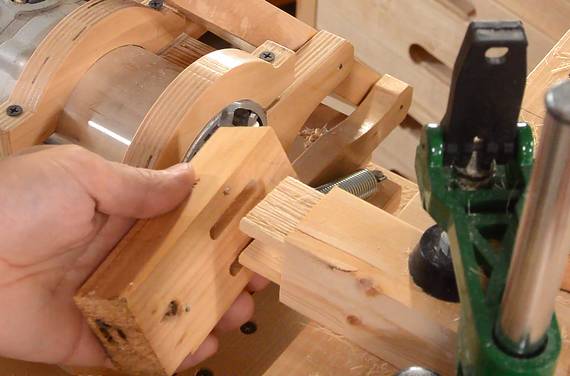
The first tenons I cut were a tight fit in the mortises. A bit too tight
for assembling with glue.
But with a tapered follower, and a tapered template, I just need to back
the follower up slightly to cut the tenons a bit smaller.
Having tested the fit with the tenon still mounted in the machine, I just
need to make another pass around the edges of the tenons to try
the adjusted tenon size.
Cutting lots of joints. 40 joints in all, with 80 tenons.
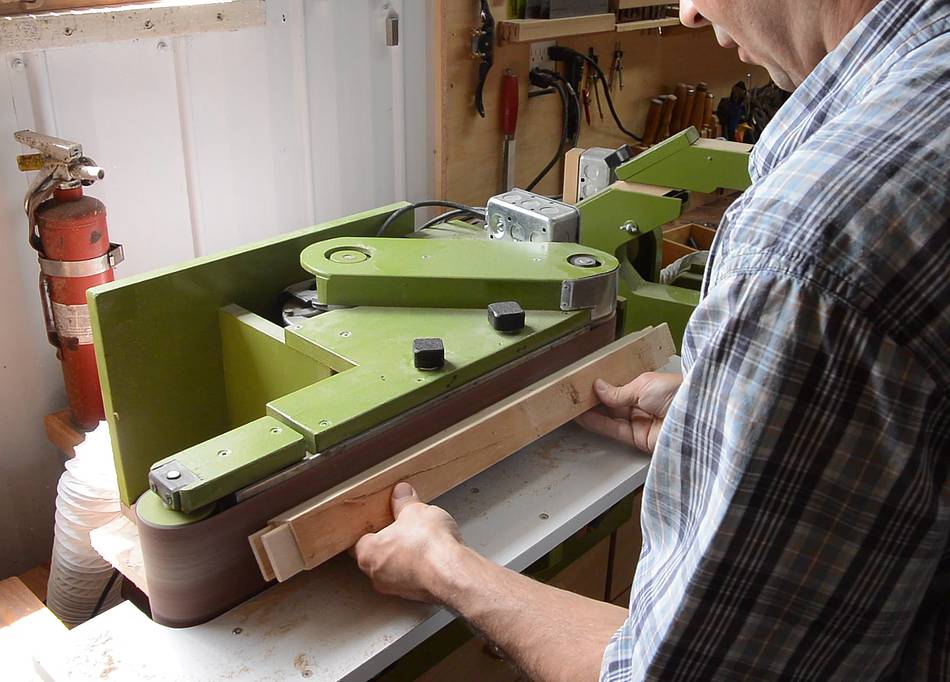
I rounded the edges of all the horizontal pieces on my
belt sander, and used my
palm plane to chamfer the edges
of the vertical pieces.
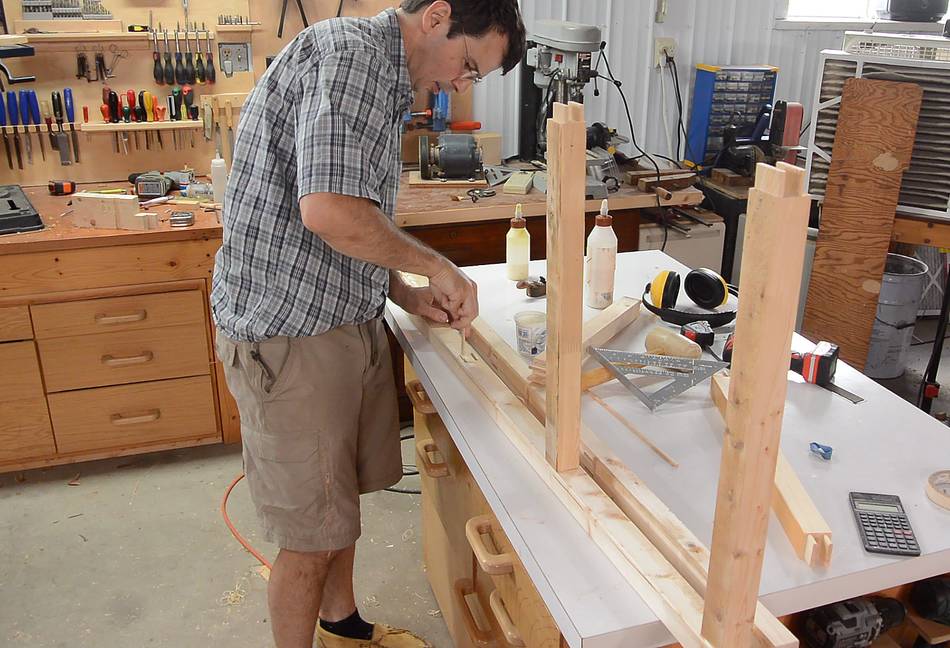
Assembling the ladder. I apply glue to the mortises with a splint
of wood, dipping it in a yogurt cup full of glue.
Adding the second vertical is more tricky, with four joints (8 tenons)
that need to be lined up.
Three frames done (I made two more for another narrower shelf in addition
to those three)
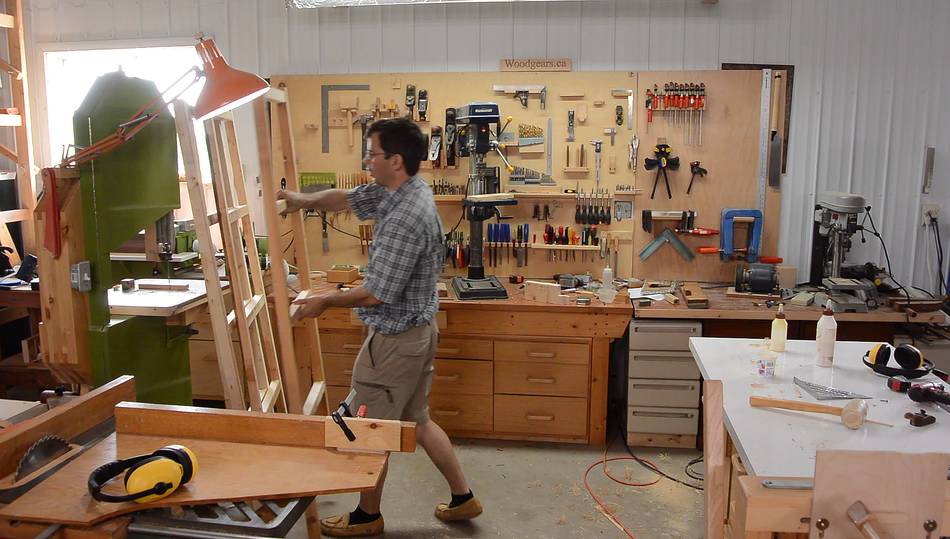
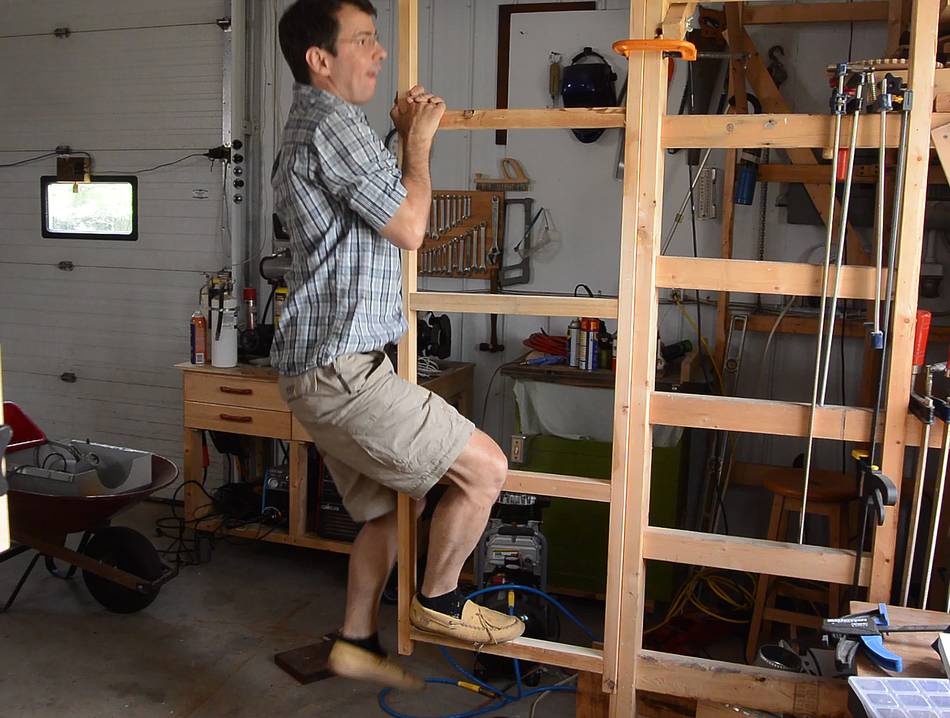
Testing one of the ladders against racking. I clamped it to the side of my
big scaffold and climbed up
the other side. Those double mortise and tenon joints can hold
a lot of load!
Then back to the basement to assemble the shelves. Here screwing in one
of the shelf platforms.
I had extra shelf platforms which I cut into two board wide
sections to add next to the three board wide sections.
As built, this shelf doesn't have a lot of stiffness against side-to-side
racking, so I added a diagonal member to both sides to stiffen it up.
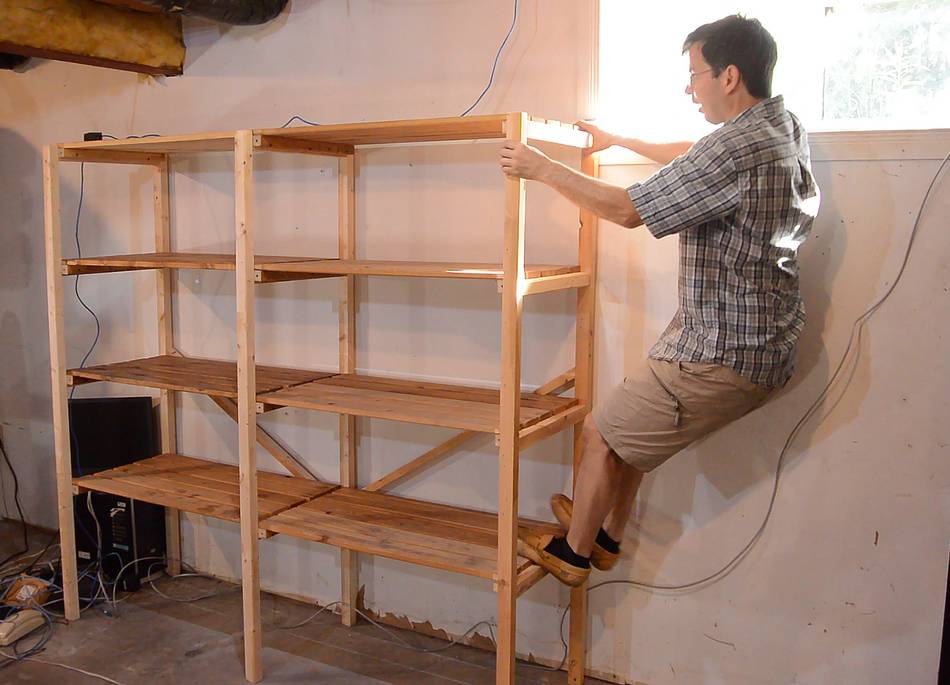
Erecting the assembled shelf.
Testing its stiffness against side-to-side racking. No problem.
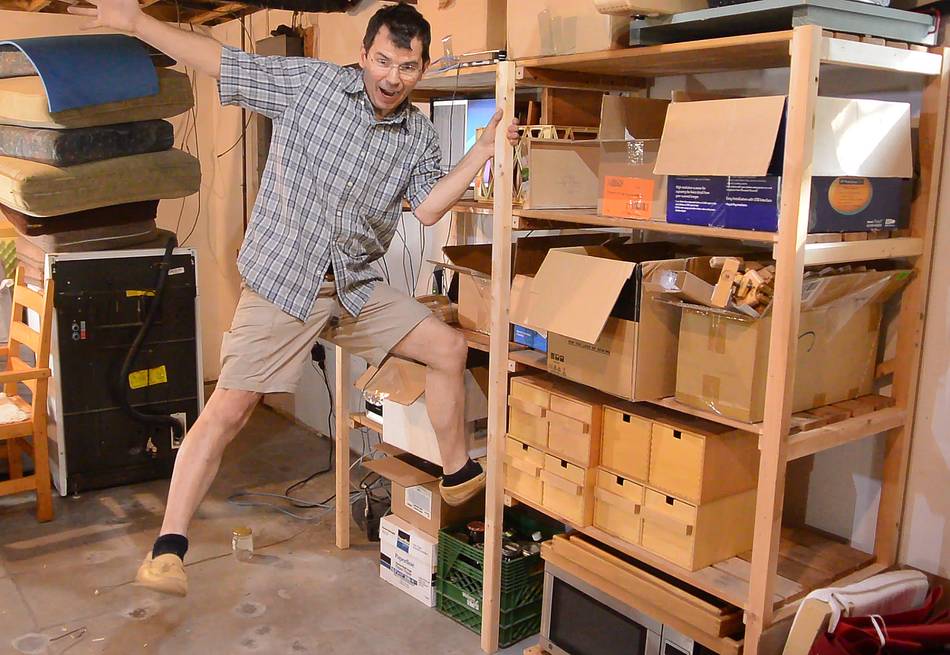
And, once loaded up with heavy stuff, testing against front-to-back racking.
Also no problem.
At right, another shelf I put together with the other two ladders.
 The previous occupants of our new house left behind these shelves,
which are very wobbly. I guess they are meant to be
screwed to the wall to make them safe. I didn't want to do that,
so I figured I'd use some of the materials from these to make something
more to my liking and sturdier.
The previous occupants of our new house left behind these shelves,
which are very wobbly. I guess they are meant to be
screwed to the wall to make them safe. I didn't want to do that,
so I figured I'd use some of the materials from these to make something
more to my liking and sturdier.


 Storage shelves
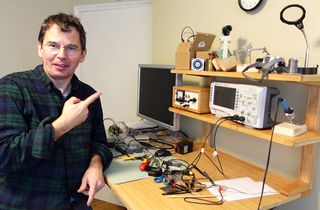 Shelves for my desk
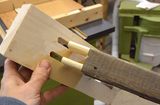 Double tenon cantilevered shelves
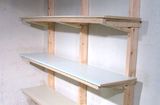 Cantilevered shelves
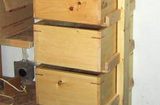 Basement storage
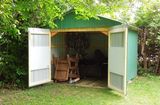 Storage shed
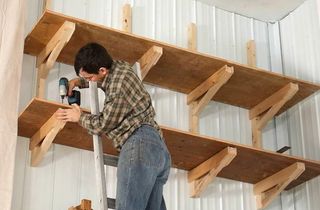 Up-high garage shelves
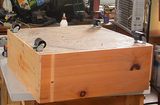 Storage box on wheels for under shelves
 Quick shelves with
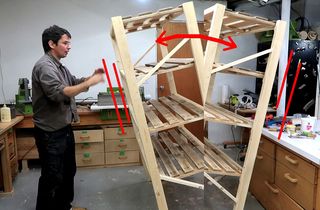 A shelf so stiff it rocks
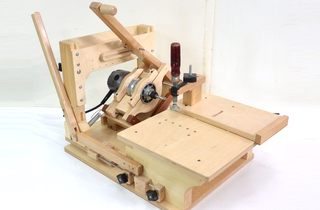 The pantorouter
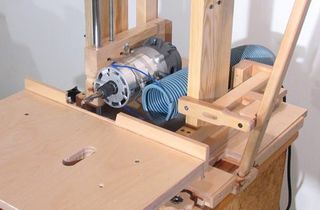 Slot mortising machine
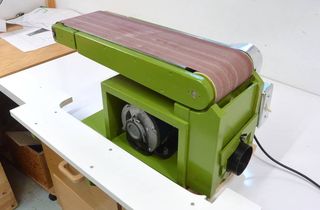 Belt sander
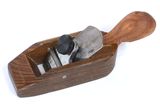 Palm plane