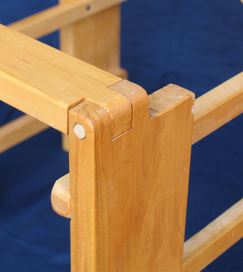
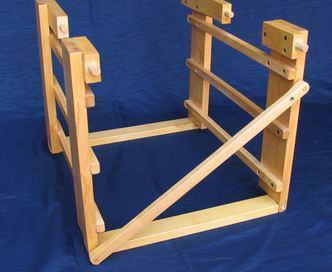
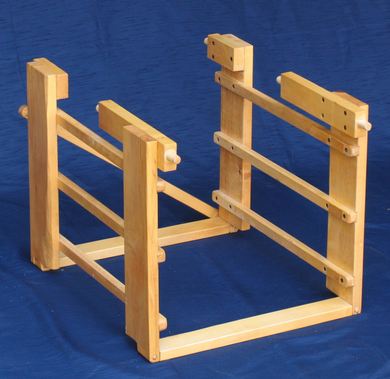
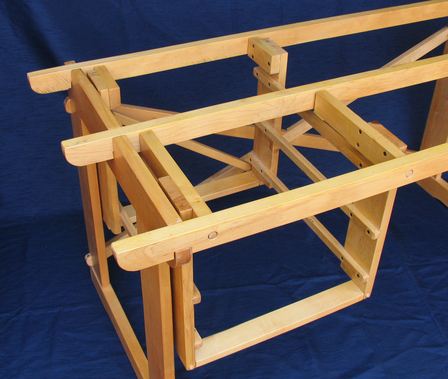
The cage with the drawer slides in it in turn also disassembles. The bottom corners of the cage are simple pin joints. To disassemble them, the dowels holding them together are simply slid out.
Because the rungs can be put onto the desk either way, the desk can be assembled with drawers on the left side, or on the right side.
The cage with the drawer slides in it in turn also disassembles. The bottom corners of the cage are
simple pin joints. To disassemble them, the dowels holding them together are simply slid out.
To give the drawer cage a bit of lateral stability, I also added a diagonal brace. This brace is attached via two dowels. One dowel plugs into the pin joint in the corner, the other in an extra hole in the drawer cage. The diagonal brace probably isn't necessary, I just wanted to ensure everything stayed square.
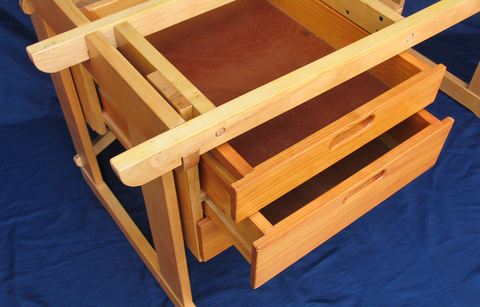
The drawers have a dado along either side, and slide onto the wood runners in the drawer cage.
The drawers themselves, other than that are very simple, with rabbet joints at the front and the back.
The drawers handles are just holes to reach into. I figured this would be better than a protruding
handle, so that there would be one less thing to get banged and broken when the desk is moved repeatedly.

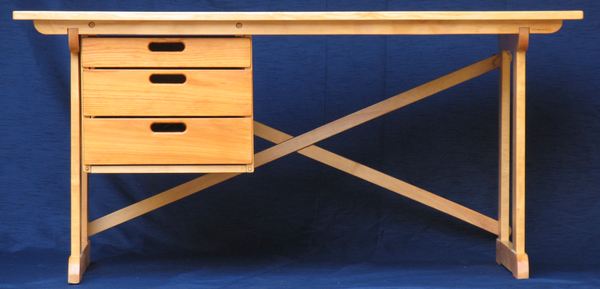
The desk is mostly made of maple, except for the OSB top and pine drawers.
Overall dimensions
Desktop Width: 151 cm
Desktop Depth: 70 cm
Height 72 cm
Desk top
Trim is 22mm thick (vertical), 5 cm wide (horizontal)
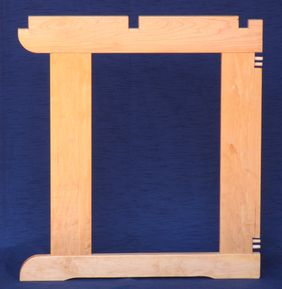
Frame ends
Uprights: 18mm x 26mm x 54 cm long
Foot(horizontal): 26mm x 70 mm x 78 cm long
Rung support(horizontal): 26mm x 100 mm x 78 cm long
Drawers
Front width: 45 cm
Length: 53 cm
Height(depth): 8 cm, 12 cm, and 12 cm
To the Student desk plan
My friend Peter Collins built a copy of this desk with his brother, and made a video showing assembling it:
 Large knock-down table (easy to take apart for moving)
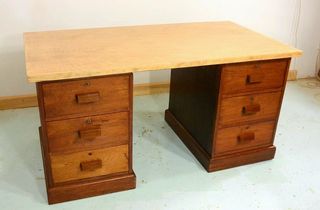 Trash to treasure:
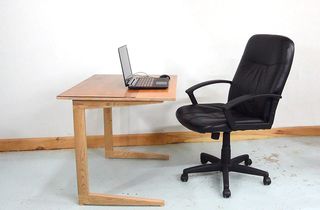 Small work table / desk
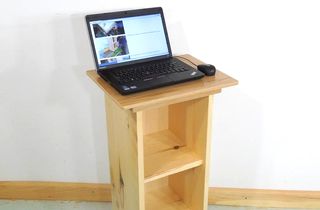 Stand-up laptop
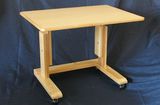 Laptop table
 Knock down laptop