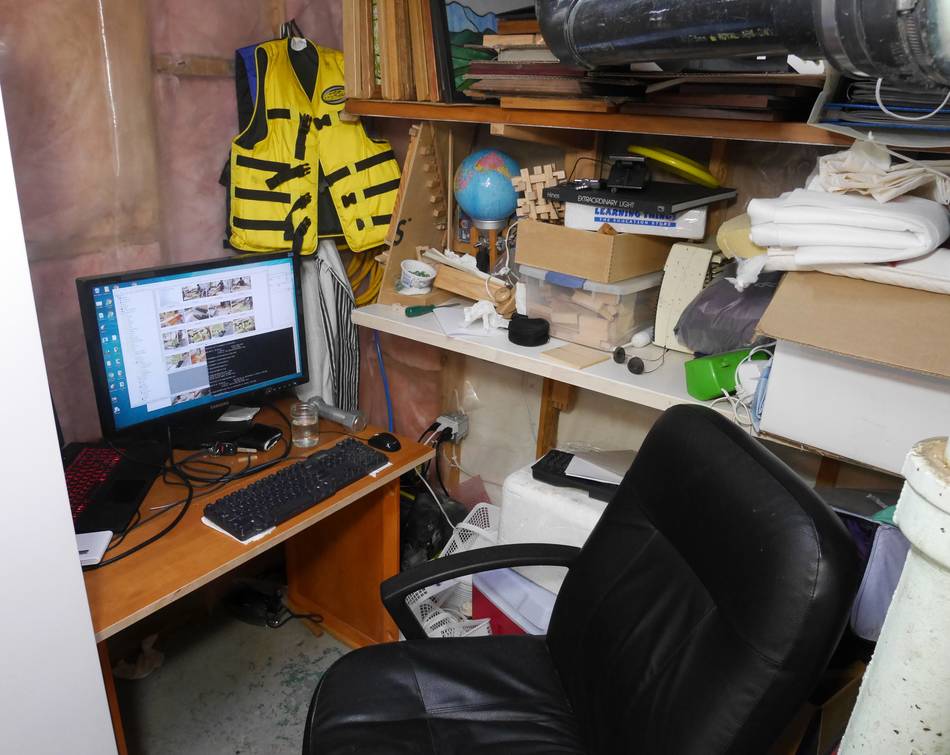
 I set up a small office in the laundry room. It's always quiet down
there so I can work undisturbed.
I set up a small office in the laundry room. It's always quiet down
there so I can work undisturbed.
I first set up a makeshift table consisting of two pieces of old table top propped up on two cabinet doors. So I already knew what height and size of table worked best.
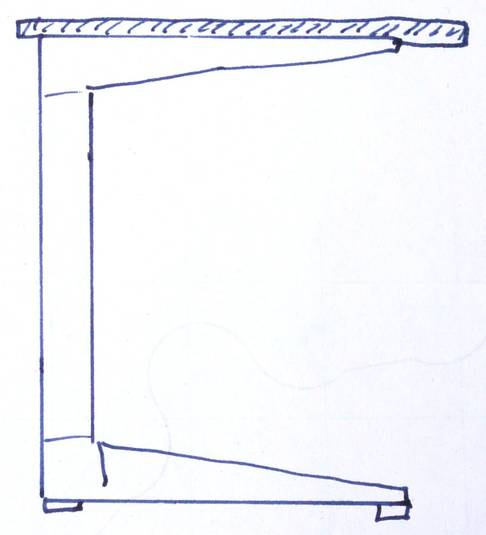
I wanted to build a better table for this "office". At right, a sketch
of my design for the legs for this table. Legs in the back,
cantilevered for the front.
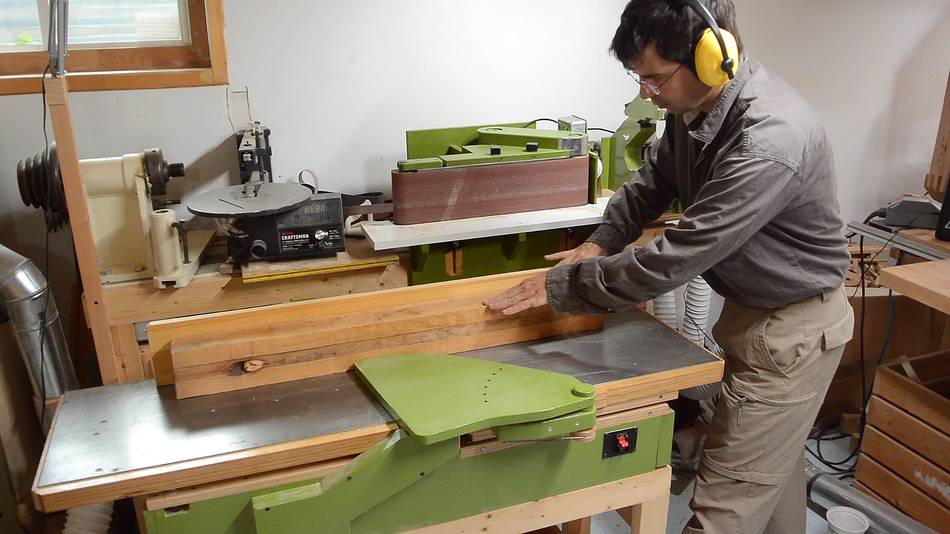

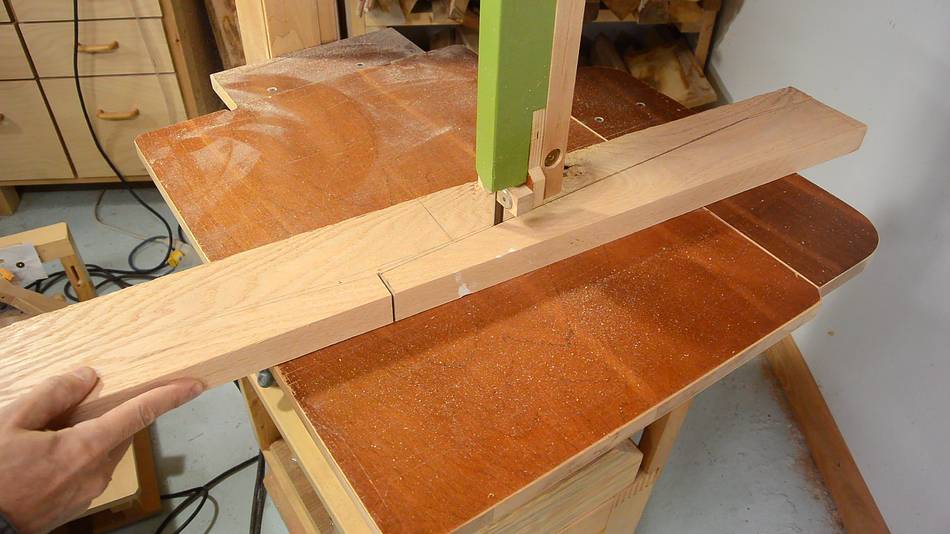
Much of the wood came from a large piece of oak that was used as part of a
shipping crate. After cleaning the dirt off it with a wire brush, I squared
it up on the jointer,
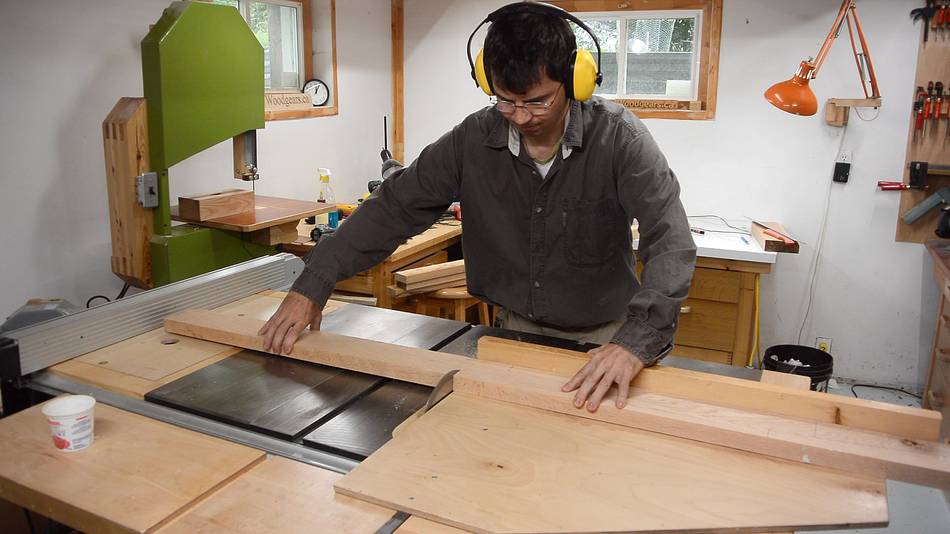
then ripped it into thinner pieces on the table saw.
I'm cutting in from both sides to make it easier on the table saw.
The tapered pieces mostly came from a wider oak board. By aligning the
tapers opposite to each other, I was able to get two pieces across
the width of the board.
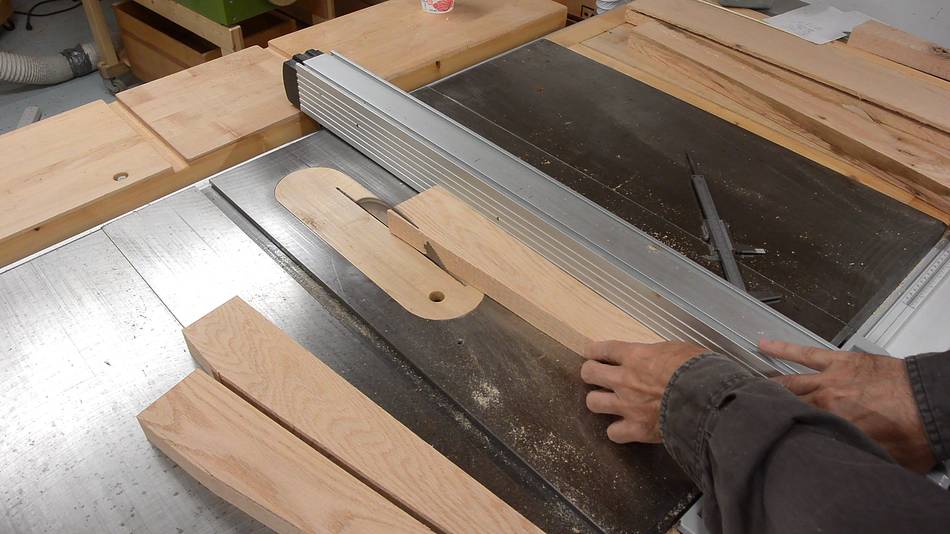
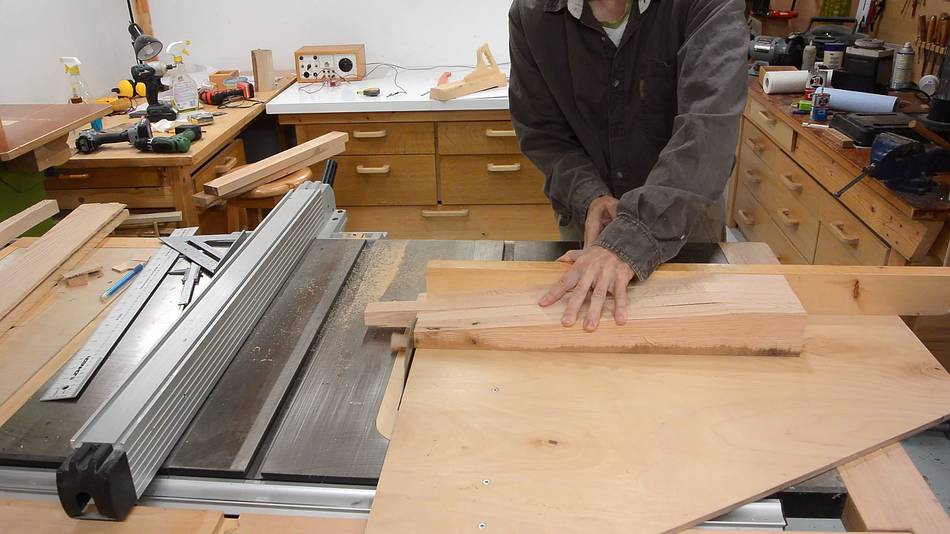
For consistency, I cut the non-tapered section at the end with the
table saw. I also cut them all to a consistent length.
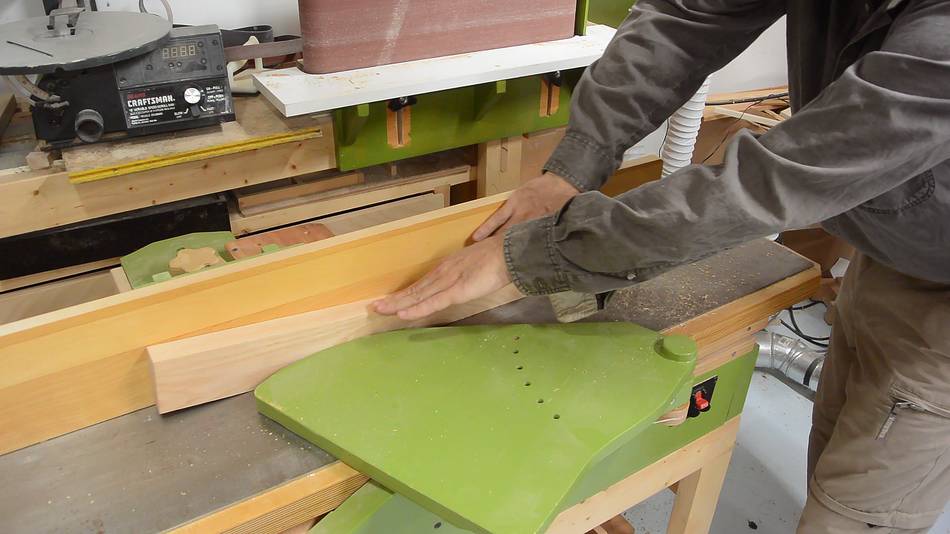 Smoothing out the tapered section on the jointer.
A table saw taper jig would be more accurate, but the way I cut the legs out of the board would not have been possible with a taper jig.
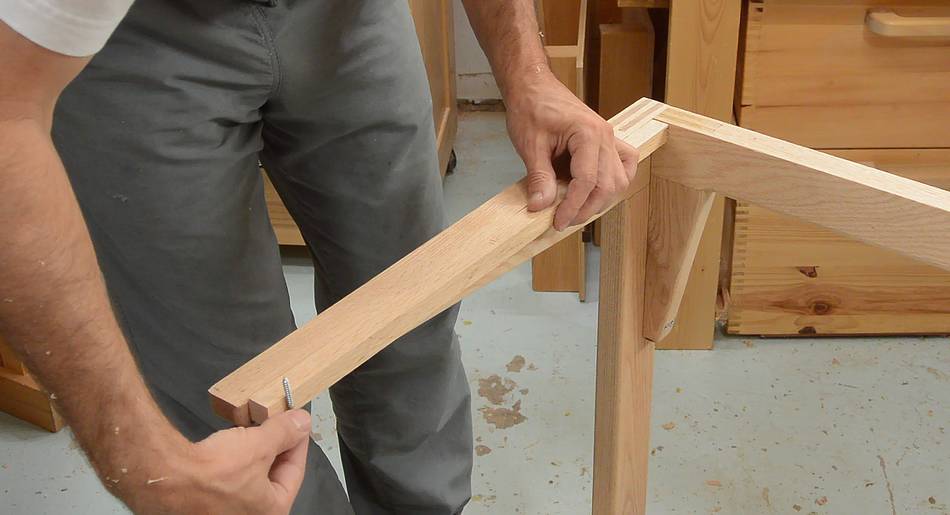
 A good way to join the vertical and horizontal parts of the legs would be
with a bridle joint. But I made a bridle joint with two tenons.
I like to call this a multi-lap joint
A good way to join the vertical and horizontal parts of the legs would be
with a bridle joint. But I made a bridle joint with two tenons.
I like to call this a multi-lap joint

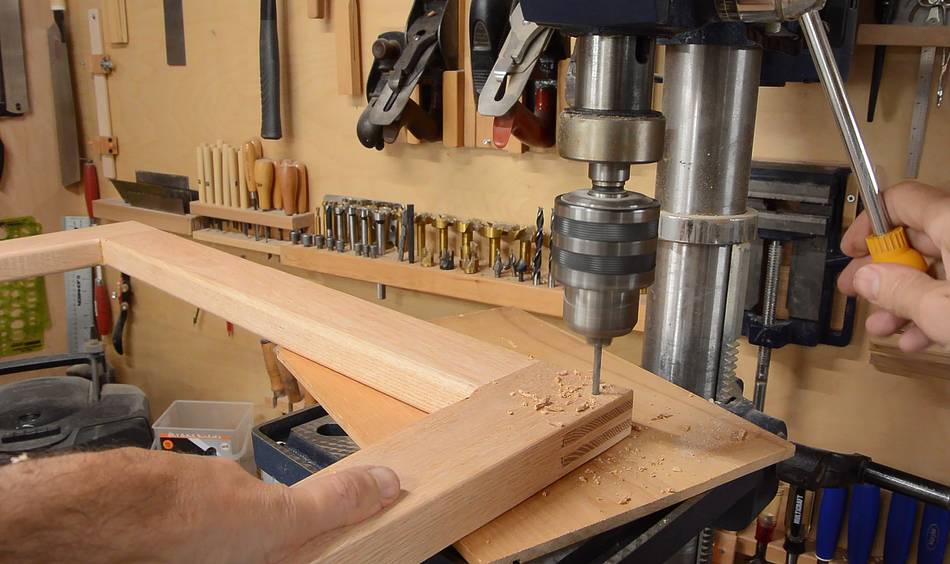
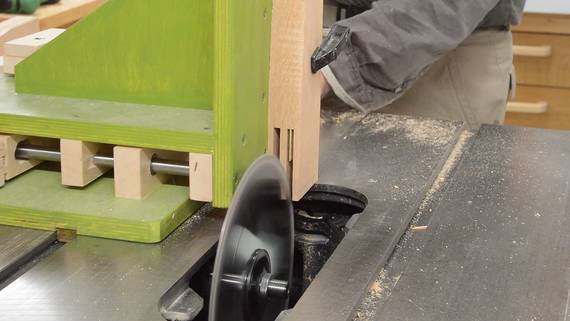 I used the template feature of my quick-set
tenon jig to cut these repeatably and accurately. I also cut them
first at half depth, then at full depth to make the cuts easier on the
table saw. Having the ability to repeatably reposition the
stock makes this practical.
I used the template feature of my quick-set
tenon jig to cut these repeatably and accurately. I also cut them
first at half depth, then at full depth to make the cuts easier on the
table saw. Having the ability to repeatably reposition the
stock makes this practical.
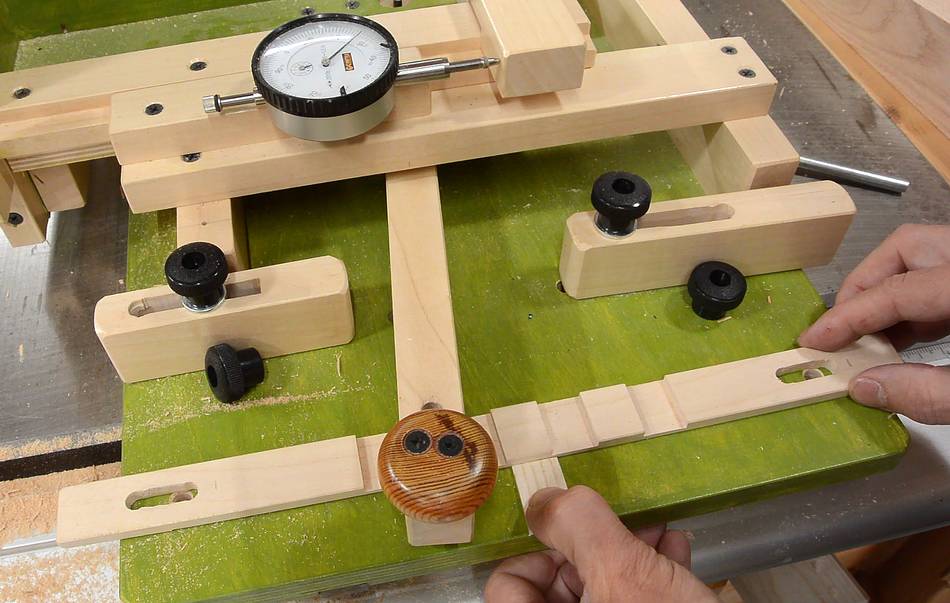 To cut the mating joints, I moved the template over by one tenon width.
I used a piece of wood held on the jig (with my left hand) to mark where
I previously had a slot. Unfortunately, the mounting slots on the ends
of this template were too short, so I had to flip it around to get it
in the right position.
To cut the mating joints, I moved the template over by one tenon width.
I used a piece of wood held on the jig (with my left hand) to mark where
I previously had a slot. Unfortunately, the mounting slots on the ends
of this template were too short, so I had to flip it around to get it
in the right position.
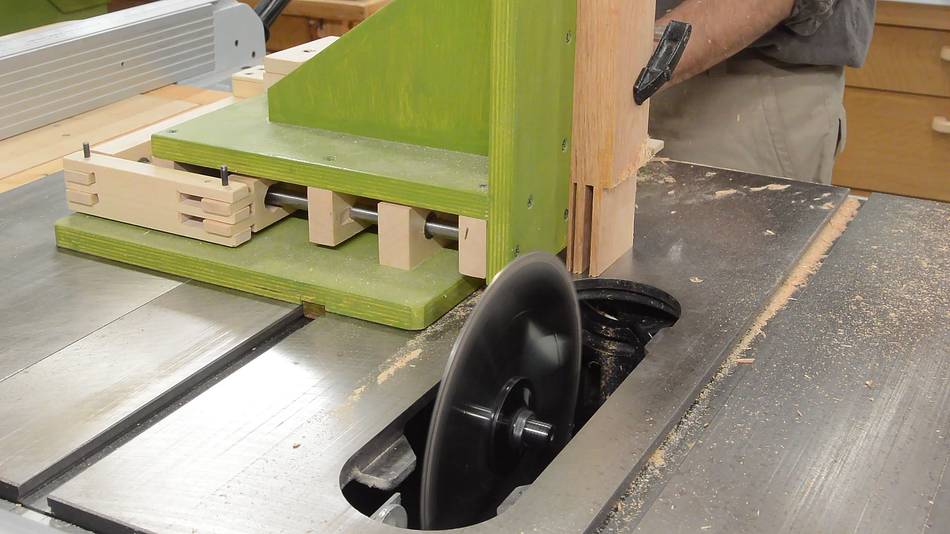
 For the part with the two tenons, I only made one cut near the edge
on the jig side rather than hog away the whole tenon cheek/shoulder
with the saw. I didn't want to cut into the jig. I finished that
cut on the bandsaw later.
For the part with the two tenons, I only made one cut near the edge
on the jig side rather than hog away the whole tenon cheek/shoulder
with the saw. I didn't want to cut into the jig. I finished that
cut on the bandsaw later.
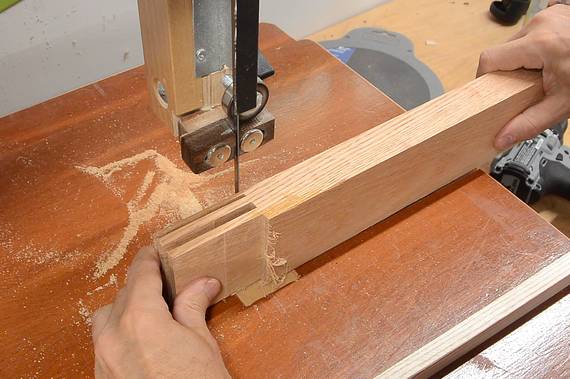
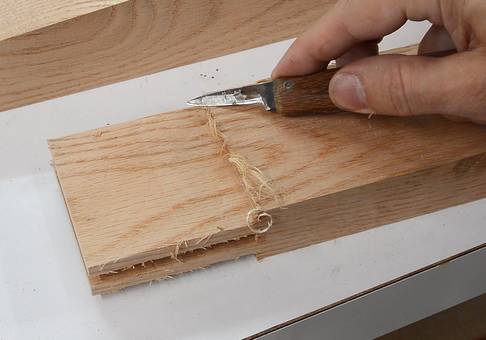 Only a few wisps of wood had to be cut away to clean up the
double tenon.
Only a few wisps of wood had to be cut away to clean up the
double tenon.
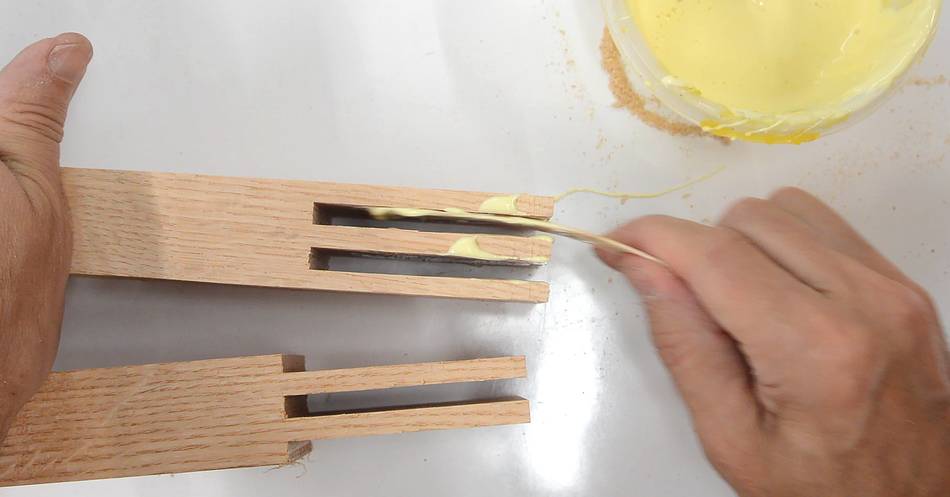
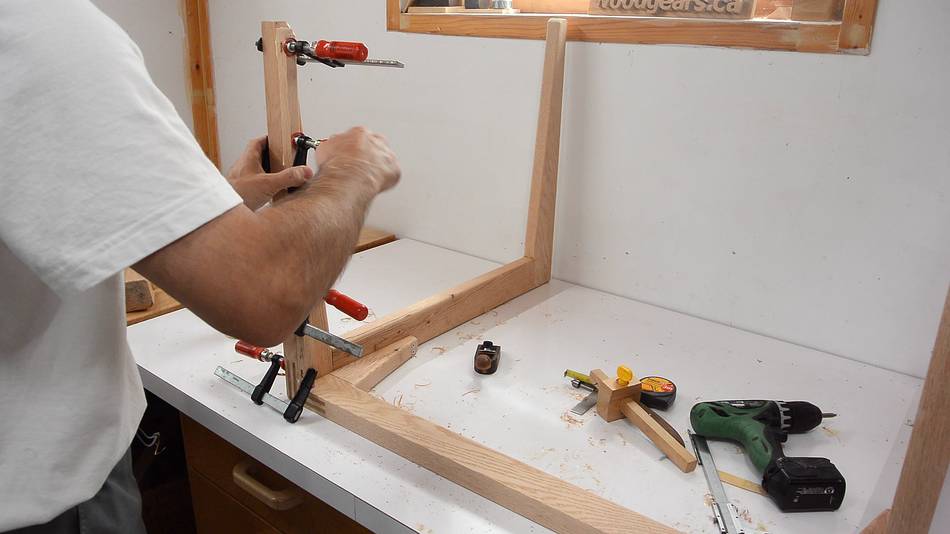
I applied glue between the tenons of the joint using a thin strip of wood.
 Then gluing it. It's very satisfying pushing these joints
together. You can really feel the resistance from the glue's
viscosity as the joint slides together.
Then gluing it. It's very satisfying pushing these joints
together. You can really feel the resistance from the glue's
viscosity as the joint slides together.
 Checking for square-ness using a try square
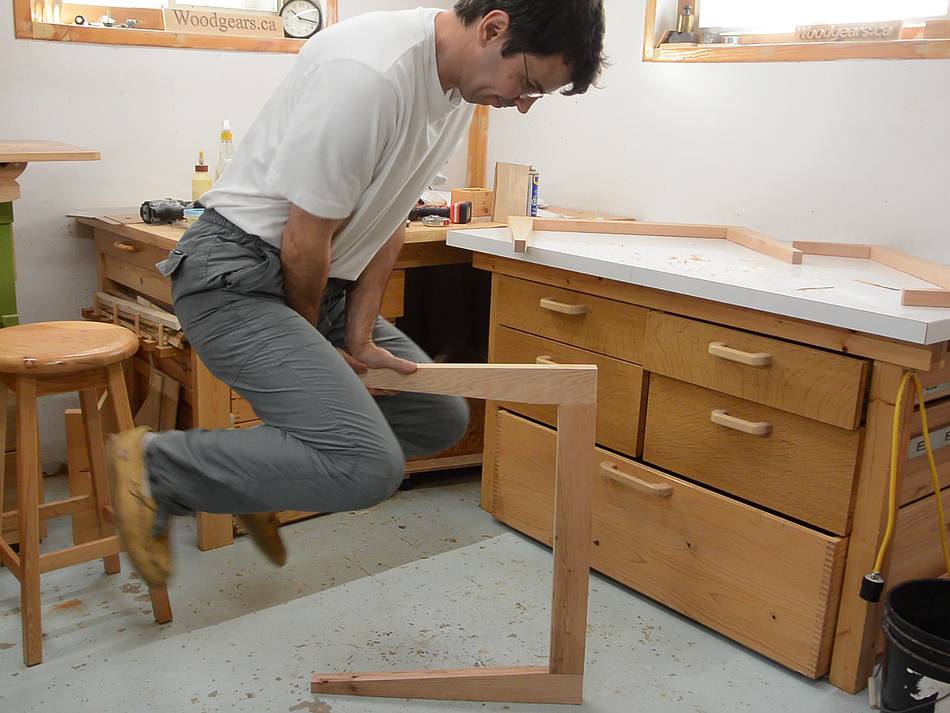 Just a quick demo of the strength of these joints.
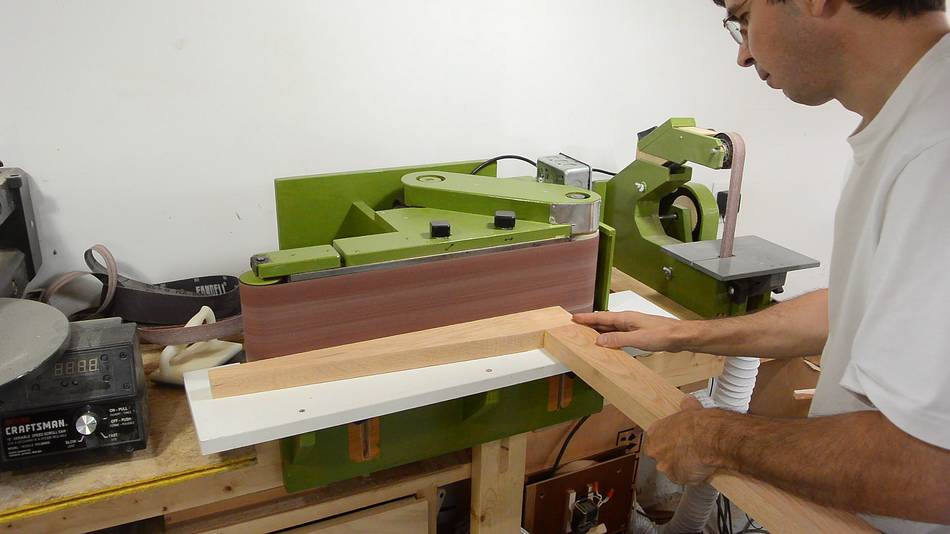 Cleaning up the edges of the joints on my
homemade edge belt sander
Cleaning up the edges of the joints on my
homemade edge belt sander

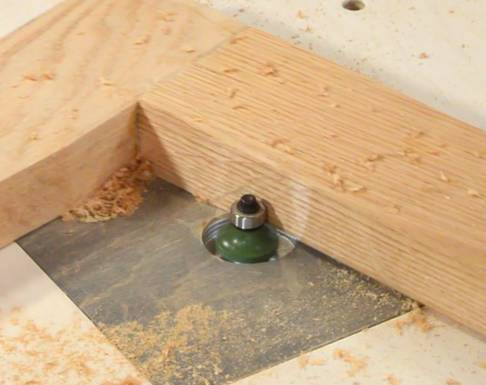 Then rounding all the exposed edges with a 1/4" roundover bit.
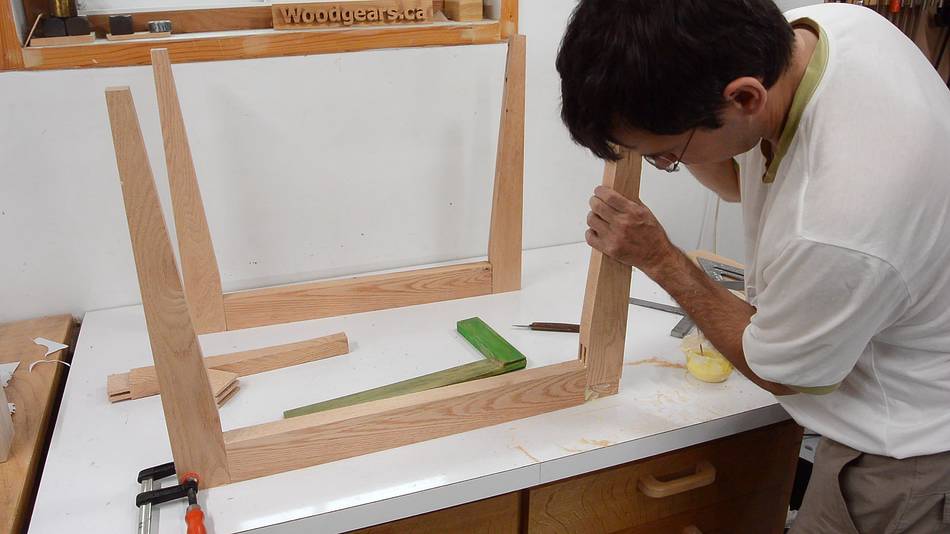
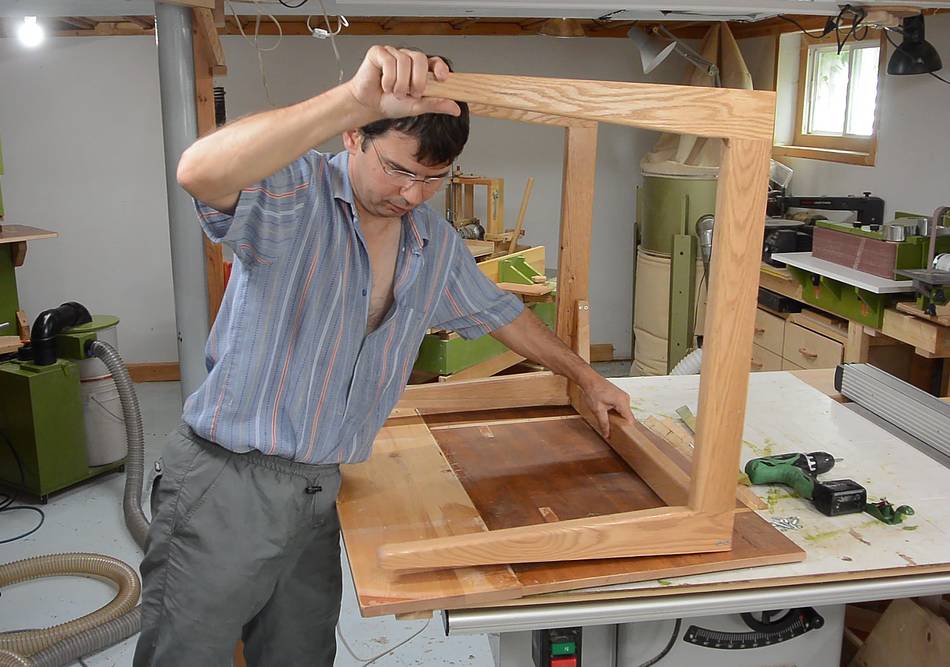
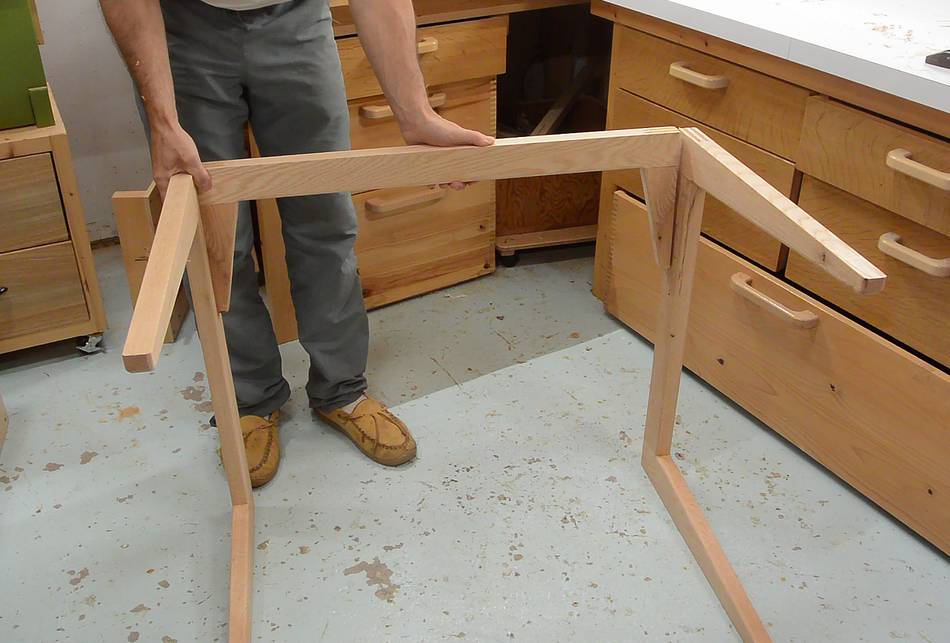 The two C-shaped frames will form the left and right sides of the table.
I made another frame to go between them to give the table some lateral
stability. This frame is made the same way as the legs, so
I didn't record making it.
The two C-shaped frames will form the left and right sides of the table.
I made another frame to go between them to give the table some lateral
stability. This frame is made the same way as the legs, so
I didn't record making it.
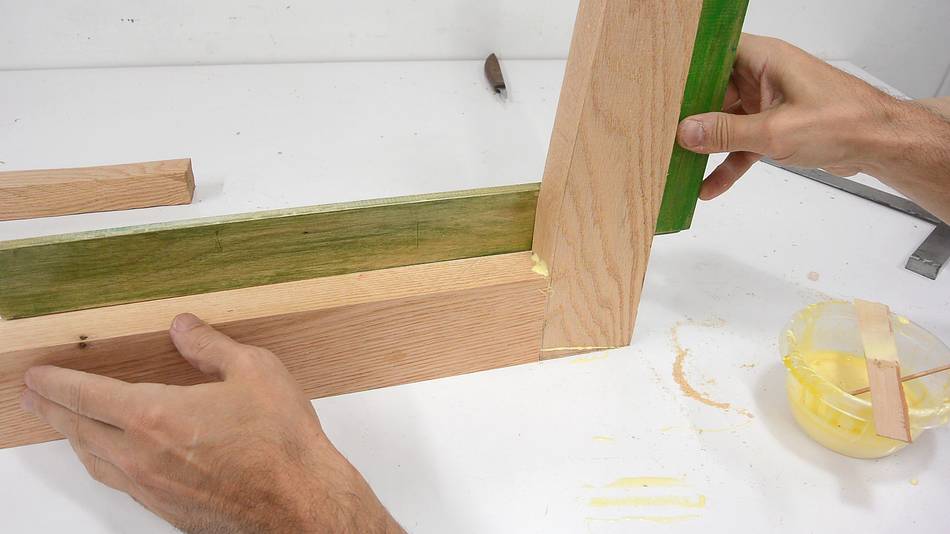
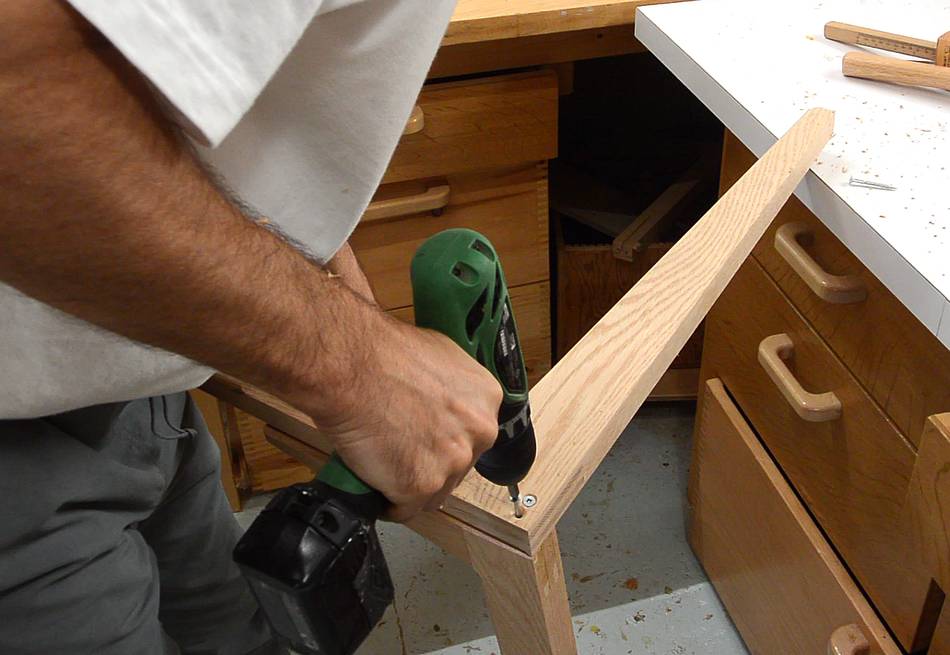
 The middle frame screws to the legs. At the top, it's screwed on from
the outside, with the screws very near the top so they are mostly
hidden by the table top. On the bottom it's screwed on from the inside.
The middle frame screws to the legs. At the top, it's screwed on from
the outside, with the screws very near the top so they are mostly
hidden by the table top. On the bottom it's screwed on from the inside.
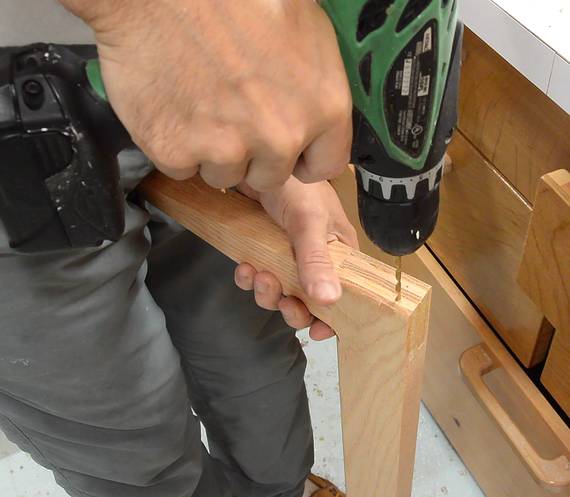 The middle frame is too long to fit under my drill press so I have to
use a hand drill.
The middle frame is too long to fit under my drill press so I have to
use a hand drill.
 Then screwing them together.
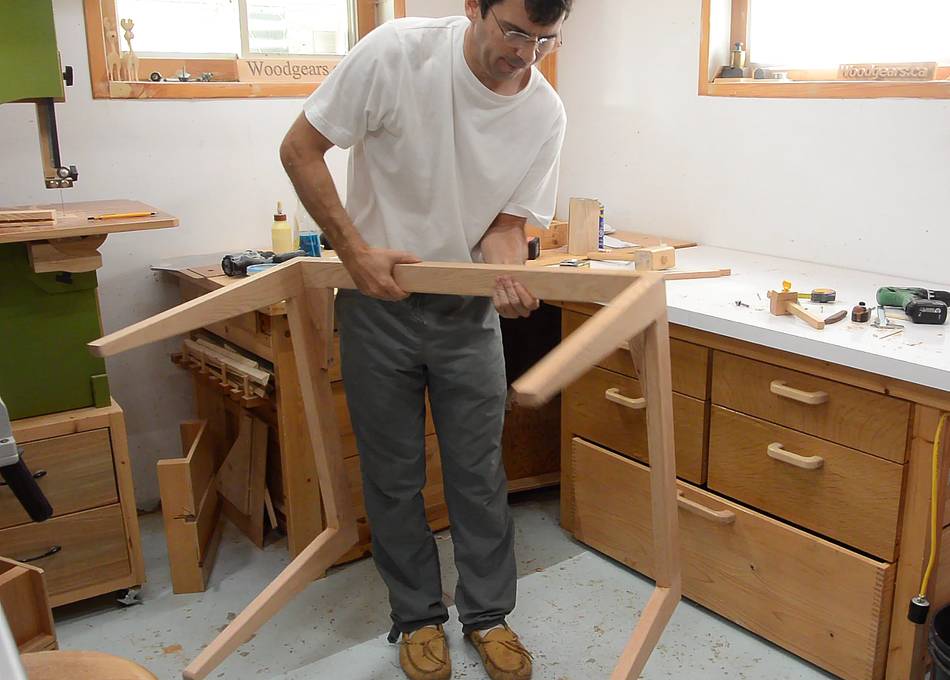 Here is what I have so far.
 The table top will screw on from below. Because the frame is quite wide,
I'm going to glue a rail to the inside edge of it and screw through that.
The table top will screw on from below. Because the frame is quite wide,
I'm going to glue a rail to the inside edge of it and screw through that.
But because I'm planning on using some solid wood for the table top, I need to allow for some shrinkage and expansion from humidity changes. So the screws would ideally be in slots.
 I cut the slots by putting a 3/16" (5 mm) drill all the way in the drill press
chuck and holding the workpiece in a drill press vise very close to the chuck
for maximum stiffness.
Then drilling some closely spaced holes, followed by drilling between
the holes to hog out a slot.
I cut the slots by putting a 3/16" (5 mm) drill all the way in the drill press
chuck and holding the workpiece in a drill press vise very close to the chuck
for maximum stiffness.
Then drilling some closely spaced holes, followed by drilling between
the holes to hog out a slot.
 Then gluing and clamping on the rails.
 The table top is made out of parts of one table top glued to
another table extension leaf, both from the garbage.
I first glued these together for my temporary table, but figured
I might as well reuse that top.
The table top is made out of parts of one table top glued to
another table extension leaf, both from the garbage.
I first glued these together for my temporary table, but figured
I might as well reuse that top.
 I drilled some pilot holes, then six screws to attach it to the base.
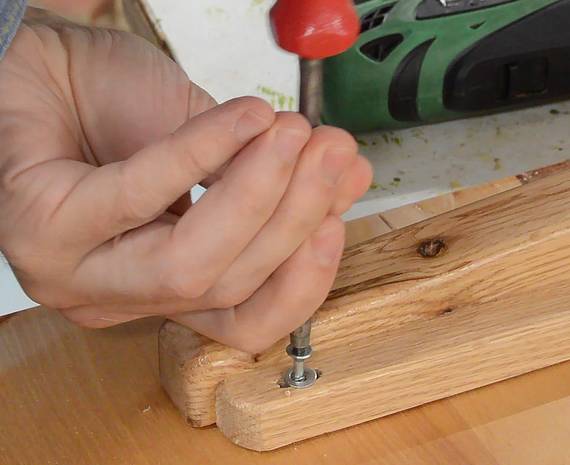
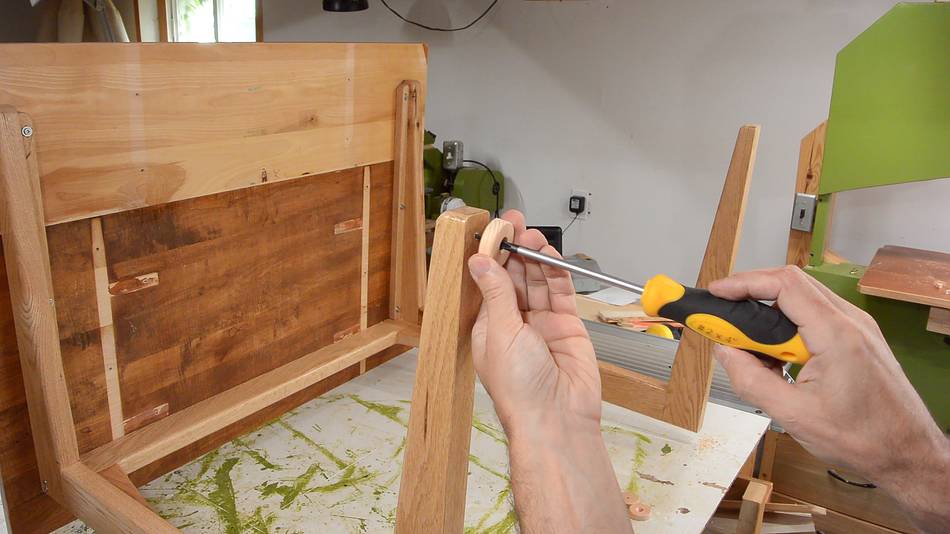 I also added four wooden pads to the bottom of the feet. These keep the
table from rocking if the floor is uneven and also prevent the legs themselves
from getting wet if I spill water or mop the floor.
I also added four wooden pads to the bottom of the feet. These keep the
table from rocking if the floor is uneven and also prevent the legs themselves
from getting wet if I spill water or mop the floor.
 And, of course, I had to do a jump-test with it!
The table flexes a little under load. The strength of these joints is limited by the strength of the wood - whatever it would take to break the tenons off the end of the wood (which would be a lot). The joints are very similar (but bigger) to those on my long reach C-clamps and those can take a lot of load.
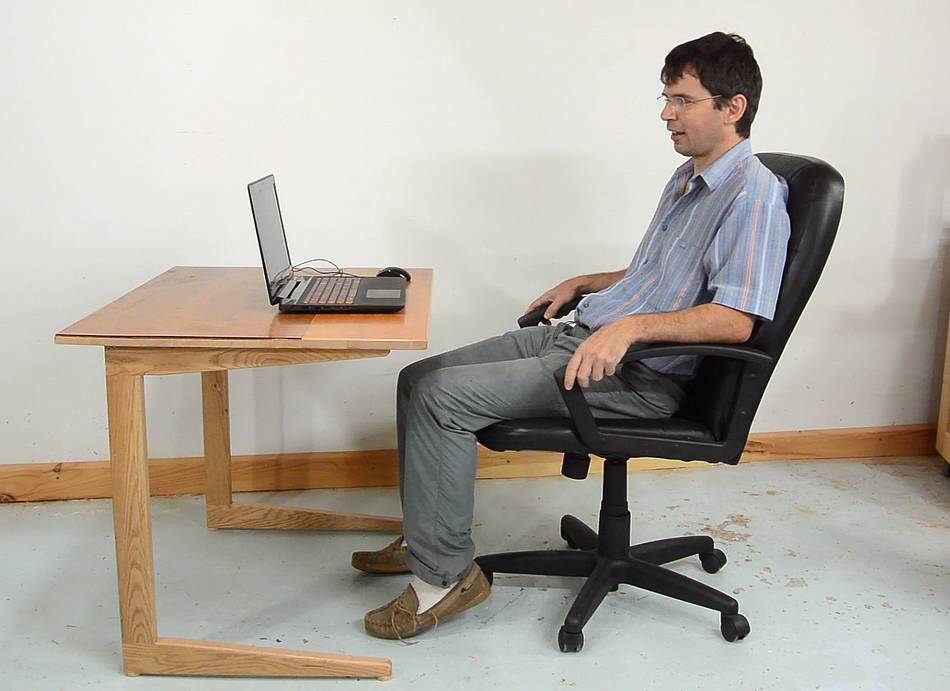 And here showing proportion to my office chair and laptop computer.
I like having no legs at the front. That way, my feet won't hit
the table's legs.
And here showing proportion to my office chair and laptop computer.
I like having no legs at the front. That way, my feet won't hit
the table's legs.
 Large knock-down table (2019)
 Shelves for my desk (2024)
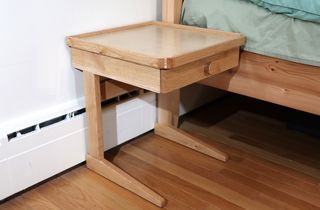 Building nightstands (2020)
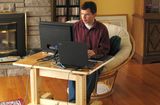 Older adjustable table (2006)
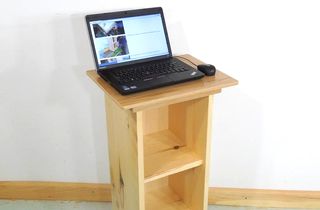 Stand-up laptop table (2012)
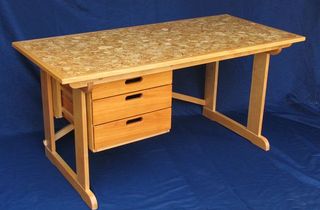 Knock down student desk (1990, 2007)
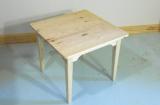 Kid's table (2010)
 Building wooden chairs (2020)
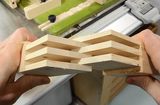 Multi-lap joint (2014)
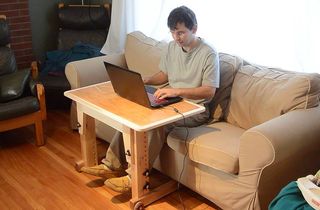 Knock down laptop
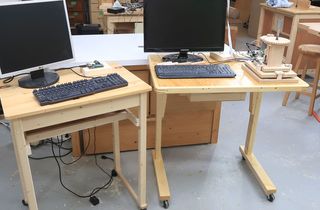 Canitlevered wheeled lab table
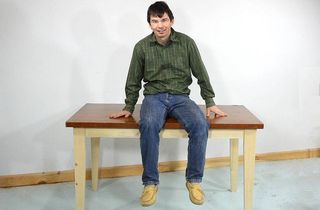 Building a simple table with minimal tools
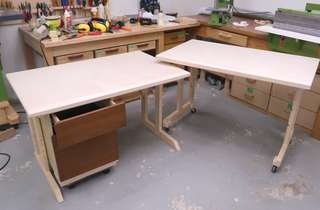 Two small desks, lots of errors
 Standing desk using a motorized frame