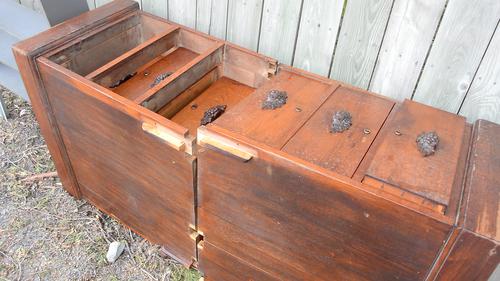
 Townhouse complexes often make for good trash picks. Many are
occupied by transient renters, and when they move, they often have
no place to put the furniture, so on the curb it goes.

 Townhouse complexes often make for good trash picks. Many are
occupied by transient renters, and when they move, they often have
no place to put the furniture, so on the curb it goes.
I was looking for some workbench drawers for my big garage workshop, and I figured these could be adapted.
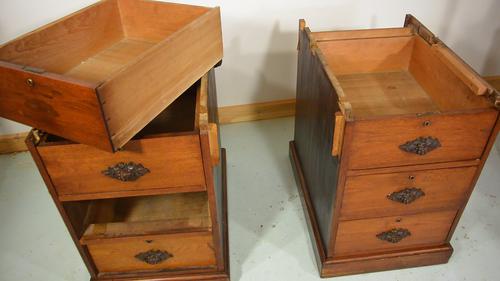 Once I got them home and started to clean them up, I realized, these
were actually quite nicely made. Solid mahogany for the visible
surfaces, and no plywood anywhere.
They were covered in grime, probably from years of using furniture polish. Or at least that's what I suspect. The grime that came off relatively easily and was the same consistency, with no damage underneath. If it was dirt, it would have been less consistent and associated with damage and wear.
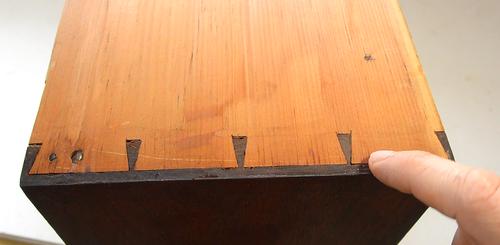 The drawers are dovetail joined, front and back. And on closer examination,
these dovetails are a little bit different on each drawer. These
are hand cut dovetails!
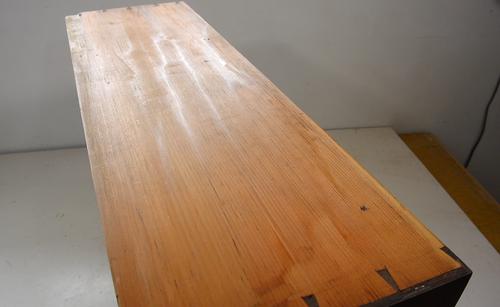 Looking at the sides of the drawer, these distinctively look hand planed.
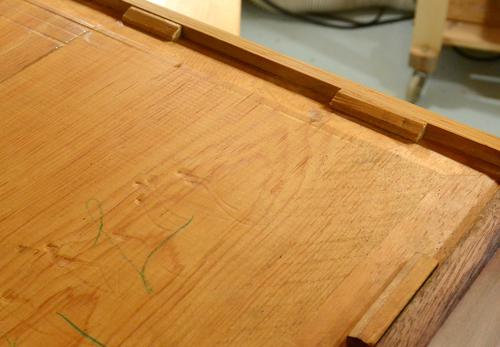 The bottoms of the drawers are very wide boards of solid pine.
Towards the top left, you can see some rippling, a telltale sign
of a power planer. Towards the right, the lines at an angle are from
a circular saw sawmill, like this one.
Though some of the other drawer bottoms show
some rough lumber that looks more like it was cut on a bandsaw mill.
The bevels along the edges also have inconsistencies to them, signs of hand planing and hand fitting of the bottoms.
 I think up until the most recent owners, the desk these drawers were part of
was well taken care of. Here, a sign of a repair made to one of the drawers.
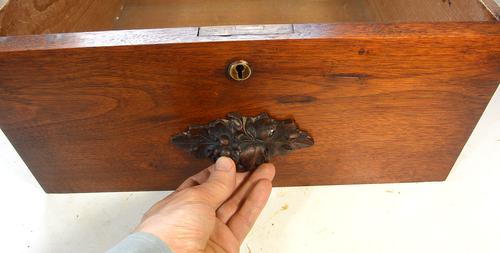 The drawer pulls were very ornate. They look carved, but on closer examination,
they are cast from some resin, probably mixed with mahogany sawdust to give
them the right colour.
Some have commented these look like "Art nuveau" or "Jugendstil" (as Germans call it). That was the fashion from around 1890 to 1910. That would make the drawers over 100 years old, which is consistent with the style of construction.
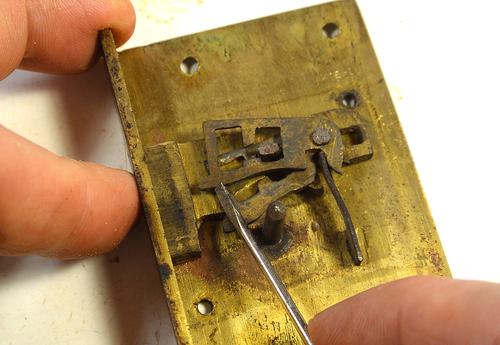
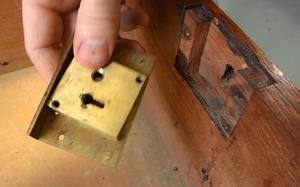 Each drawer has a lock, and these are quite interesting too. There are two
brass bits that need to be pushed back just far enough for a tab attached
to the bolt to slide through them. So only a key with just the right height
of tabs will work. There's no skeleton key for these locks.
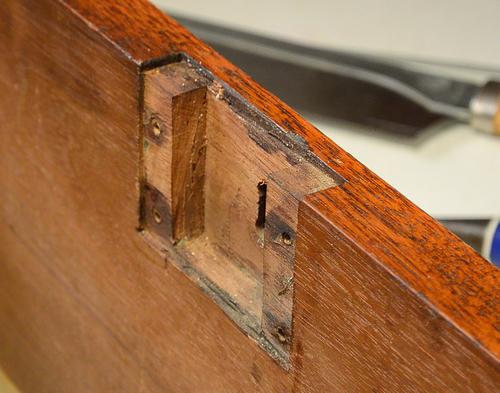 The mortise for the lock looks like it was cut entirely with hand tools.
You can see how the main part of the mortise was cut with a hand saw
as deep as it could go and the rest removed with chisels.
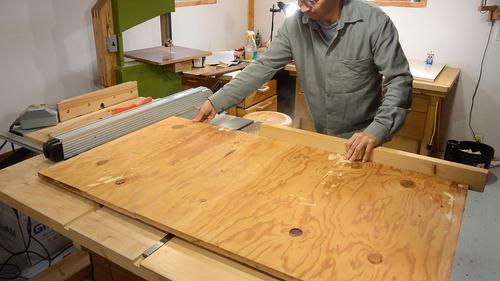 Given the antique nature of this thing, I wanted to keep it fairly
close to the original. Just making a plywood top for both of them,
then putting a slab on top to use as a workbench.
So I cut up some plywood for the tops. The plywood is also from the garbage. I find enough plywood in the garbage that I almost never have to buy a whole sheet of it (although I don't find much Baltic birch in the garbage)
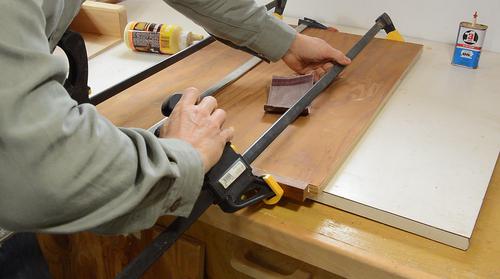 Gluing on a strip of mahogany to the front edge of the plywood. This came from
some mahogany boards that were with the desk remains. The mahogany boards look
like they used to be a desktop for these drawers.
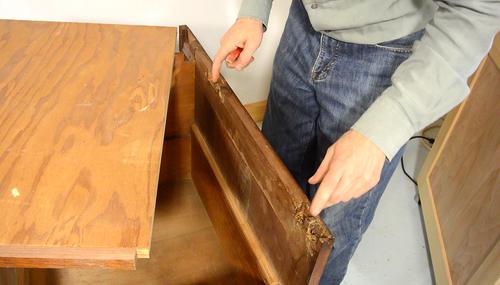 The tops of the sides already have some dovetail shaped notches in them, with lots
of remains of dried glue. I'm guessing these joints had been repaired several
times.
I figured the best way to attach the plywood top would be for it to reach into
these dovetail shaped notches. More notches to attach to would be even
better.
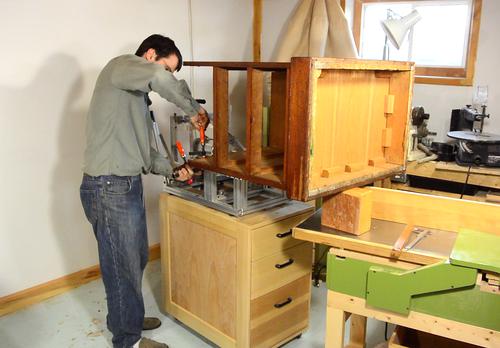 And the best way to cut more notches is with the pantorouter. I'm
using the metal pantorouter
this time. The metal table on this one is more open than on my wooden one, which
makes it easier to clamp something to the front edge.
Hoisting the drawer unit onto the pantorouter was a challenge, and I had to prop up the end of it to make sure it wouldn't fall off, especially before clamping it. In retrospect, it would have been easier to put the pantorouter on the floor.
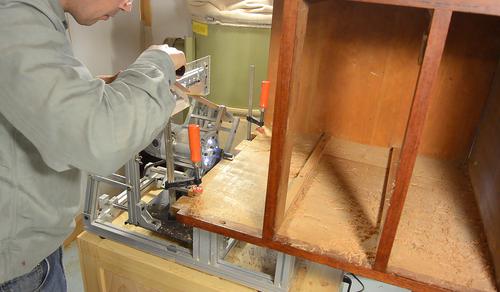
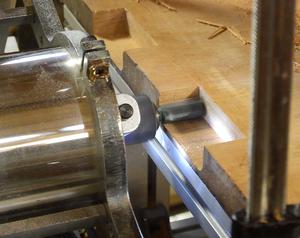 I used a 1/2" diameter straight router bit to carve out the notches.
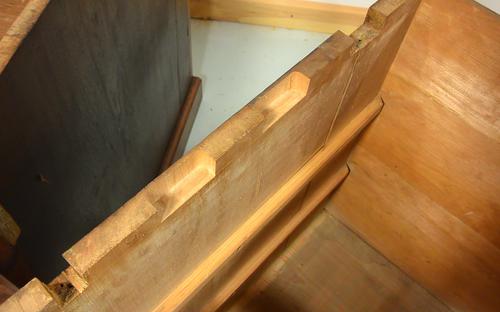 Notches cut. I left 3 mm of material so the plywood isn't visible
from the outside.
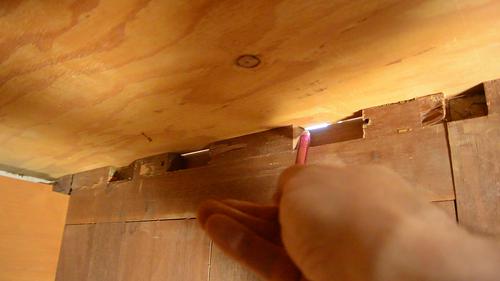 Plywood on top, marking the outline of the notches...
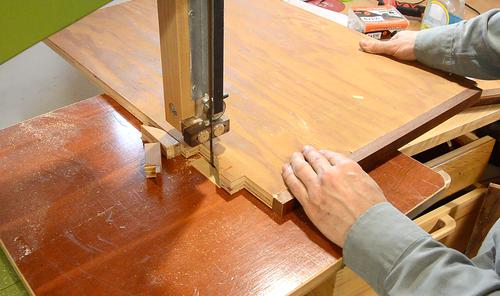 ... which I then cut on the bandsaw.
It took a few iterations back and forth to get the fit just right.
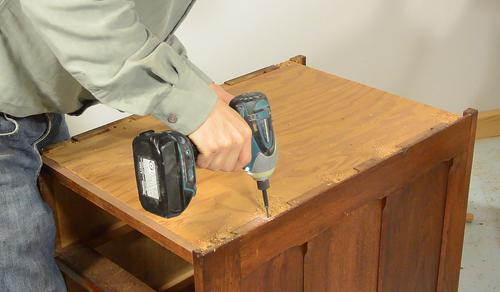
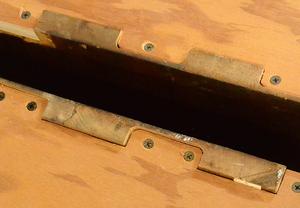 Screwing the plywood down, after drilling pilot hoes of the right size
(wouldn't want to split that nice mahogany wood), and countersinks in the
plywood.
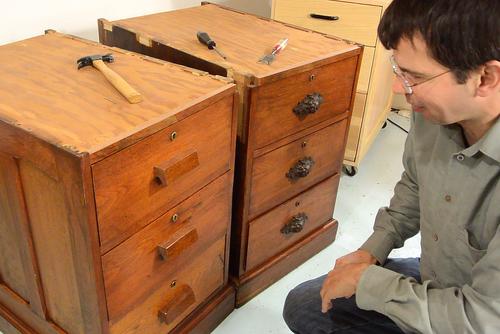 I also made some new drawer pulls
for these on the table saw. I really like how these came out.
 I will use an old desk slab as the top for these drawers. Here, just
checking it with the desk slab off one of my workbenches.
It actually feels very solid, even without the slab attached. Makes for
a nice desk too.
Really, it's too good to just put in a garage workshop, but I have no need for a desk like that. But still better this than the fate these drawers had when they were on the curb.
 Knock down student desk (1990, 2007)
 A dresser built from junk (2014)
 Trash pick wood haul
 Refacing drawers (2008)
 Workbench drawers (2008)
 Small work table / desk (2016)
 Two small desks, lots of errors (2022, video)