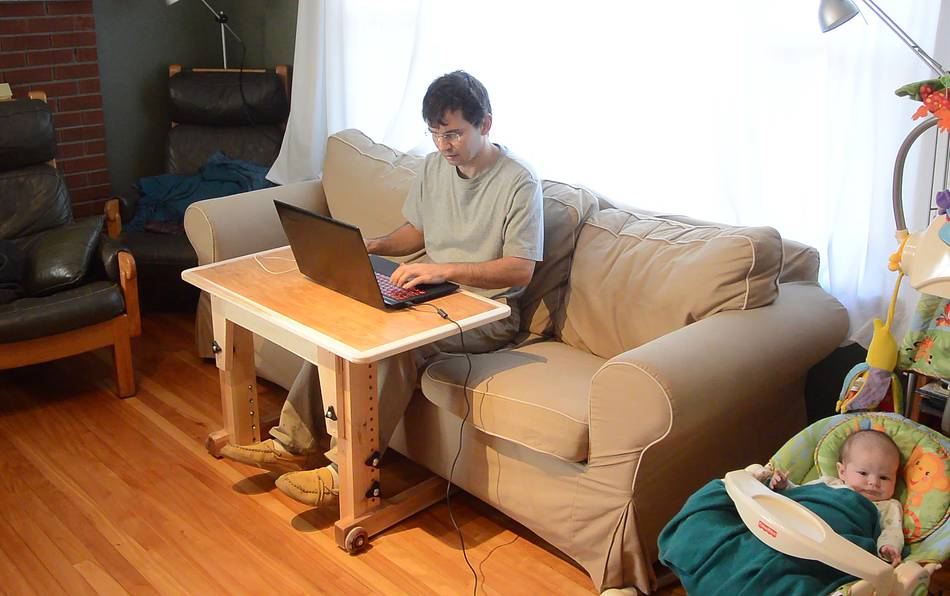
Height adjustable knock down couch / standing desk
I have built a total of five desks like this so far. The first two
here, then another two
that I built here (one of these I gave away),
then another for a friend (didn't take pictures). Two are in use in the house
(see them here and one in my
big workshop garage see here). I wanted another one
to take to my in-laws to get some work done there.
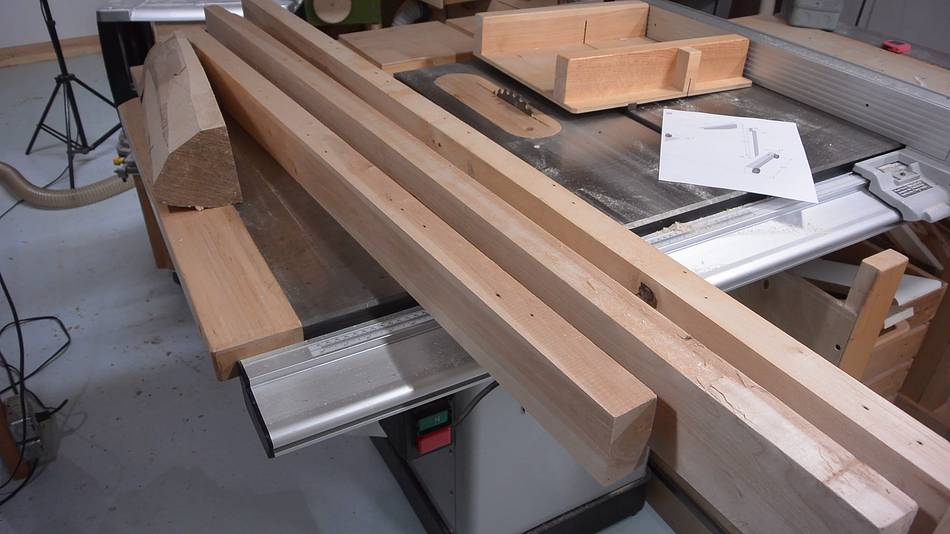
I built this one out of hardwood, mostly maple. Most of the wood came from
large shipping pallets. You can see some of the nail holes in it. So in a way,
it's a pallet wood project,
but with planed wood so it doesn't look like crap.
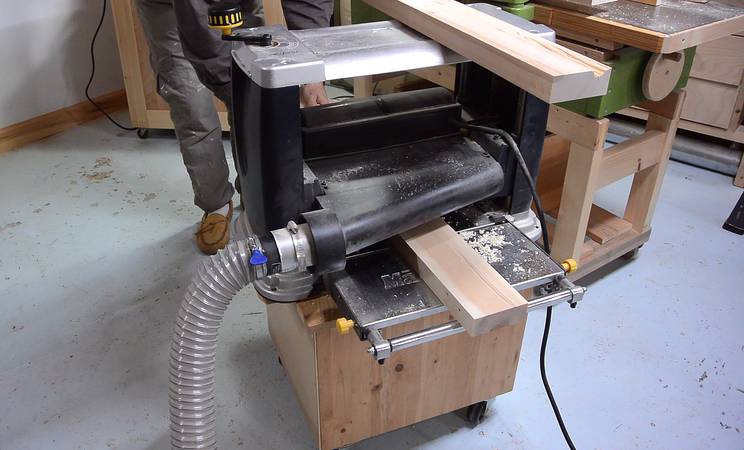
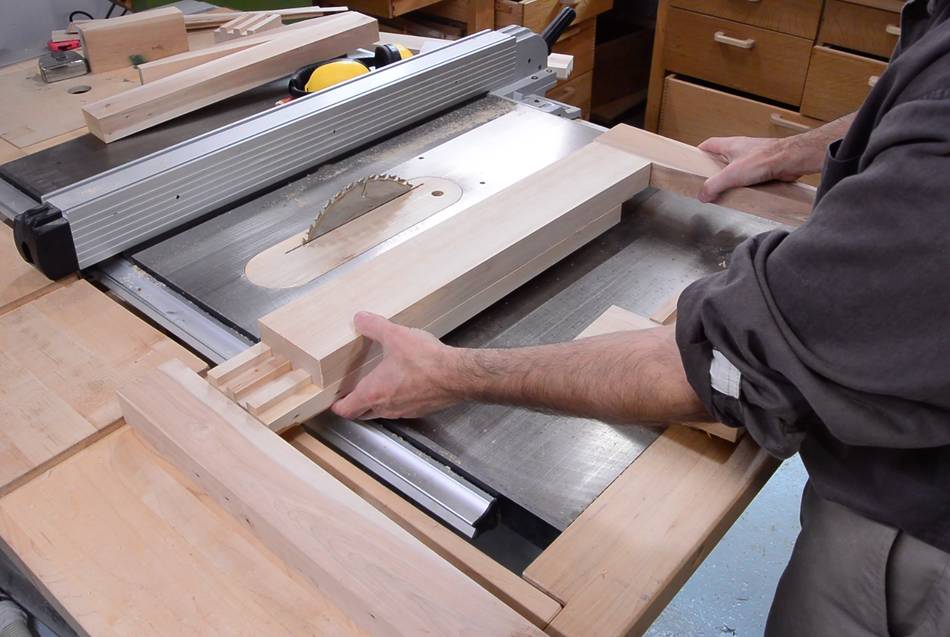
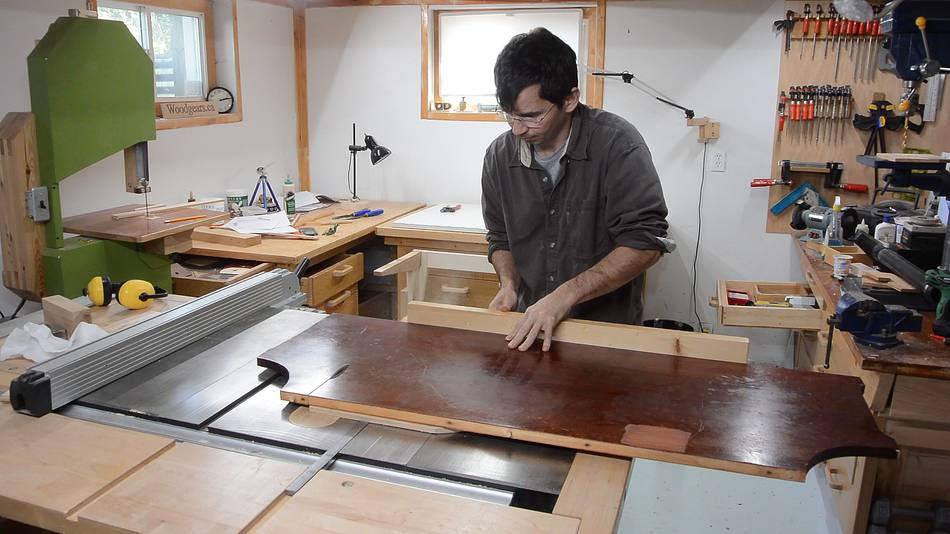
Cutting the wood to lengths using my large table saw sled, then squaring and
straightening the pieces and planing them. It's usually more optimal to
do the planing before cutting to length to avoid snipe, but if there is
any twist or bend to the wood, it's less wasteful if it's cut to length
first. Thickness planer snipe can be avoided by feeding the pieces
through back to back.
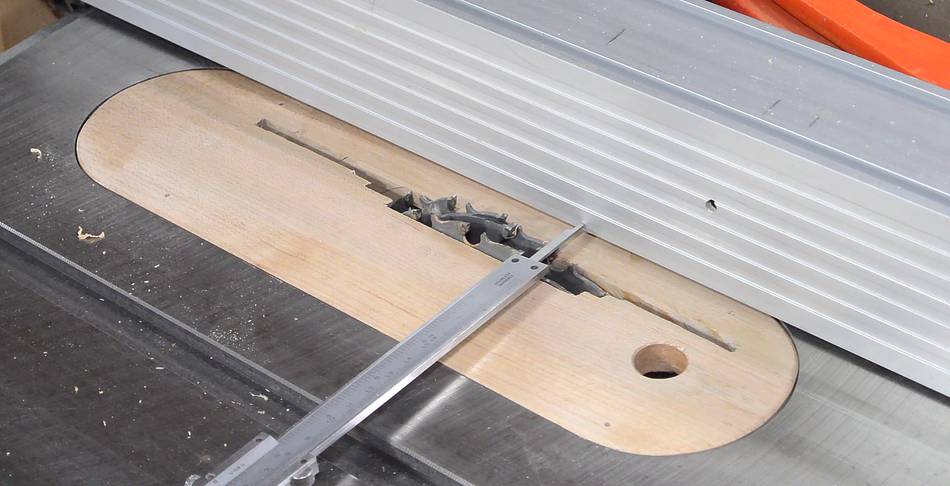
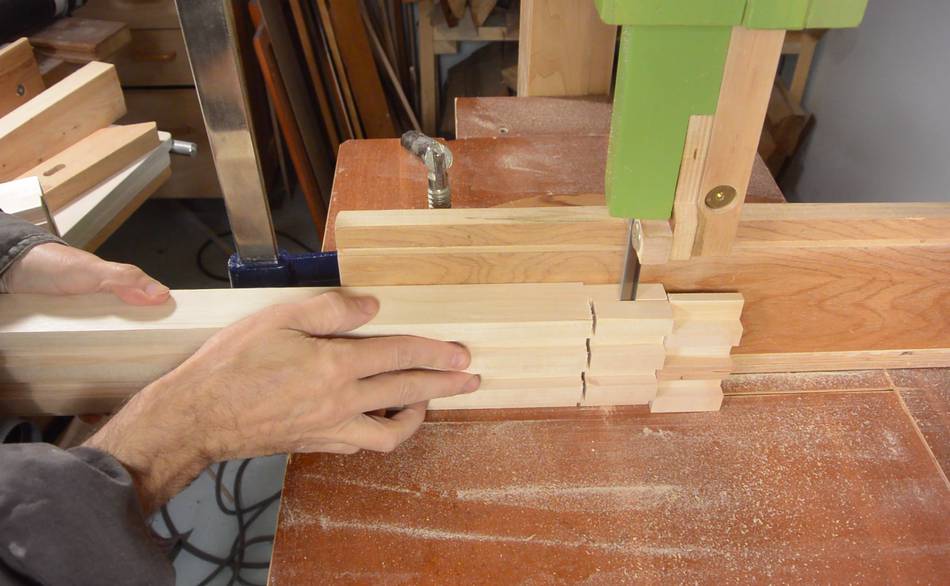
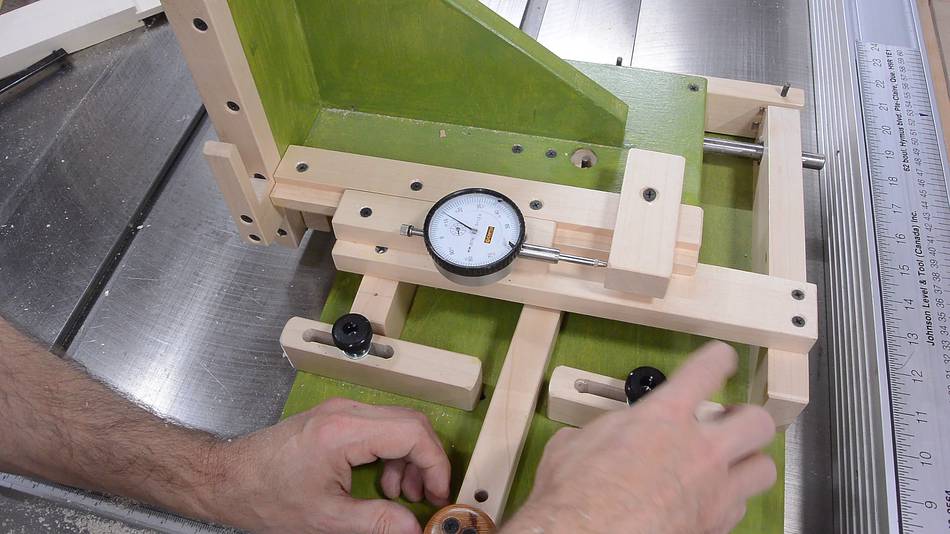
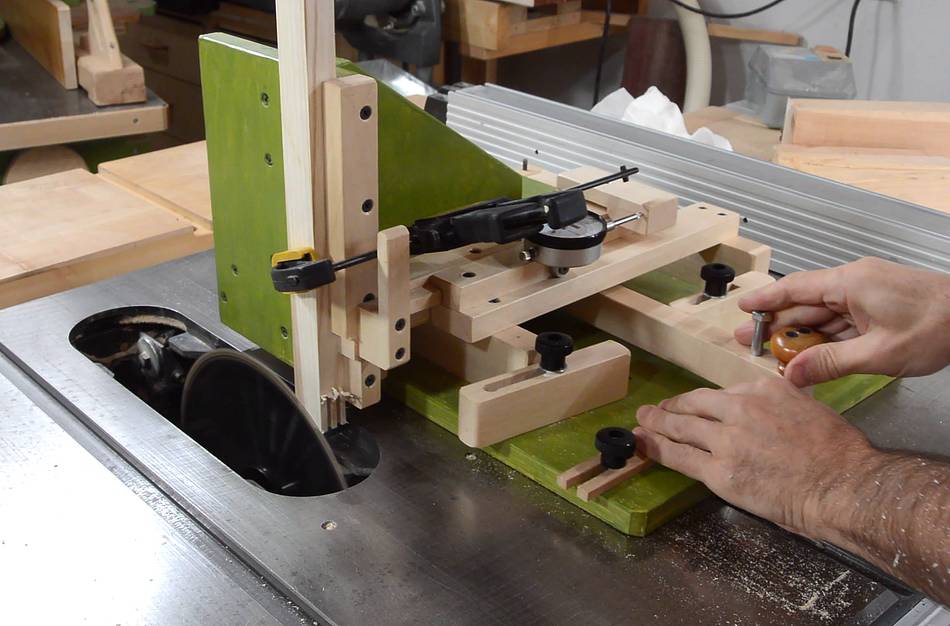
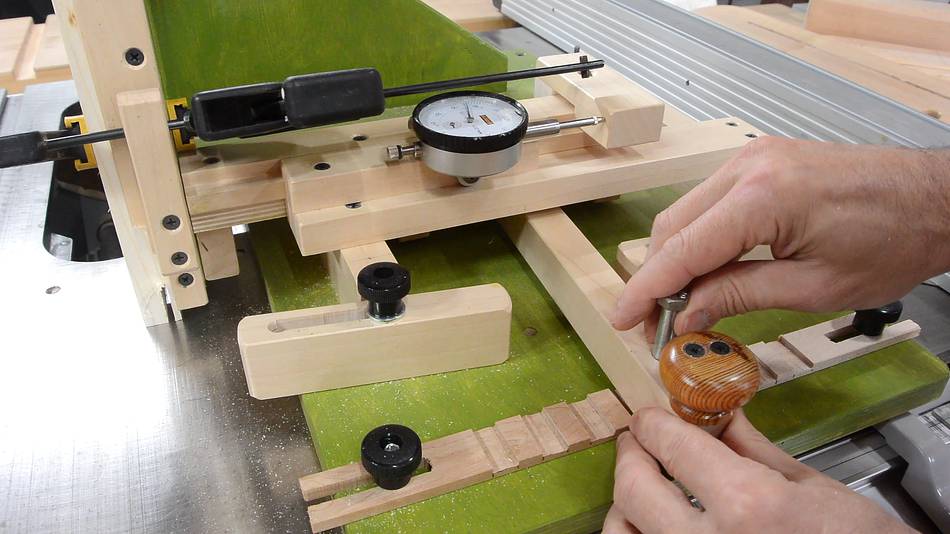
I needed three dadoes just over 15 mm wide, with precise 30 mm spacing
for the vertical adjustment part. I set the fence by measuring from the
blade with callipers. I marked the tooth I measured from so I could
make later measurements from the same tooth for consistency.
I usually don't bother setting up a dado stack, but needing three
identical dadoes in each of four pieces, it was worth the trouble. The
initial fit I got was precise, but too tight. I needed a loose slide,
so I re-cut all the dadoes with the fence 0.3 mm nearer to the blade
than last time to widen the slots.
In retrospect, maybe I shouldn't have bothered setting the dado to the
right width and just planned on getting the right width by making
two successive cuts. Setting a dado to width is so much trouble.
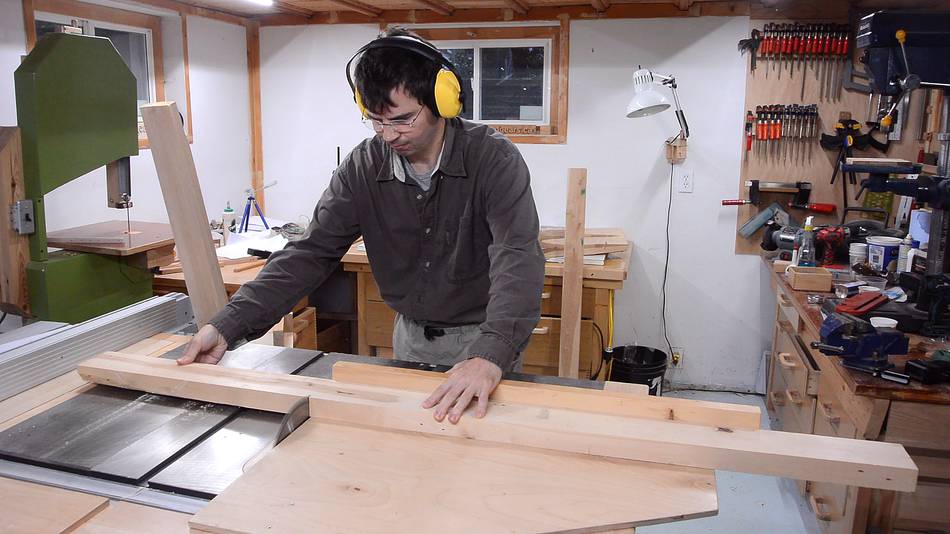
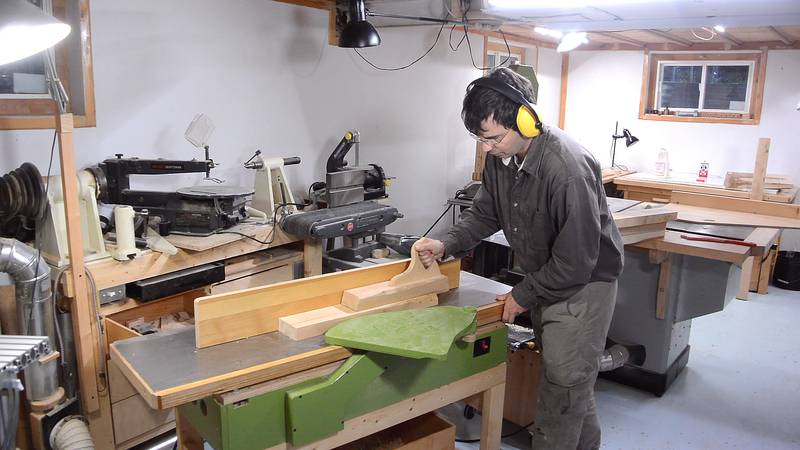
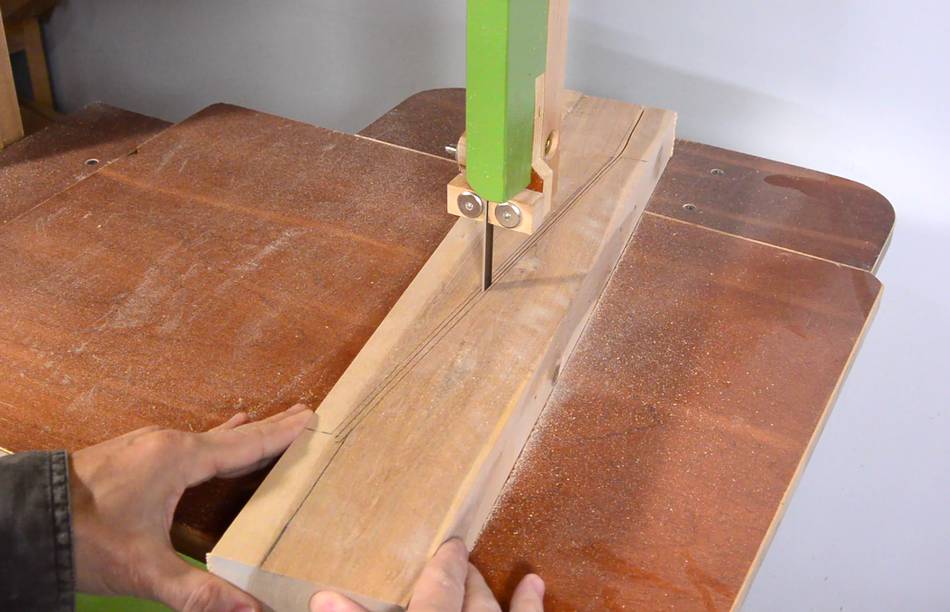
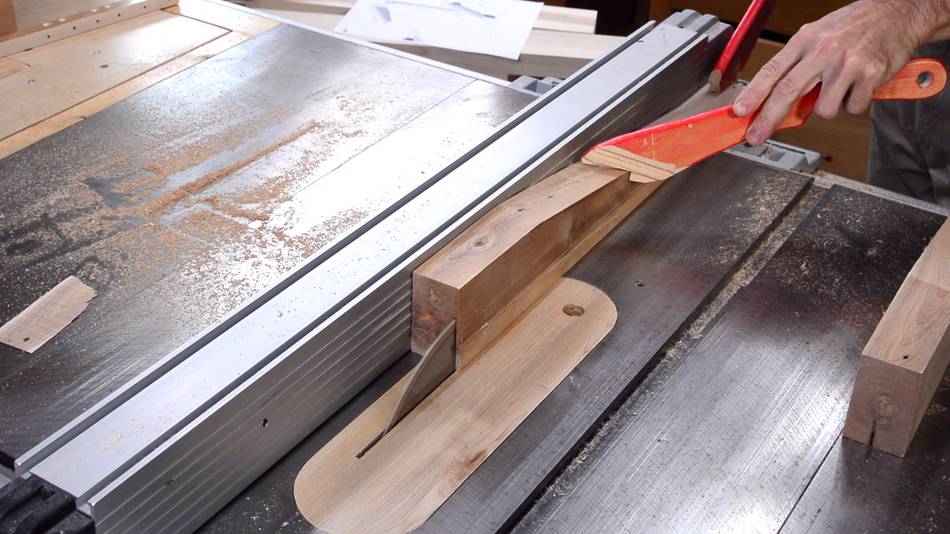
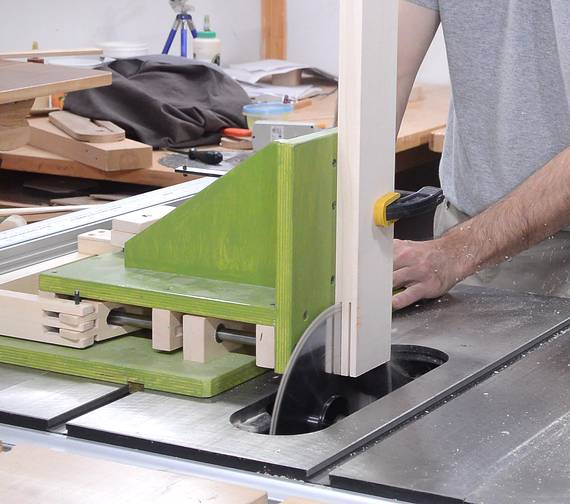
The top horizontal parts that mount the legs to the table top are tapered.
I can get two of these out of one rectangular piece. After cutting it
with a bandsaw, I smoothed the cut on the jointer.
The wood was a bit thicker than I needed, so I cut it down a bit on
the table saw.
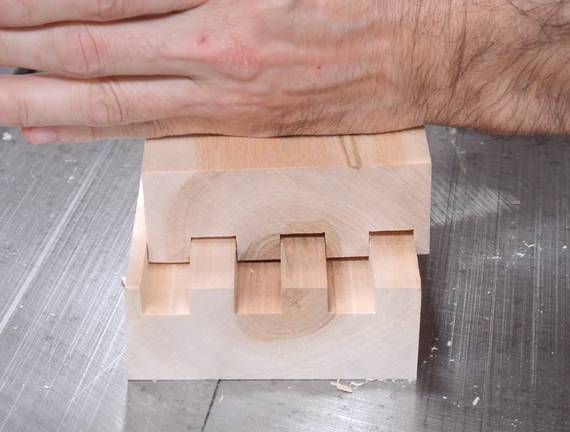
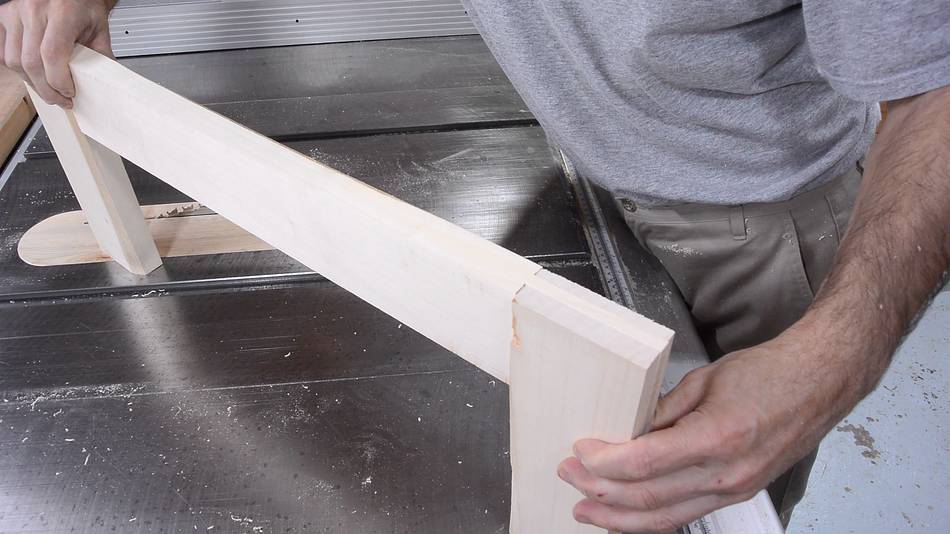
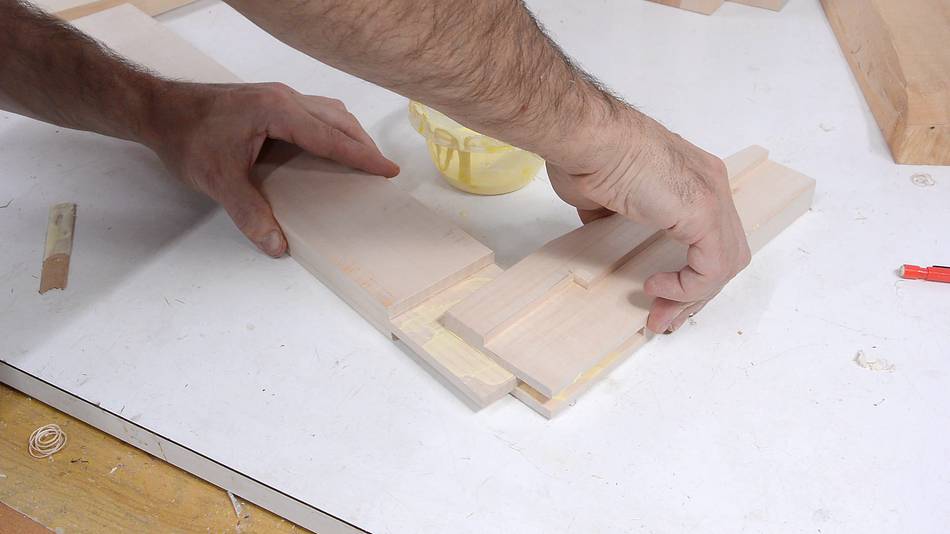
Here's how the legs go together. The grooved part is for the height
adjustment, with a horizontal part of the leg on the top and bottom.
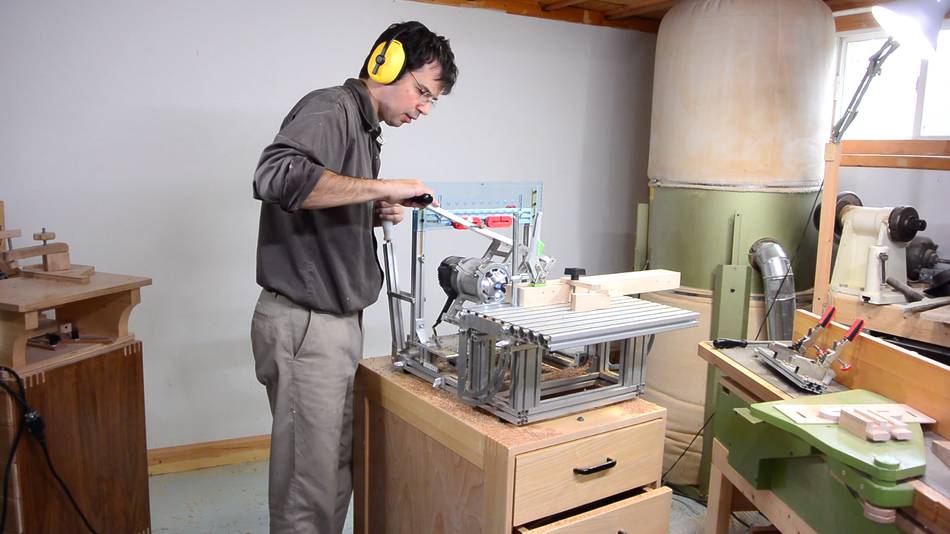
I'm joining the leg parts together with mortise and tenon joints, using
the metal pantorouter.
Normally I'd have one big tenon, but I wanted to try these plastic tenon
templates. They are smaller, so I used two of them.
Cutting the mortises.
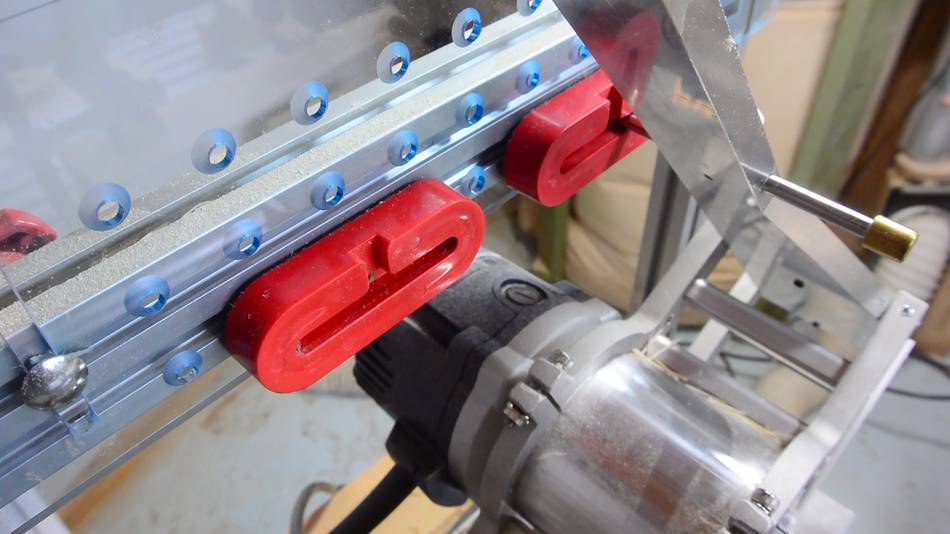
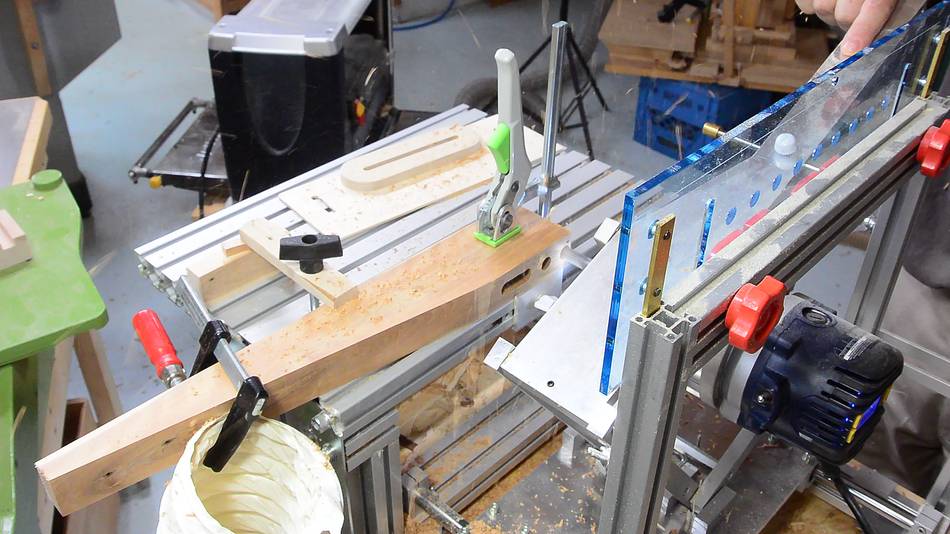
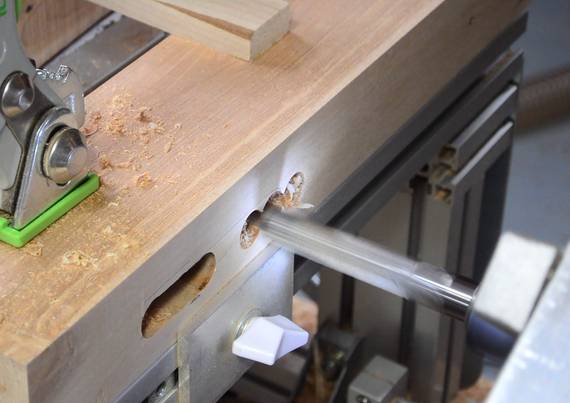
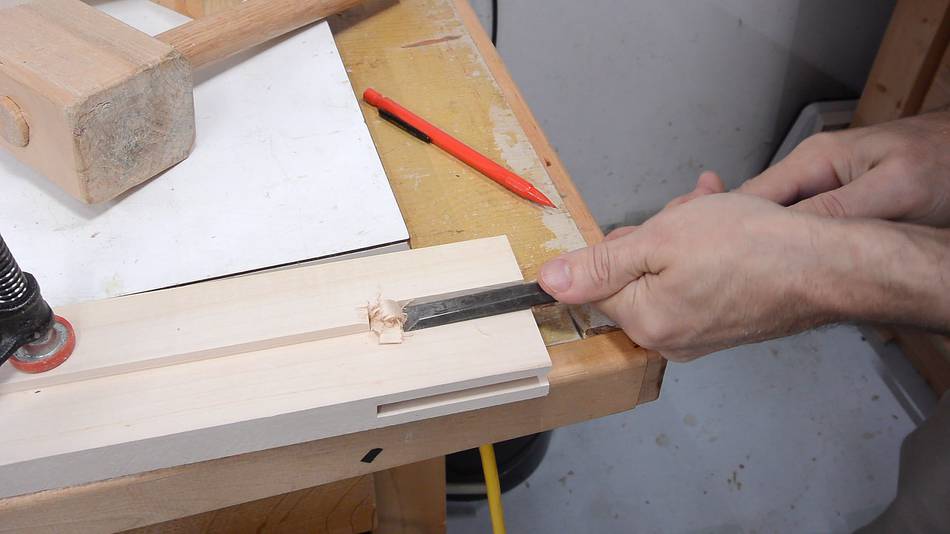
With a long 1/2" spiral bit in the router, I ran into some vibration
problems when sweeping side to side. So I cut these by making a series
of plunge cuts. First on either side, then in the middle, and then
between my previous cuts. After that I moved it side to side while
slowly plunging in to clean the cut.
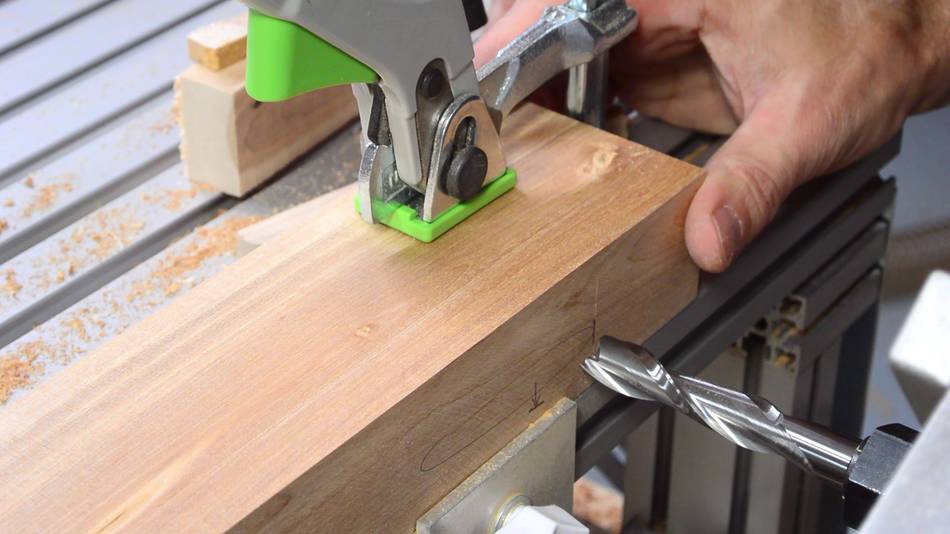
I only had four joints to cut. Even the identical joints weren't quite
identical because they are a mirror image of each other, so I had to
mount one piece one way, the other the other way around (the mortises
aren't laterally centered). So it was easier to just make a line on the
wood where the mortise goes and line it up to that instead of setting up
stops.
The tenons are towards one edge of the wood so that the corresponding
mortises are closer to the center in that piece.
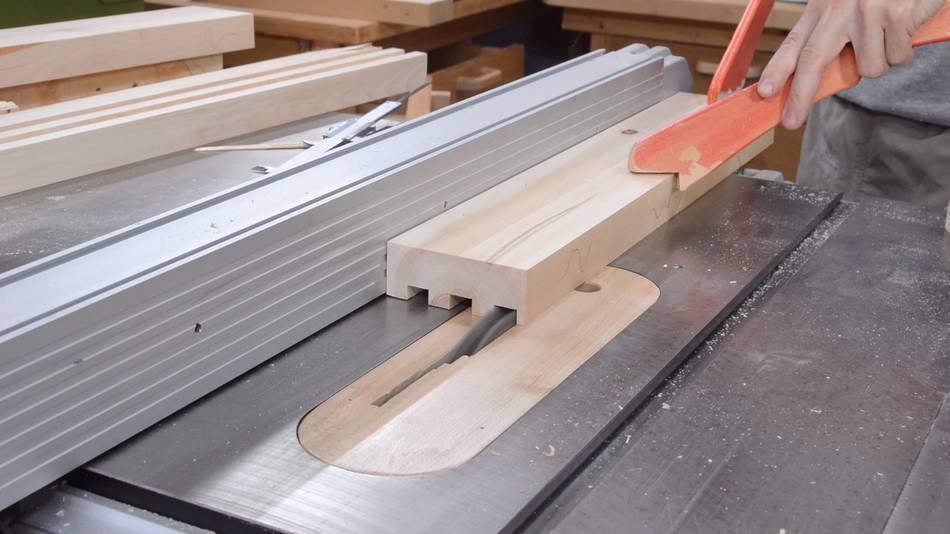
A lot of material needs to be
milled away, so I cut most of it off with a table saw and bandsaw
before milling the tenons.
Cutting the tenons, first half depth, then full depth.
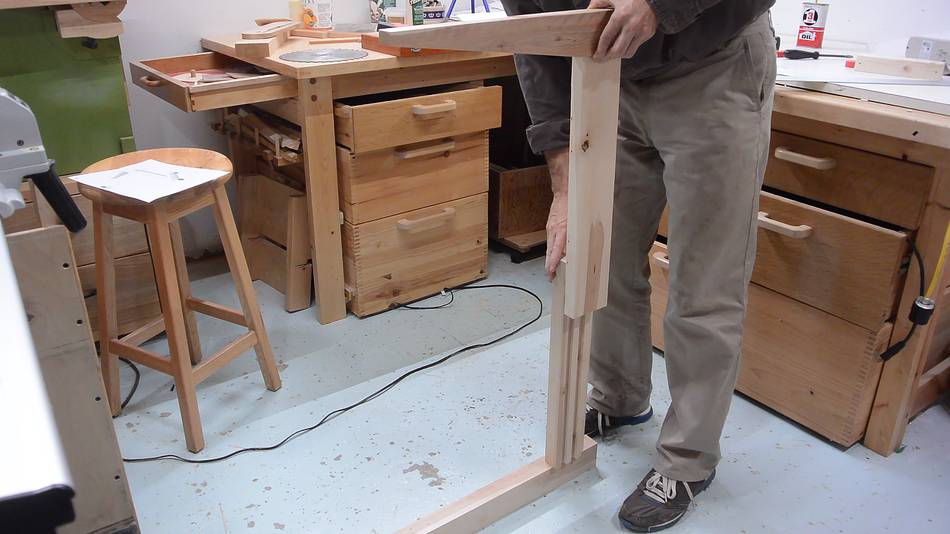
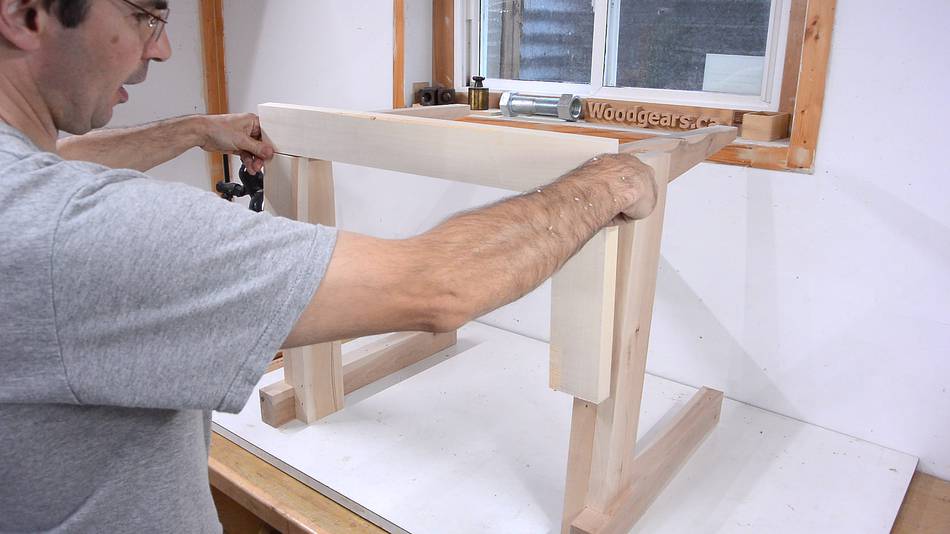
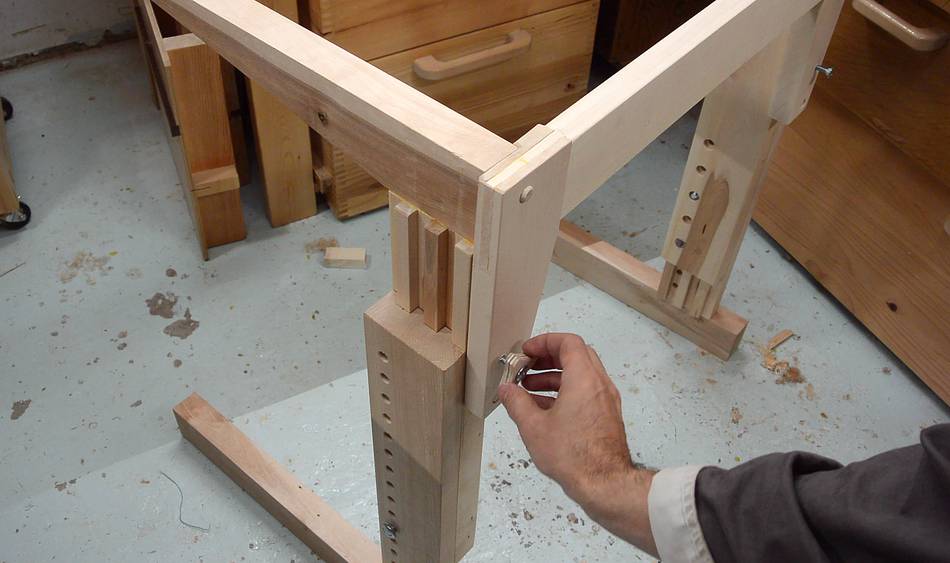
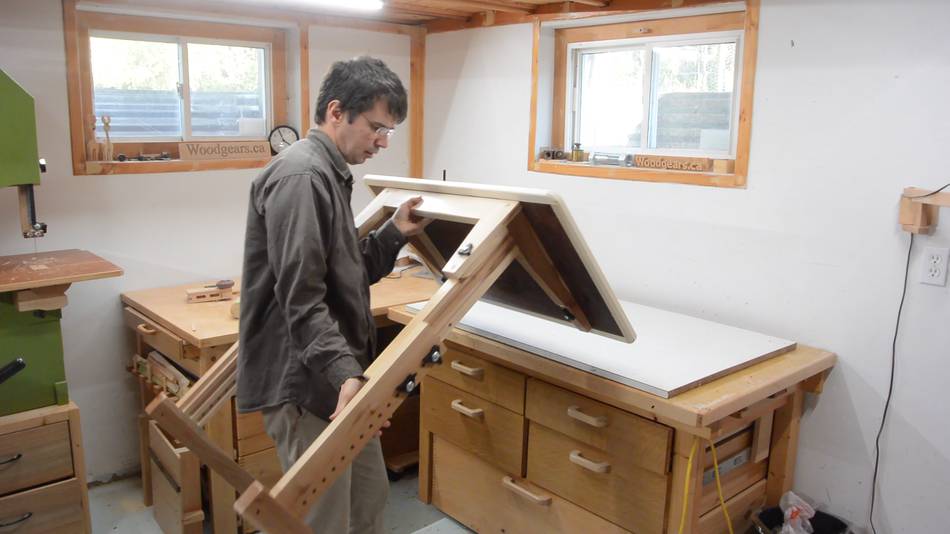
This is how the legs fit together. The height adjusts from couch
height to standing desk height.
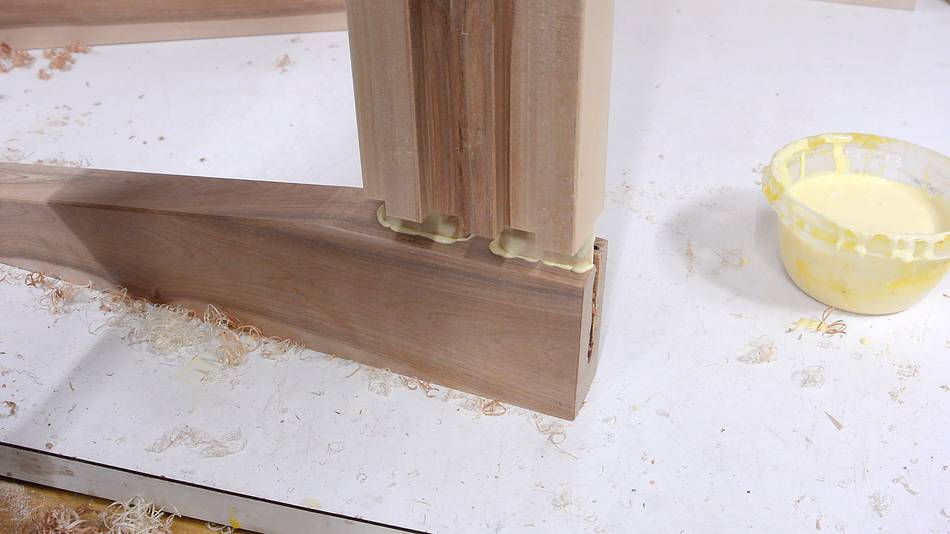
Gluing the top horizontal to the legs.
It's very satisfying to glue one of these big joints together.
The viscous glue gives a satisfying amount of resistance when
pushing the joints together.
I needed something to support the legs side to side, so I'm
making a bracket to go on the back like this.
The bracket is joined with a bridle joint, which I'm cutting with my
quick set tenon jig
After cutting the tenons, I move the stops inward by 0.1"
(the thickness of my blade kerf), then cut the bridle part of
the joint.
For the bridle part, first I cut on either side, then in the middle to
remove the rest of the material, then I move the lever side to side
while moving across it to flatten the bottom of the joint.
Test fitting the joint.
I cut a rabbet in the vertical parts of this bracket, plus another
notch cut to fit the bracket around the legs.
This is how it fits on the legs.
Gluing together the joint.
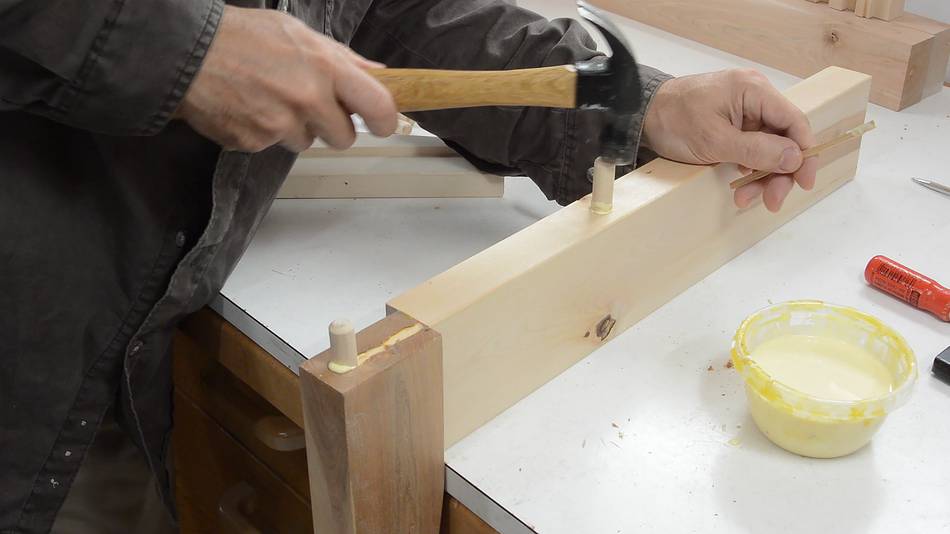
I'm adding some dowels as alignment pins for this bracket. I started by
drilling 1/2" (12 mm) holes in the corners of the bracket, then I clamped
the bracket to the legs, and used a hand drill to drill just a
millimeter into the leg parts.
I then unclamped it and finished drilling the holes on the drill press.
The hand drilling was just to get the locations precisely transferred.
Adding the dowels.
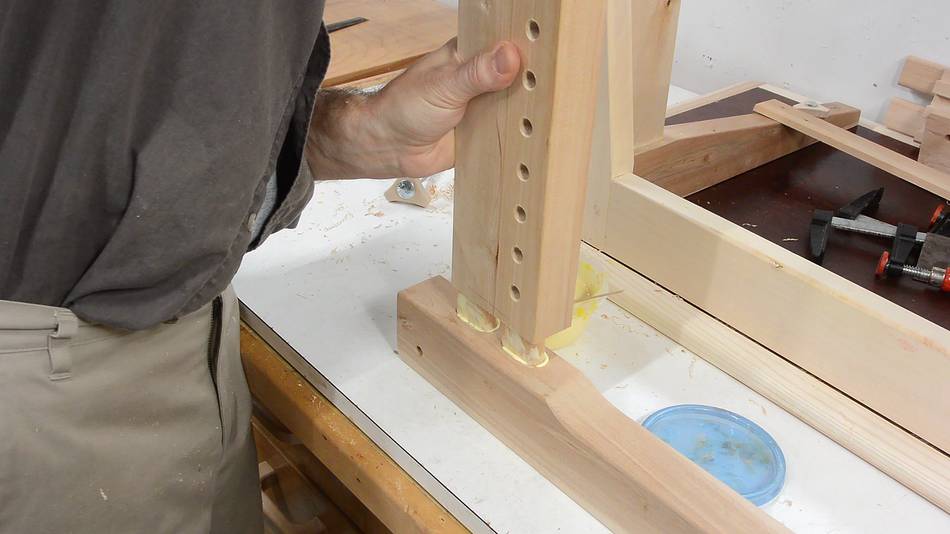
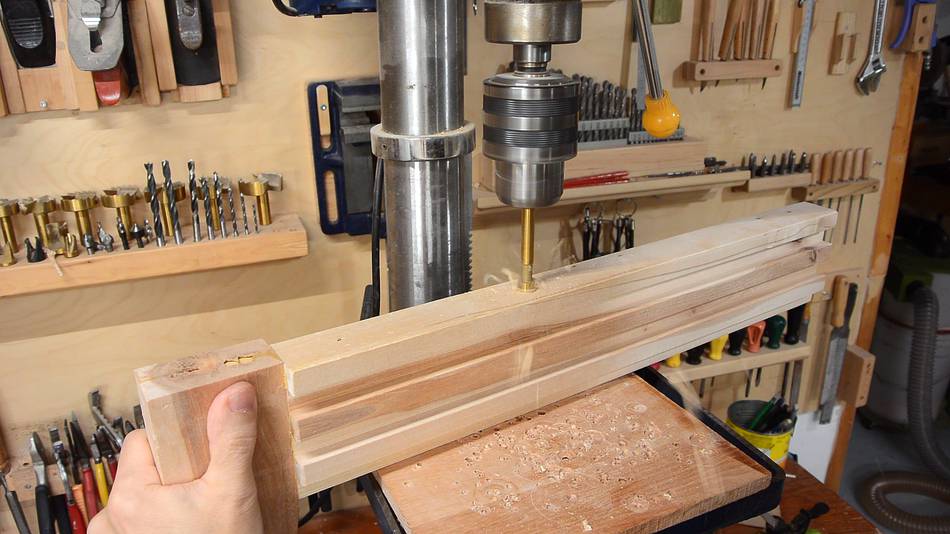
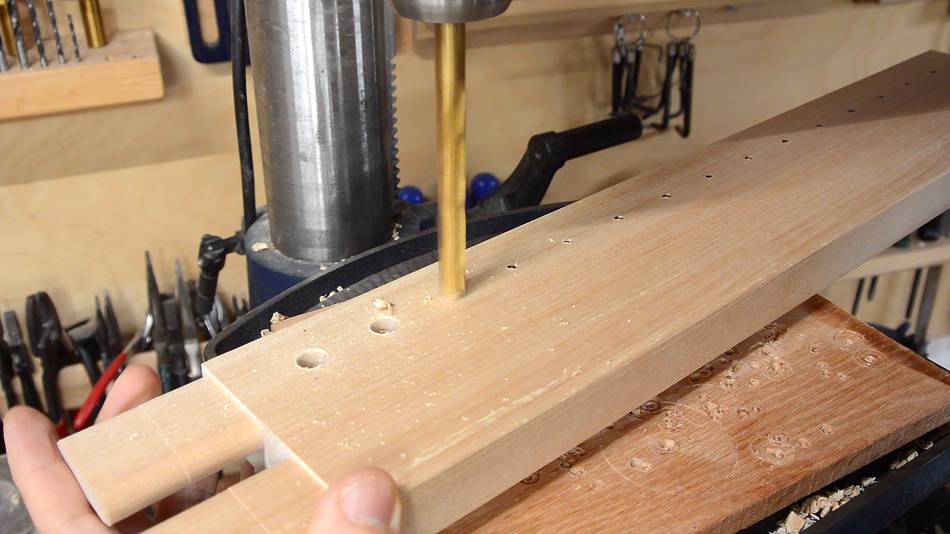
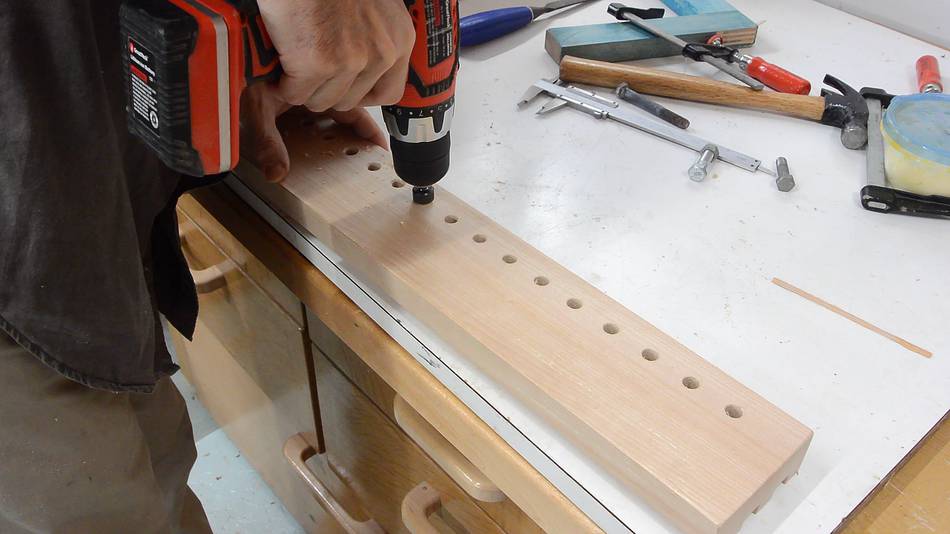
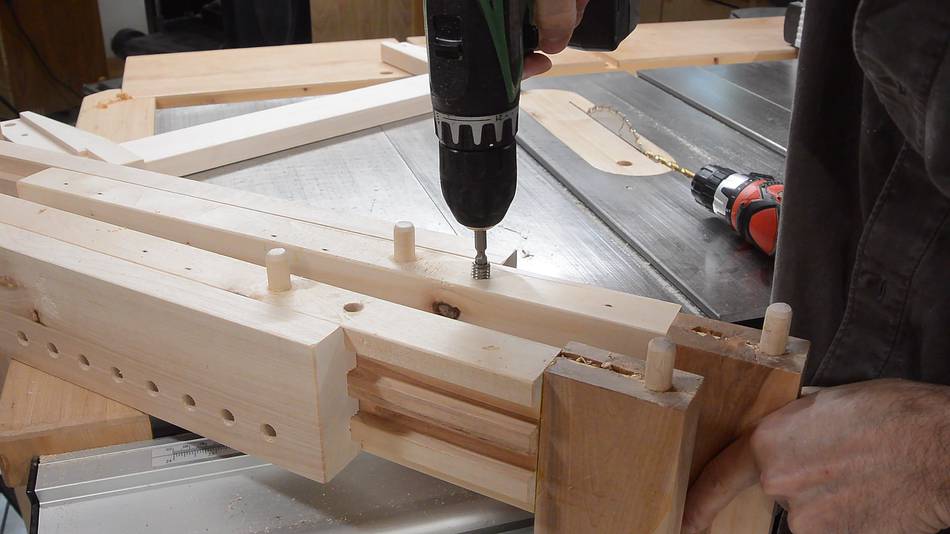
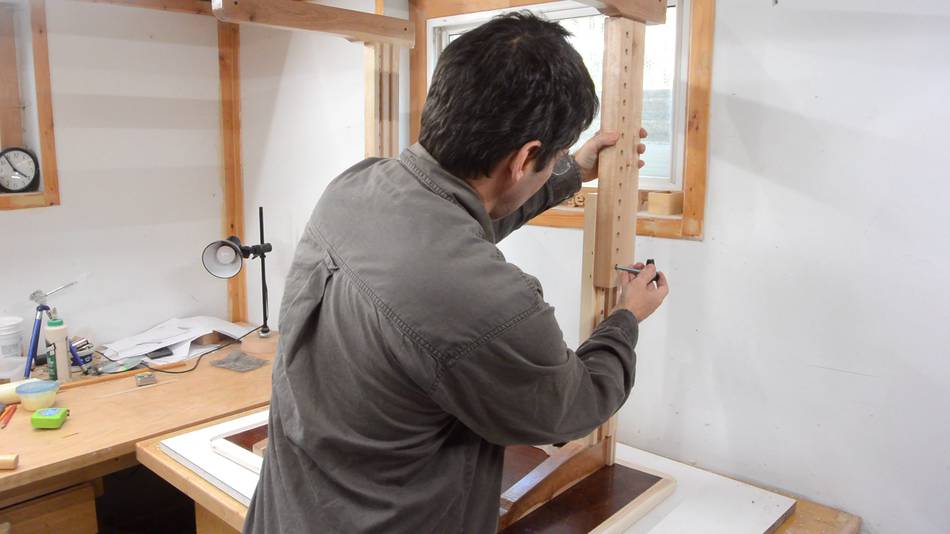
I drilled a hole every 3 cm along the legs for bolting them
together at different heights. I marked these off with a tape measure. Before
drilling them, I also used a very thin blade to cut a shallow groove along
the slot where the holes go, to help me center the drill.
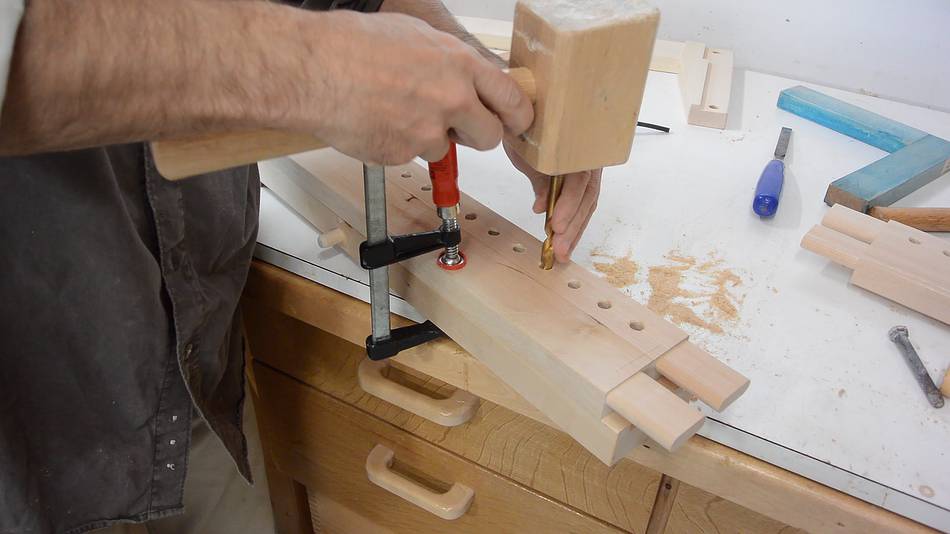
There is often a bit of tearout where the drill exits the wood. So I drilled
all these holes to go almost all the way through, with only
the brad point of the drill cutting through.
I then used these small holes to line up the drill from the other side and
finish the holes. No tearout this way.
I added a slight chamfer to the holes with a countersink bit.
Clamping the legs parts together, I used a drill bit to transfer the center
of every third hole (for three holes) to the mating piece.
I then moved one piece by 1.5 cm and did it again, so that I had holes marked
every 4.5 cm.
I drilled the holes and added a counterbore to snugly fit a 3/8" nut.
With holes every 3 cm on one part, and holes at 4.5 cm spacing on the other
part, I can lock the height at 1.5 cm increments by putting the bolts
through different holes.
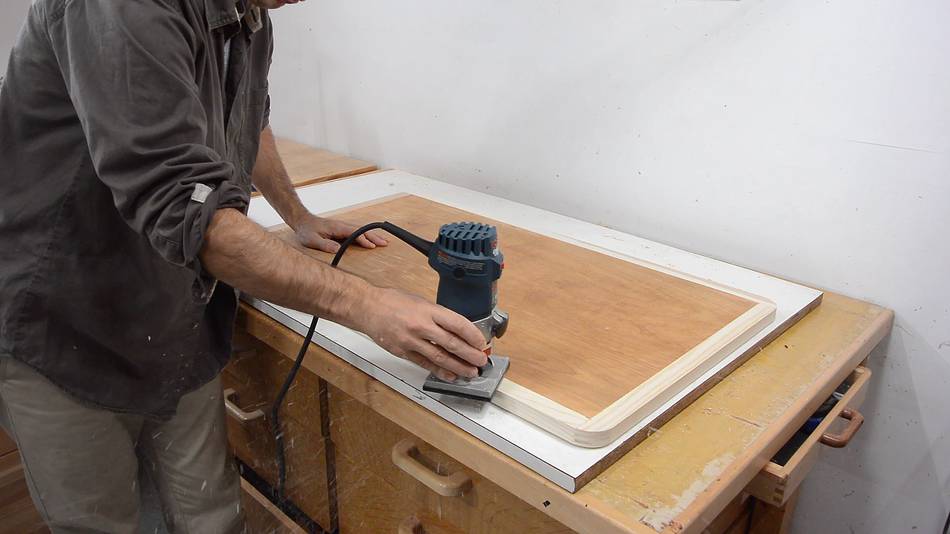
I used part of an old headboard from the garbage for the desk top. Here
cutting the ends with my table saw sled.
The "good" side of the headboard still had a purple-ish tinge to it from the
stain where I tested scraping off the varnish. So I used the back of it
as the "good" side.
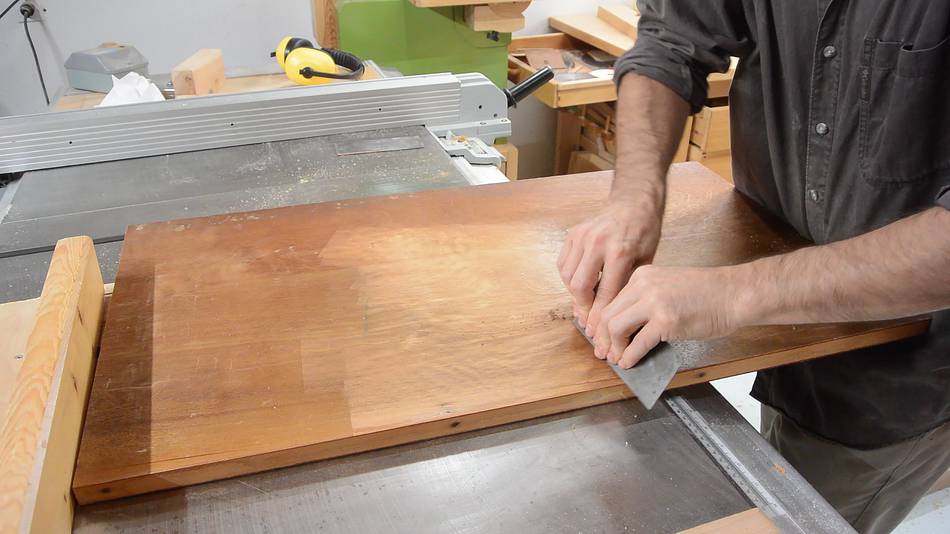
Here scraping off the old varnish (there was much less of it on the back)
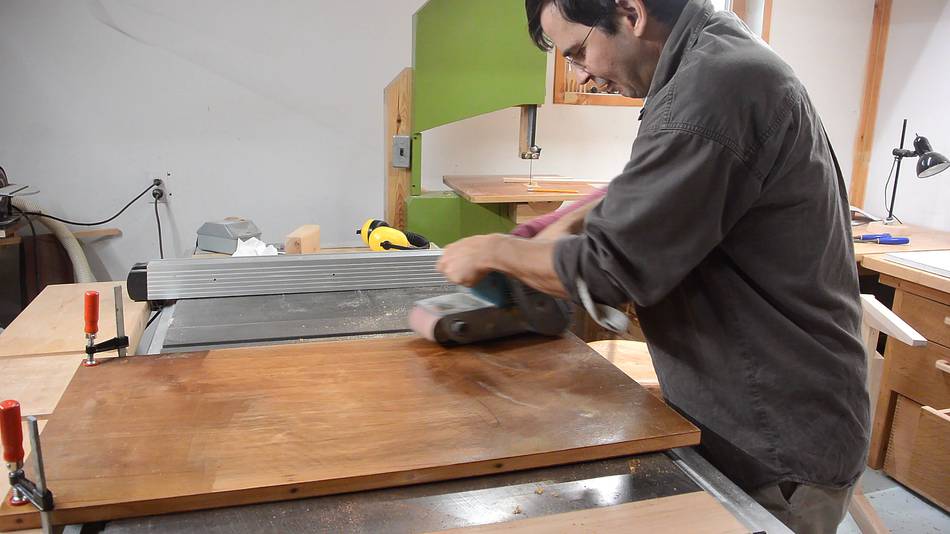
Scraping was too slow, so I switched to the belt sander, then back to
the scraper to get a smooth surface.
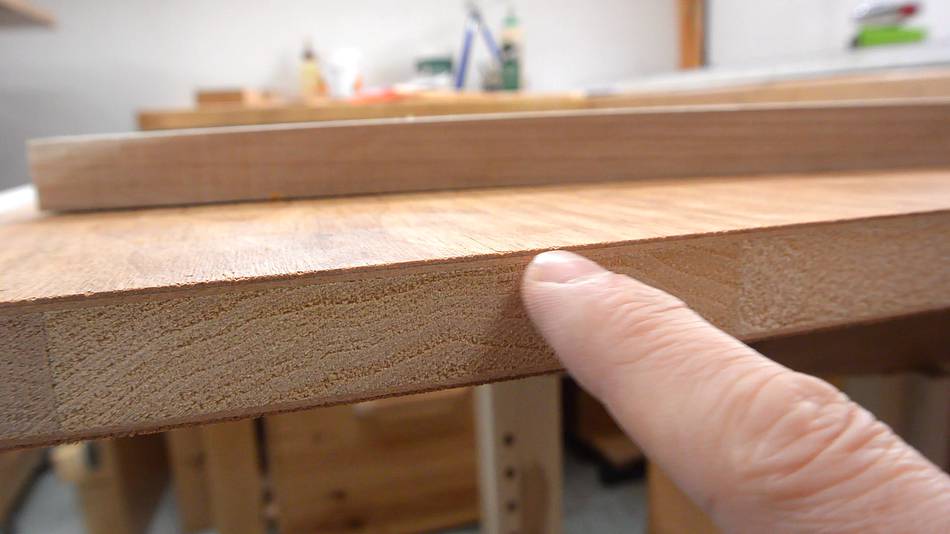
The wood has a solid wood core, but with two layers of veneer on either
side. One layer is perpendicular to the grain. This makes these
boards act more like plywood, in that it prevents sideways expansion
and contraction of the wood.
Because of this, I can put trim around it without having to worry about
what happens when the humidity changes
I joined the corners with finger joints, using my quick-set tenon jig.
I'm using the template feature of this jig to repeatably cut the fingers of
this joint. A bolt (in my right hand) needs to be lifted to move from
one notch in the template to the next.
More on that here
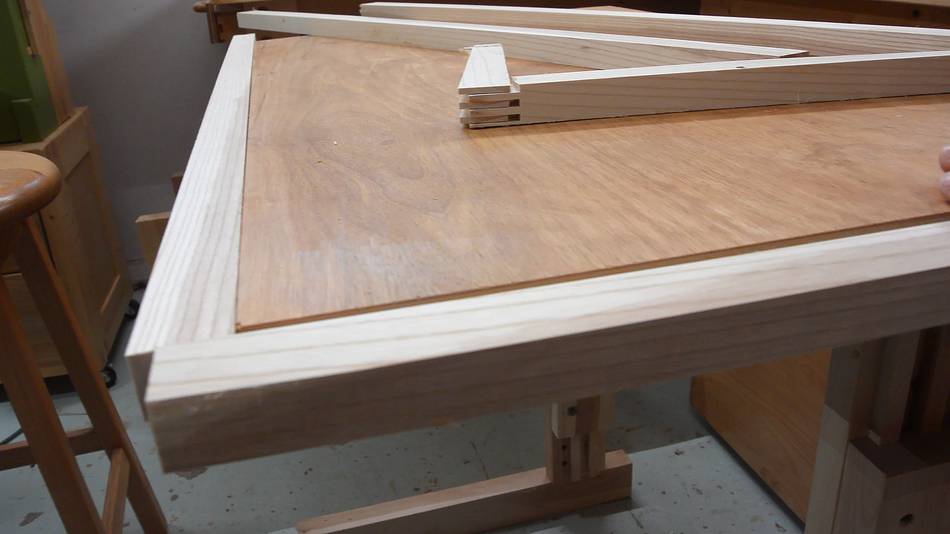
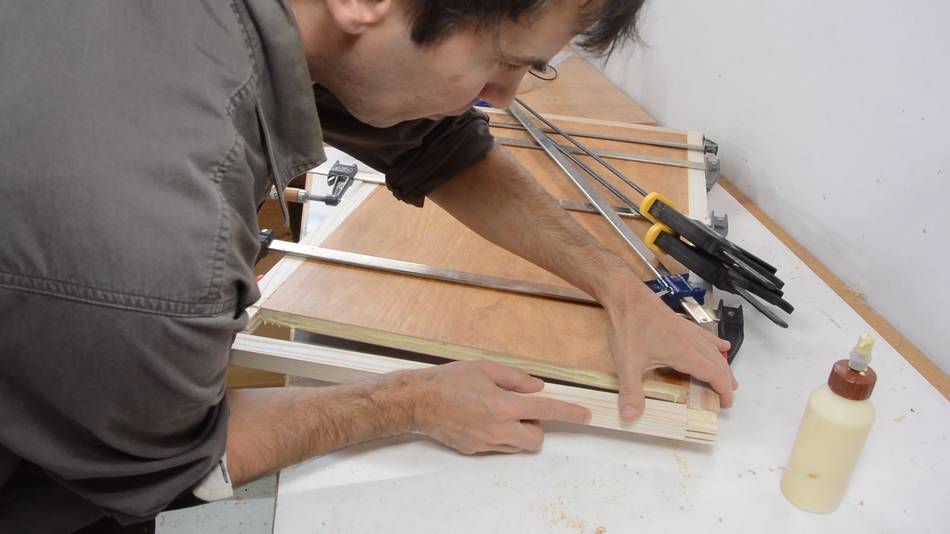
I joined two of the trim pieces to an L-shape, then glued it on the board.
I then glued the next piece on (joining the corner and long edge),
then added the final piece, using clamps to squeeze the joint shut
(the corner joints were fairly tight)
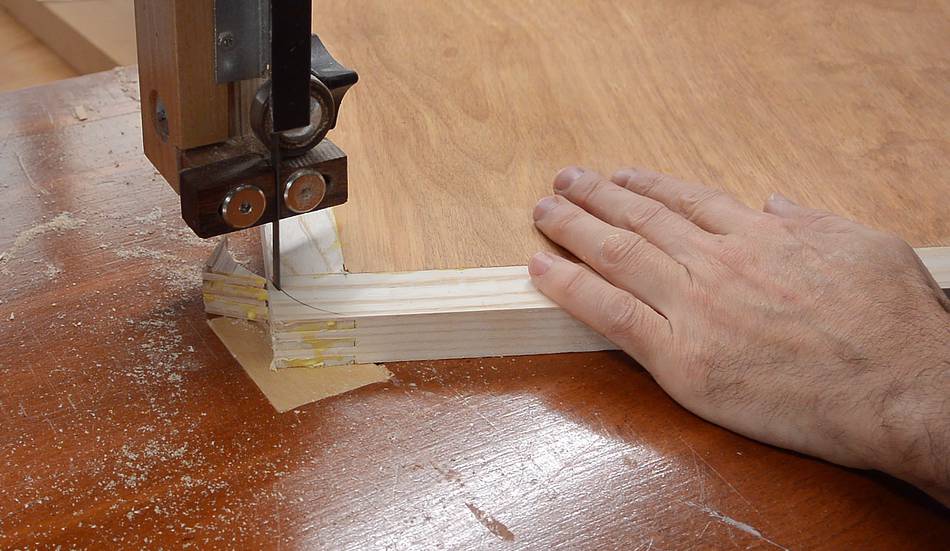
Then using a bandsaw to round the corners, and smoothing it by hand
with a piece of sandpaper.
I added a 1/4" round over to the top and bottom.
Back to working on the legs. I'm adding some threaded inserts. These
have a 1/4" Alan socket. I'm using the back of a hexagonal screwdriver
bit in a drill to drive them in.
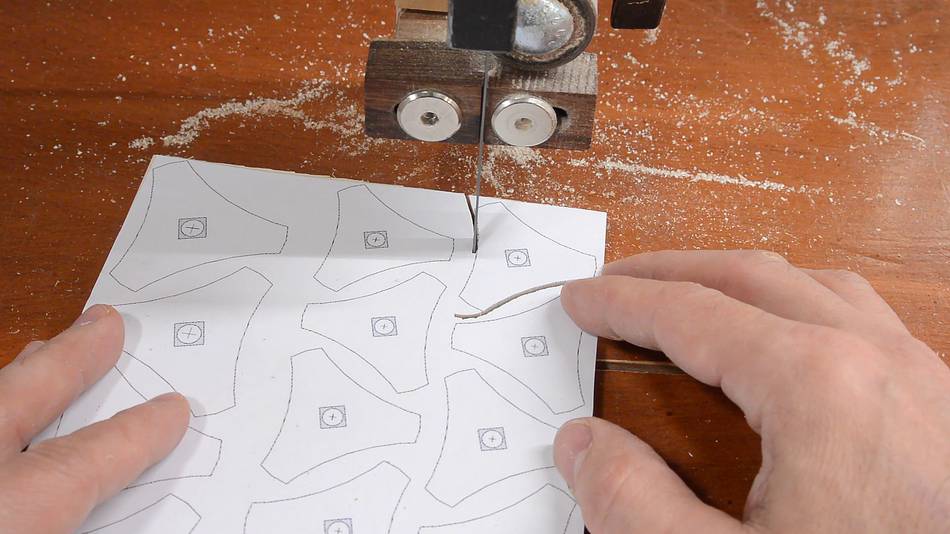
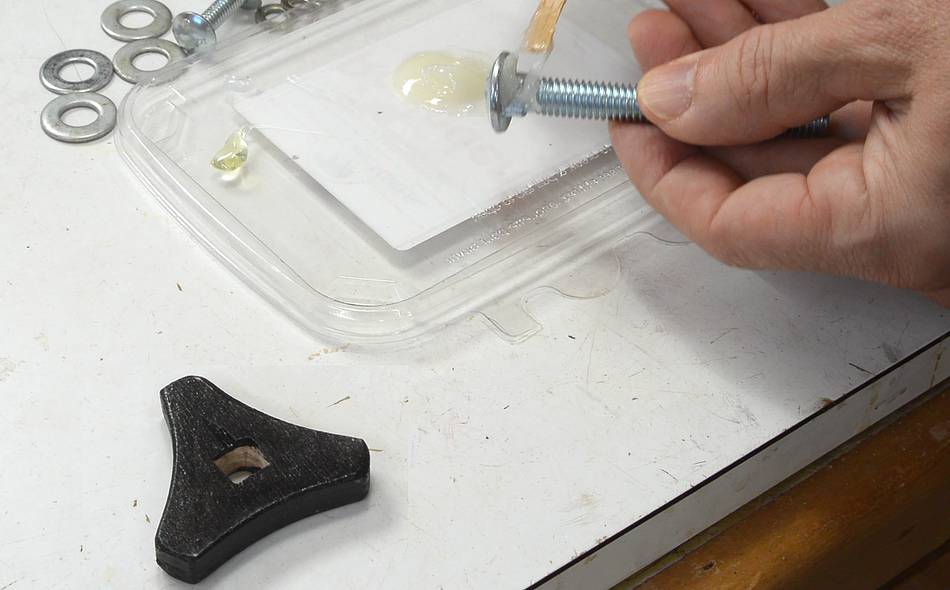
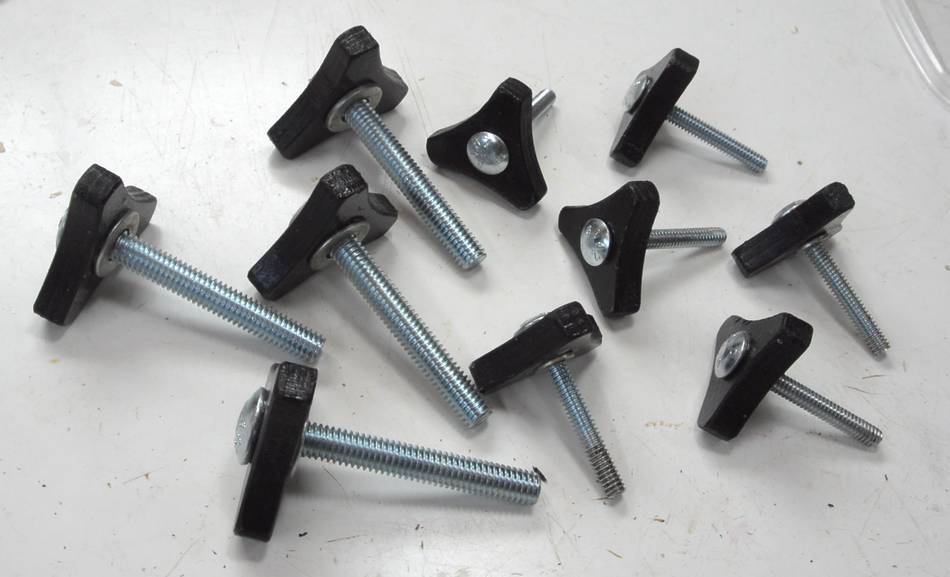
I needed a whole bunch of knobs for this desk. These add up in
cost, so I'm making them out of plywood and carriage bolts.
Here cutting them from a paper template.
I filed the holes slightly square-ish, then whacked a carriage bolt in the knob.
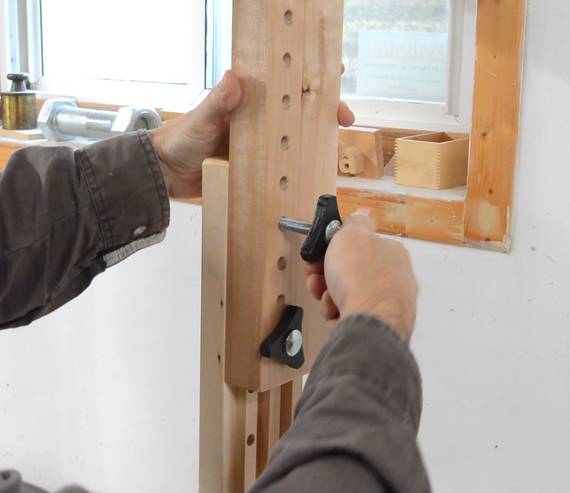
The knobs allow the back brace to be mounted without any tools.
I needed to add another piece of wood to the back brace to have a place to
add knobs to that.
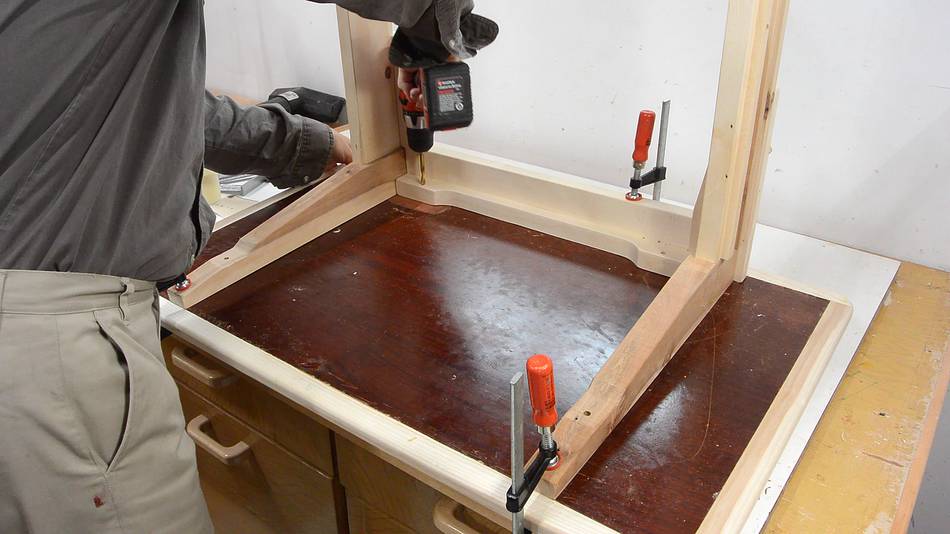
With the legs and back brace assembled, I'm drilling through both parts
to transfer the locations for the threaded inserts.
I actually drilled the holes in the legs and back brace with a drill
press, but used a hand drill to drill slightly through to
transfer the locations.
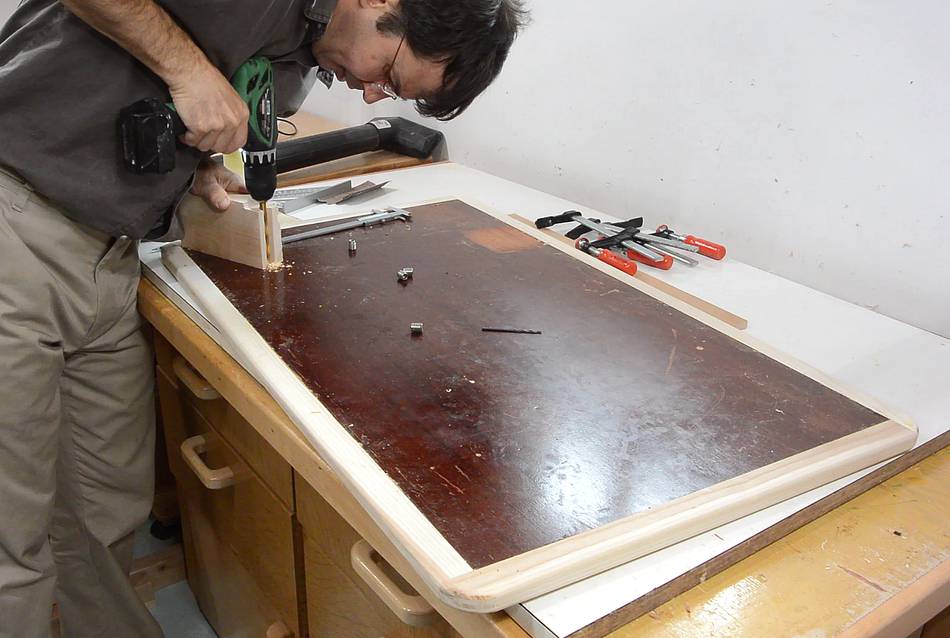
I'm also drilling some small holes through the legs to transfer the location
for some alignment dowel pins.
Then drilling the holes for the dowels and the threaded inserts.
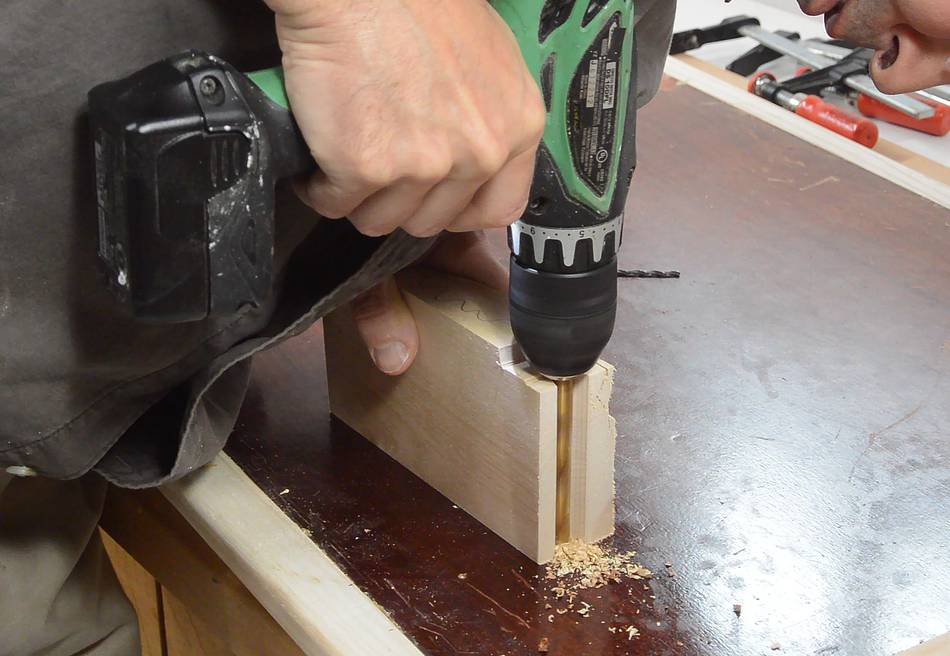
I'm using a big scrap of wood with a notch cut in one side as a drill
guide and depth stop. It keeps the drill perpendicular, and once the
drill's chuck hits the block of wood, I know I have drilled deep enough.
Again using a screwdriver bit backwards to screw in the threaded inserts.
Using my block of wood again to make sure I get it in straight.
Finishing up the knobs. After painting them black and varnishing them,
I'm gluing the carriage bolts in with some epoxy.
All the threaded knobs I need. Four with a 3/8" thread, and six with
a 1/4" thread.
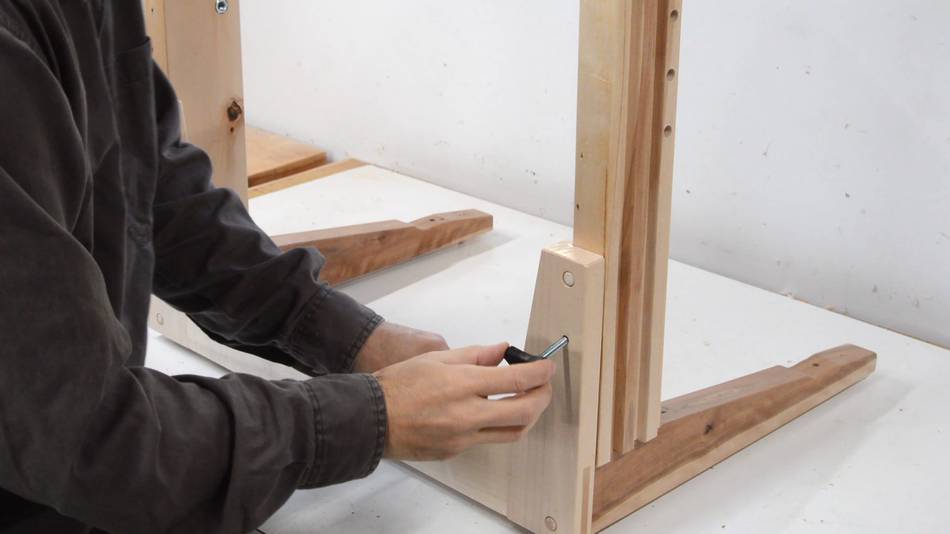
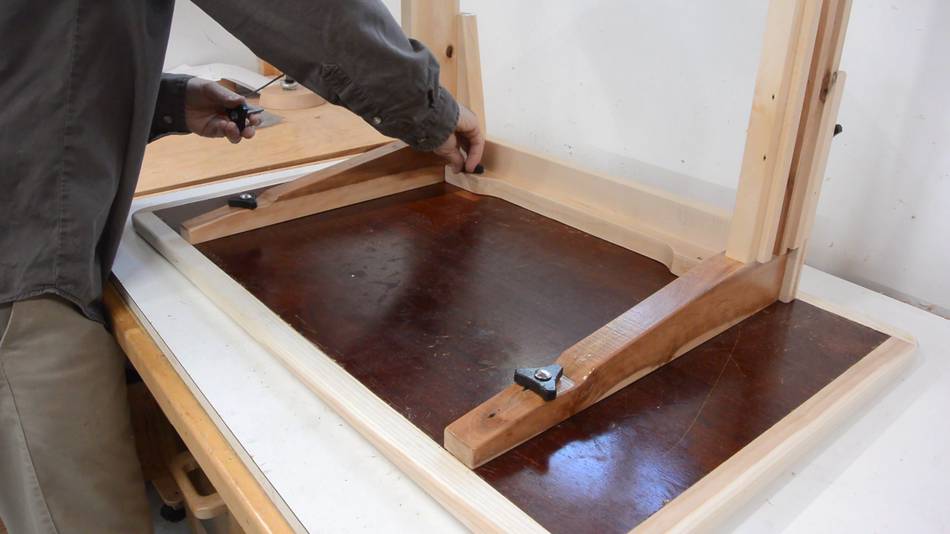
The alignment pins help align the legs with the top.
With the pins already ensuring proper alignment, it's already lined
up with the threaded inserts, so the knobs are much easier to put in.
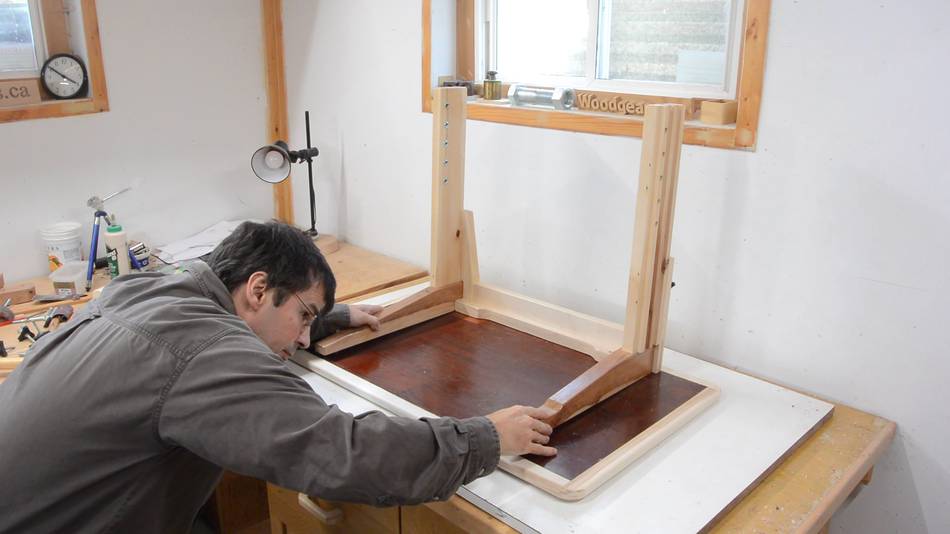
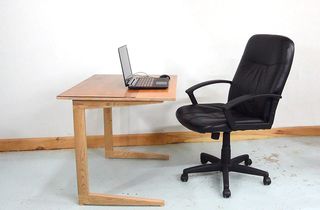
Now using the 3/8" knobs to attach the legs at maximum extension.
At maximum height, it makes a decent standing desk. But that's
not what I built this table for.
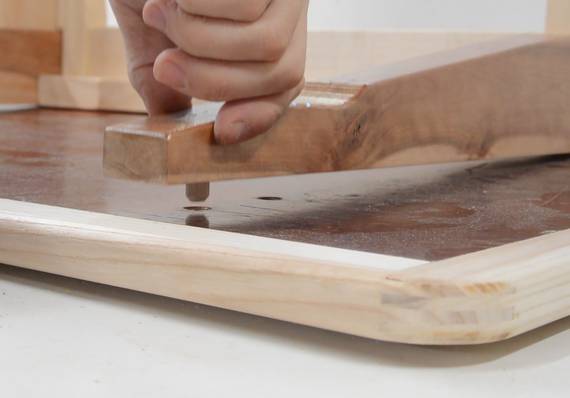
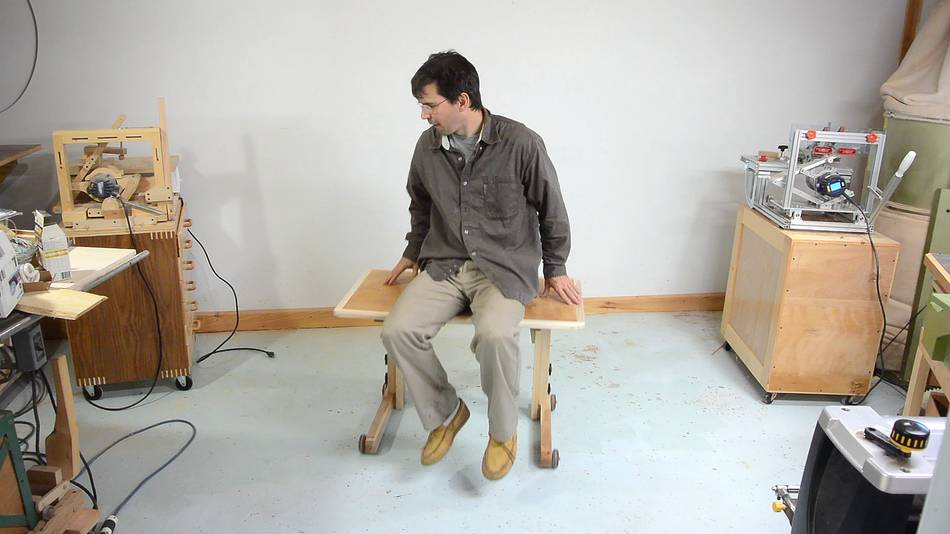
The intended use is for it to be a really low desk that I can pull up to
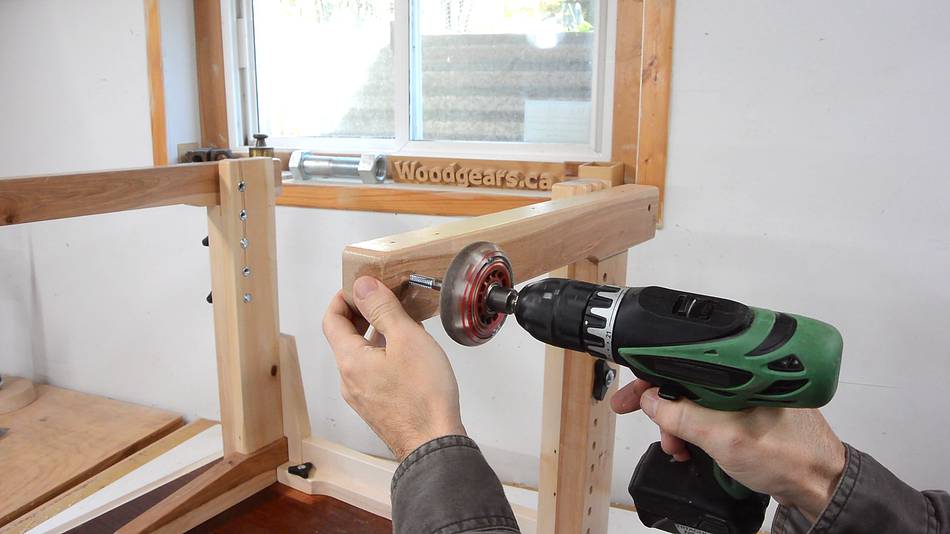
a couch. And for that, it needs wheels. For this one, I'm using
rollerskate wheels (I get these for free from discarded in-line roller
skates).
A 5/16" (8 mm) bolt fits snugly in the bearings. I'm just screwing this bolt
straight into a slightly undersized hole in the wood.
Taking the desk for a ride - just to test it. The wheels roll really well.
 I have built a total of five desks like this so far. The first two
here, then another two
that I built here (one of these I gave away),
then another for a friend (didn't take pictures). Two are in use in the house
(see them here and one in my
big workshop garage see here). I wanted another one
to take to my in-laws to get some work done there.
I have built a total of five desks like this so far. The first two
here, then another two
that I built here (one of these I gave away),
then another for a friend (didn't take pictures). Two are in use in the house
(see them here and one in my
big workshop garage see here). I wanted another one
to take to my in-laws to get some work done there.


 Small work table / desk
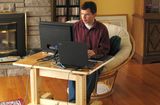 Laptop table (first one)
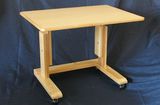 Laptop table (version 2)
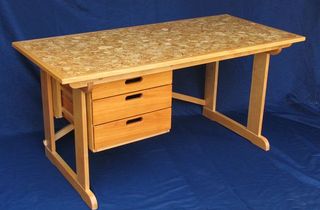 Knock down student desk
 Knock down table
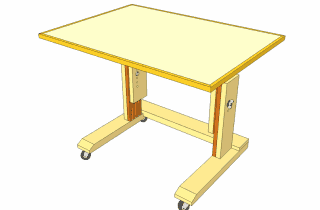 Plans for a similar table
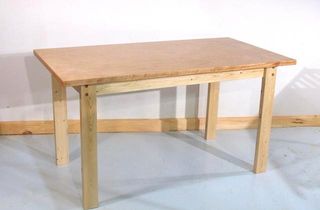 Building a simple table
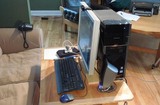
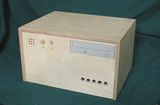 Wooden computer case
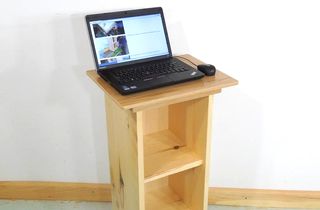 Stand-up laptop table
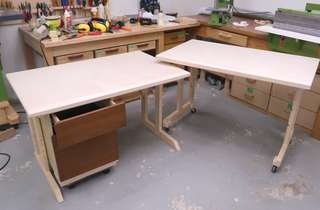 Two small desks, lots of errors
 Standing desk using a motorized frame
 Standing desk footprint reduction