 I used a spruce 2x8 for the lumber. First I cut off a section a bit longer
than twice the length of the legs.
I used a spruce 2x8 for the lumber. First I cut off a section a bit longer
than twice the length of the legs.
This is a fairly simple project. I shot video of it as I was building it, so I was able to extract a photo of just about every step. So there's a lot of photos, considering the relative simplicity of this project.
I also have plans for this table
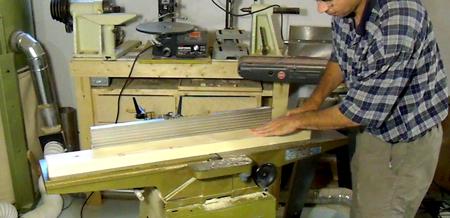
I used a spruce 2x8 for the lumber. First I cut off a section a bit longer
than twice the length of the legs.
 Next I ripped this piece into two down the middle...
 ... and flattened one face of each half on the jointer.
 I then glued the two pieces together to form one thick piece...
 ... which I then squared up on the jointer after the glue had dried.
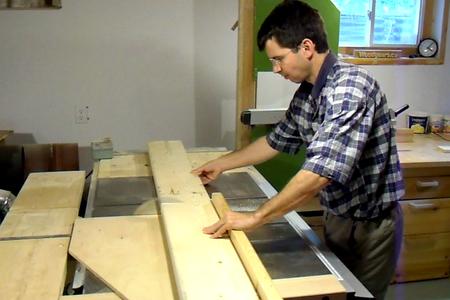
I then ripped one board off of that on the table saw, which will form two of the apron rails.
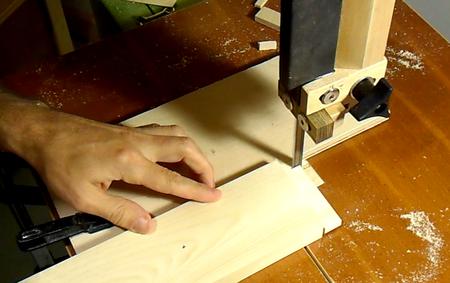
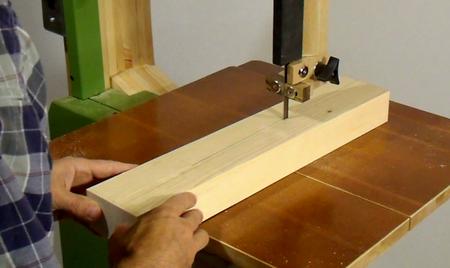 The rest is just thicker than what I needed for the legs. I cut it
in half lengthwise, and drew the outline
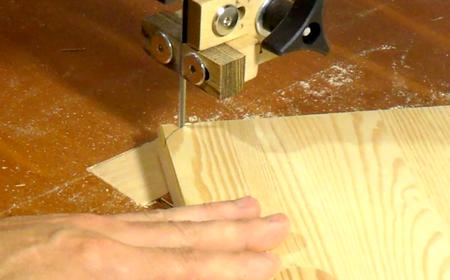
of the legs. I cut out the tapered shape with my bandsaw.
The rest is just thicker than what I needed for the legs. I cut it
in half lengthwise, and drew the outline
of the legs. I cut out the tapered shape with my bandsaw.
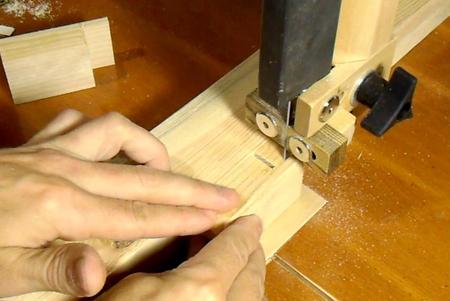
 I cleaned up the bandsaw cuts on my jointer. Note how my right hand
is hanging over the jointer fence. I prefer to keep it there
so that if something unexpected happens, my fingers won't reach
down to the cutter head. I have to be cautious, seeing that I
don't like the jointer's guard obstructing my work.
I cleaned up the bandsaw cuts on my jointer. Note how my right hand
is hanging over the jointer fence. I prefer to keep it there
so that if something unexpected happens, my fingers won't reach
down to the cutter head. I have to be cautious, seeing that I
don't like the jointer's guard obstructing my work.
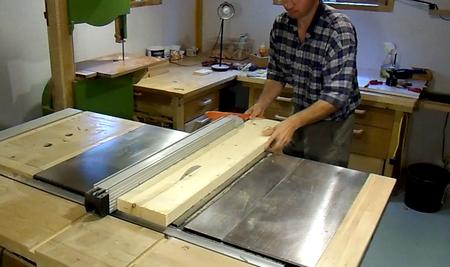
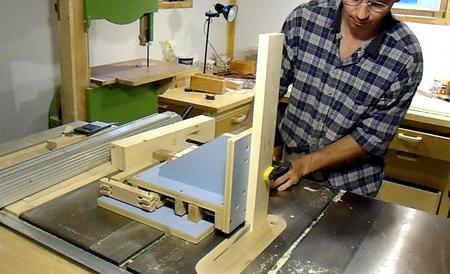
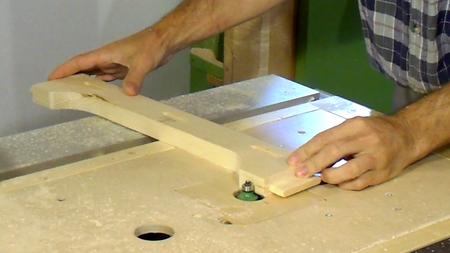
 Next I trimmed the tops of the legs to the right size on the table saw.
Only the sides of the legs facing each other are tapered. I used
the outside face as a reference to accurately cut the top untapered
section of the legs parallel.
Next I trimmed the tops of the legs to the right size on the table saw.
Only the sides of the legs facing each other are tapered. I used
the outside face as a reference to accurately cut the top untapered
section of the legs parallel.
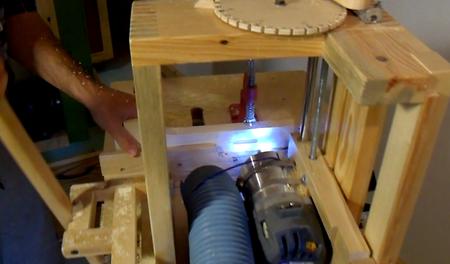
 Next I used my slot mortiser
to cut mortises into the legs.
Next I used my slot mortiser
to cut mortises into the legs.
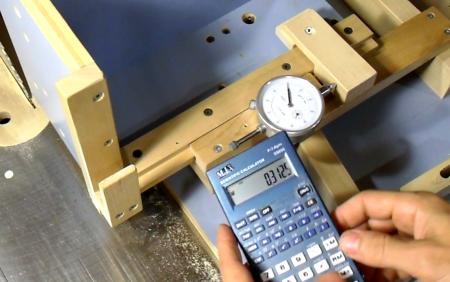 I cut my mortises with a 5/16" router bit (about 8 mm). My sawblade
cuts about a 0.100" kerf, so I had to offset my two cuts
by 5/16" + 0.1", or 0.412". The dial indicator on my
quick-set tenon jig makes this sort of
setup pretty quick and accurate.
I cut my mortises with a 5/16" router bit (about 8 mm). My sawblade
cuts about a 0.100" kerf, so I had to offset my two cuts
by 5/16" + 0.1", or 0.412". The dial indicator on my
quick-set tenon jig makes this sort of
setup pretty quick and accurate.
 Once set up, I cut all the tenons into the ends of my apron rails.
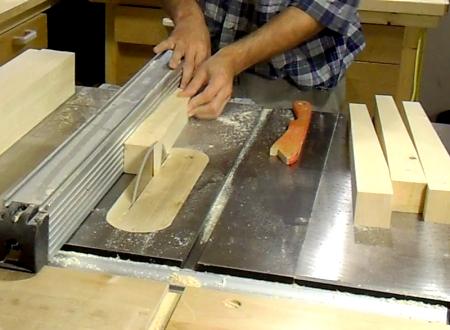
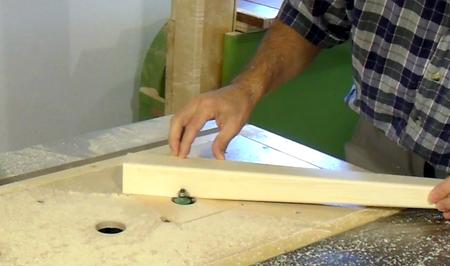
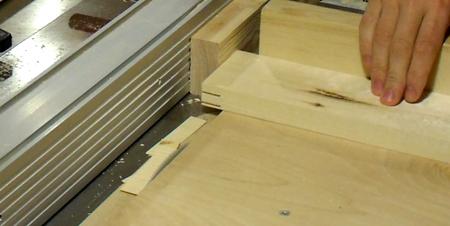 I trimmed the cheeks of the tenons on my table saw. Note that the tenon is
offset from center. I actually prefer to offset the tenons from center - it makes
it easier to figure out which way the piece of wood needs to go on.
I trimmed the cheeks of the tenons on my table saw. Note that the tenon is
offset from center. I actually prefer to offset the tenons from center - it makes
it easier to figure out which way the piece of wood needs to go on.
 I trimmed the ends of the tenon on the bandsaw...
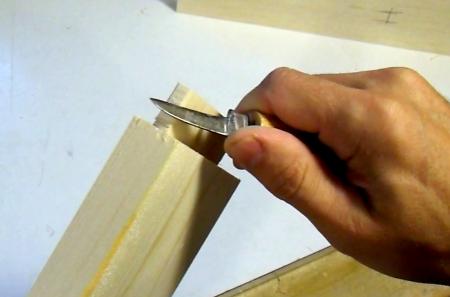 ... and carved them slightly round, with a carving knife, to fit into my slot mortises.
 The finished mortise and tenon joint.
 Before I could assemble the table, I needed to finish up all the parts.
The next step was to make a cutout on the bottom edge of the apron rails. I marked just one of my pieces, cut that out with a bandsaw, and used that to mark my other pieces.
 I cleaned up the bandsaw cuts on my belt sander.
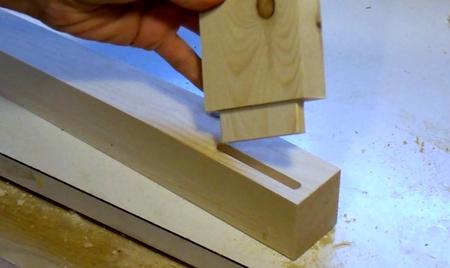
 Next I cut three slot mortises into the apron rails. I made some blocks
that hook into these slots to hold the table top later.
Next I cut three slot mortises into the apron rails. I made some blocks
that hook into these slots to hold the table top later.
 I used a 1/4" round router bit, but not fully raised, to round the lower
edge of my apron rails.
I used a 1/4" round router bit, but not fully raised, to round the lower
edge of my apron rails.
 I used the same bit, raised to its full height, to round the
edges and ends of the table legs.
I used the same bit, raised to its full height, to round the
edges and ends of the table legs.
 With all the cuts finished, I could glue the table frame together.
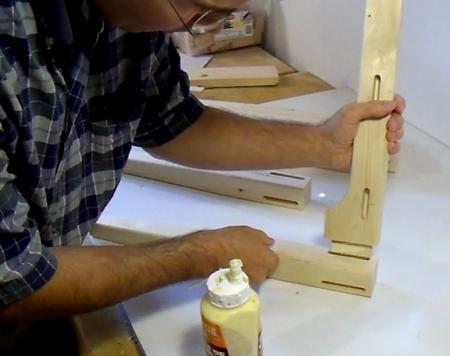
I glued two legs and one rail together. Then I make another assembly like that with the other two legs and let the glue dry.
 Once the glue dried, I glued the remaining apron rails into a pair of legs, then added
the other pair of legs. I had to glue two joints at the same time for the last part.
Once the glue dried, I glued the remaining apron rails into a pair of legs, then added
the other pair of legs. I had to glue two joints at the same time for the last part.
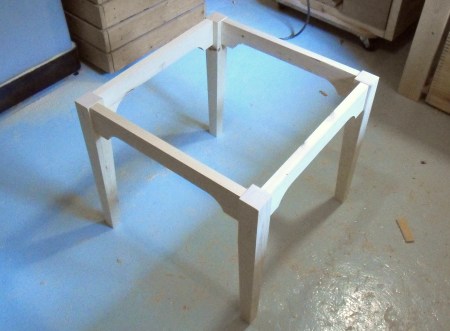 The assembled table frame.
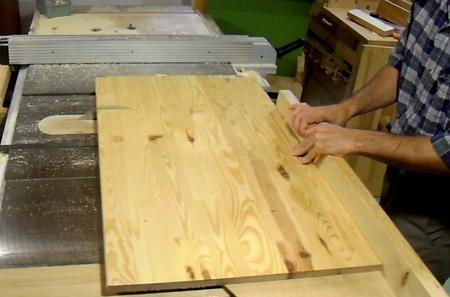 I recycled some Ikea shelving to make the top. The shelving was a bit
longer than I needed, so I first trimmed it to length.
I recycled some Ikea shelving to make the top. The shelving was a bit
longer than I needed, so I first trimmed it to length.
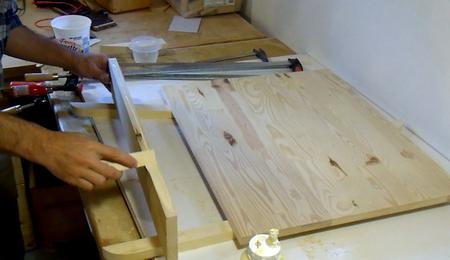 The table is slightly wider than the recycled shelving,
so I edge jointed another board to the side of it. The joint is just a
flat joint. I flattened both sides on the jointer before gluing.
The table is slightly wider than the recycled shelving,
so I edge jointed another board to the side of it. The joint is just a
flat joint. I flattened both sides on the jointer before gluing.
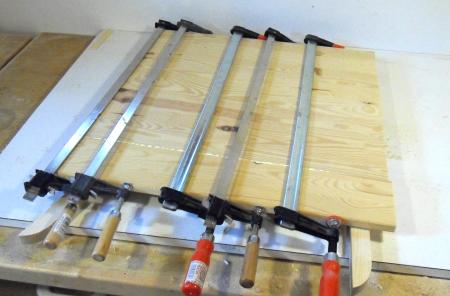 I needed to let it dry for at least an hour for the glue to dry before I could
continue to work on the top.
I needed to let it dry for at least an hour for the glue to dry before I could
continue to work on the top.
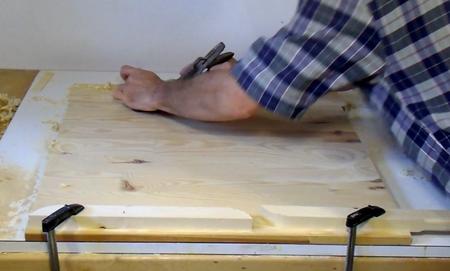 I used a hand plane to smooth out the joint.
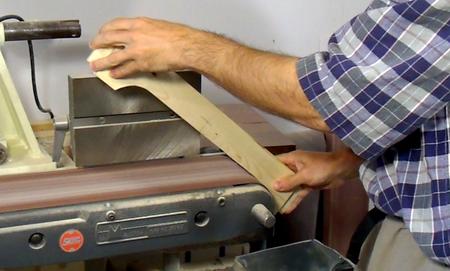
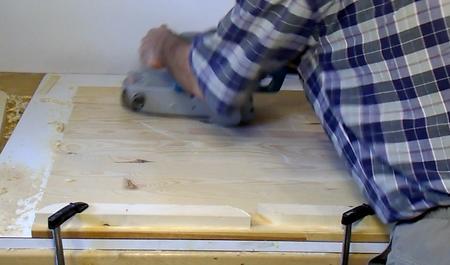 Then a bit more smoothing with a belt sander. I have a
soft pad under the leather
pad under the belt, so it won't gouge the surface. The last
bit of sanding was with only very light pressure to leave the surface
a bit smoother.
Then a bit more smoothing with a belt sander. I have a
soft pad under the leather
pad under the belt, so it won't gouge the surface. The last
bit of sanding was with only very light pressure to leave the surface
a bit smoother.
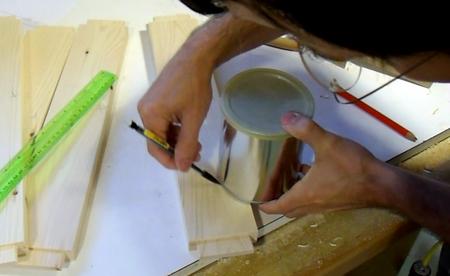
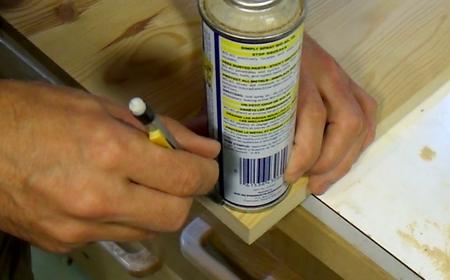 I marked an arc on the corners to round them off. A can of WD-40 was
just the right diameter for my arc.
I marked an arc on the corners to round them off. A can of WD-40 was
just the right diameter for my arc.
 Then I cut the corners round on a bandsaw. I smoothed that cut
on the belt sander afterwards.
Then I cut the corners round on a bandsaw. I smoothed that cut
on the belt sander afterwards.
 I rounded the edges of the table top using a 1/4" router bit partially raised.
My router table is just my router lift mounted under my right side table saw extension. Sometimes this is awkward because I can't stand directly in front of it, but in this case, it was handy because I can use my entire table saw top as my router table. Big enough for the kid's table top.
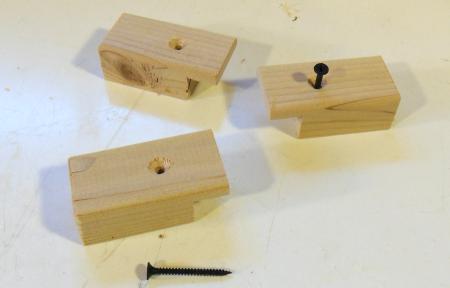 The table top is held onto the frame with little blocks. This allows for
some wood movement in the table top.
The table top is held onto the frame with little blocks. This allows for
some wood movement in the table top.
 I made the perpendicular cuts on the table saw, then the
lengthwise cut on the bandsaw.
I made the perpendicular cuts on the table saw, then the
lengthwise cut on the bandsaw.
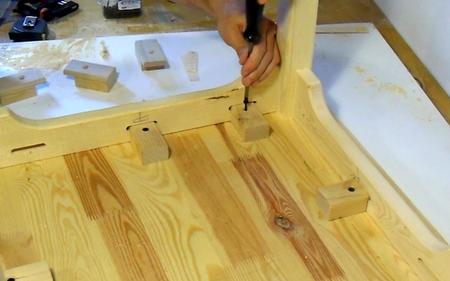 Finally, I attached the table top using these little blocks.
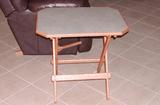
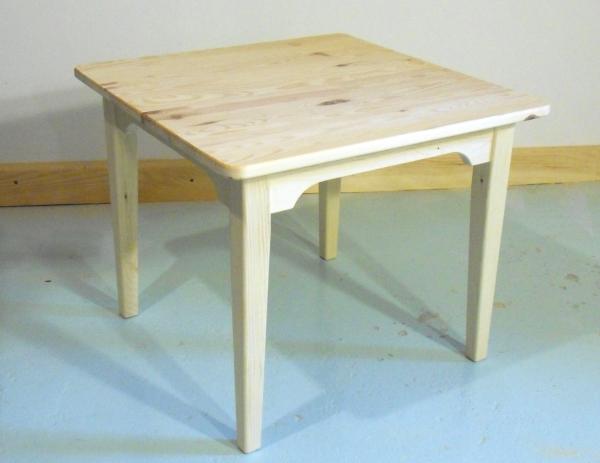
That completed the construction. But I took the top of the table
off again before varnishing it. It's usually easier to varnish furniture in pieces.
|
As mentioned earlier, I was shooting video of it as I went along. This is the video.
I refer to plans in the video - see links below for the plans. |
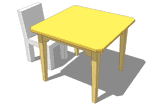 Plans for this table
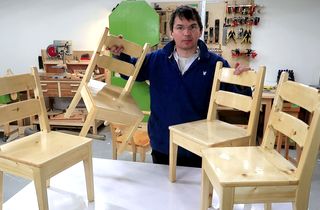 Building kids' chairs
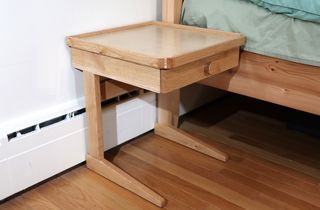 Building nightstands
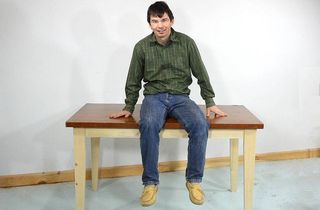 building a simple table,
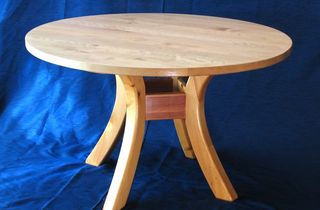 Round dining table
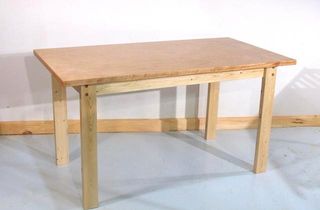 How to build a
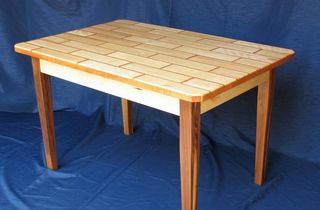 Fancy rectangular table