Drawers for the workbench on wheels
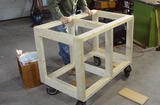
 Having built the frame for the workbench,
it was time to build some
drawers for it. One of the hardest parts of starting a project is
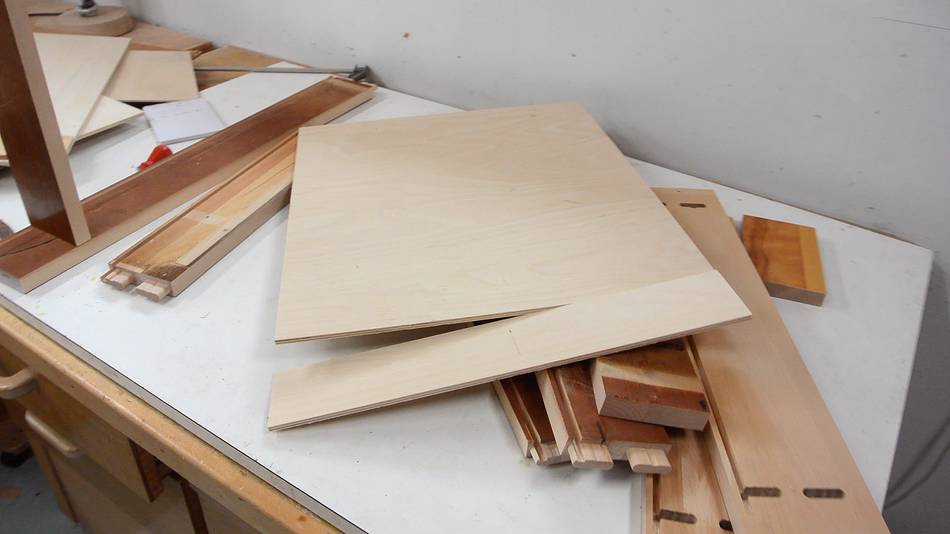
picking out which pieces of lumber to use. At this point, I have more
hardwood panels from old dressers than I have soft wood panels, so I figured I
might as well make these drawers out of all hardwood. Here's the wood I
picked.
Having built the frame for the workbench,
it was time to build some
drawers for it. One of the hardest parts of starting a project is
picking out which pieces of lumber to use. At this point, I have more
hardwood panels from old dressers than I have soft wood panels, so I figured I
might as well make these drawers out of all hardwood. Here's the wood I
picked.
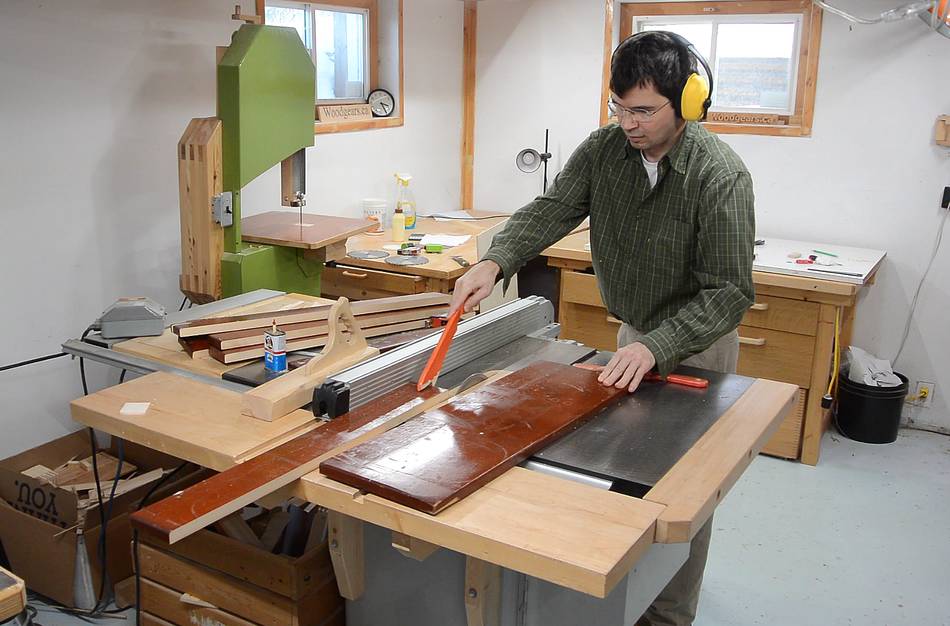 Cutting some dresser tops into the sides for the drawers. These weren't
all that flat, so cutting them into strips was a good use.
Cutting some dresser tops into the sides for the drawers. These weren't
all that flat, so cutting them into strips was a good use.
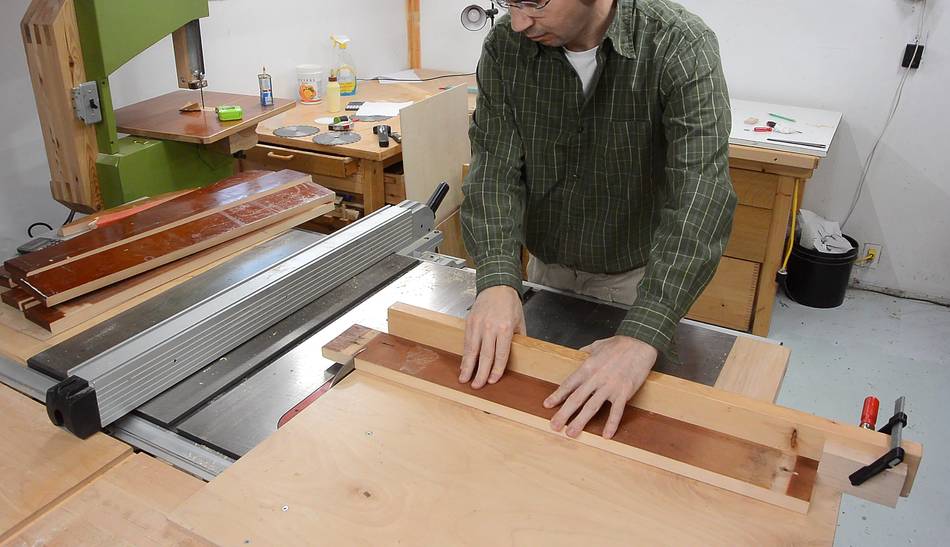 Then squaring the ends and cutting them to length.
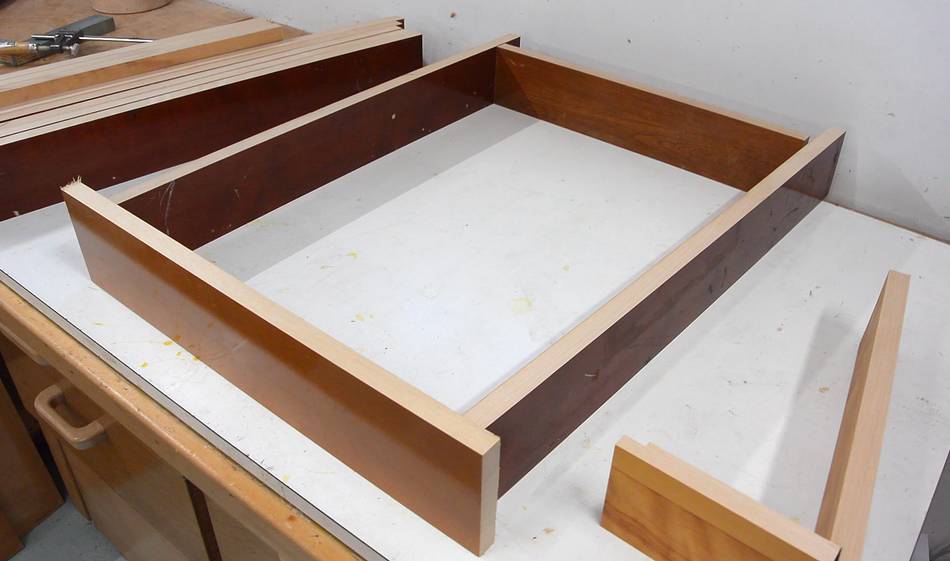
 Here's how the drawers will go together. My first thought was to just dado
join them, but that would look kind of ugly for the front. A stopped dado
would be better, but then I figured a stopped dado is a lot like a mortise,
so why not just mortise it on the
pantorouter?
Here's how the drawers will go together. My first thought was to just dado
join them, but that would look kind of ugly for the front. A stopped dado
would be better, but then I figured a stopped dado is a lot like a mortise,
so why not just mortise it on the
pantorouter?
Setting up the pantorouter for the drawer joints
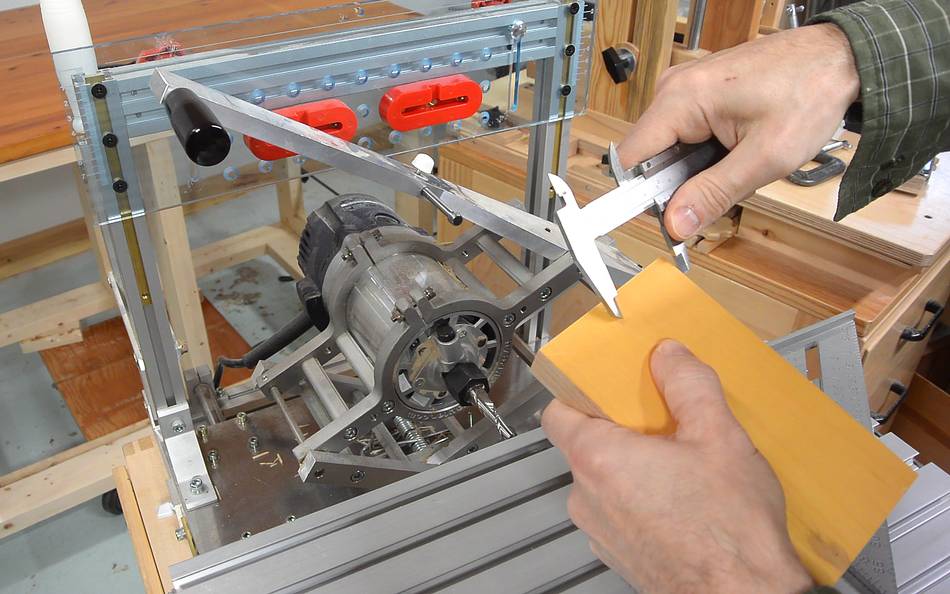 I figured I'd use two short mortise and tenon joints side by side.
I want these centered across the wood. So the first thing I did was to
find the center of the wood by scratching from both sides with callipers.
I figured I'd use two short mortise and tenon joints side by side.
I want these centered across the wood. So the first thing I did was to
find the center of the wood by scratching from both sides with callipers.
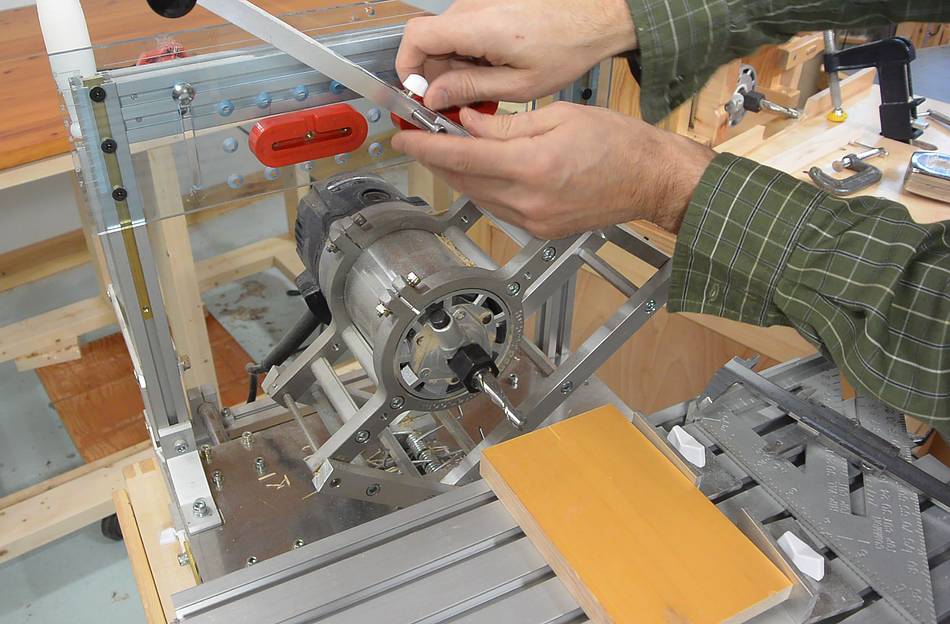
 I then put the follower pin in one of the holes of the template holder
between the templates. I then line up the center of the bit with the
center of the workpiece.
I then put the follower pin in one of the holes of the template holder
between the templates. I then line up the center of the bit with the
center of the workpiece.
 I make sure the workpiece is on square with a framing square and push
the stops up against the workpiece.
I make sure the workpiece is on square with a framing square and push
the stops up against the workpiece.
 I also want the tenon to be centered vertically. For that, I hold the
workpiece over the template holder and line up the horizontal line in
the top of the transparent template holder with the top edge of the workpiece.
I also want the tenon to be centered vertically. For that, I hold the
workpiece over the template holder and line up the horizontal line in
the top of the transparent template holder with the top edge of the workpiece.
 With the 2:1 reduction in the pantograph, raising the template by the
thickness of the wood raises the cutter to half the thickness, so it
centers it in the workpiece.
With the 2:1 reduction in the pantograph, raising the template by the
thickness of the wood raises the cutter to half the thickness, so it
centers it in the workpiece.
 The fit of the tenons can be adjusted, but the mortise size is determined
by the size of the router bit. So before cutting tenons, I need to cut
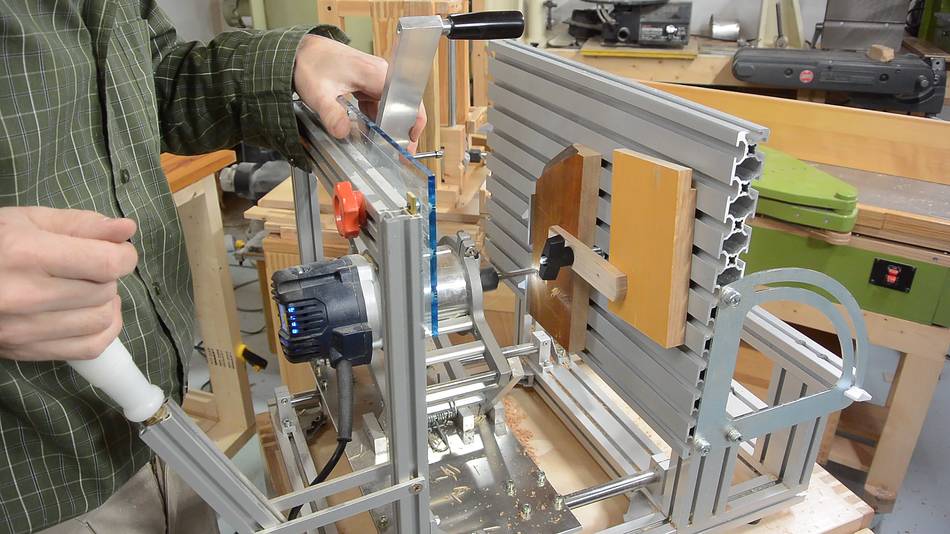
a mortise. So I'm clamping down a test piece on the table using a wooden
hold down...
The fit of the tenons can be adjusted, but the mortise size is determined
by the size of the router bit. So before cutting tenons, I need to cut
a mortise. So I'm clamping down a test piece on the table using a wooden
hold down...
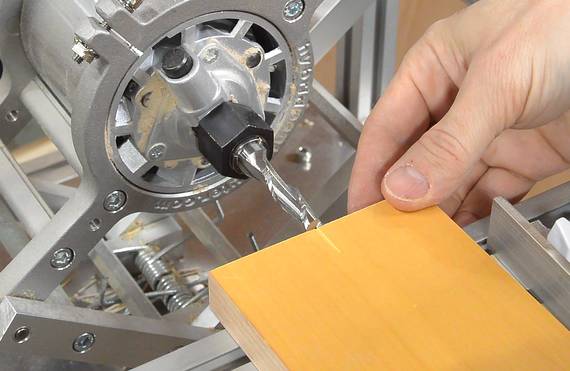
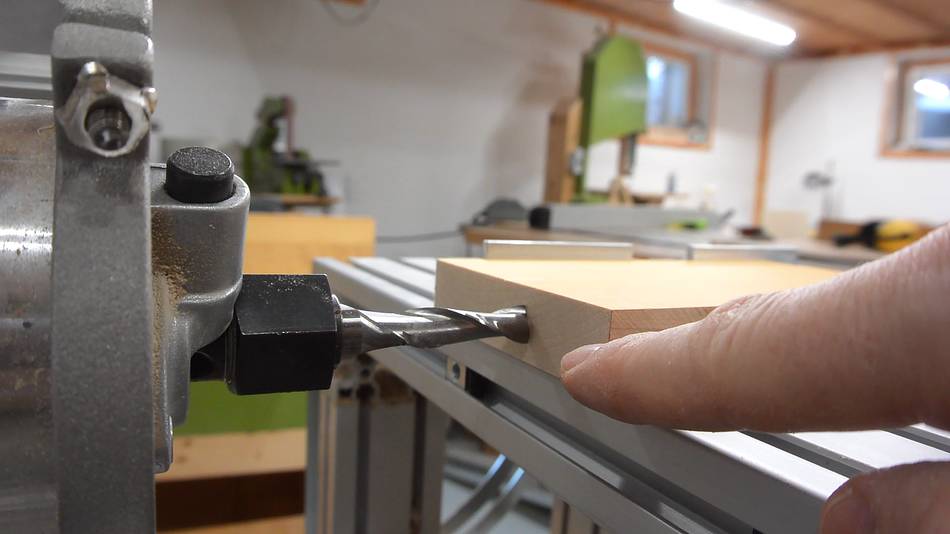
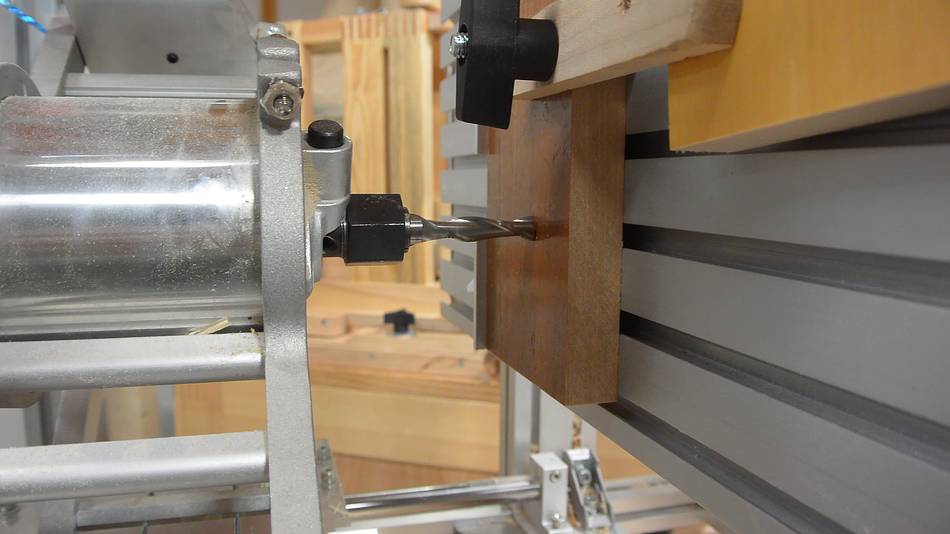 ...then tilt the table up 90 degrees and push the bit up against the
workpiece.
...then tilt the table up 90 degrees and push the bit up against the
workpiece.
 I then set the front stop to 17 mm, which is the depth of mortise
I want to cut.
I then set the front stop to 17 mm, which is the depth of mortise
I want to cut.
 Then routing the two mortises, using the slot in the red plastic
templates as a mortise guide (not visible in this photo).
Then routing the two mortises, using the slot in the red plastic
templates as a mortise guide (not visible in this photo).

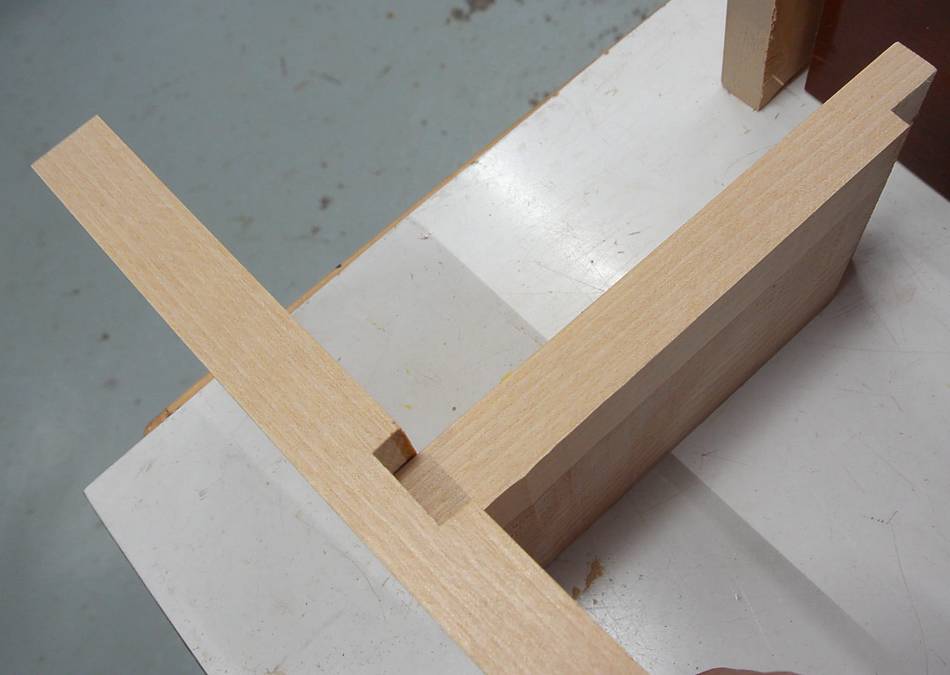
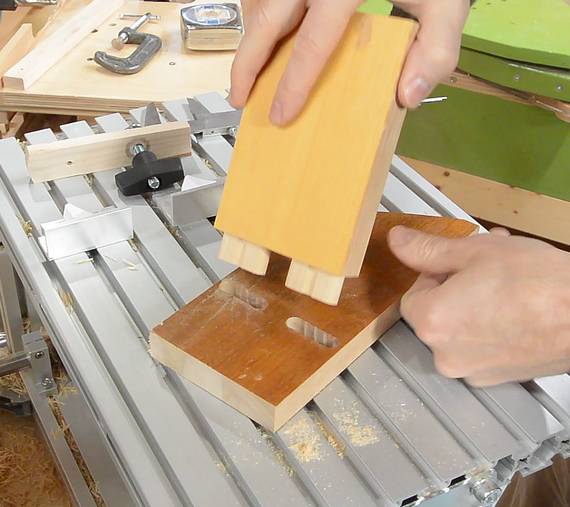 Checking the fit. I normally cut the tenons a bit large (by adjusting
the follower to be on the larger part of the templates taper), then try
the fit while the workpiece is still clamped down, make it smaller,
try again, etc. But I made the mistake of
using my tenon workpiece as part of my clamping, so I had to unclamp
everything to check the fit.
Checking the fit. I normally cut the tenons a bit large (by adjusting
the follower to be on the larger part of the templates taper), then try
the fit while the workpiece is still clamped down, make it smaller,
try again, etc. But I made the mistake of
using my tenon workpiece as part of my clamping, so I had to unclamp
everything to check the fit.

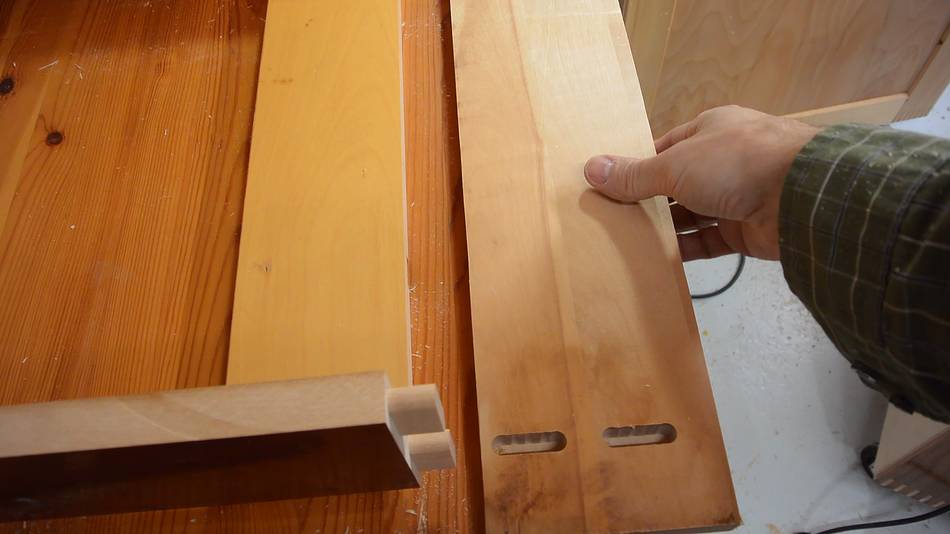
 With the fit checked, I'm milling the tenons in the front ends of
the drawer sides.
With the fit checked, I'm milling the tenons in the front ends of
the drawer sides.
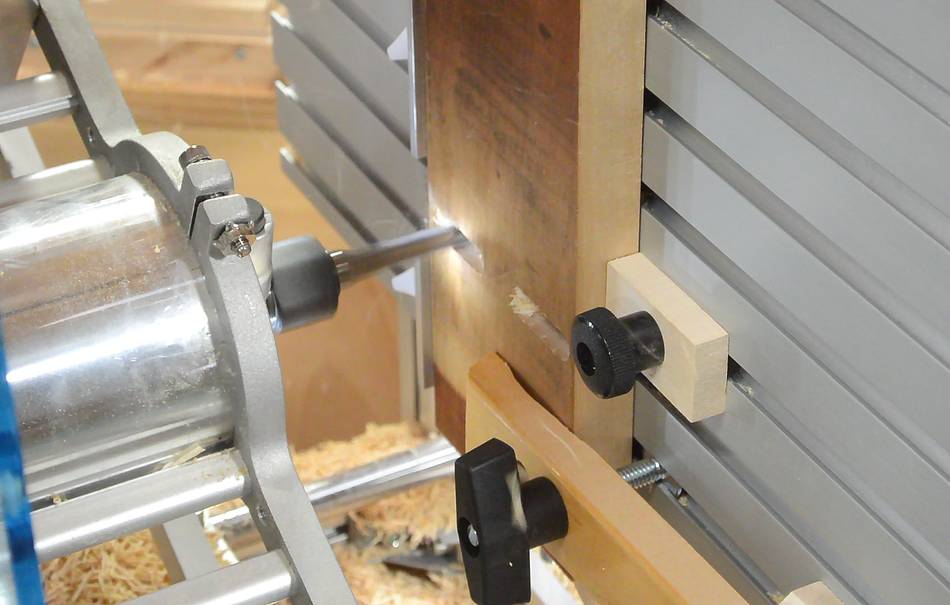 Then milling the mortises near the back part of the drawer sides.
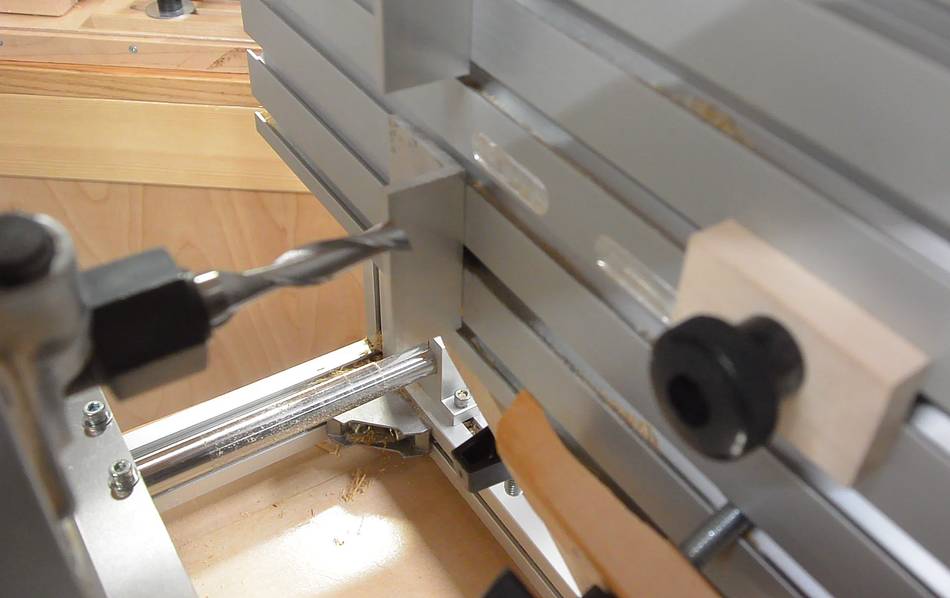 Oops, major screw-up. I forgot to set the depth stop for the mortises,
so I ended up milling right through them and into the table! I can still
flip the table over to put this scar on the bottom. Or maybe I should
wait for my next major mistake before I flip it!
Oops, major screw-up. I forgot to set the depth stop for the mortises,
so I ended up milling right through them and into the table! I can still
flip the table over to put this scar on the bottom. Or maybe I should
wait for my next major mistake before I flip it!
 The drawer fronts are a bit taller than the rest of the drawers. I had
to move the side stops to the left when milling some of these
mortises to get them in the right place.
The drawer fronts are a bit taller than the rest of the drawers. I had
to move the side stops to the left when milling some of these
mortises to get them in the right place.
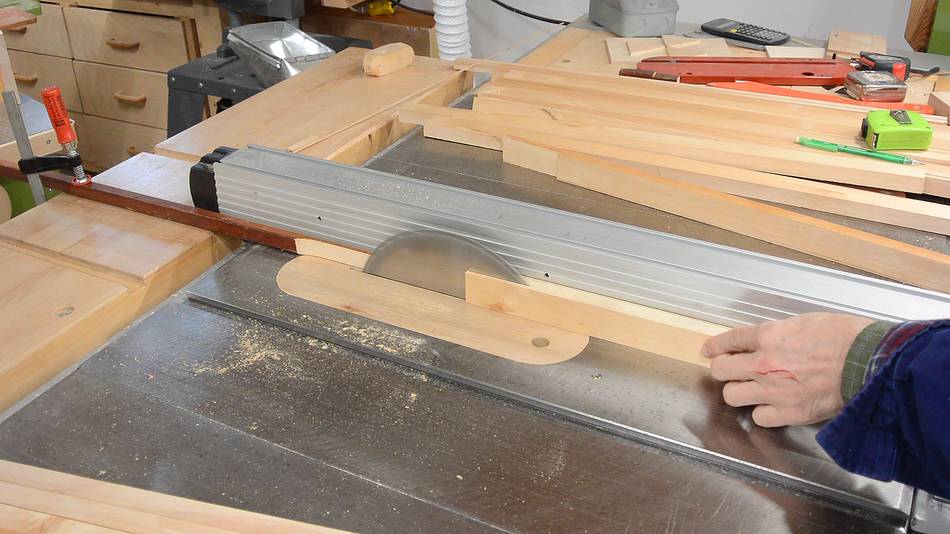
 Next I made a groove in along the bottom edges for the drawers. I
stacked several 7 1/4" saw blades in my table saw made a groove of the
required thickness. I have a dado stack, but the saw blades are more
convenient. Also, a smaller diameter cutter is slightly better for
"stopped dadoes". I don't want the grooves to go all the way to the
end of all my workpieces.
Next I made a groove in along the bottom edges for the drawers. I
stacked several 7 1/4" saw blades in my table saw made a groove of the
required thickness. I have a dado stack, but the saw blades are more
convenient. Also, a smaller diameter cutter is slightly better for
"stopped dadoes". I don't want the grooves to go all the way to the
end of all my workpieces.
 I realized I could make much better use of the nice baltic
birch plywood pieces I had by making
the drawer bottom as two parts. This allowed me to get two drawer
bottoms out of the piece. I'll add
another piece of plywood to the bottom to join them later.
I realized I could make much better use of the nice baltic
birch plywood pieces I had by making
the drawer bottom as two parts. This allowed me to get two drawer
bottoms out of the piece. I'll add
another piece of plywood to the bottom to join them later.
 Gluing the drawer bottom parts into the groove.

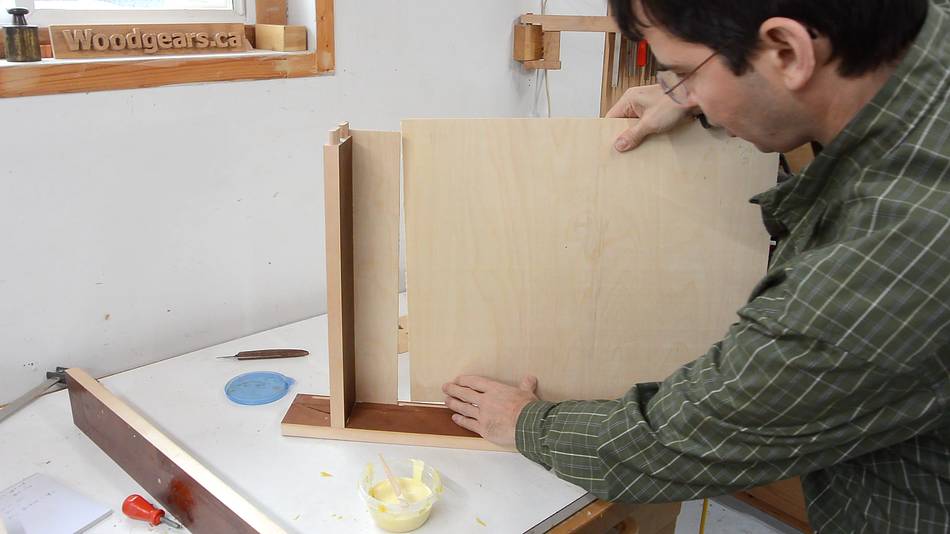
 Adding the front. It was a tight fit.
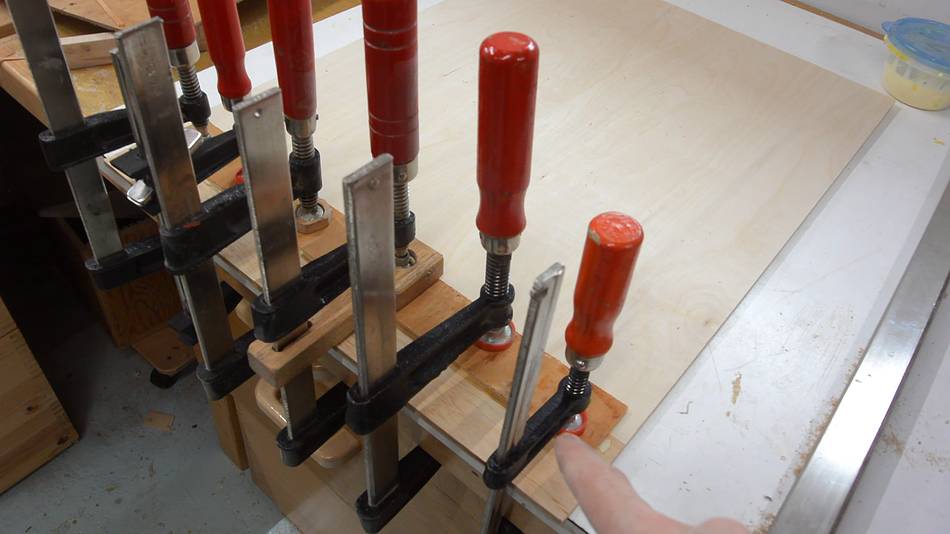
 Adding some clamps to make sure the joints are fully closed.
 Then gluing on some thin (3 mm) plywood over the gap to join
the bottom pieces together.
Then gluing on some thin (3 mm) plywood over the gap to join
the bottom pieces together.
 After assembling the first drawer, I figured it was much easier
to glue the plywood pieces together first.
Here I have the extra bit glued onto one of the bottoms.
After assembling the first drawer, I figured it was much easier
to glue the plywood pieces together first.
Here I have the extra bit glued onto one of the bottoms.
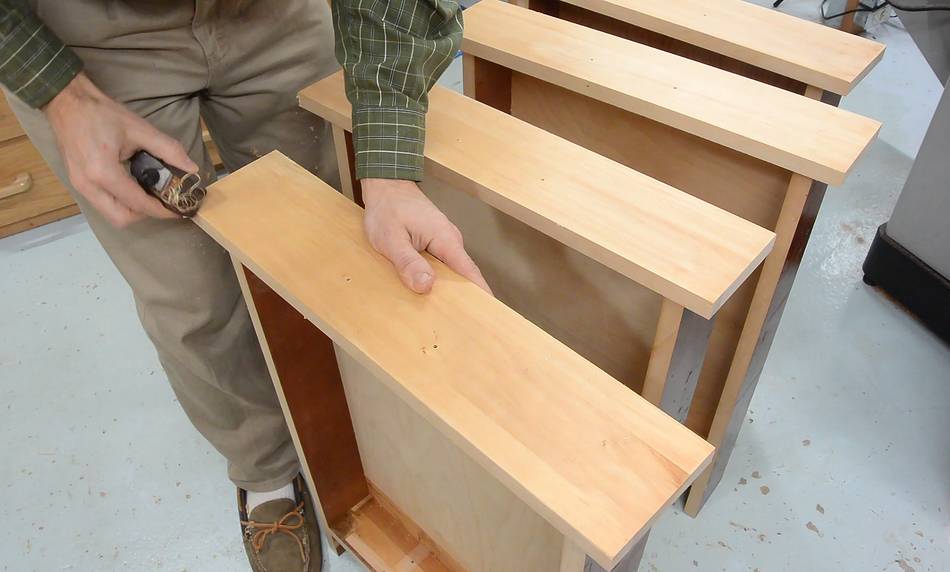
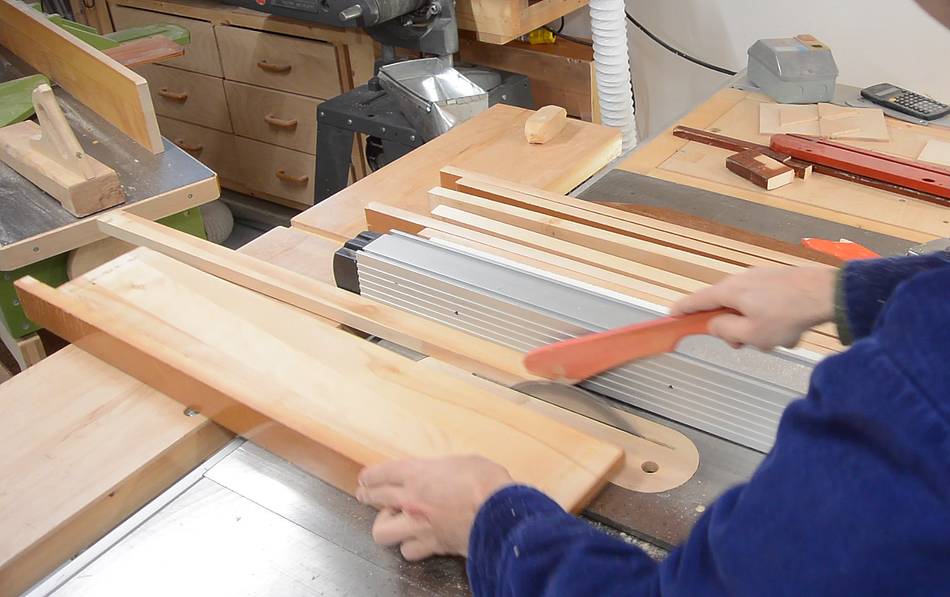 With the drawers assembled, it was time to make the runners
(or slides) into strips, 3.5 cm wide.
With the drawers assembled, it was time to make the runners
(or slides) into strips, 3.5 cm wide.
 Two strips on the side of each drawer will form an L shape for the
drawer to slide in. The part that goes against the side has notches cut
out on either side so that it's just under half an inch (12.7 mm) thick.
I left that much space on either side so I could still install full
extension drawer slides if I want to.
Two strips on the side of each drawer will form an L shape for the
drawer to slide in. The part that goes against the side has notches cut
out on either side so that it's just under half an inch (12.7 mm) thick.
I left that much space on either side so I could still install full
extension drawer slides if I want to.
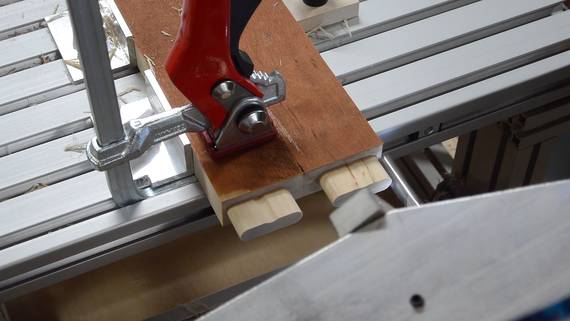
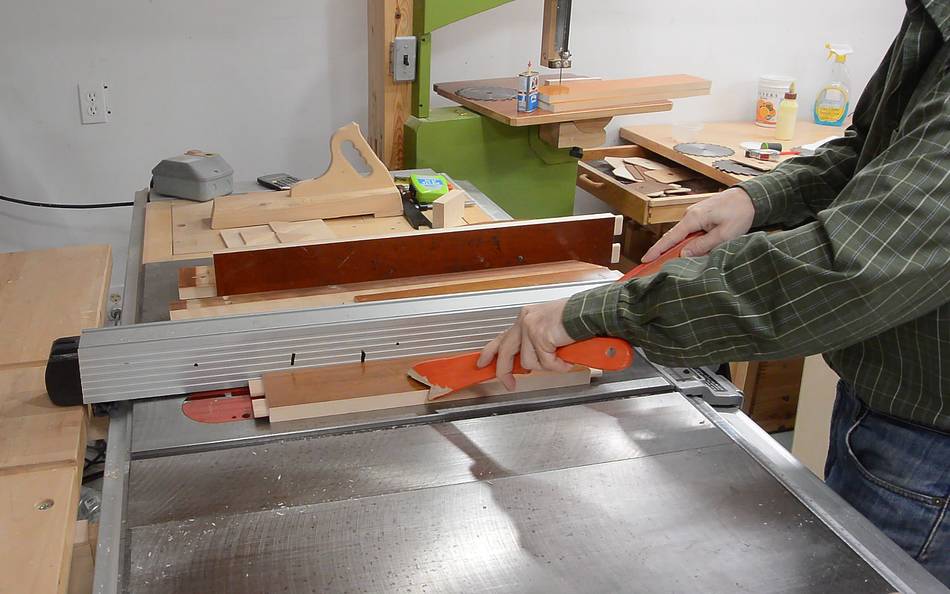
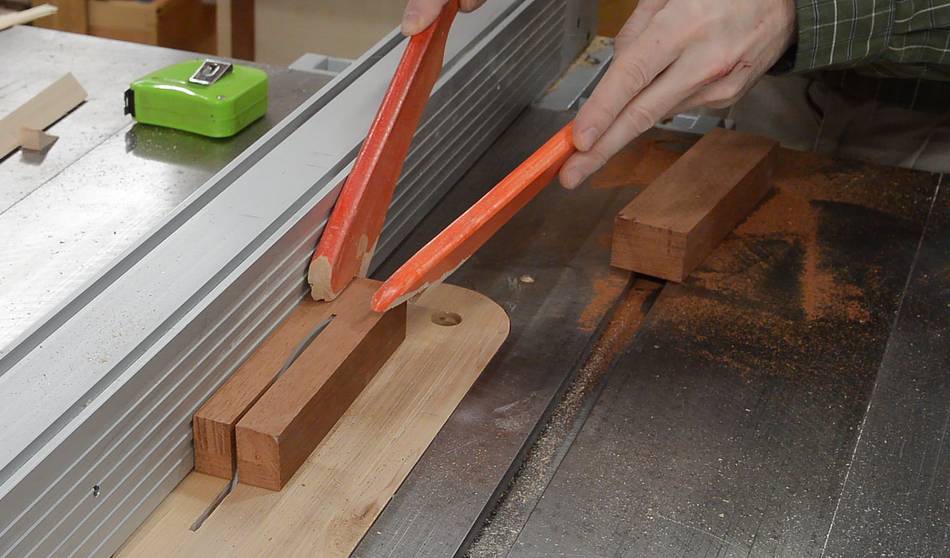
 Cutting the notches on both ends of 8 pieces. I set up a stop behind the blade so
that I'm not cutting beyond the notch I want to cut out.
Cutting the notches on both ends of 8 pieces. I set up a stop behind the blade so
that I'm not cutting beyond the notch I want to cut out.

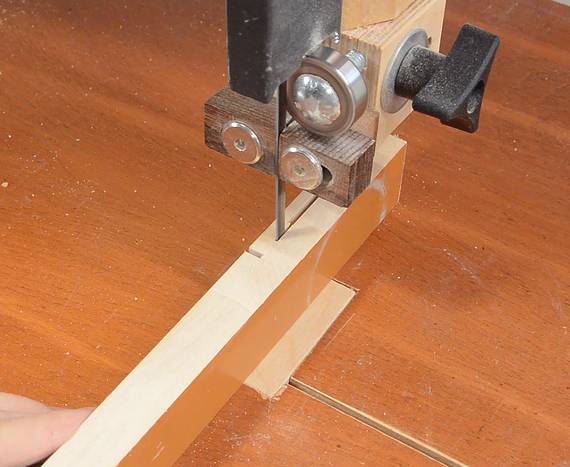 Then another cut at the end of the notch, and finishing it up with the bandsaw.
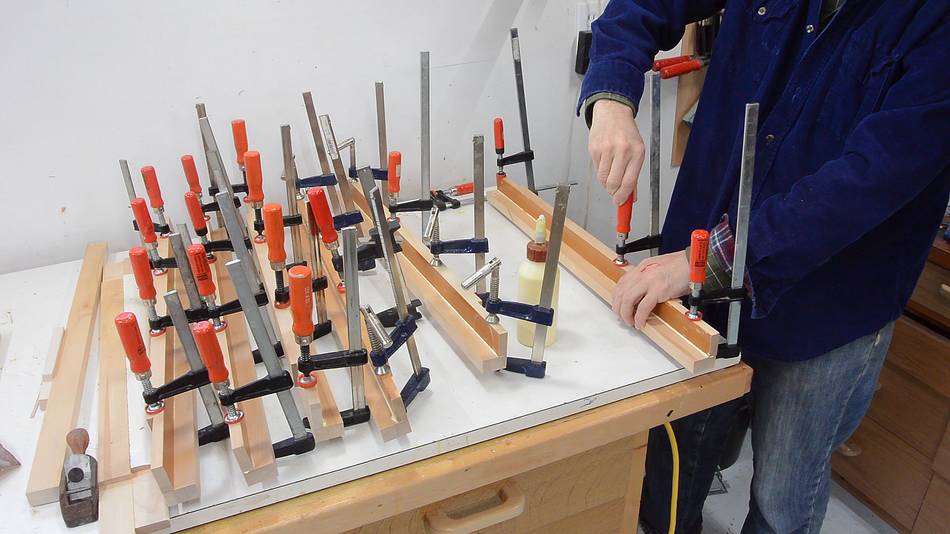
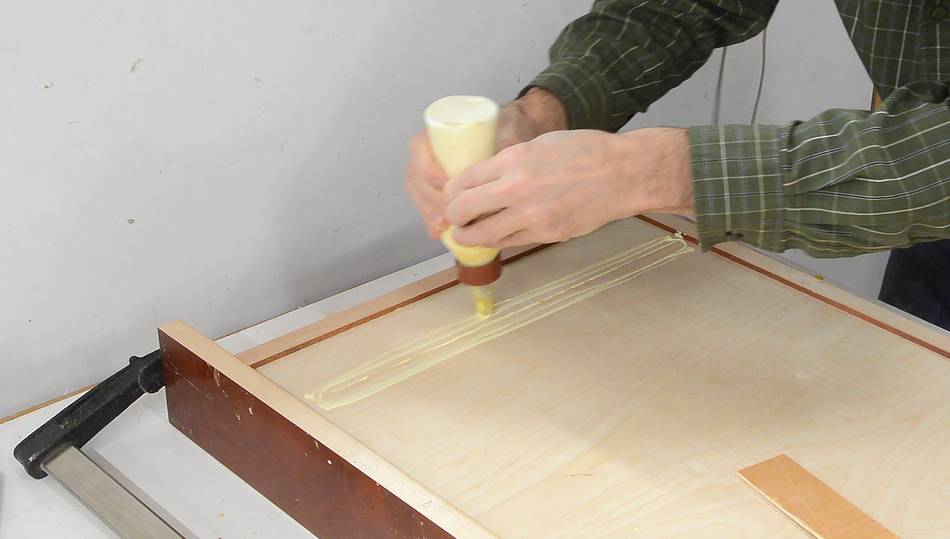
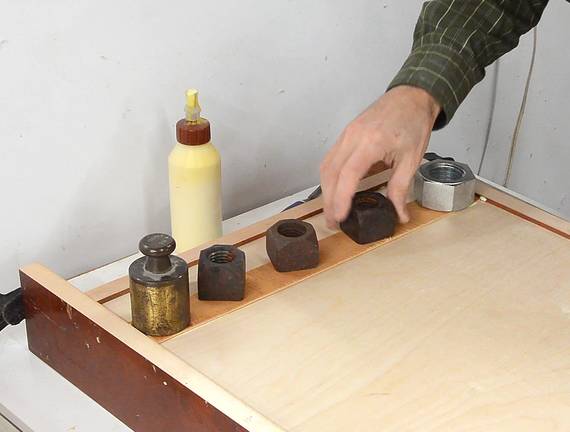
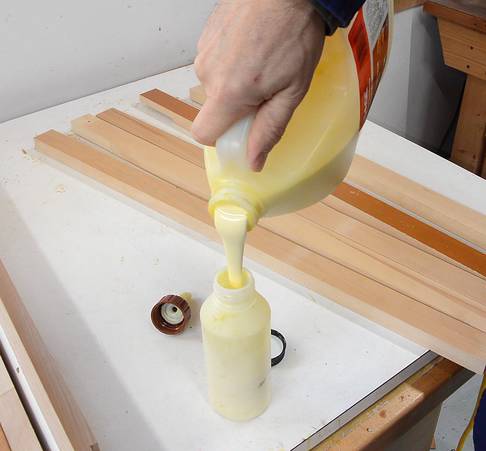 Time to glue the rails together. The glue for these strips is best applied with
a glue bottle. And I like to keep it fairly full so I don't have to squeeze so much
to get the glue to come out.
Time to glue the rails together. The glue for these strips is best applied with
a glue bottle. And I like to keep it fairly full so I don't have to squeeze so much
to get the glue to come out.
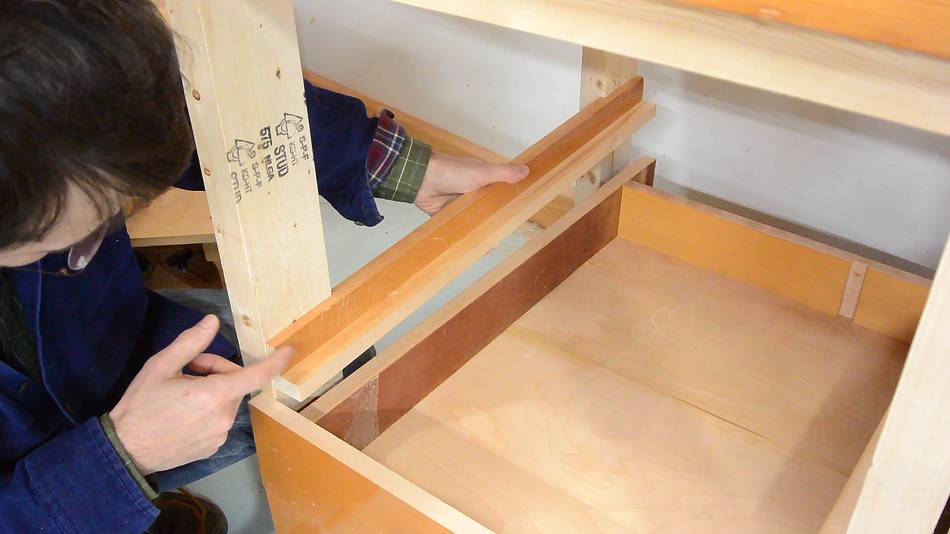
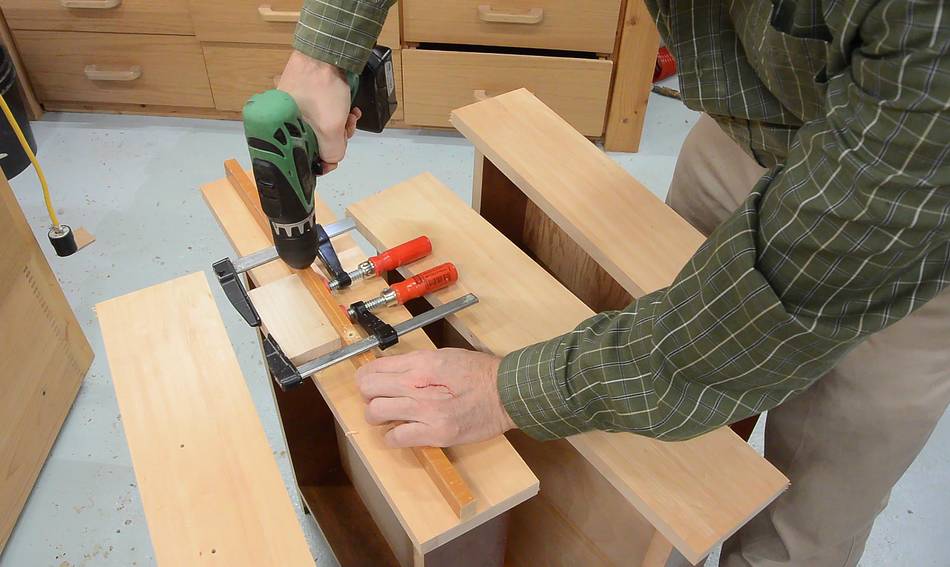
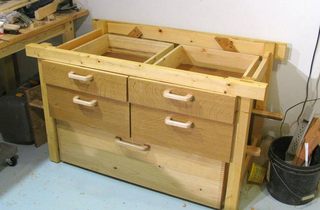
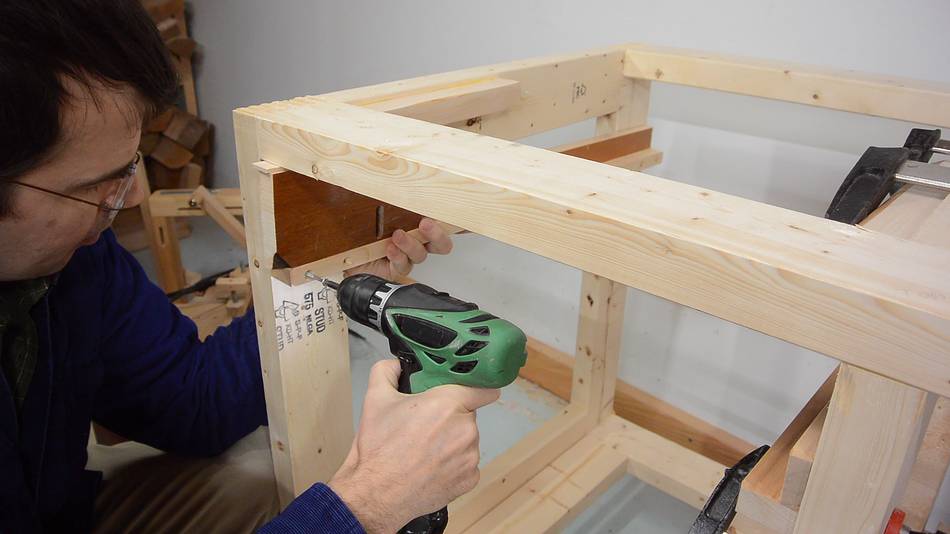 I used a scrap of wood the same width as the drawer sides, plus a 3 mm shim to space
the guide down from the top of the cabinet, then attached it with wood screws.
I used a scrap of wood the same width as the drawer sides, plus a 3 mm shim to space
the guide down from the top of the cabinet, then attached it with wood screws.
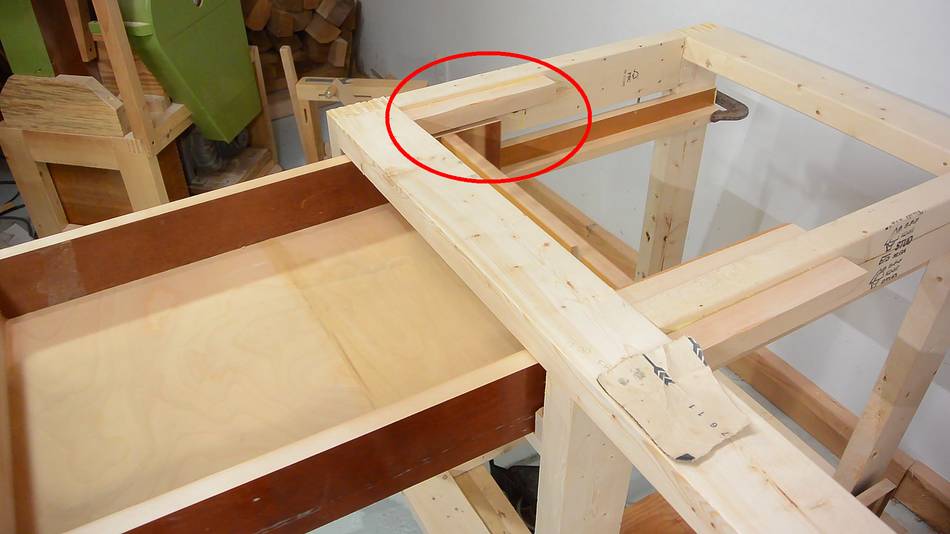 I also glued some blocks of wood on the inside near the front to keep the top drawers
from tipping down too far when they are pulled most of the way out.
I also glued some blocks of wood on the inside near the front to keep the top drawers
from tipping down too far when they are pulled most of the way out.
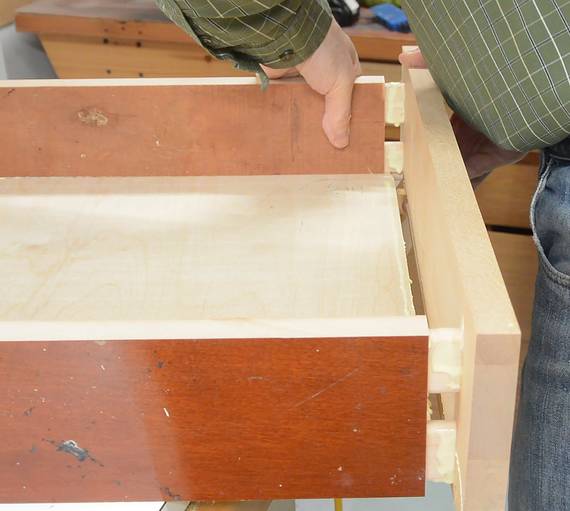
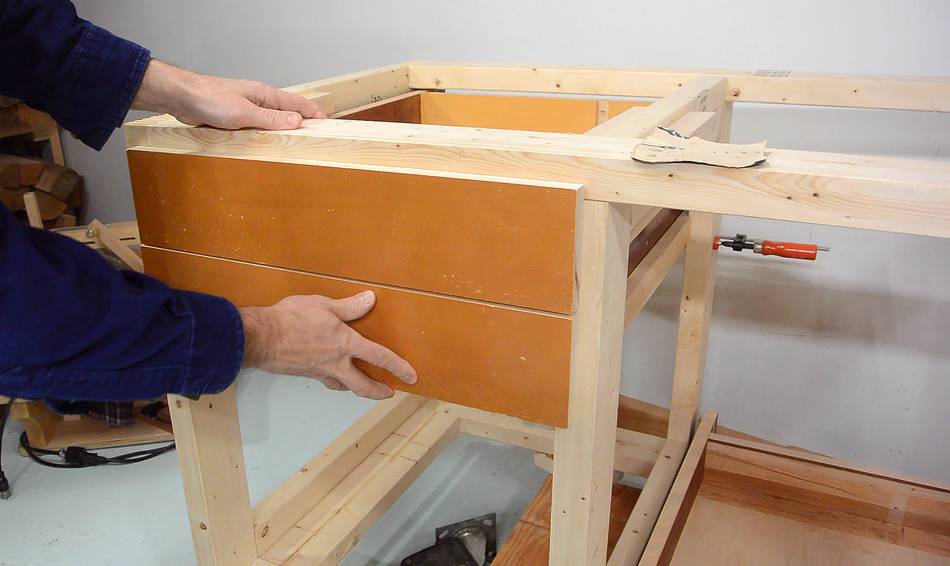 Second drawer installed. Surprisingly, the gap between them is quite consistent.
 I picked the wood I used for the drawers because the varnish on it was
in good shape. I figured that way I wouldn't have to varnish them. But
by this stage of the project, the varnish had gotten quite scuffed up.
I picked the wood I used for the drawers because the varnish on it was
in good shape. I figured that way I wouldn't have to varnish them. But
by this stage of the project, the varnish had gotten quite scuffed up.
It turns out, this varnish is shellac, and it's easily damaged. So I scraped it off. Fortunately, Shellac is very easy to scrape off. Mental note: Don't ever use Shellac for stuff that gets used!
 With the drawers now very light in colour, I figured darker
handles would look best. So I cut up some mahogany to make four
handles.
With the drawers now very light in colour, I figured darker
handles would look best. So I cut up some mahogany to make four
handles.
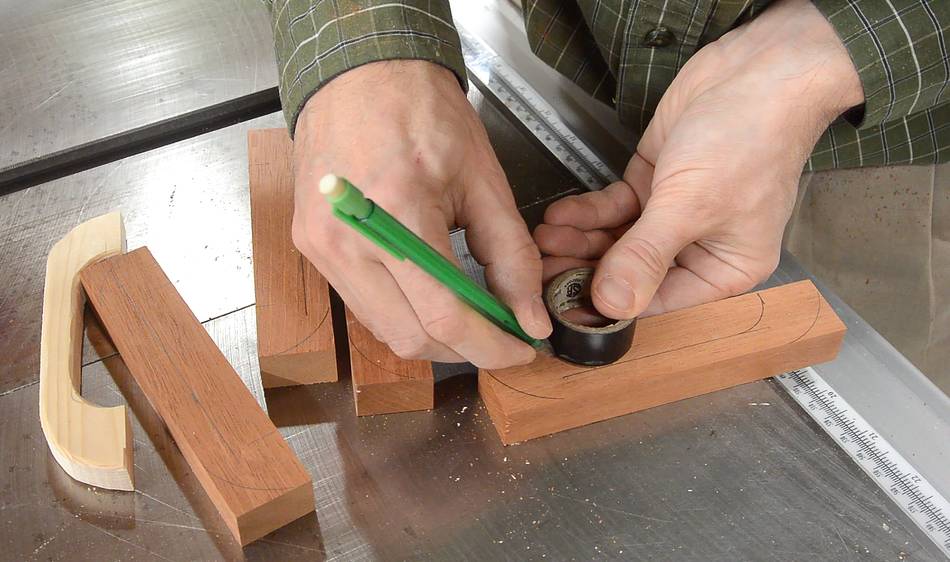 Laying out the handle shape on each one. The shape is simple enough
that it's not worth bothering with a "design" or templates. I used a
full and a nearly empty roll of electrical tape to mark the inside and
outside radiuses.
Laying out the handle shape on each one. The shape is simple enough
that it's not worth bothering with a "design" or templates. I used a
full and a nearly empty roll of electrical tape to mark the inside and
outside radiuses.
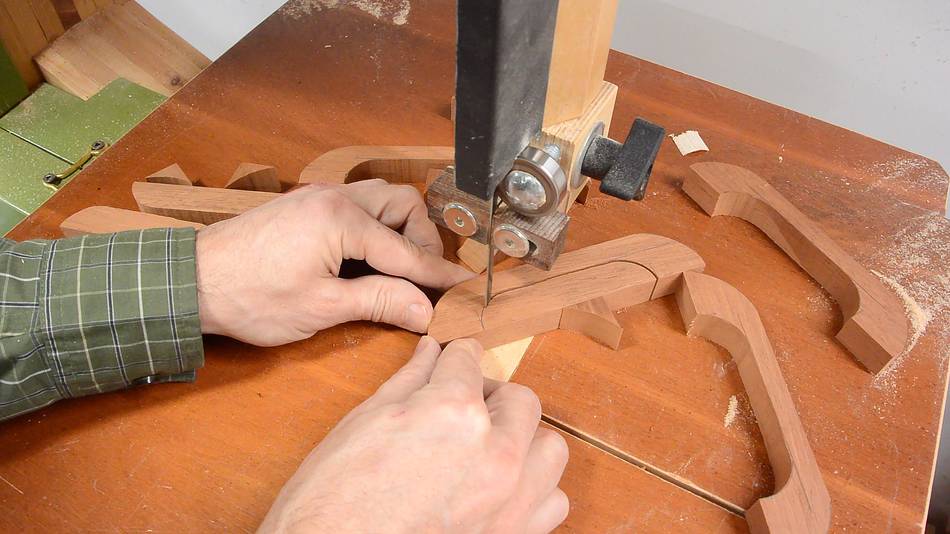
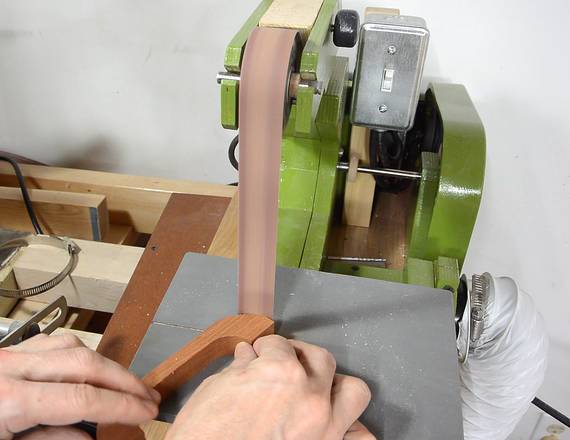 Cutting them out on the bandsaw, then
smoothing it on the strip sander
Cutting them out on the bandsaw, then
smoothing it on the strip sander
 Finally rounding all the edges with a 1/4" round-over bit, and pre-drilling screw
holes in the handles.
Finally rounding all the edges with a 1/4" round-over bit, and pre-drilling screw
holes in the handles.
 I rigged up a jig for drilling the pilot holes using some scrap wood,
just drilling through holes in the wood. It's amazing how much you can
spend on drawer handle drilling jigs, considering a few pieces of scrap
wood will do the job.
I rigged up a jig for drilling the pilot holes using some scrap wood,
just drilling through holes in the wood. It's amazing how much you can
spend on drawer handle drilling jigs, considering a few pieces of scrap
wood will do the job.
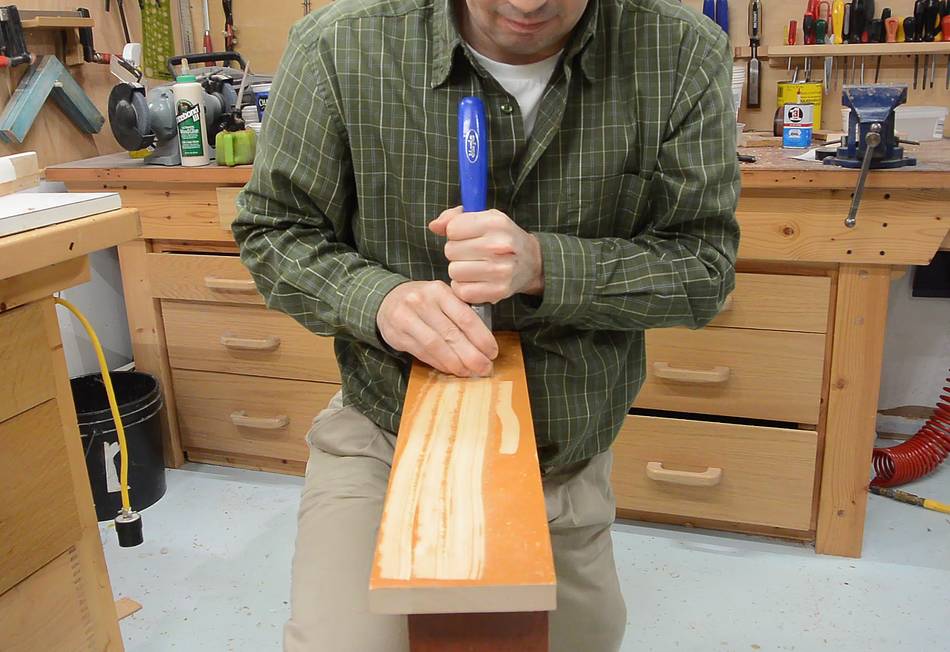
 Before mounting the handles, I need to varnish the drawer fronts, and
before varnishing them, I need to round over the corners a bit. I do
this using my
palm plane
Before mounting the handles, I need to varnish the drawer fronts, and
before varnishing them, I need to round over the corners a bit. I do
this using my
palm plane
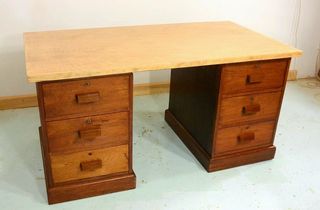
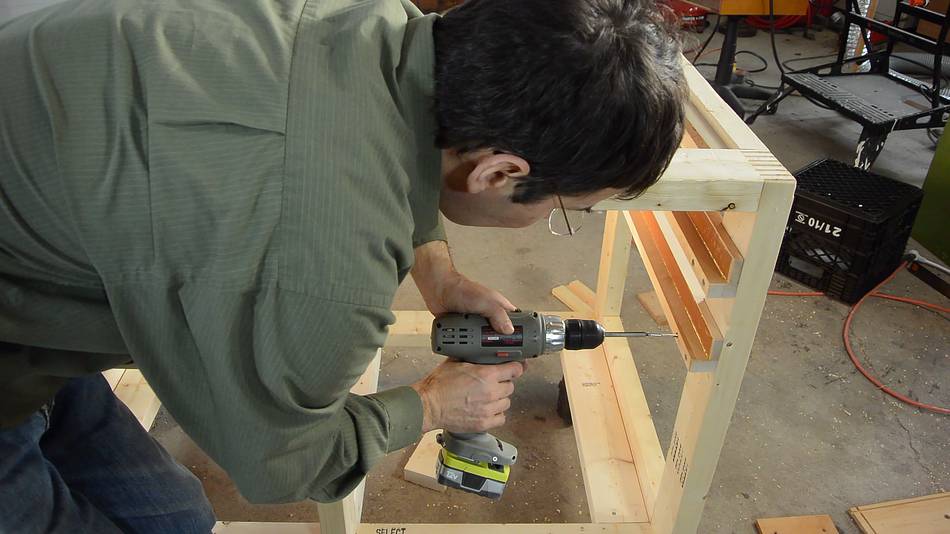 I varnished the drawers, mounted the handles (no photos), then took the workbench
frame to my big garage workshop where I
did the final assembly and glued and installed the wooden drawer slides.
I varnished the drawers, mounted the handles (no photos), then took the workbench
frame to my big garage workshop where I
did the final assembly and glued and installed the wooden drawer slides.
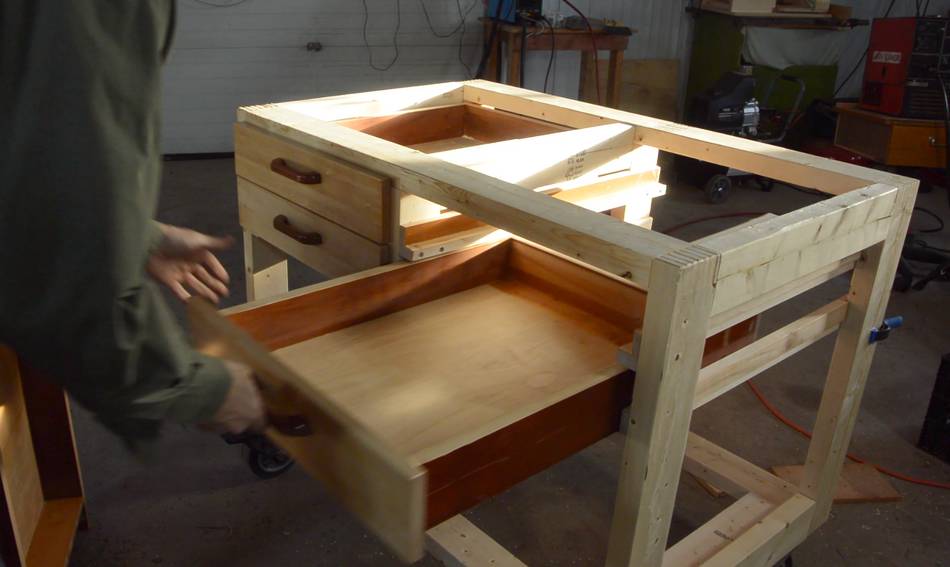 Adding the drawers
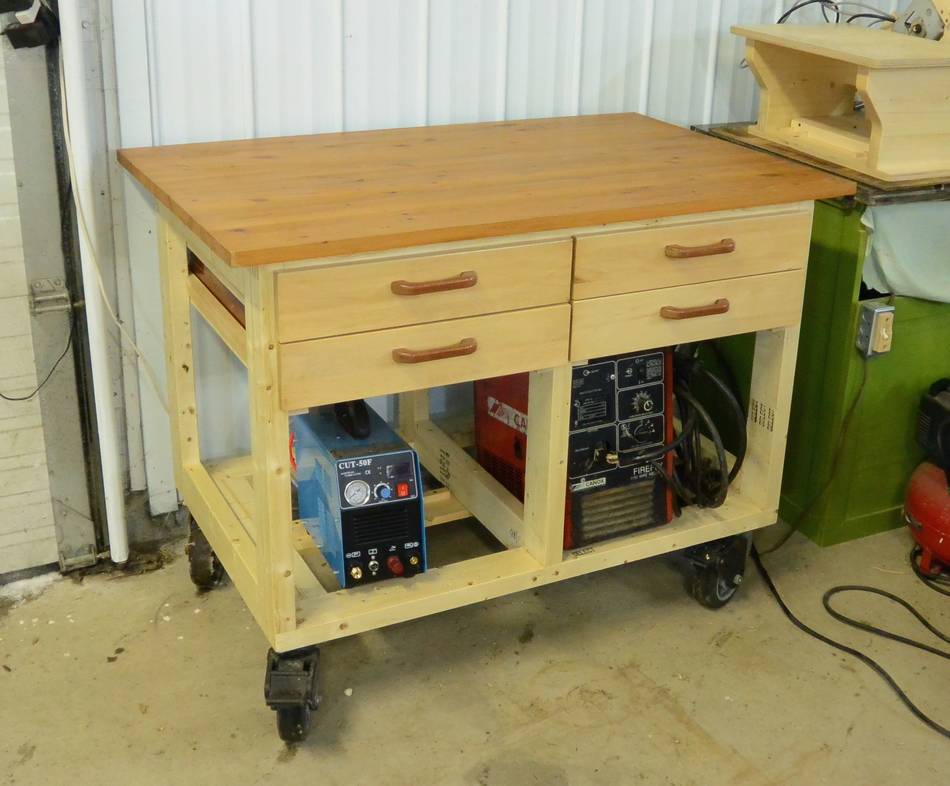 With the drawers above, there is plenty of room for my welder and plasma cutter
below.
With the drawers above, there is plenty of room for my welder and plasma cutter
below.
This workbench is on wheels so I can wheel it outside to do some of the smokier work there. The only problem is, it came out much nicer than it needed to be, so it will be mentally hard to abuse it by welding on it.
See also:
 The frame for this workbench
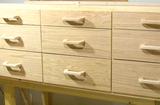 Another set of
 Drawers for the
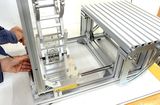 Pantorouter assembly
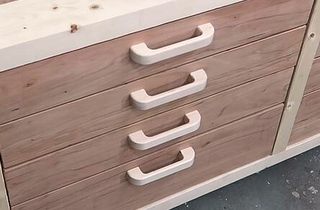 Making drawer pulls
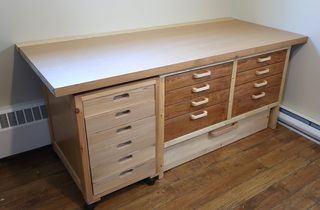 Building a workbench with lots of drawers
 Box joined drawers
 Building a dresser
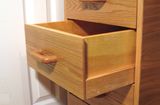
 Trash to treasure:
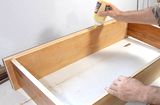 Making drawers
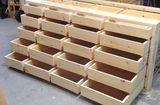 Ryan's Workbench
drawers
Back to my Woodworking website