
 I wanted to build a bed for a friend. I started
out with these plans,
but ended up making a few changes along the way.
I wanted to build a bed for a friend. I started
out with these plans,
but ended up making a few changes along the way.
I wanted to build a bed for a friend. I started
out with these plans,
but ended up making a few changes along the way.
I bought a bunch of 2x8s and 2x10s. The bed uses a lot of 2x3 lumber, but 2x10s come from larger trees and tend to be much better quality lumber.
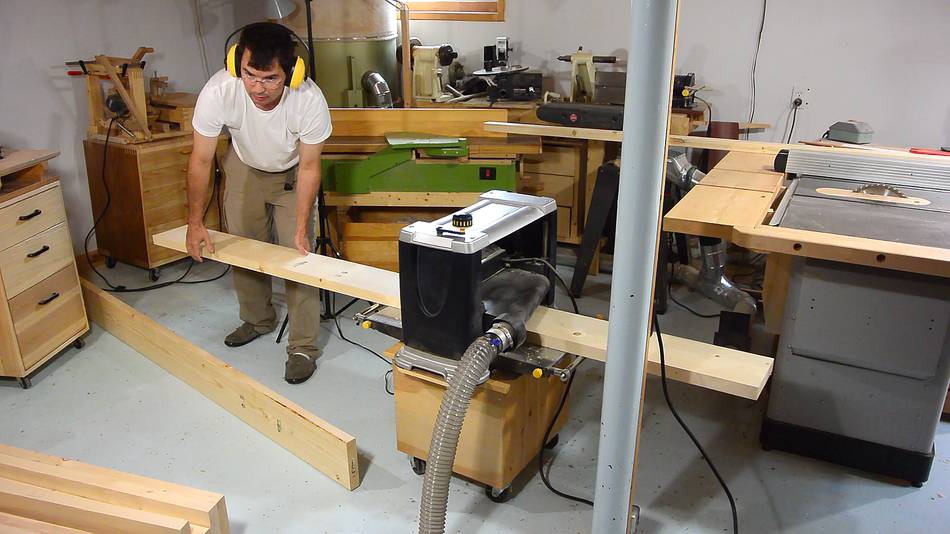 The wood comes already planed, but it helps to plane 1 mm off each side to get
a smoother surface.
The wood comes already planed, but it helps to plane 1 mm off each side to get
a smoother surface.
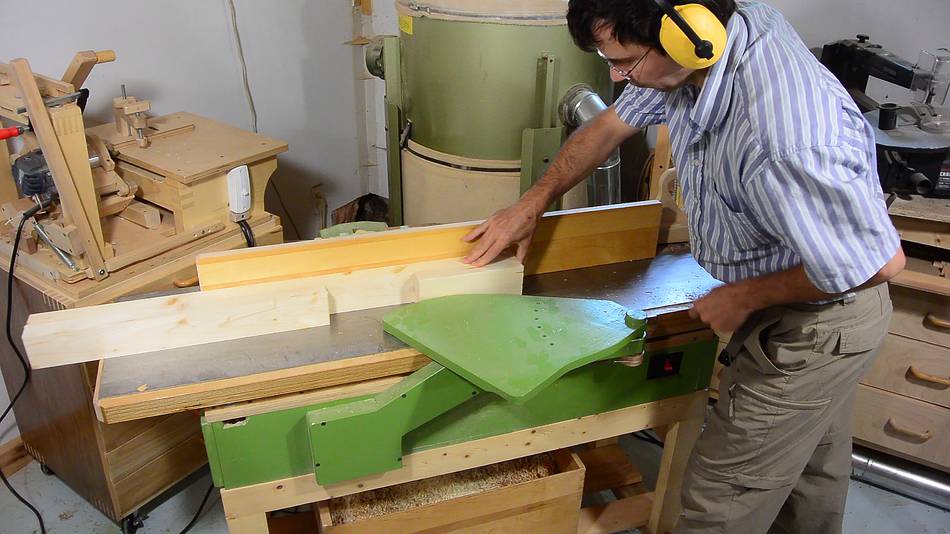
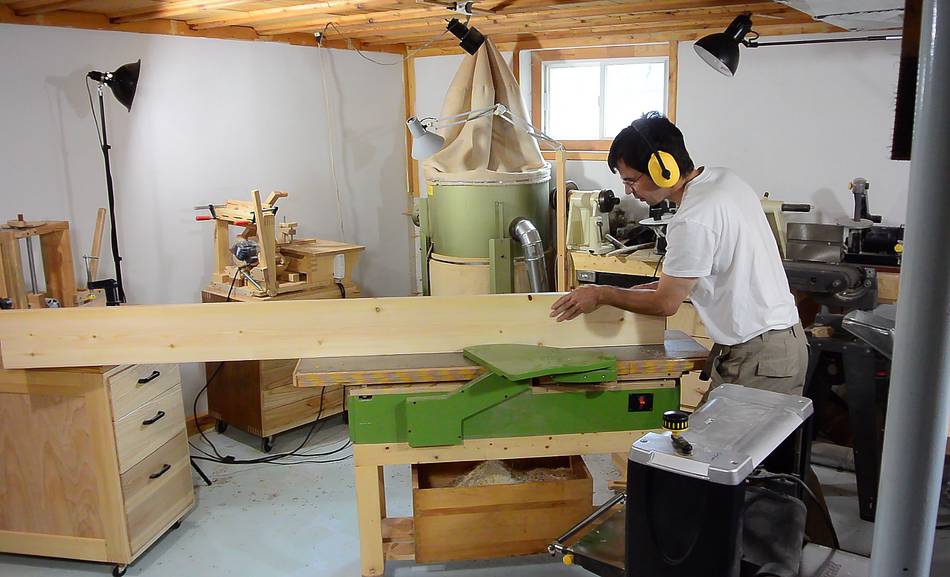 Also flattening and straightening the edges on the jointer.
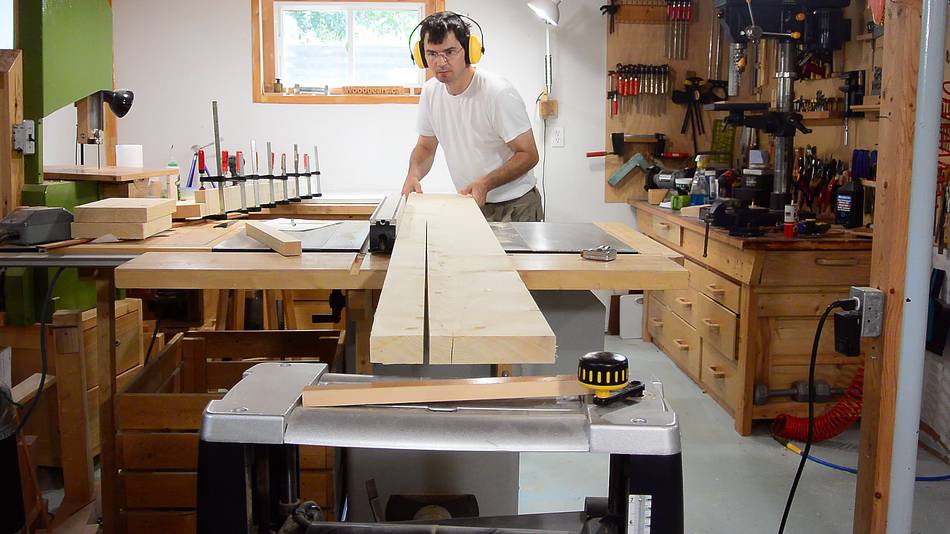
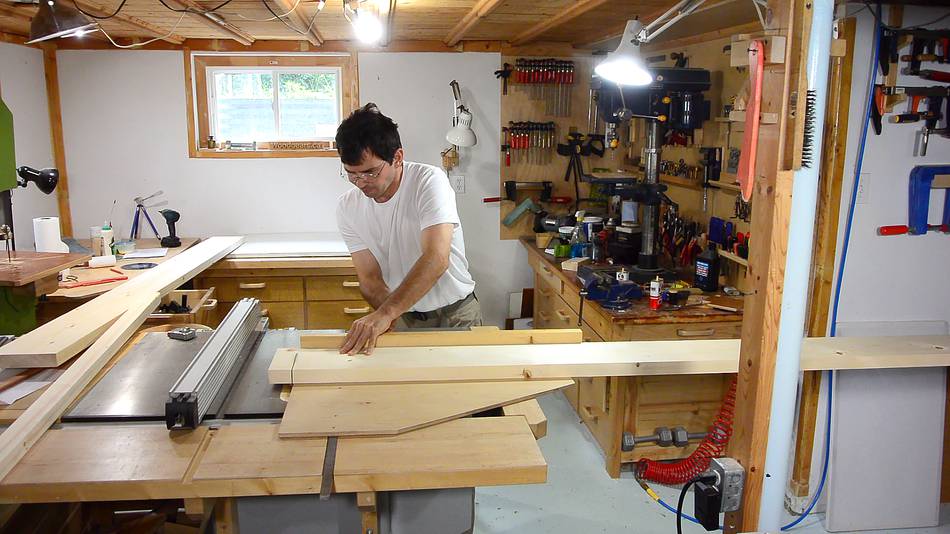 Then cutting it to length.
With the wood sticking this far out from the side of the sled, I have to hold it down
near the blade to keep it from tipping off the saw. A sliding miter saw would be useful,
but I don't have one, nor do I have room for one.
Then cutting it to length.
With the wood sticking this far out from the side of the sled, I have to hold it down
near the blade to keep it from tipping off the saw. A sliding miter saw would be useful,
but I don't have one, nor do I have room for one.
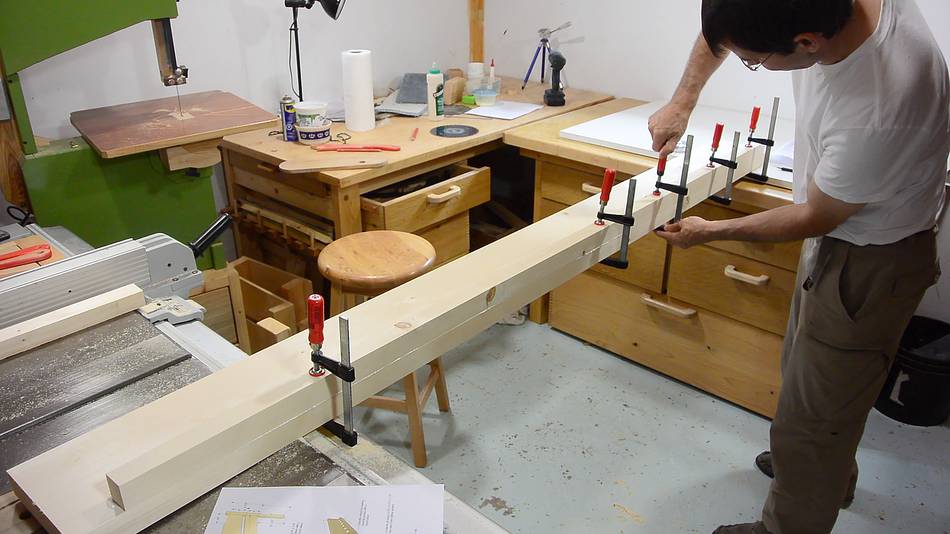
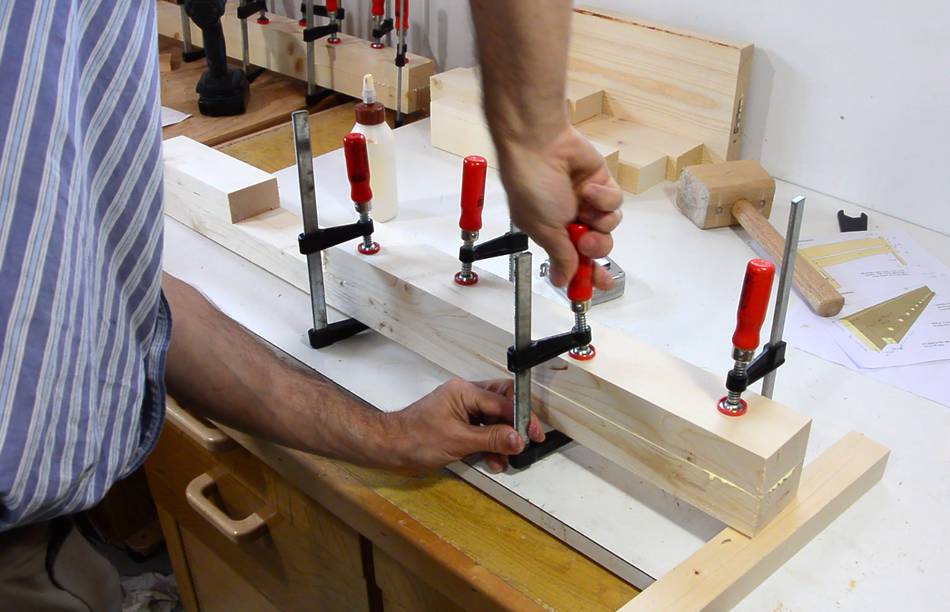
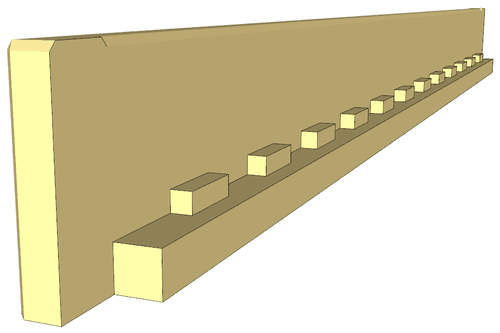 Here gluing up one of the side rails. A 1.5"x1.5" piece of wood is glued to the
bottom inside edge of the side rails to hold the slats.
Here gluing up one of the side rails. A 1.5"x1.5" piece of wood is glued to the
bottom inside edge of the side rails to hold the slats.
 Next I need to make the legs. These are made of pieces of wood 2.5" wide. I'm
ripping these out of a 2x10.
Next I need to make the legs. These are made of pieces of wood 2.5" wide. I'm
ripping these out of a 2x10.
 Gluing up one of the legs for the headboard.
 After the glue dried I planed the glued edges to get them
perfectly flush.
After the glue dried I planed the glued edges to get them
perfectly flush.
In my minimal-tool bed build I assembled the legs after joining them to the headboard so I could free-hand drill a dowel hole through both parts. But this time, I didn't go for minmal tools, and it was more convenient to glue up the legs before joining them to the headboard.

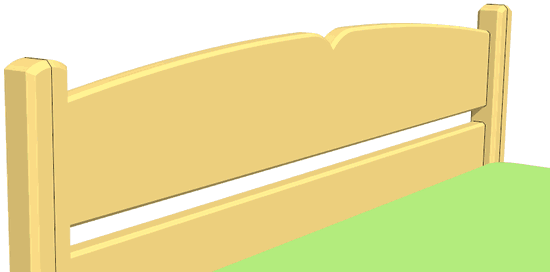 I figured it would be nice to add some curves to the
top of the headboard. I made a printout of half the profile using my
BigPrint program and traced that onto
the wood by pressing hard on the pencil, leaving an indentation in the wood.
I figured it would be nice to add some curves to the
top of the headboard. I made a printout of half the profile using my
BigPrint program and traced that onto
the wood by pressing hard on the pencil, leaving an indentation in the wood.
 Most of the headboard is a gently sweeping curve. I used a strip of wood
as a spline to smooth out the line I traced.
Most of the headboard is a gently sweeping curve. I used a strip of wood
as a spline to smooth out the line I traced.
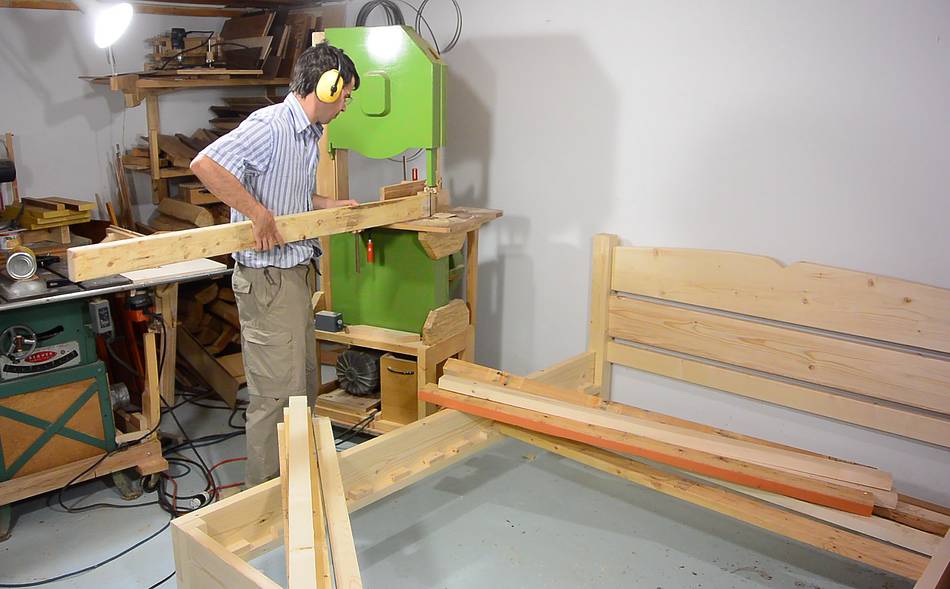
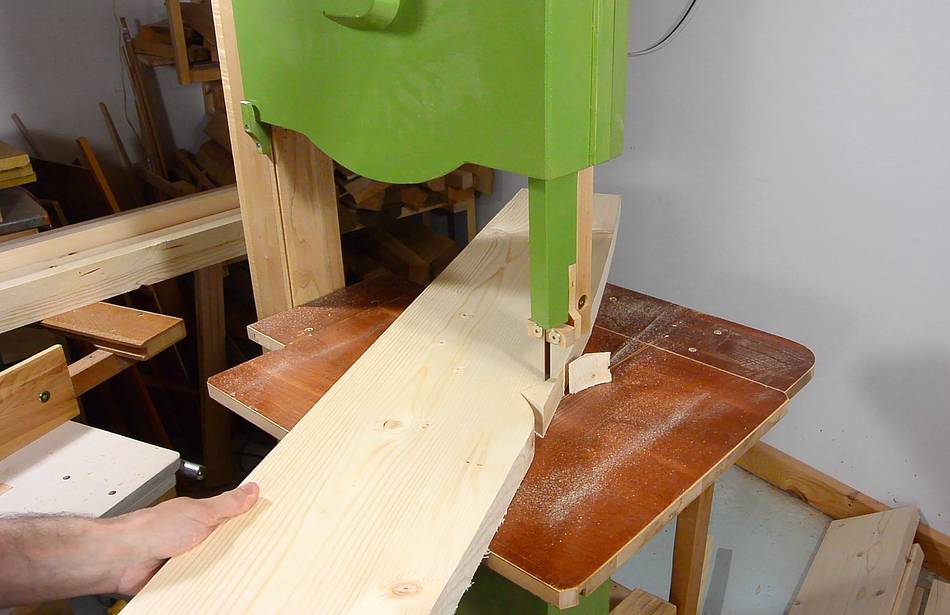 I then cut out the profile on my bandsaw...
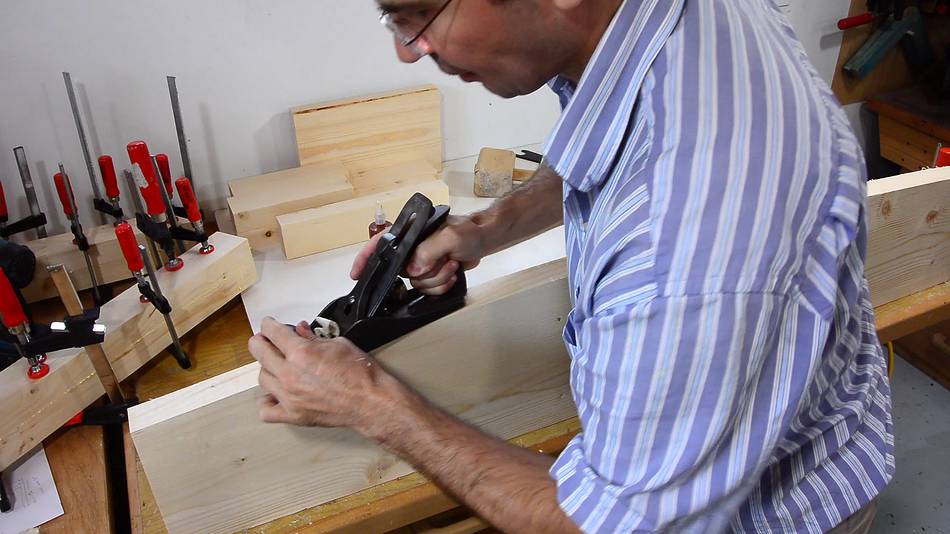 ... and smoothed it with a hand plane.
 I added a 1/4" roundover to all the edges of the headboard. In fact, all the
exposed edges of the bed frame have a 1/4" or a 1/2" roundover.
I added a 1/4" roundover to all the edges of the headboard. In fact, all the
exposed edges of the bed frame have a 1/4" or a 1/2" roundover.
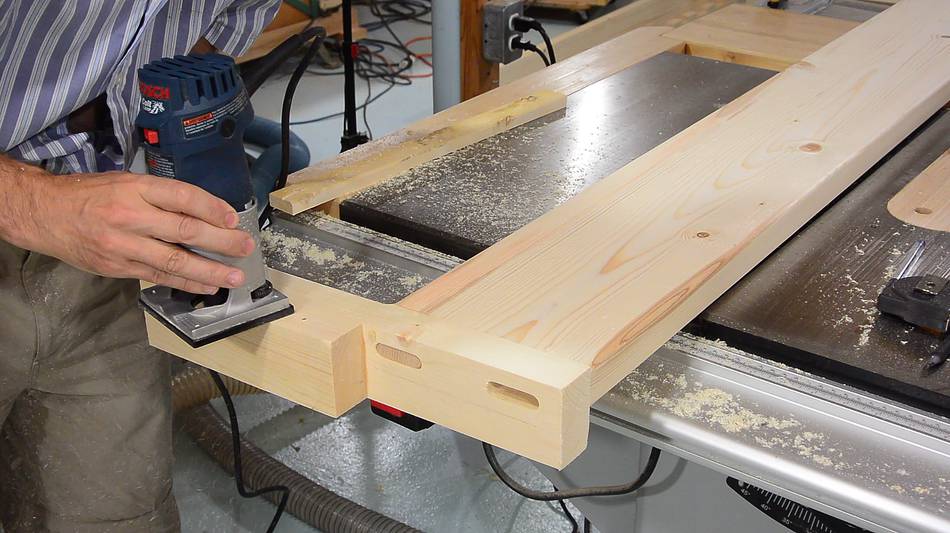
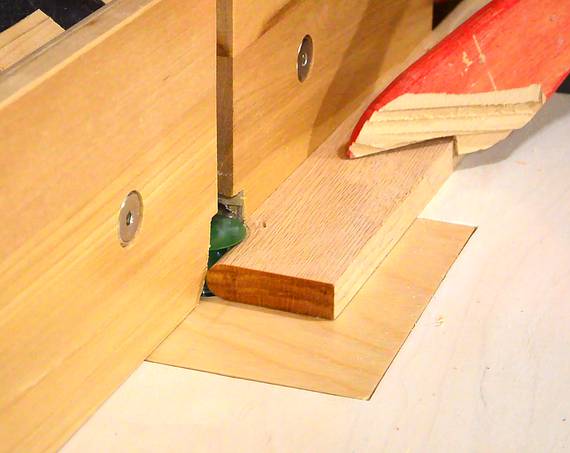 I'm joining the legs to the head and foot boards using "floating tenons", basically
a tenon that goes into a mortise on either side. Sort of like Festool Dominoes
but bigger. I made the floating tenon parts by routing a half-round on either
side of a 1/2" thick strip of oak.
I'm joining the legs to the head and foot boards using "floating tenons", basically
a tenon that goes into a mortise on either side. Sort of like Festool Dominoes
but bigger. I made the floating tenon parts by routing a half-round on either
side of a 1/2" thick strip of oak.

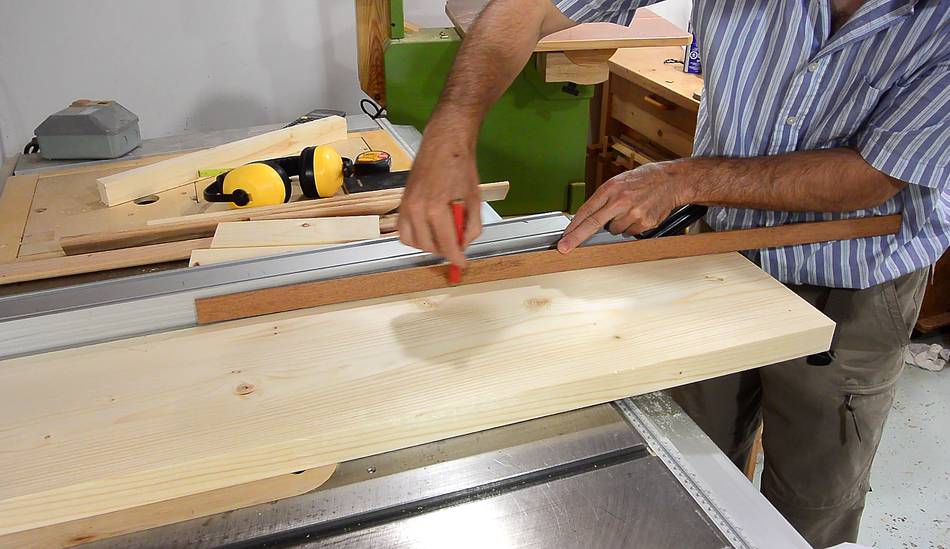
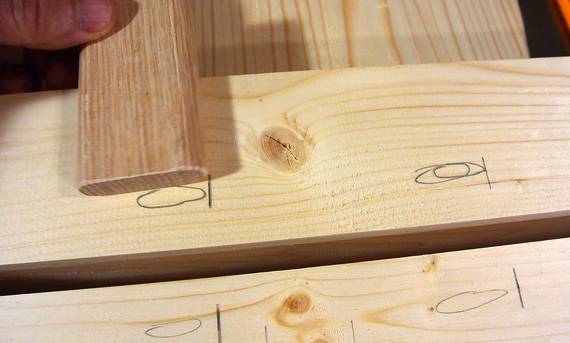 Here laying out where the tenons go on the headboard. I mark one edge
of each tenon, and, very important, which side of the mark the tenon
needs to go.
Here laying out where the tenons go on the headboard. I mark one edge
of each tenon, and, very important, which side of the mark the tenon
needs to go.
 Then routing out the slot mortises in the headboard posts using
my slot mortiser.
I don't use the slot mortiser very much since I built the pantorouter,
but it does a really nice job of slot mortises, and it's fast to set up.
Then routing out the slot mortises in the headboard posts using
my slot mortiser.
I don't use the slot mortiser very much since I built the pantorouter,
but it does a really nice job of slot mortises, and it's fast to set up.
 After routing the mortises in the posts, I re-checked my layout and
transferred the tenon locations to the ends of the boards using a small square.
After routing the mortises in the posts, I re-checked my layout and
transferred the tenon locations to the ends of the boards using a small square.
 Then routing the mortises in the ends of the headboard pieces.
At nearly 5' (1.5m) in length, the workpieces overhang the machine quite a bit, though still ok without additional support. The workpiece stays stationary, so I could add extra support if needed.
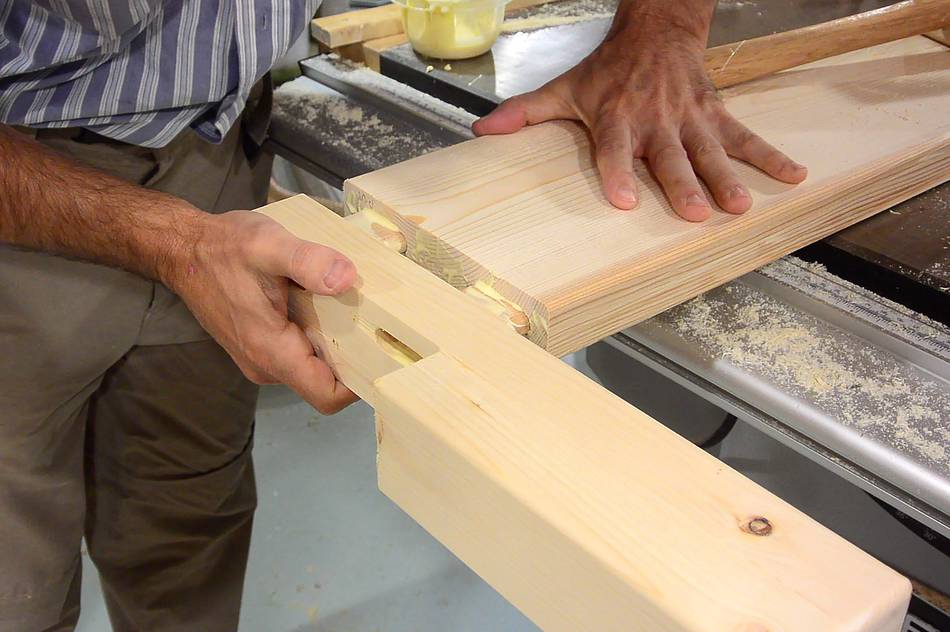
 I dry fit the headboard.
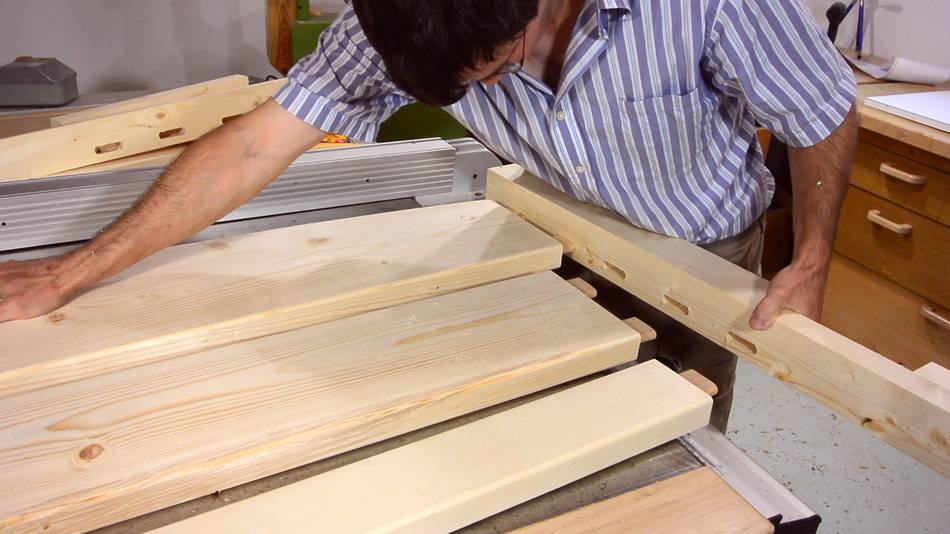
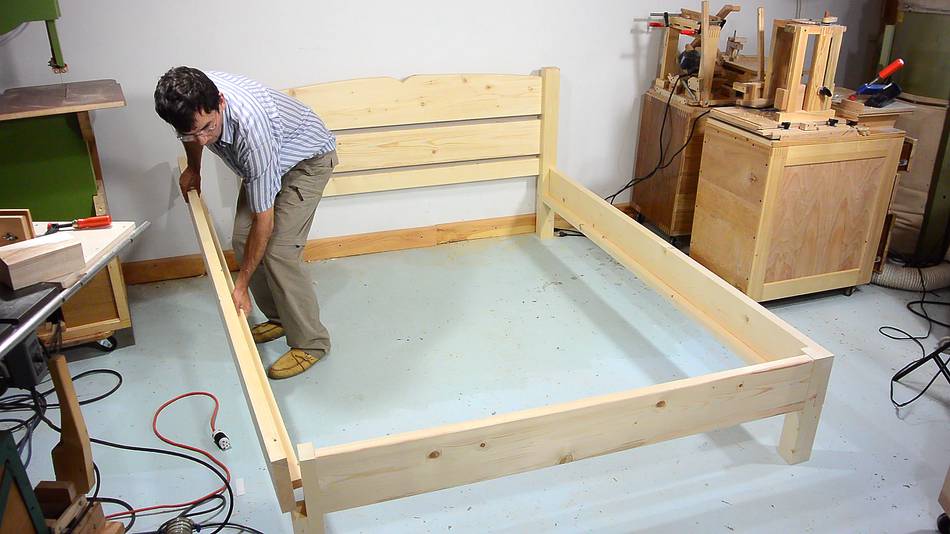 Even without glue, the head and foot board held together well enough
to check the whole bed. Here I'm checking how the side rails fit onto the bed.
Even without glue, the head and foot board held together well enough
to check the whole bed. Here I'm checking how the side rails fit onto the bed.
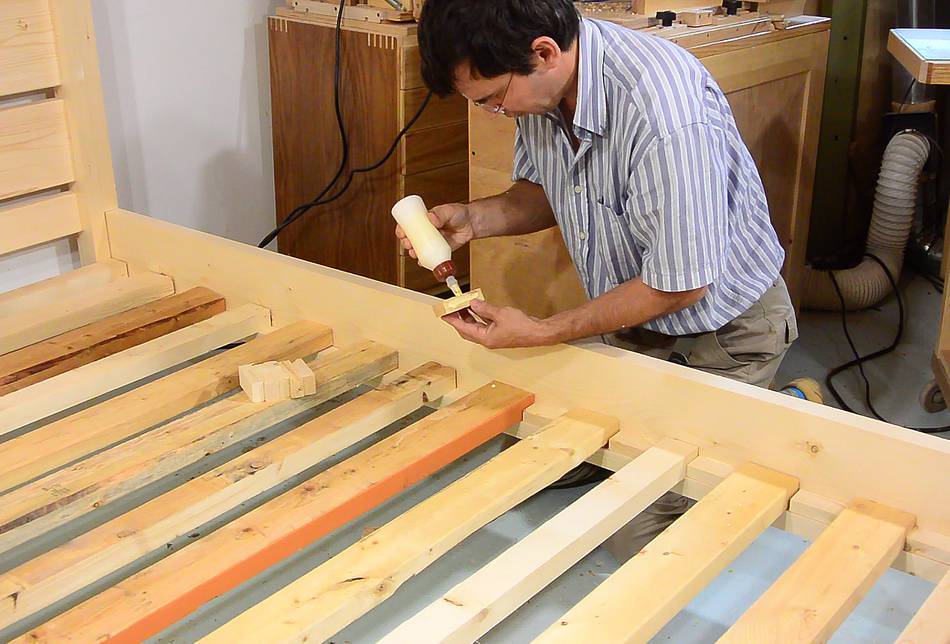 Then adding the bed slats. These span the full width of a queen size mattress
(5' or 1.5 meters). They are made from 2x4s and 2x3's, mostly used wood I had
laying around.
Then adding the bed slats. These span the full width of a queen size mattress
(5' or 1.5 meters). They are made from 2x4s and 2x3's, mostly used wood I had
laying around.
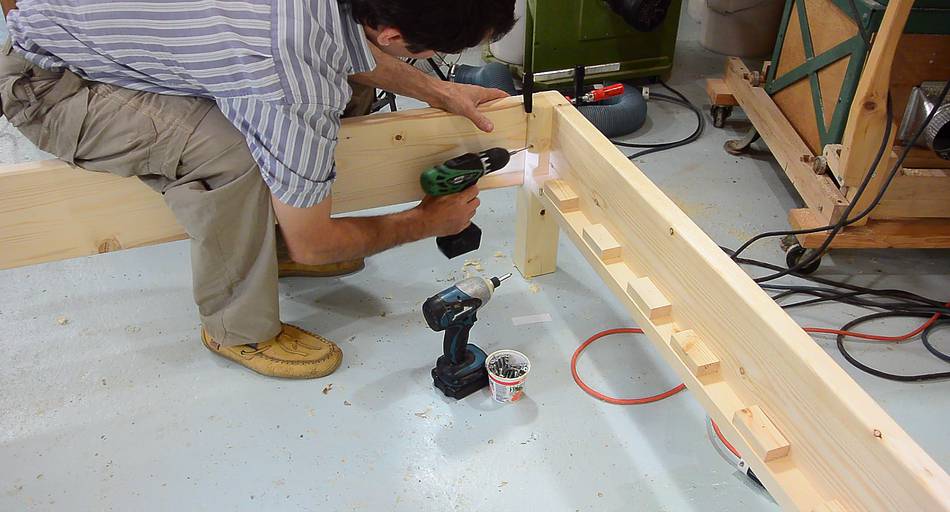
I'm gluing blocks of wood between the slats to help keep the slats in place.
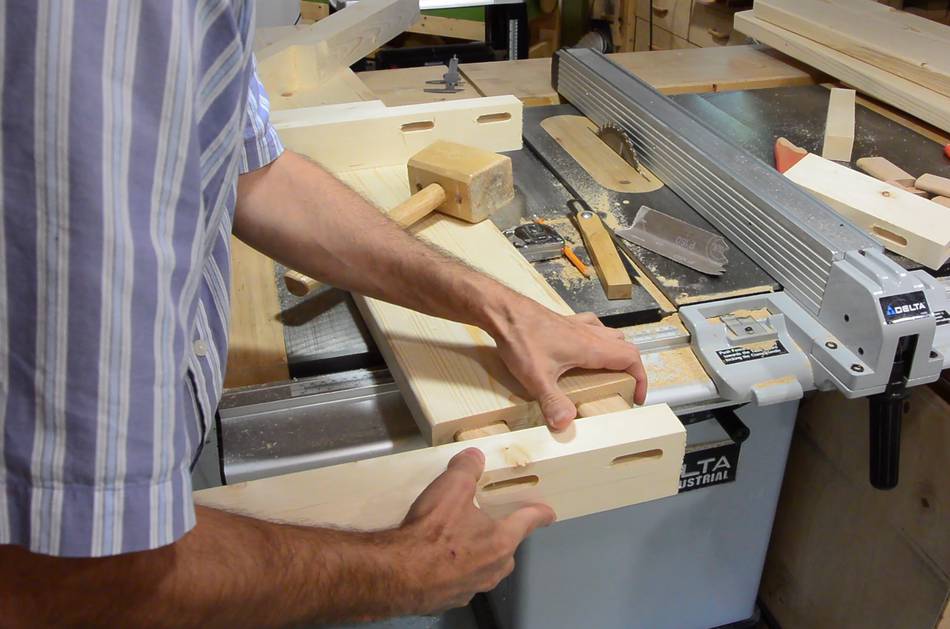
 I cut a bit off the thickness off the ends of the slats, so they would sit a bit
lower in the bed frame. I used the "top" of the slats as a reference surface
against the fence, except I had to use a block of wood between the workpiece and
the fence so I could then curve the cut out of the wood.
I cut a bit off the thickness off the ends of the slats, so they would sit a bit
lower in the bed frame. I used the "top" of the slats as a reference surface
against the fence, except I had to use a block of wood between the workpiece and
the fence so I could then curve the cut out of the wood.
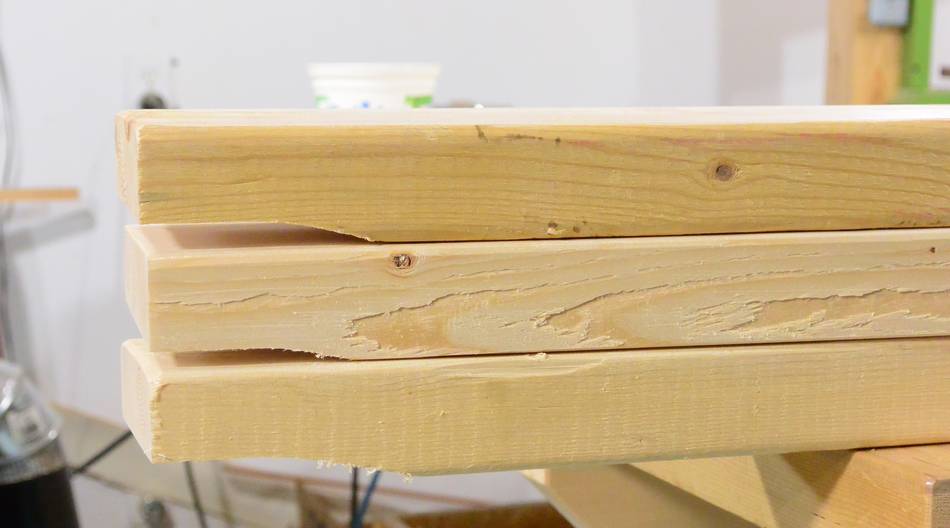 This way, thickness variations in the slats end up on the bottom, not the top.
Some of the wood was quite twisted, so after I planed the top flat, they weren't all the
same thickness anymore.
This way, thickness variations in the slats end up on the bottom, not the top.
Some of the wood was quite twisted, so after I planed the top flat, they weren't all the
same thickness anymore.
 Now back to working on the head and foot board. All the exposed edges get a 1/4"
roundover. I did some of this with the pieces still dry fit, so I wouldn't accidentally
route an edge that joints another piece.
Now back to working on the head and foot board. All the exposed edges get a 1/4"
roundover. I did some of this with the pieces still dry fit, so I wouldn't accidentally
route an edge that joints another piece.
 Then gluing it up. Here gluing one of the legs to the footboard.
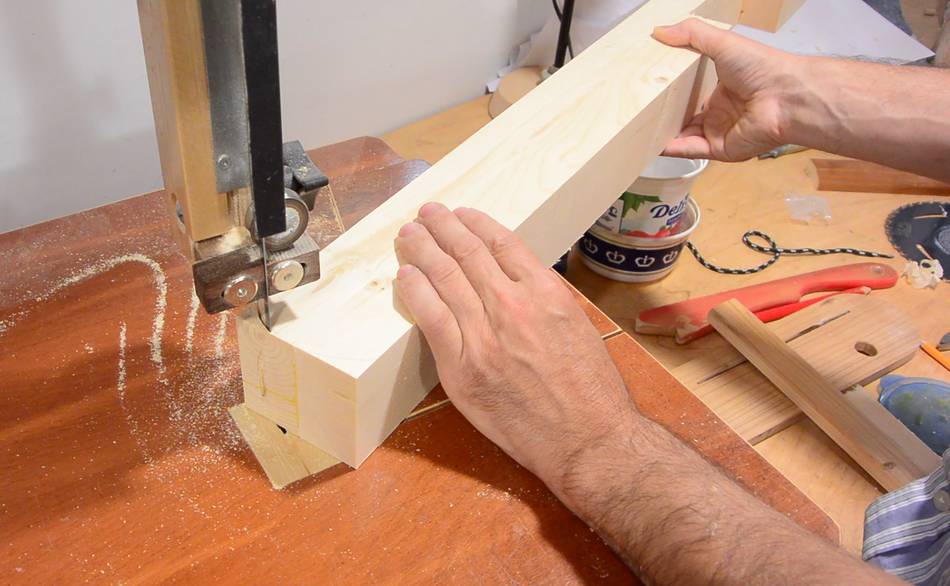 I cut an arc-shaped curve into the tops of the headboard posts to go with the
curved profile of the headboard.
I cut an arc-shaped curve into the tops of the headboard posts to go with the
curved profile of the headboard.
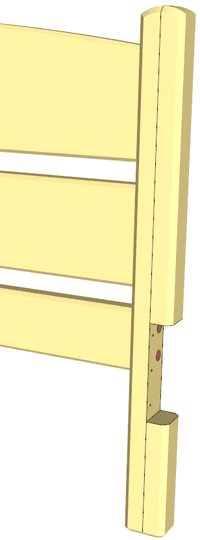
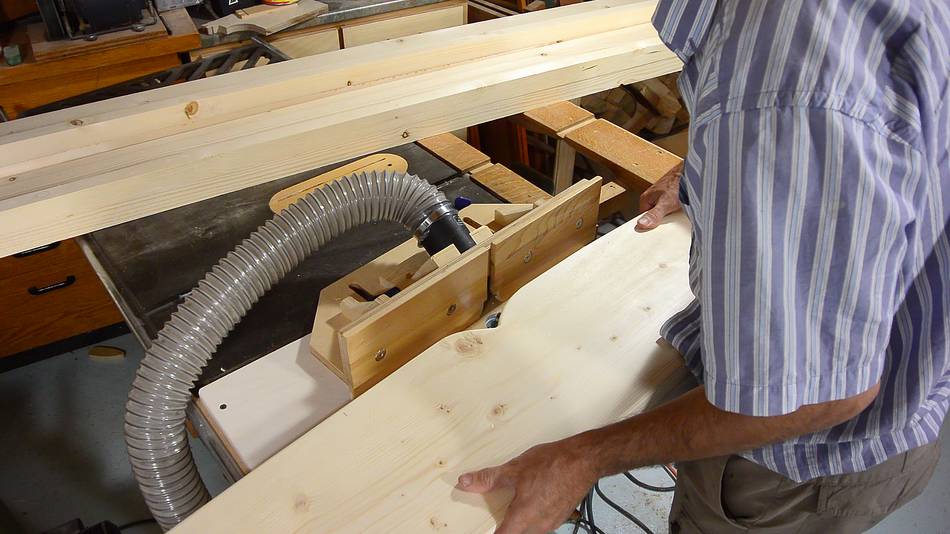
 Then routing a 1/2" (12mm) roundover to three edges of the headboard posts.
The horizontal boards of the headboard join flush with the back edge, so the
inside back edge of the headboard posts doesn't get a roundover.
Then routing a 1/2" (12mm) roundover to three edges of the headboard posts.
The horizontal boards of the headboard join flush with the back edge, so the
inside back edge of the headboard posts doesn't get a roundover.
 I also beveled the back of the headboard posts. That way, the bed can be put flush against
a wall without hitting the baseboard or, quarter round.
I also beveled the back of the headboard posts. That way, the bed can be put flush against
a wall without hitting the baseboard or, quarter round.
 Gluing up the headboard. On the floor worked best. My shop ceiling is too
low to put this upright on the workbench.
Gluing up the headboard. On the floor worked best. My shop ceiling is too
low to put this upright on the workbench.
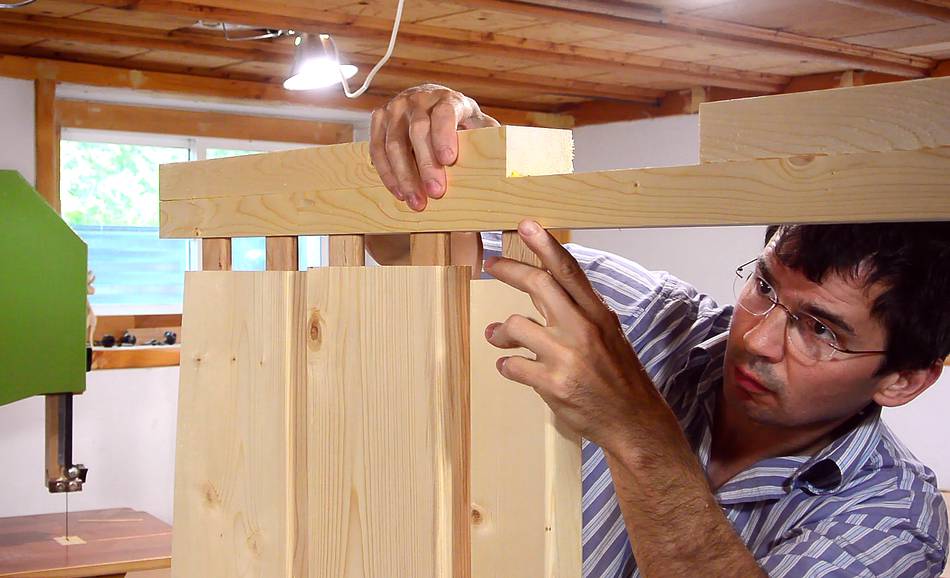
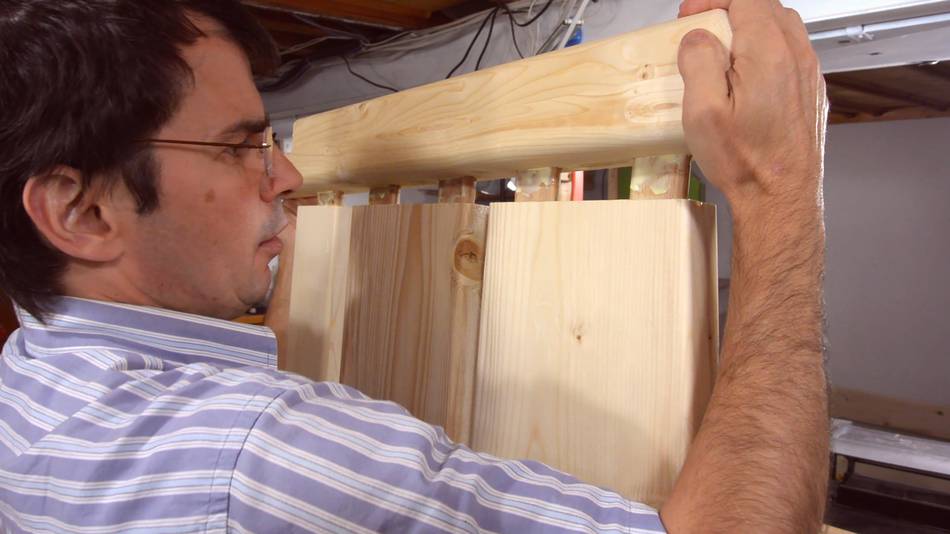 Joining on the other legs with five tenons that need to mesh at once is a
challenge. I couldn't quite force the joint closed by hand....
Joining on the other legs with five tenons that need to mesh at once is a
challenge. I couldn't quite force the joint closed by hand....
 ... so I used two clamps, hooked onto each other, and a block of wood and a hammer
to force the joint closed.
... so I used two clamps, hooked onto each other, and a block of wood and a hammer
to force the joint closed.
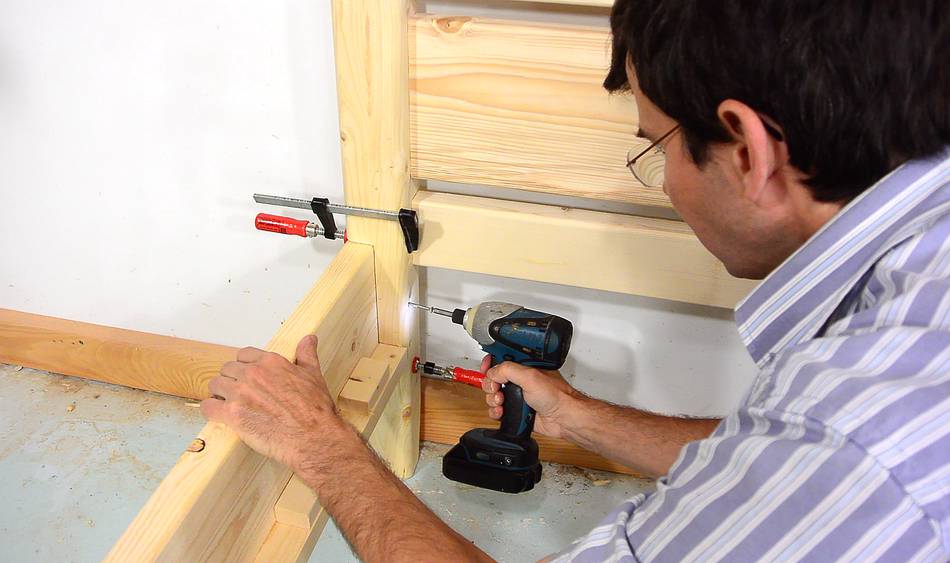 Now joining the head board to the side rails. In my plans, I had the side rail
screwed on from the outside, but with changes I made, I was able to screw it on from
the inside, hiding the screws.
Now joining the head board to the side rails. In my plans, I had the side rail
screwed on from the outside, but with changes I made, I was able to screw it on from
the inside, hiding the screws.
I drilled a pilot hole through both parts, then screwed it together using 2.5" long #10 wood screws.
 Same procedure for the foot end of the bed.
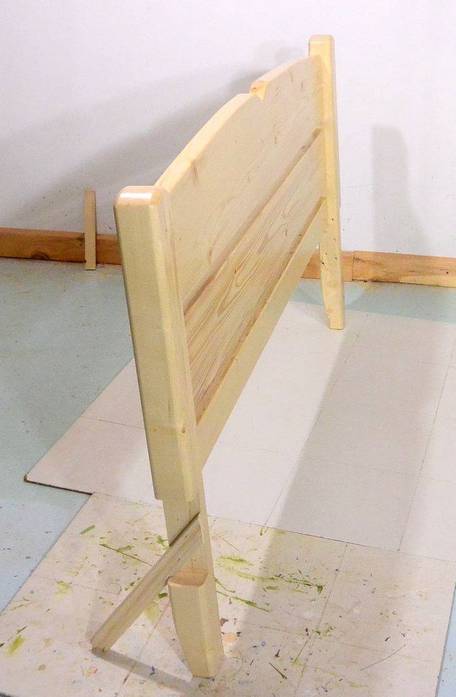 After that I took it all apart for
varnishing. I screwed a piece of wood
to the side of the headboard so it could stand on its own. The other pieces
I had resting on my table saw while I varnished them. I applied two inside
of the frame, three coats to the other surfaces, and a fourth coat to the
front of the headboard, which is more likely to get wear.
After that I took it all apart for
varnishing. I screwed a piece of wood
to the side of the headboard so it could stand on its own. The other pieces
I had resting on my table saw while I varnished them. I applied two inside
of the frame, three coats to the other surfaces, and a fourth coat to the
front of the headboard, which is more likely to get wear.
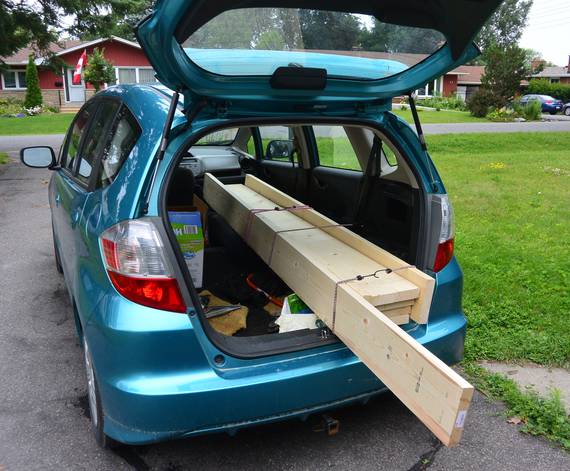
 Then it was time to deliver the bed. The pieces barely fit in my Honda Fit,
though I couldn't quite close the hatch with the headboard in.
Then it was time to deliver the bed. The pieces barely fit in my Honda Fit,
though I couldn't quite close the hatch with the headboard in.
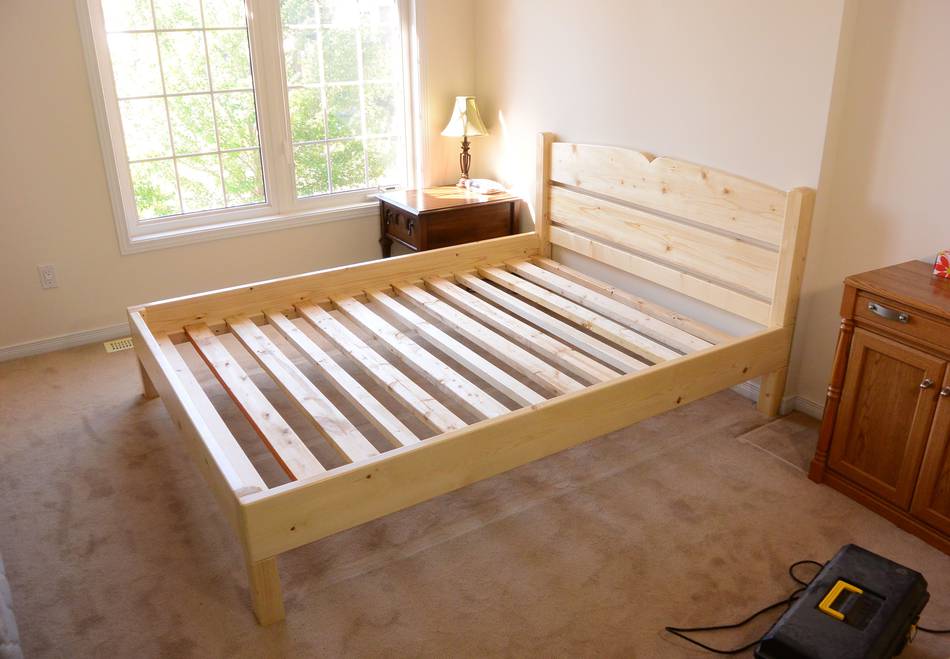
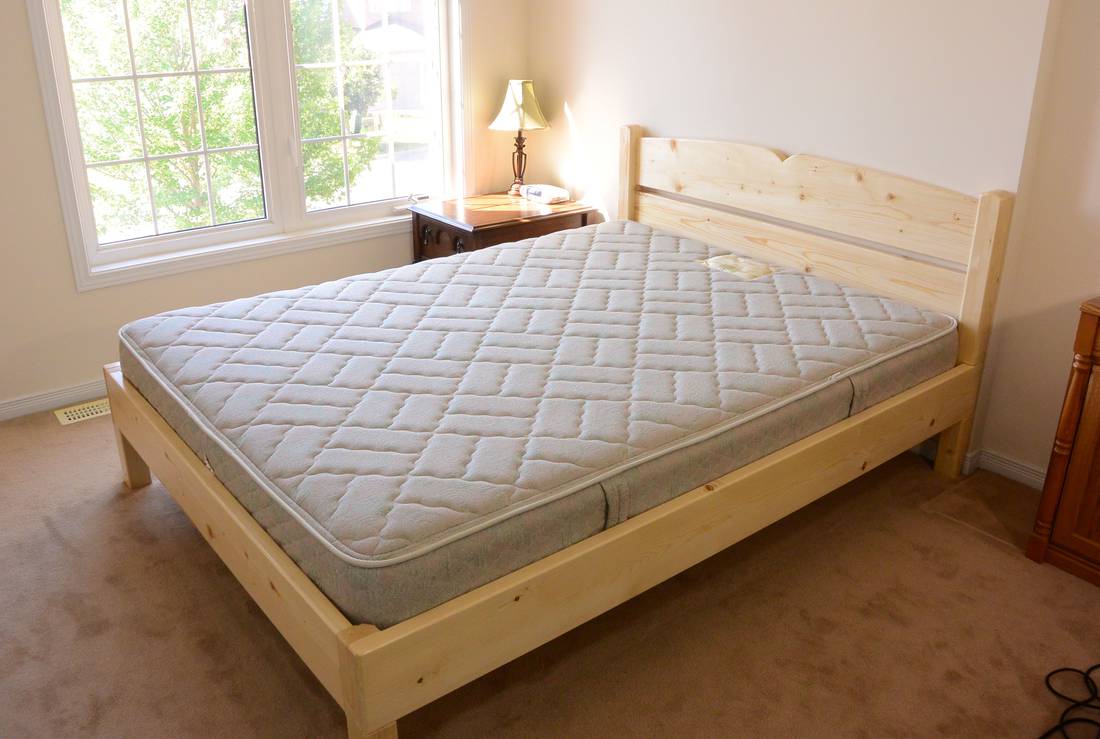 And here it is, with a 10" (25 cm) thick mattress on it.
There's plenty of storage space under it, and with all the space clear underneath (no leg in the middle) it's perfect for storing suitcases under or maybe some rolling drawers or hanging drawers
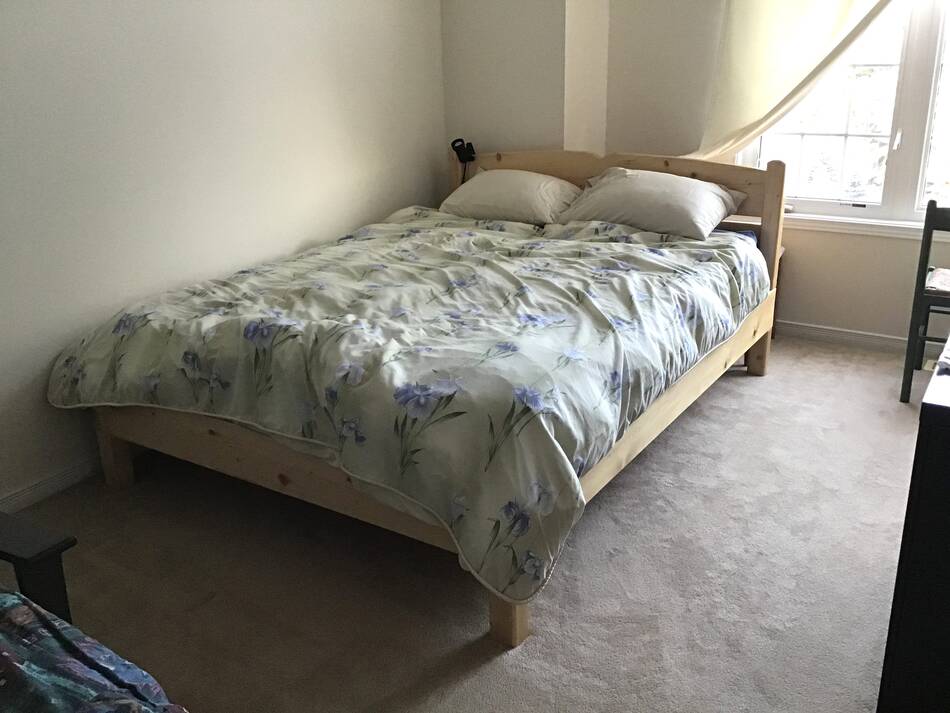 And here it is again, four years later in 2019. The bed had been
moved to a different room because that room was turned into a second
nursery room. Rachel and I actually got to sleep on it while visiting Ottawa.
And here it is again, four years later in 2019. The bed had been
moved to a different room because that room was turned into a second
nursery room. Rachel and I actually got to sleep on it while visiting Ottawa.
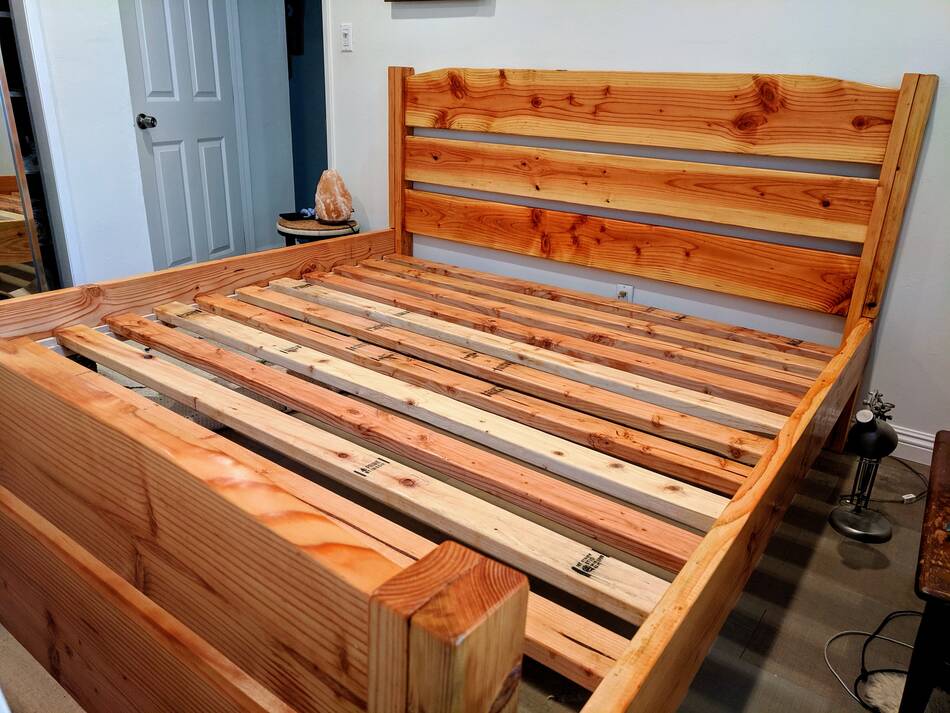
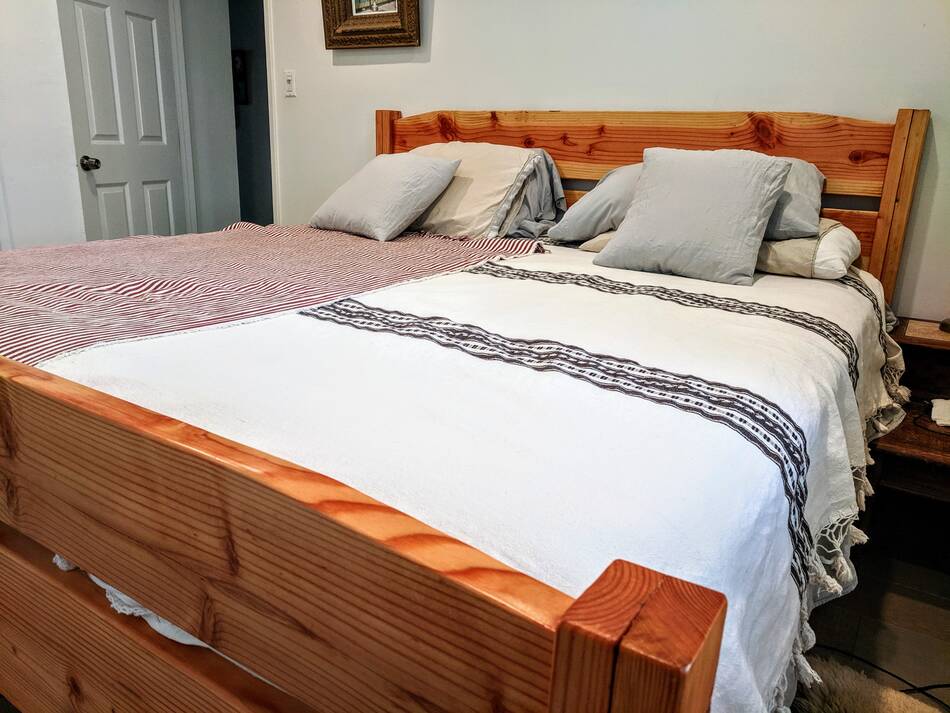
Mike White sent me pictures of his king size bed, built the same way.
He says "I finished it with boiled linseed oil, a little shallac, and wax."
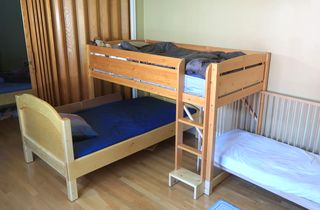 Right angle bunk bed (video)
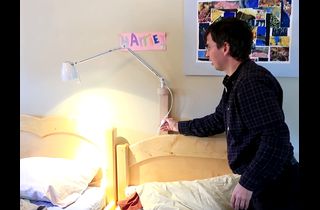 Behind headboard lamp stand #shorts
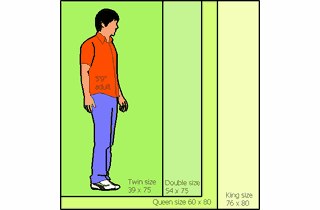 Bed sizes comparison twin, double, queen, king
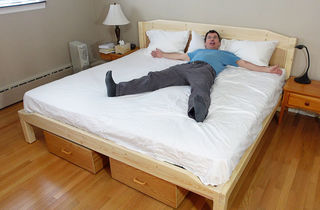 Building a king size bed
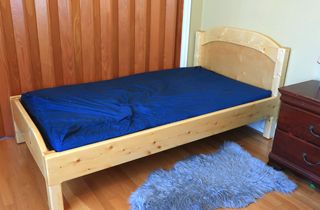 Single bed build from construction lumber
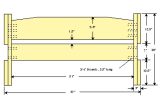 Bed plans
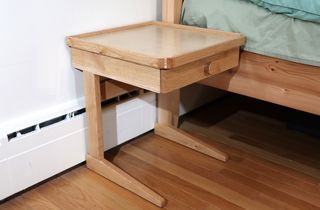 Building nightstands
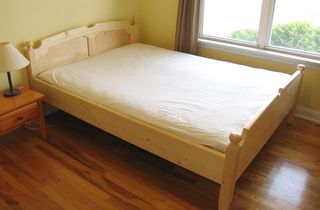 Fancy queen size
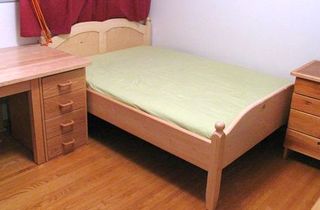 Another bed build
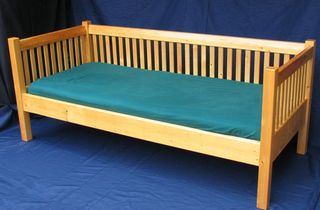 Building a daybed
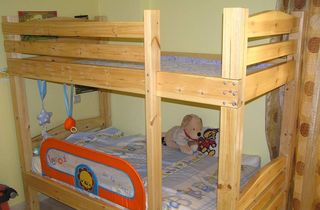 Giorgos's bunk bed build