 I want to build a dedicated router table so that I would have
a place to mount my tilting router lift
to again.
I want to build a dedicated router table so that I would have
a place to mount my tilting router lift
to again.
I want to build a dedicated router table so that I would have
a place to mount my tilting router lift
to again.
I drew up a simple drawing in SketchUp to work out the dimensions.
The overall construction of this router table will be similar to a number of other cabinets I built before, such as this workbench or this workbench on wheels or this tool stand or this 7-drawer dresser
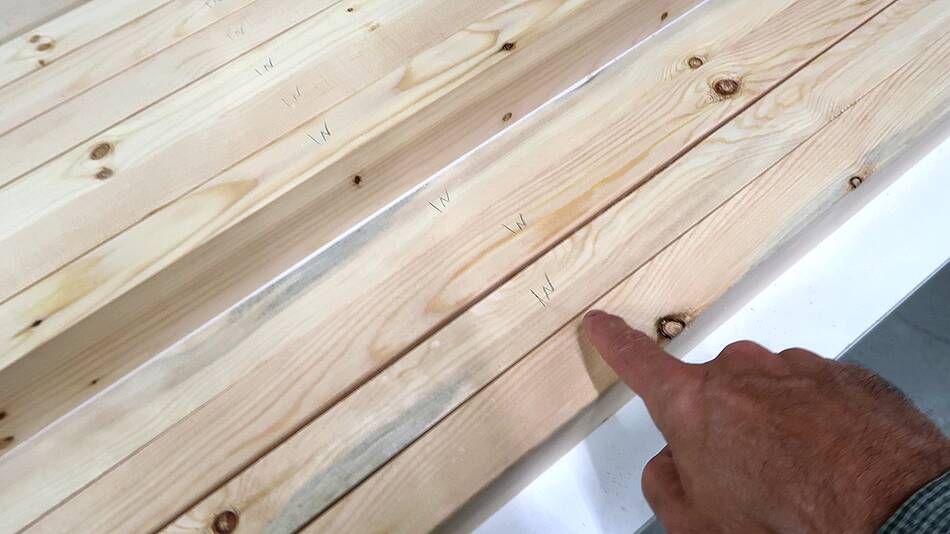 As usual, I'm using construction lumber. I started with some 2x6 material and ripped
that down the middle and planed it on all sides. I ended up with wood that was
65x36 mm. I then identified the nicest edge of each and put that face down,
marking "in" for "inside" on the other sides. The nice surface will
be my reference surface.
As usual, I'm using construction lumber. I started with some 2x6 material and ripped
that down the middle and planed it on all sides. I ended up with wood that was
65x36 mm. I then identified the nicest edge of each and put that face down,
marking "in" for "inside" on the other sides. The nice surface will
be my reference surface.
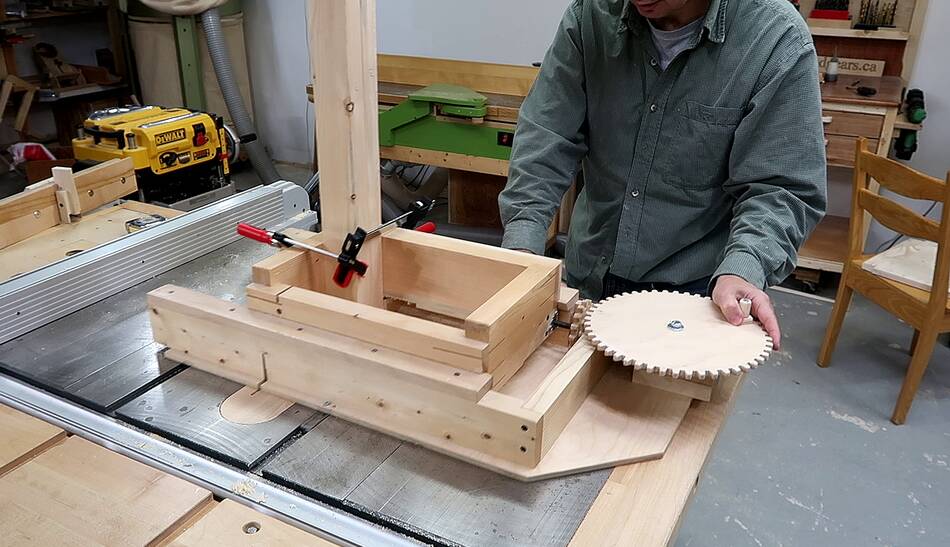 Cutting box joints into the ends of the pieces for the top corners, with the reference
surface against the fence (on the left side of the jig in this picture). I'm cutting 1/4"
wide slots, each made with three cuts with a regular saw blade.
Each turn of the big gear advances the jig by 1/4", and I have the positions for the tree
cuts marked on the gear from the last project, so I didn't need to tweak the setup.
Cutting box joints into the ends of the pieces for the top corners, with the reference
surface against the fence (on the left side of the jig in this picture). I'm cutting 1/4"
wide slots, each made with three cuts with a regular saw blade.
Each turn of the big gear advances the jig by 1/4", and I have the positions for the tree
cuts marked on the gear from the last project, so I didn't need to tweak the setup.
More on cutting joints like this
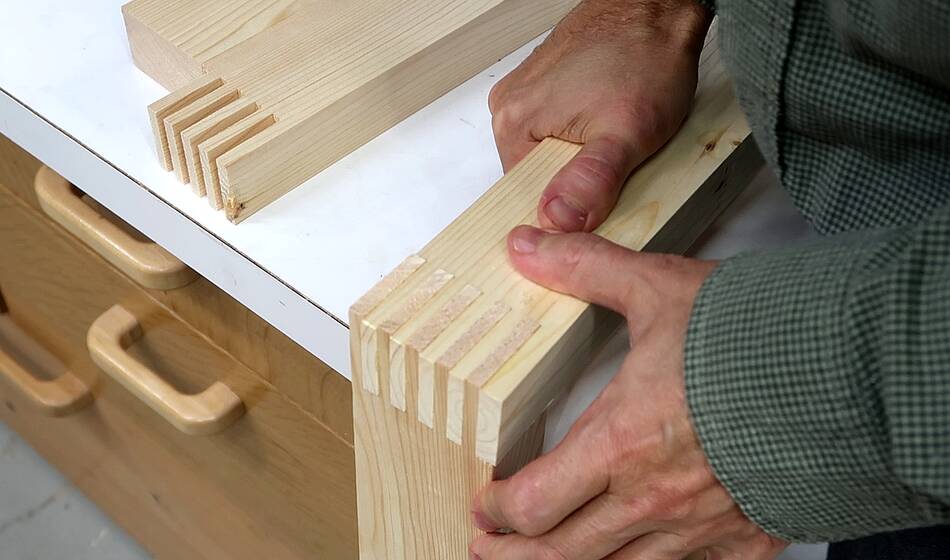 Test fitting a corner joint.
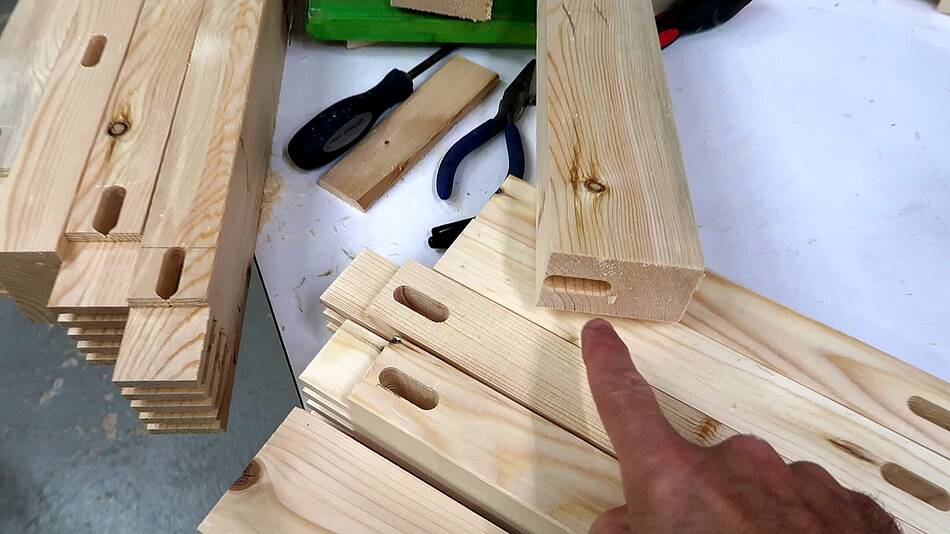
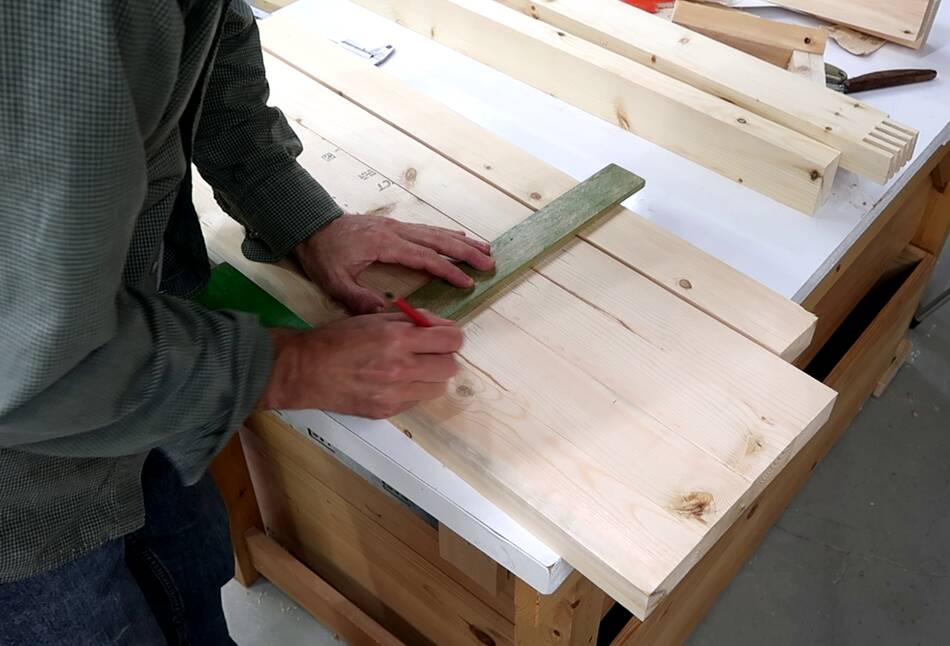 For the T-joints where the horizontal members meet the vertical parts, I'm going
to cut a series of 1/4" mortises. Here marking the location for these mortises
For the T-joints where the horizontal members meet the vertical parts, I'm going
to cut a series of 1/4" mortises. Here marking the location for these mortises
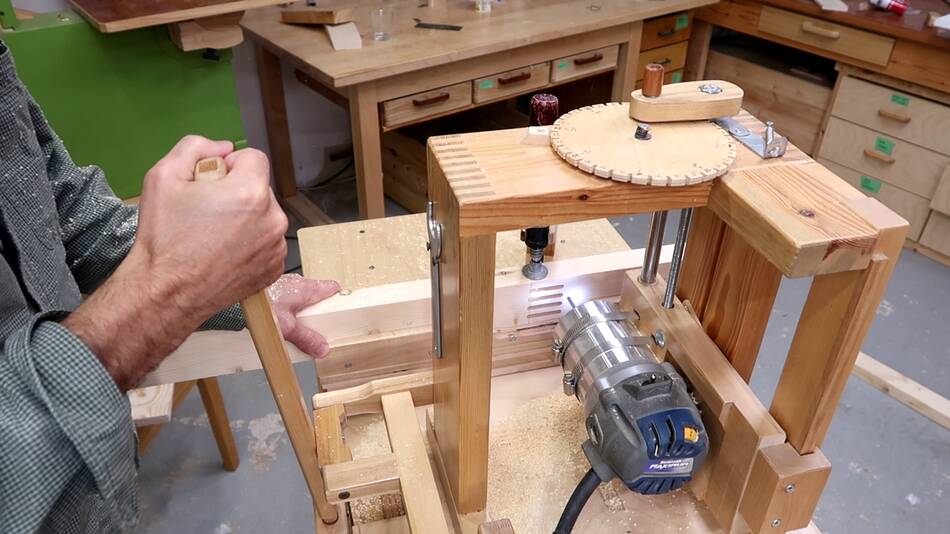 Then using my slot mortiser to
cut the mortises. Four mortises side-by-side.
Then using my slot mortiser to
cut the mortises. Four mortises side-by-side.
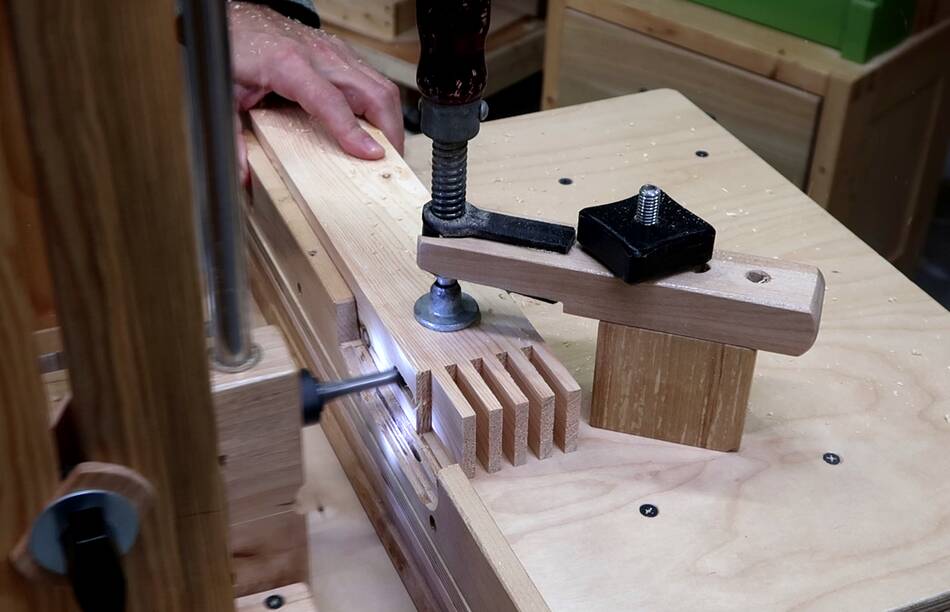
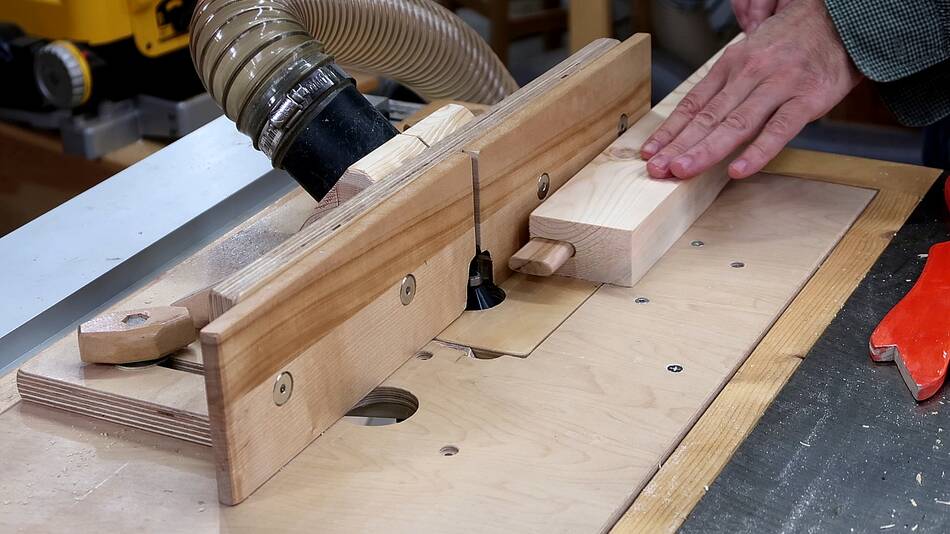
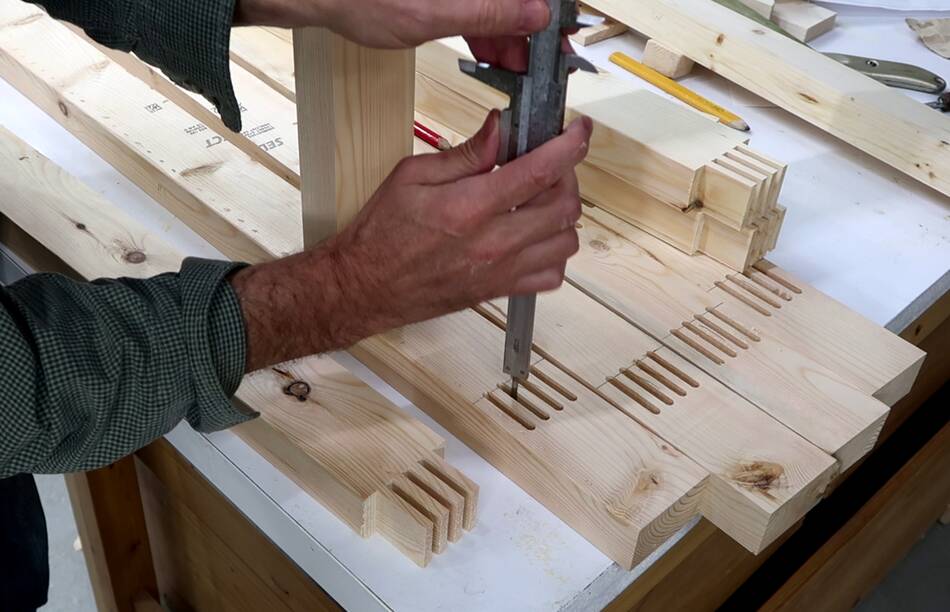 I cut the tenons for these mortises on my box joint jig the same way that I
cut the top corner joints. But the mortises don't go all the way through,
so now I need to shorten the tenons to fit the depth of the mortises.
I measure the depth of the cut mortises...
I cut the tenons for these mortises on my box joint jig the same way that I
cut the top corner joints. But the mortises don't go all the way through,
so now I need to shorten the tenons to fit the depth of the mortises.
I measure the depth of the cut mortises...
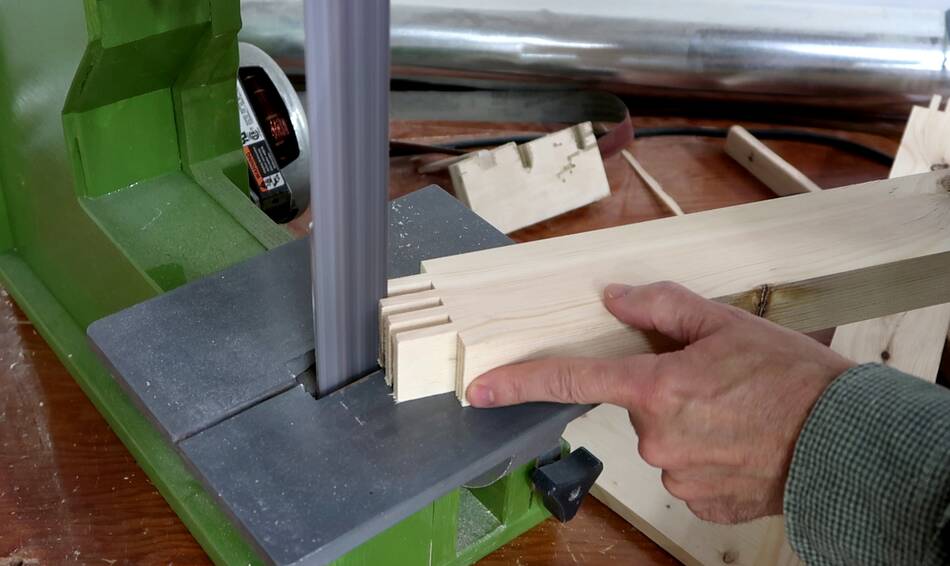
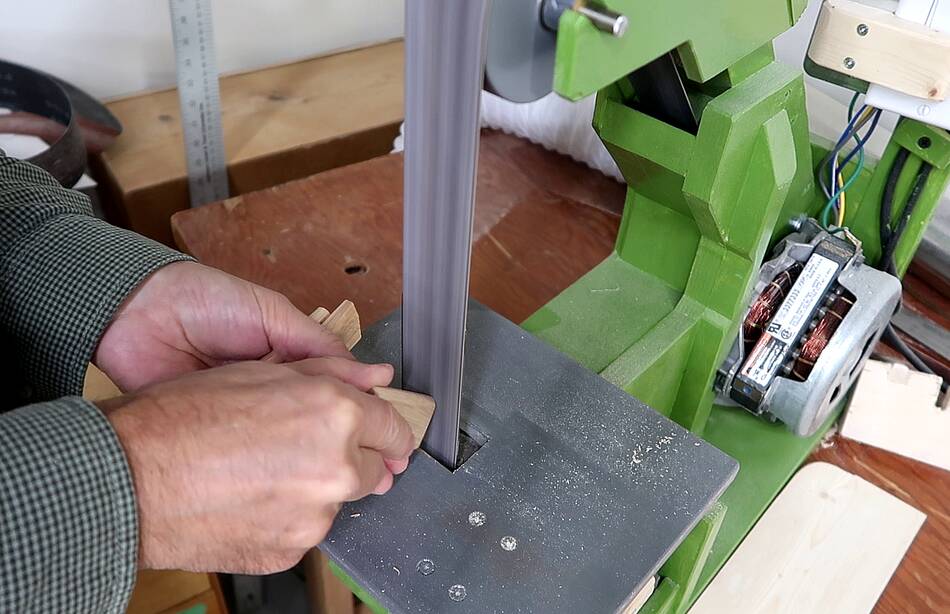
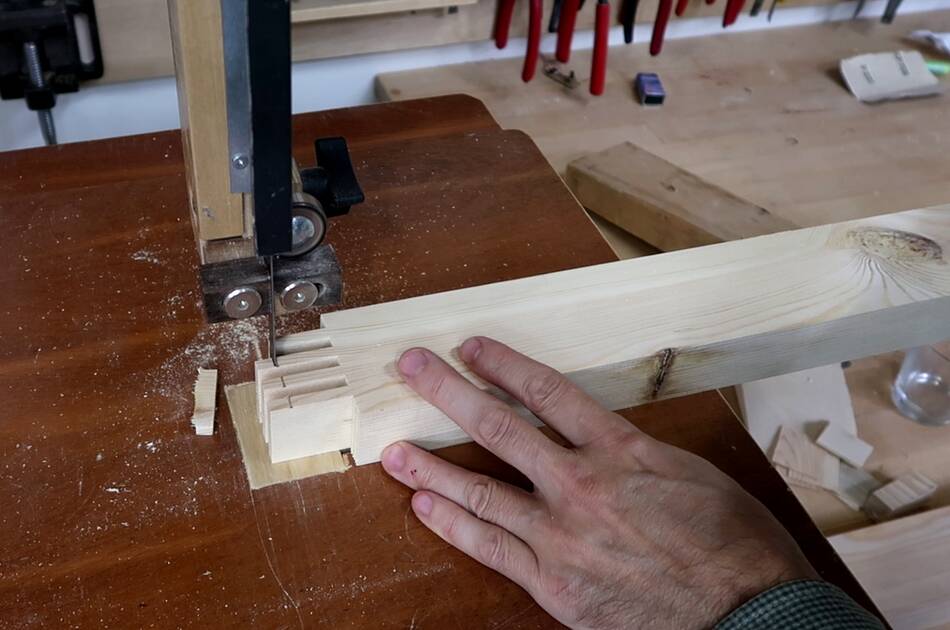 ... then cut them to length on the bandsaw.
 That left some burrs on the corners, which I cleaned up with my
strip sander XL.
That left some burrs on the corners, which I cleaned up with my
strip sander XL.
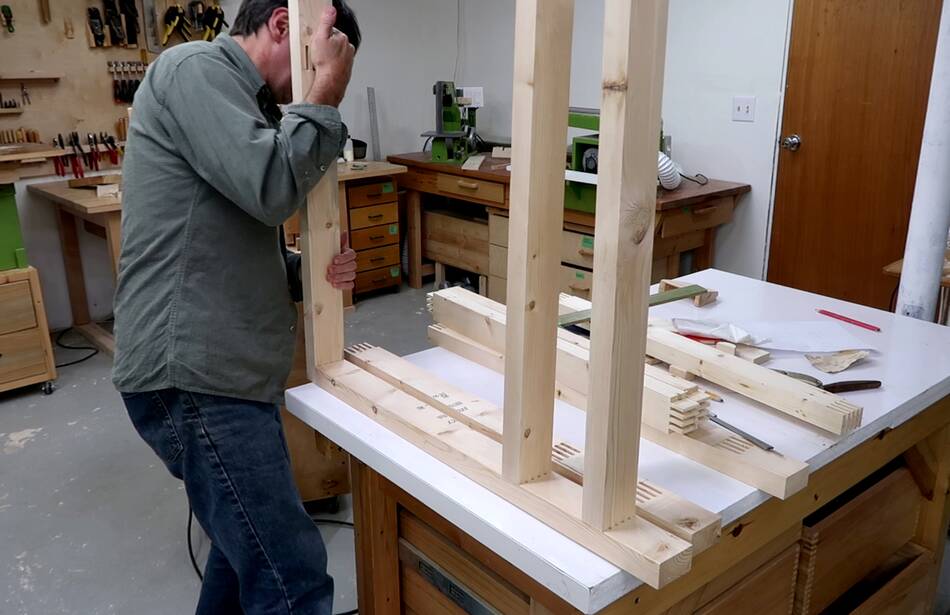 Dry fitting the front and back frames together.
 The frame has an opening at the bottom for a drawer and a large opening at the top
for where the router goes. I want to make the router table be it's own dust collector,
so I will need room for a filter to fit in here. Also lots of room for sawdust
to accumulate before it gets sucked into the router.
The frame has an opening at the bottom for a drawer and a large opening at the top
for where the router goes. I want to make the router table be it's own dust collector,
so I will need room for a filter to fit in here. Also lots of room for sawdust
to accumulate before it gets sucked into the router.
 Next I cut some slot mortises into the pieces of the frame to connect the two
frames together with cross-pieces.
Next I cut some slot mortises into the pieces of the frame to connect the two
frames together with cross-pieces.
 This is one of the pieces to connect the front and back frames, also with a slot
mortise. I will be using floating tenons to connect those together.
This is one of the pieces to connect the front and back frames, also with a slot
mortise. I will be using floating tenons to connect those together.
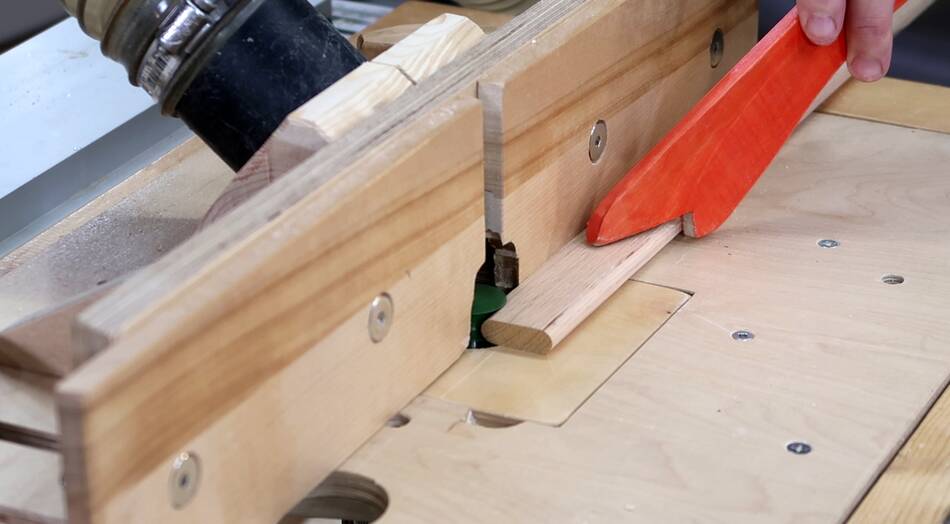 I planed some oak to the same thickness as the width of my slot mortises,
then using a half-round router bit to round both edges.
I planed some oak to the same thickness as the width of my slot mortises,
then using a half-round router bit to round both edges.
 After cutting the floating tenons to length, I'm sanding the edges with
my strip sander. This makes them easier to insert and helps get the glue
between the mortise and tenon as they are pushed in.
After cutting the floating tenons to length, I'm sanding the edges with
my strip sander. This makes them easier to insert and helps get the glue
between the mortise and tenon as they are pushed in.
 A whole lot of floating tenons to fit into a whole lot of mortises.
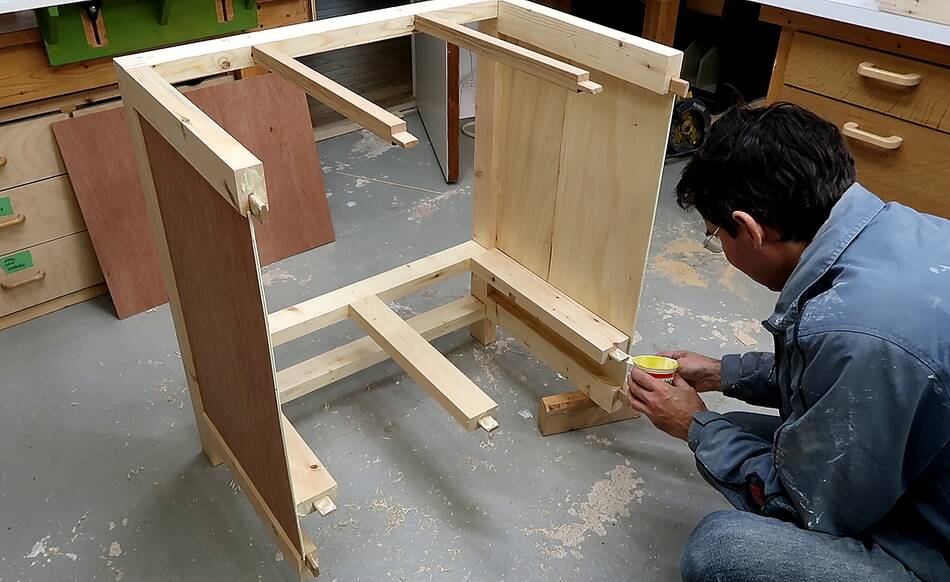
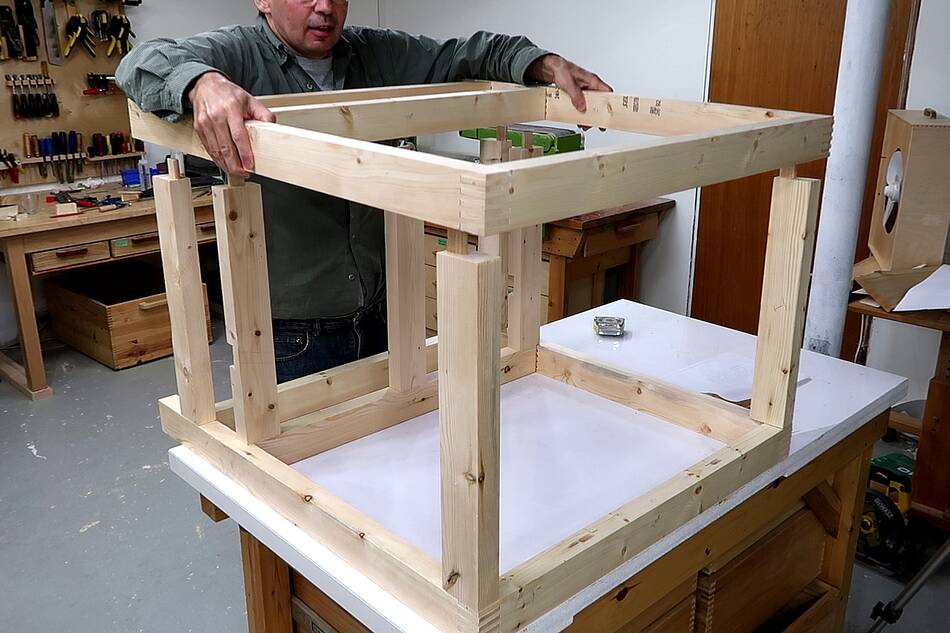 I glued the floating tenons into the ends of my connecting pieces, but then
dry fit the rest of the cabinet together.
I glued the floating tenons into the ends of my connecting pieces, but then
dry fit the rest of the cabinet together.
 Starting to look like a cabinet. But I had to take it all apart again to
cut grooves into the inside edges to fit the plywood side panels in.
Starting to look like a cabinet. But I had to take it all apart again to
cut grooves into the inside edges to fit the plywood side panels in.
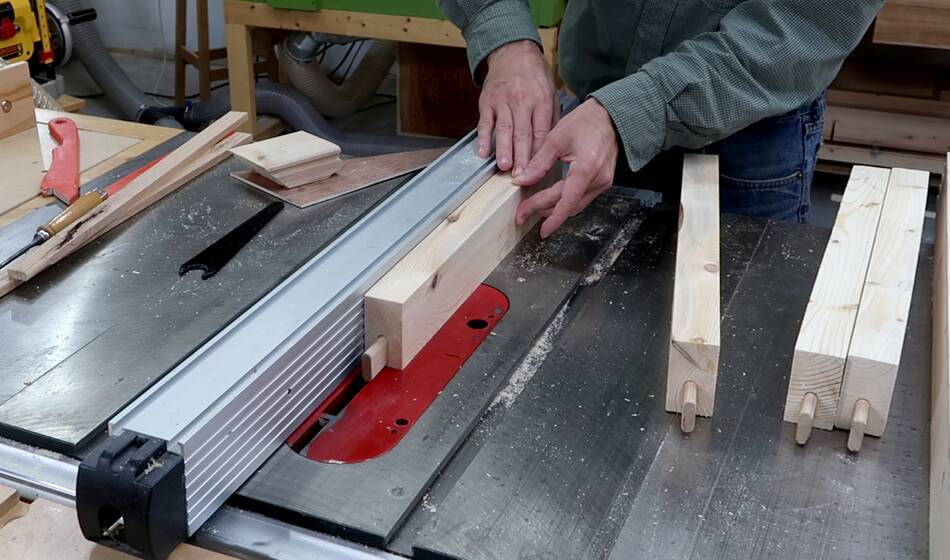 I have two cheap 7 1/4" saw blades stacked in the table saw to cut the
grooves for the 4 mm thick plywood into the front-back connecting pieces.
The connecting pieces already have the floating tenons glued in.
The panel will go in off-center, so the groove just barely misses
the floating tenons.
I have two cheap 7 1/4" saw blades stacked in the table saw to cut the
grooves for the 4 mm thick plywood into the front-back connecting pieces.
The connecting pieces already have the floating tenons glued in.
The panel will go in off-center, so the groove just barely misses
the floating tenons.
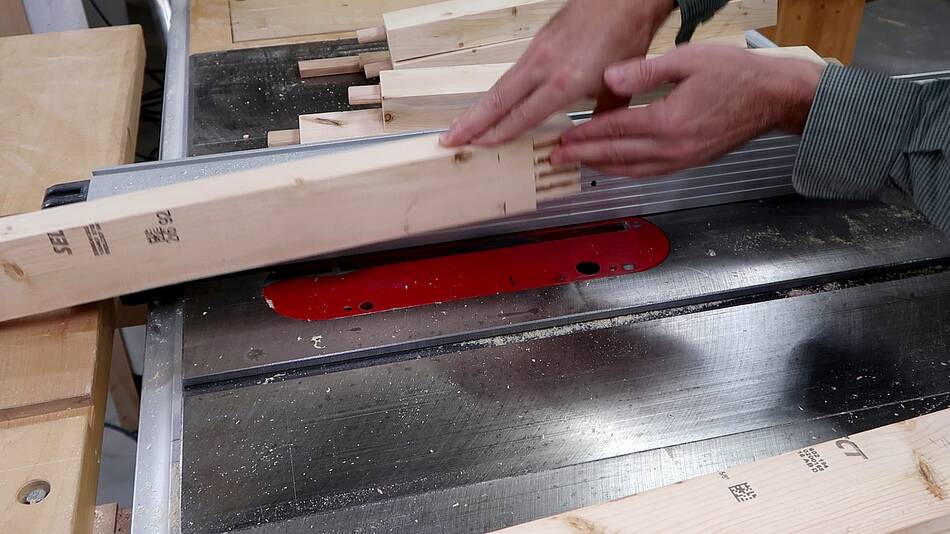 The vertical pieces also need a groove cut in them, but this groove ends
before the top and bottom, so I had to plunge part way in, then lift the
piece off before the end of the cut.
The vertical pieces also need a groove cut in them, but this groove ends
before the top and bottom, so I had to plunge part way in, then lift the
piece off before the end of the cut.
 I also routed a bevel to the edges where the plywood panel goes. The font-back
pieces have the bevel along the whole length. On the vertical pieces the bevel
only goes as far as the panel.
I also routed a bevel to the edges where the plywood panel goes. The font-back
pieces have the bevel along the whole length. On the vertical pieces the bevel
only goes as far as the panel.
 With the cuts for the panels made, I could finally assemble the front and back
frames.
With the cuts for the panels made, I could finally assemble the front and back
frames.
I'm using some long bar clamps to push the joints together. This slow and steady pressing is more effective against the highly viscous resistance from the glue than hitting them with a mallet.
 Lower T-joints going together.
 Then mating with the other vertical piece, three joints need to go together
at the same time.
Then mating with the other vertical piece, three joints need to go together
at the same time.
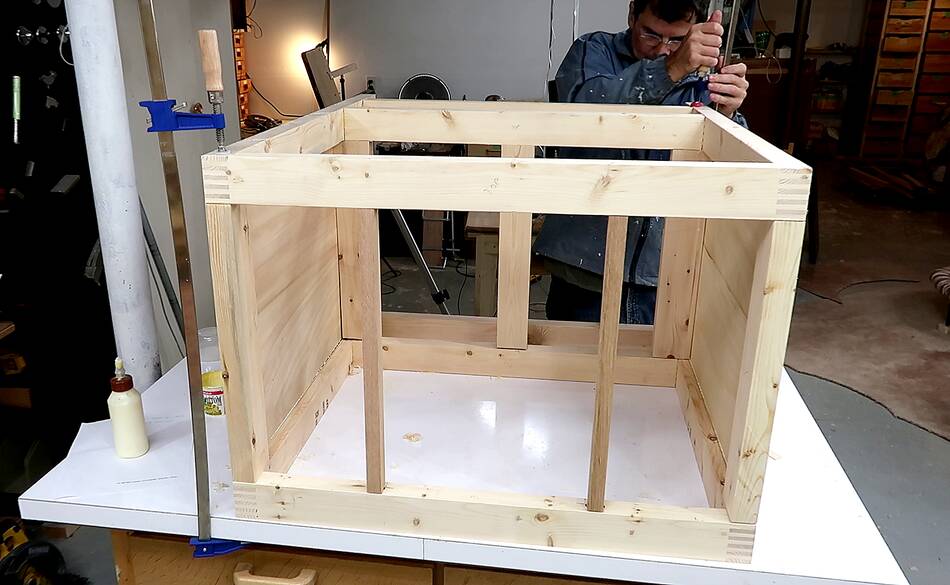
 With the frames assembled, I'm starting to glue the connecting pieces to
one of them.
With the frames assembled, I'm starting to glue the connecting pieces to
one of them.
 Then cutting out the side panels from a big sheet of plywood.
 These panels fit a bit tight, so I sanded the edges on my
belt sander to make a better fit.
These panels fit a bit tight, so I sanded the edges on my
belt sander to make a better fit.
 Slightly beveling the edges also makes it easy to line the panel up with
the slot at the bottom when the panel is pushed all the way in.
Slightly beveling the edges also makes it easy to line the panel up with
the slot at the bottom when the panel is pushed all the way in.
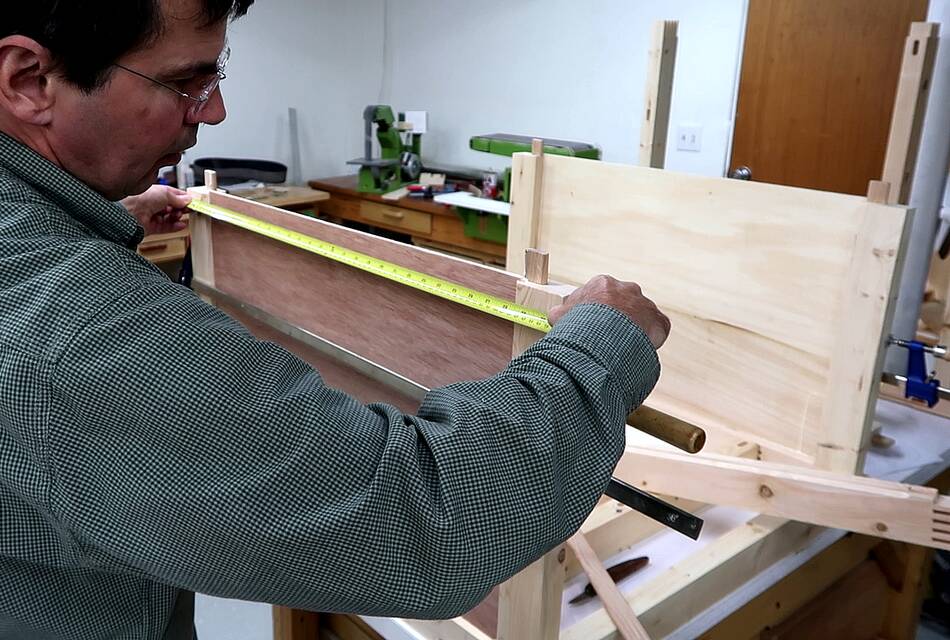 The panel is glued in. Before the glue dries, I make sure the connecting
pieces are parallel. If they aren't, the tenons on the ends would not line
up with the mortises in the other frame.
The panel is glued in. Before the glue dries, I make sure the connecting
pieces are parallel. If they aren't, the tenons on the ends would not line
up with the mortises in the other frame.
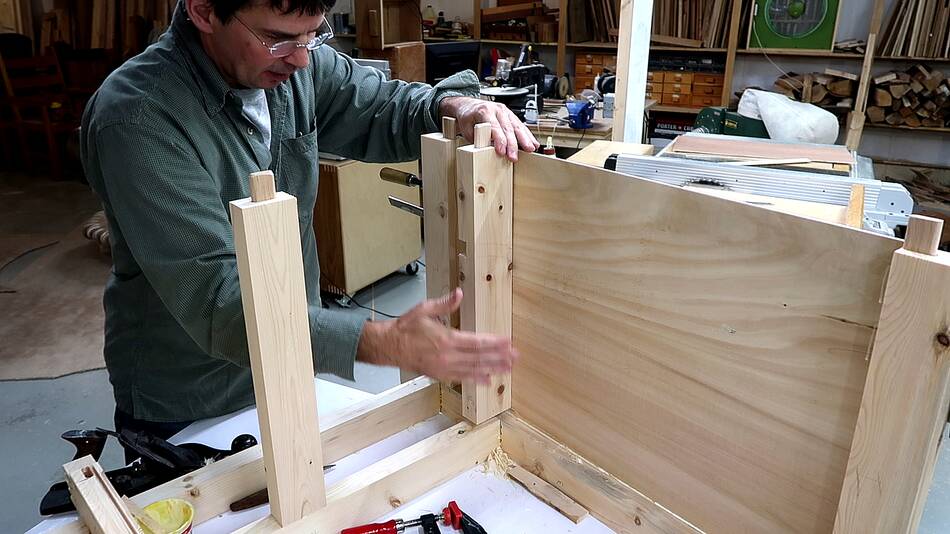 Then gluing in the rest of the connecting pieces. The piece I'm holding
here is one of three that will hold the floor of the main compartment.
Then gluing in the rest of the connecting pieces. The piece I'm holding
here is one of three that will hold the floor of the main compartment.
I had the idea of also gluing it to the side wall to make that connection airtight, but then realized if I did that, and it wasn't perfectly aligned in the vertical direction with the mortise that the other end goes in to, it would be impossible to mate it with the frame that goes on the other end. So I only glued in the mortise side. Disaster averted.
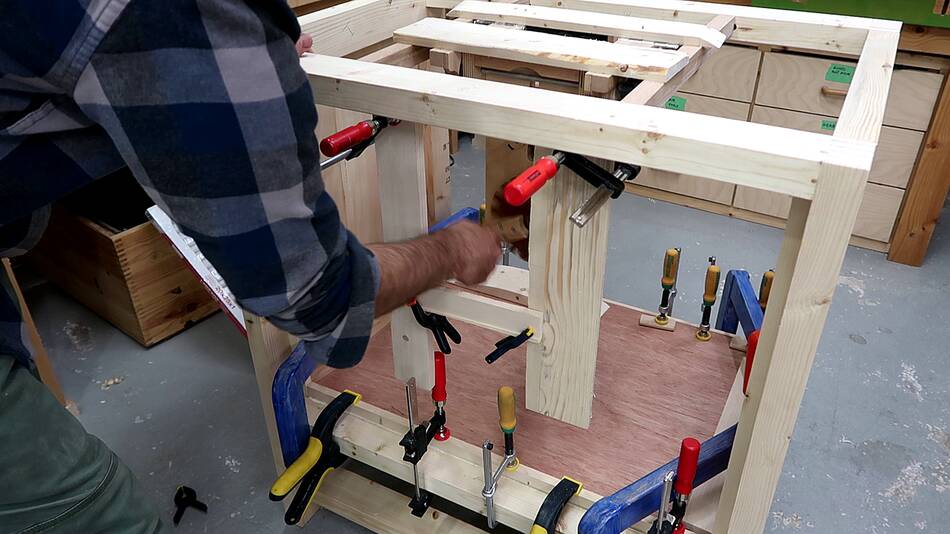
 With all the connecting pieces glued in, I put glue on the exposed tenons...
 ...then mated this with the other frame.
For this sort of thing, I used to just place the lighter part on the bigger part, but it's better to have the mortises on the bottom when mating the parts. It's easier to see that way and glue squeezeout won't run down the wood as much.
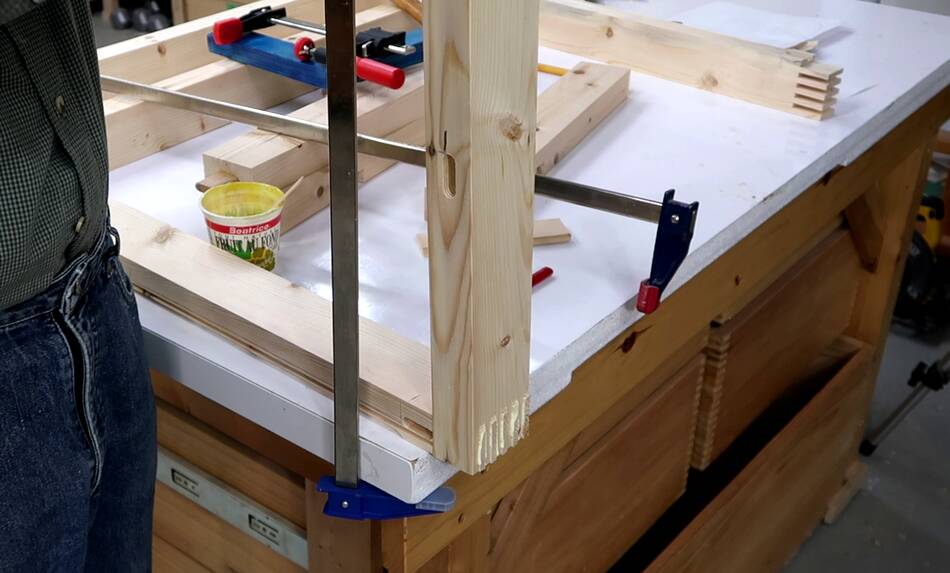
 I used some long clamps, clamping down on the workbench to force the joints
closed. This also ensured that the whole assembly was as flat as the workbench
while doing this.
I used some long clamps, clamping down on the workbench to force the joints
closed. This also ensured that the whole assembly was as flat as the workbench
while doing this.
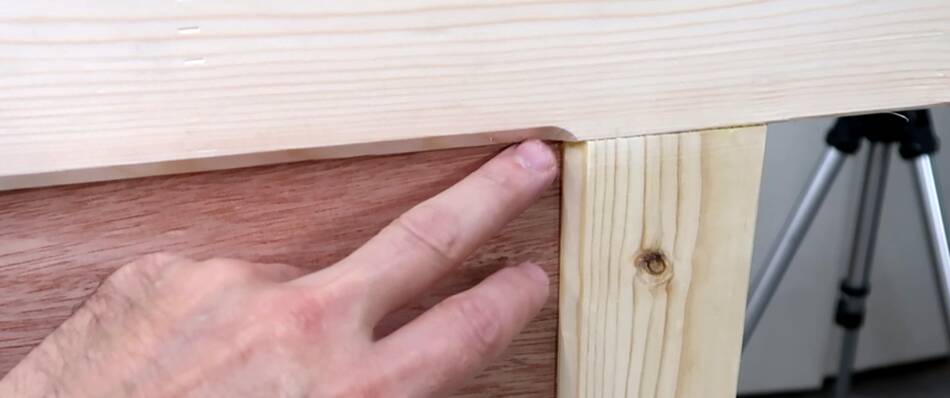 The bevels I routed on the pieces that go around the panels meet up like this.
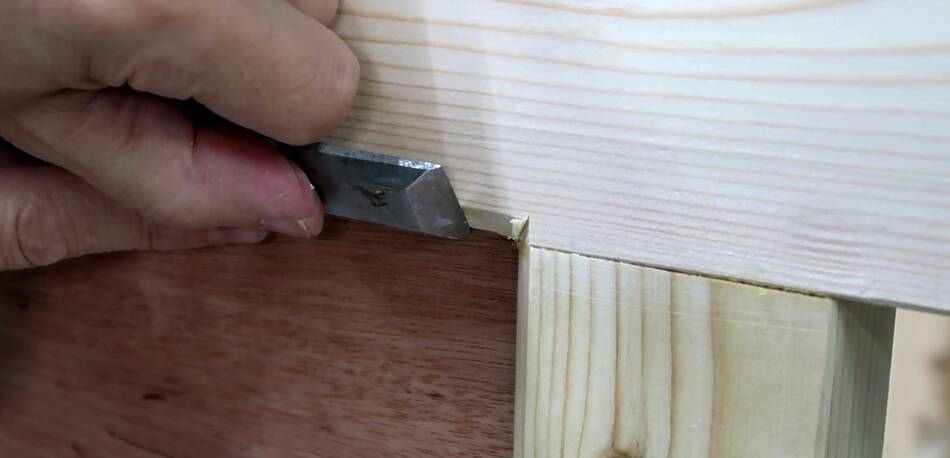 I decided to carve all these square. Although, if I had routed the bevel just
far enough, the rounded end doesn't look bad either. But I was inconsistent in
how far the bevels extended. In two places I had routed too far.
I decided to carve all these square. Although, if I had routed the bevel just
far enough, the rounded end doesn't look bad either. But I was inconsistent in
how far the bevels extended. In two places I had routed too far.
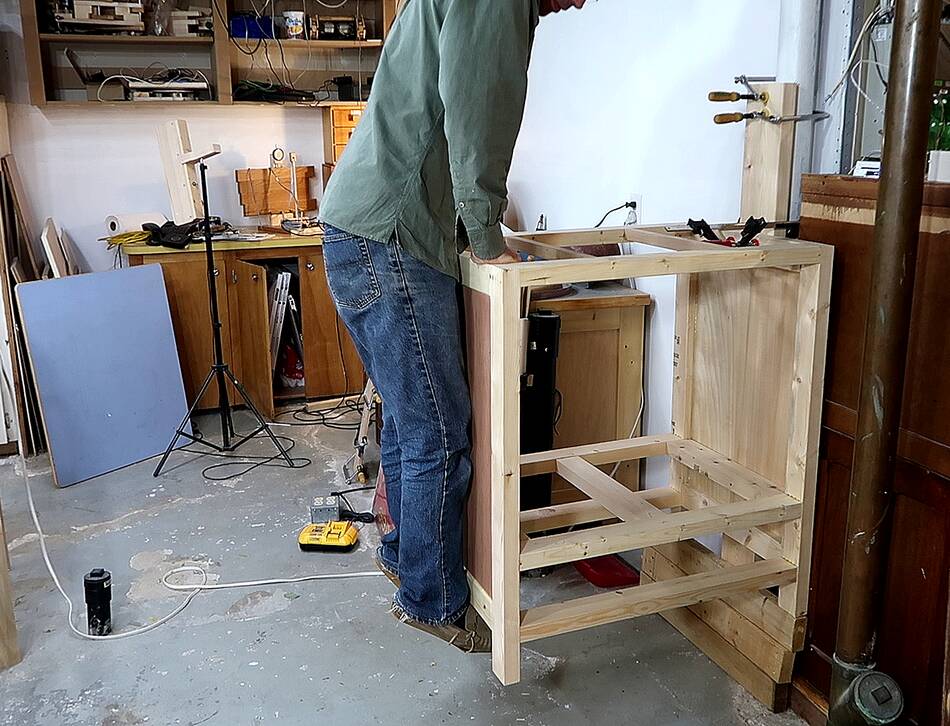 And now for a demonstration of the strength of the joinery. I clamped the
cabinet to a post in the basement, but elevated off the ground
so the legs nearest me aren't supported by anything.
I then put my weight on one side of it. With no bracing, the only thing
resisting racking in this cabinet is the strength of the joinery.
And now for a demonstration of the strength of the joinery. I clamped the
cabinet to a post in the basement, but elevated off the ground
so the legs nearest me aren't supported by anything.
I then put my weight on one side of it. With no bracing, the only thing
resisting racking in this cabinet is the strength of the joinery.
My guess is this would fail at about six times my body weight, so I had plenty of margin for pushing up on it. But I wasn't going to jump test it because the impact load of landing a jump could easily be six times my body weight. And my estimate is only a rough estimate. I didn't want to take the chance.
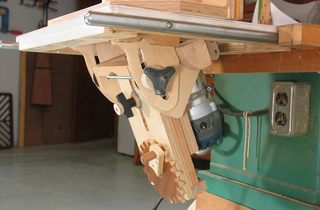
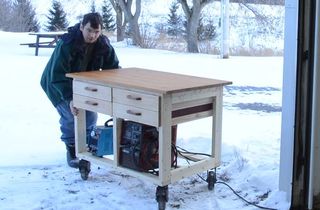
 This cabinet will be for my
tilting router lift, which I'm unscrewing from the wooden table saw wing
that I made for it. I haven't had this mounted on my
old table saw since moving in early 2017.
So it will be nice to be able to use my tilting router lift again.
This cabinet will be for my
tilting router lift, which I'm unscrewing from the wooden table saw wing
that I made for it. I haven't had this mounted on my
old table saw since moving in early 2017.
So it will be nice to be able to use my tilting router lift again.
 I screwed some pieces of scrap to the router lift to hold it where it will go
in the cabinet so I can work out where the access door on the front will go.
I screwed some pieces of scrap to the router lift to hold it where it will go
in the cabinet so I can work out where the access door on the front will go.

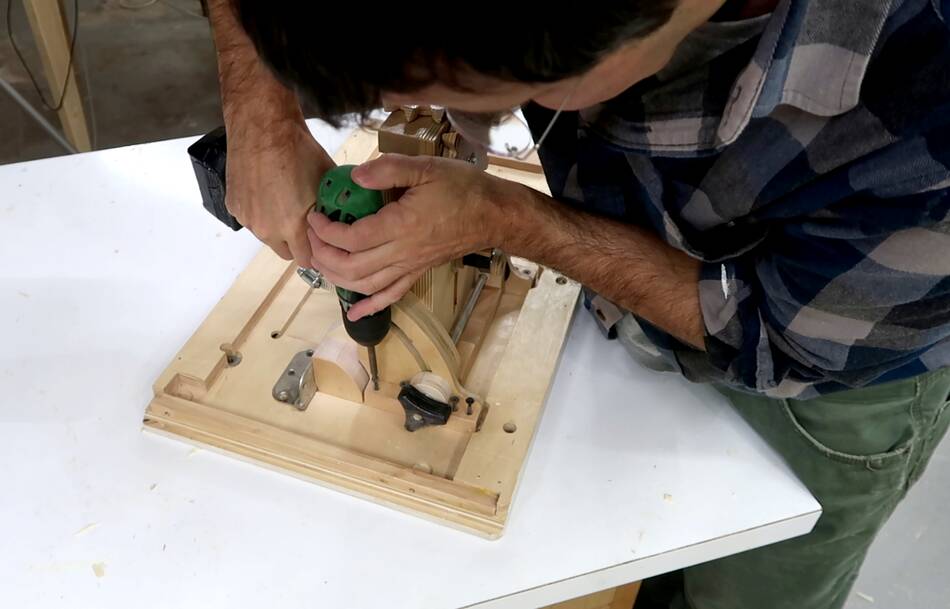
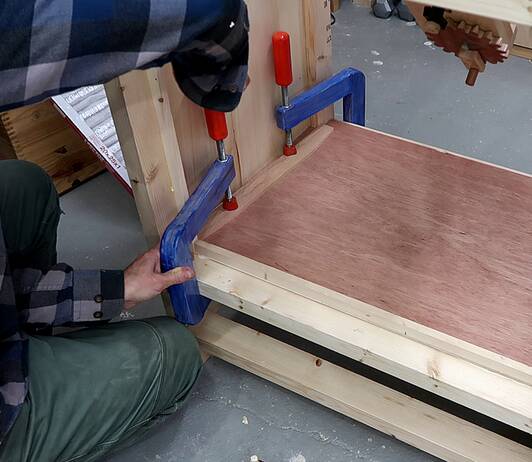 Gluing in a closely fitted plywood bottom. The plywood is only 4 mm thick, which
is why the cabinet frame has a support in the middle. I used my
long reach clamps
to clamp it down while the glue dried.
Gluing in a closely fitted plywood bottom. The plywood is only 4 mm thick, which
is why the cabinet frame has a support in the middle. I used my
long reach clamps
to clamp it down while the glue dried.
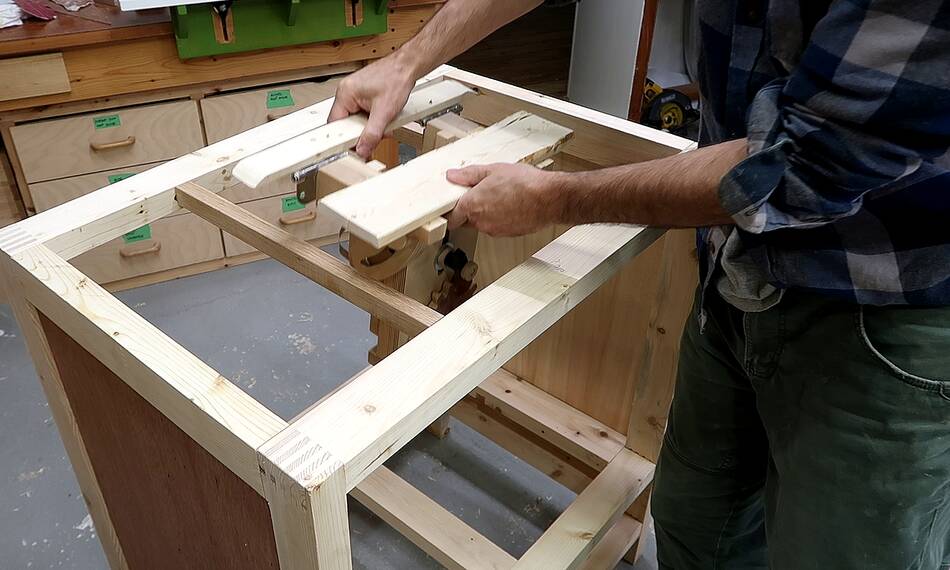
 I temporarily clamped some pieces of wood at the front to figure out how big
a hole I needed to comfortably be able to adjust the router through it.
I temporarily clamped some pieces of wood at the front to figure out how big
a hole I needed to comfortably be able to adjust the router through it.
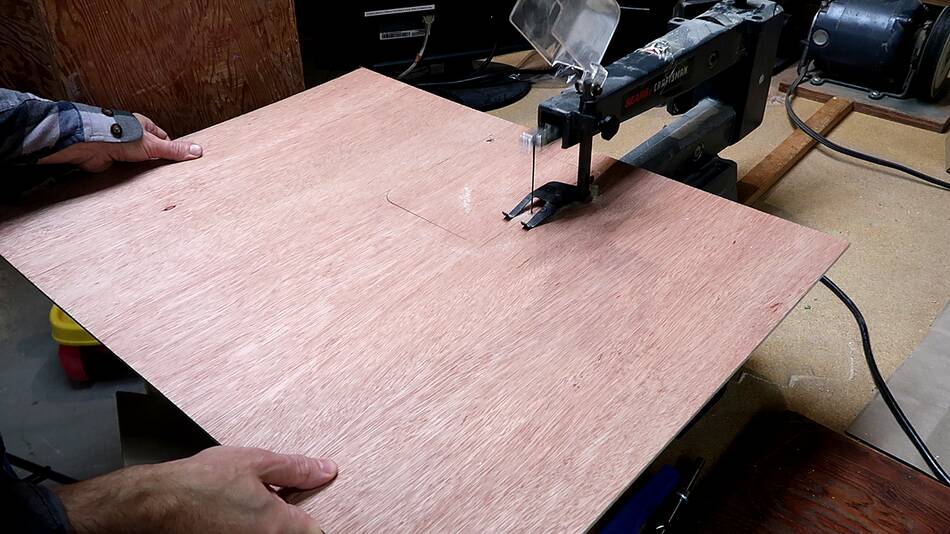 Then cutting a corresponding sized access hole through the front.
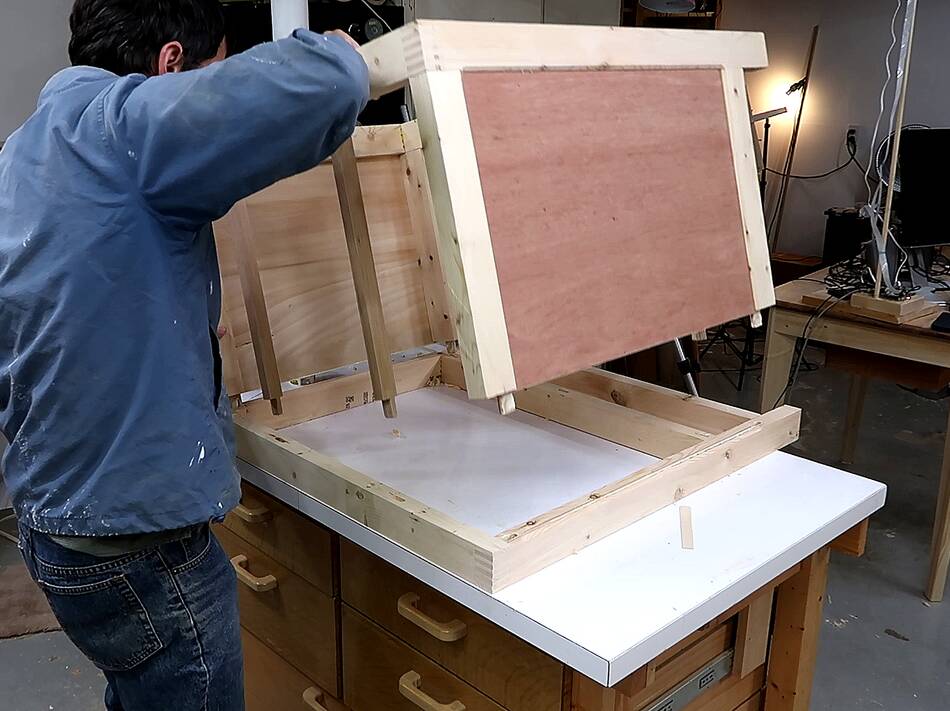
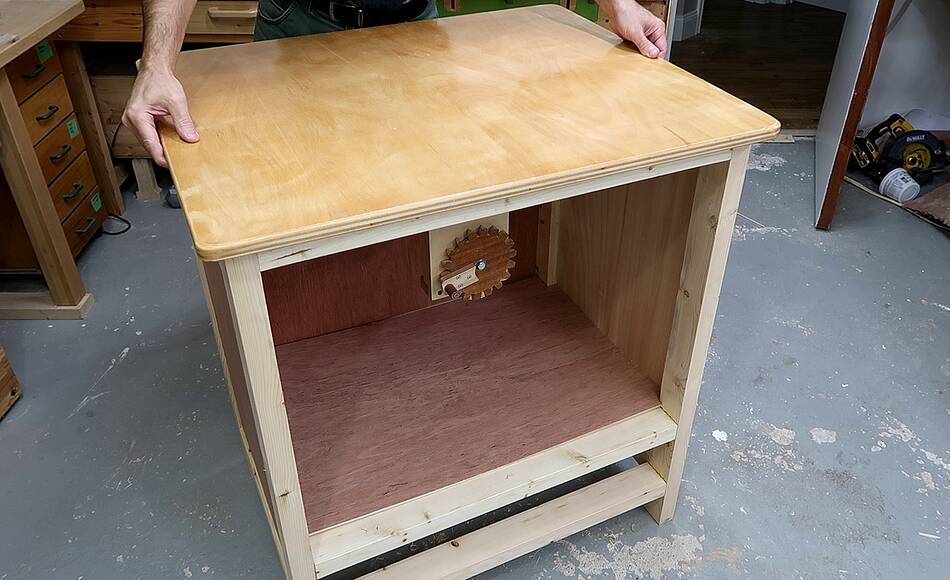 And I'll most likely use this already varnished piece of plywood for the top.
I want to integrate dust collection into this cabinet, with a filter and blower on the back, and an access door on the front. The idea is that even if a dust collector is hooked up to a router table, wood chips accumulate in the box where the router is. So I might as well make that compartment the place where the chips are supposed to go, and suck air out of it through a filter on the back to capture find dust particles from routing.
Next: Building the blower for the integrated dust collection on this router table
 Tilting router lift (2012)
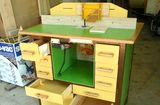 Rudolf's router table
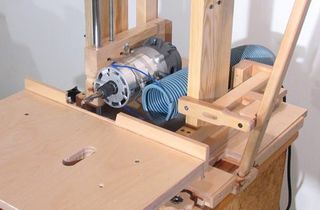 Homemade
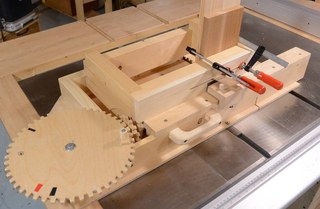 Screw advace
Similar cabinet builds:
 workbench on wheels (2016)
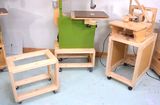 Mobile tool stands (2017)
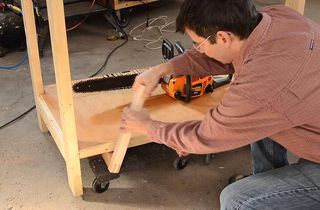 Dolly movable workbench (2018)
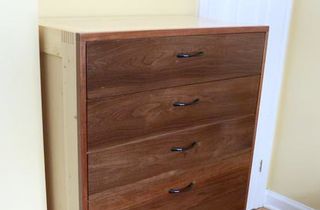 7-drawer dresser (2014)
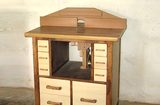 Dejan Kovac's router table
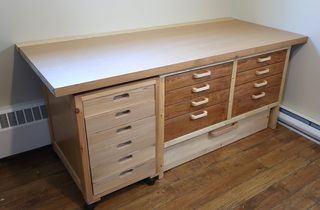 Workbench with lots of drawers