 I bought an android tablet a few months ago and ended up using it to shoot
some timelapses of some stuff in the workshop
(example).
I made a quickie bracket to hold it on the tripod.
I bought an android tablet a few months ago and ended up using it to shoot
some timelapses of some stuff in the workshop
(example).
I made a quickie bracket to hold it on the tripod.
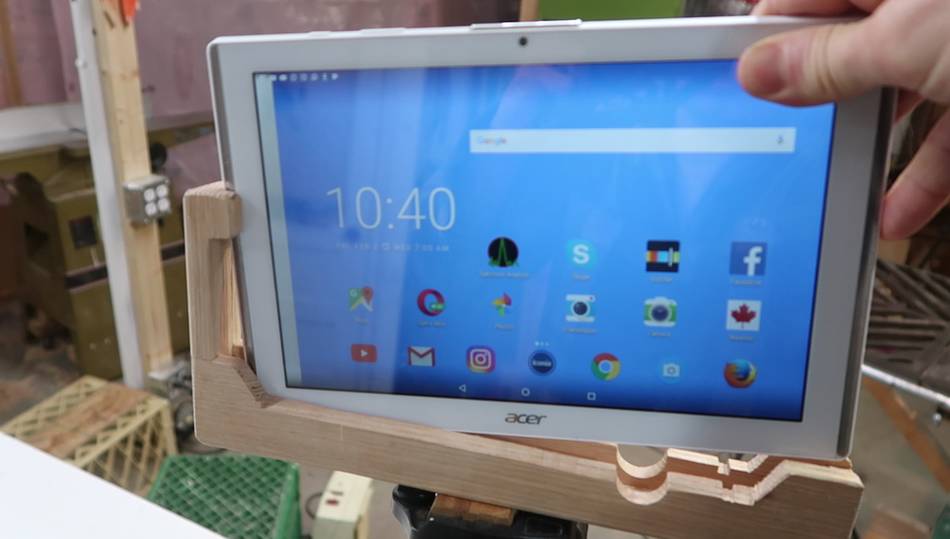
I bought an android tablet a few months ago and ended up using it to shoot
some timelapses of some stuff in the workshop
(example).
I made a quickie bracket to hold it on the tripod.
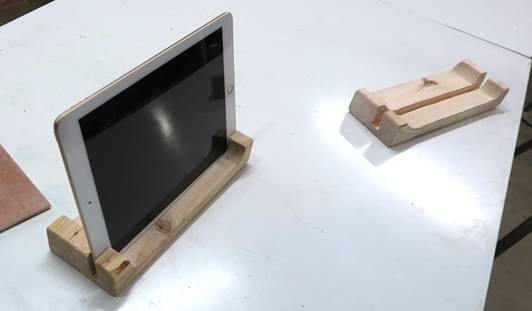
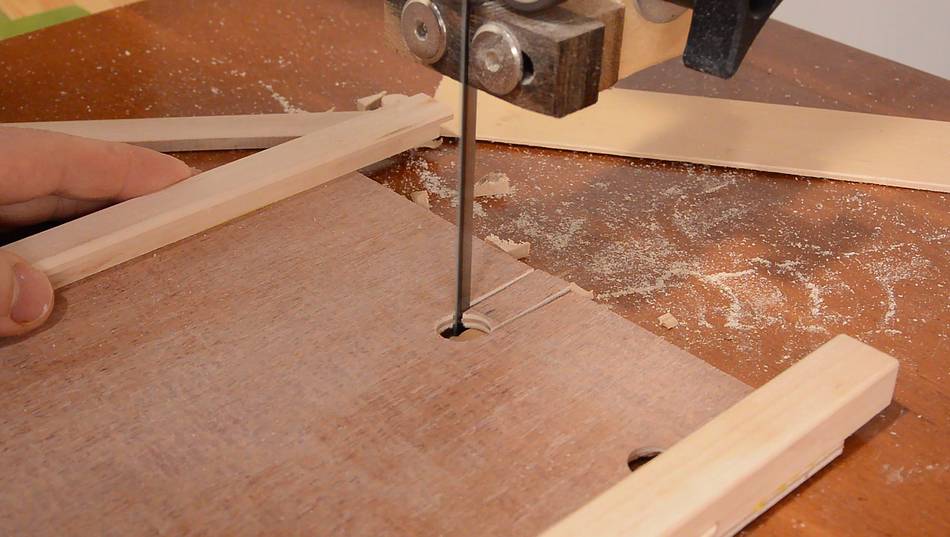
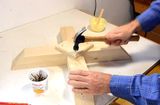
I also made some quickie tablet stands for the tablets by cutting an angled slot in a piece of 2x4, and cutting the middle out with a bandsaw.
The camera on this tablet isn't the greatest, plus I got a scratch on the housing right where the lens is. So I bought an iPad for twice as much money. The camera on that is 8 megapixel instead of 5, behind glass instead of plastic and generally better image quality.
 I wanted to make a tripod mount for the iPad, but I wanted to make sure the tablet
wouldn't fall out or get damaged if I knocked over the tripod (the iPad is
more expensive, and dropped on a concrete floor, the glass would probably break).
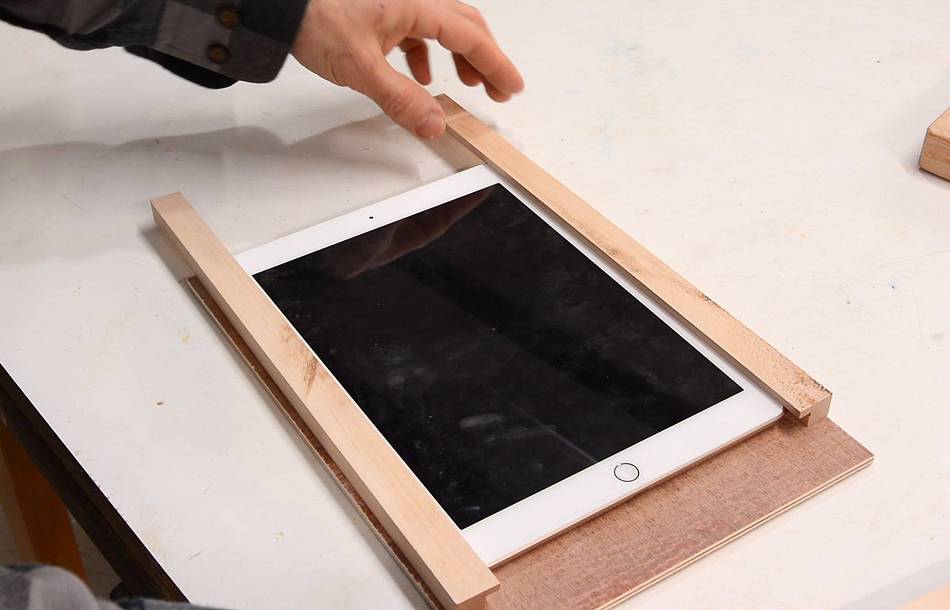
My idea was to have a piece of plywood with L-shaped rails along the edges for it to slide into.
I wanted to make a tripod mount for the iPad, but I wanted to make sure the tablet
wouldn't fall out or get damaged if I knocked over the tripod (the iPad is
more expensive, and dropped on a concrete floor, the glass would probably break).
My idea was to have a piece of plywood with L-shaped rails along the edges for it to slide into.
 The speakers are on the right side, so I cut out part of it there to let the sound
out.
The speakers are on the right side, so I cut out part of it there to let the sound
out.
 I still wanted the buttons on the top of the iPad to be usable, but I didn't want
to cut away that much of the rail, especially near the corner. My first idea
was to use short pieces of dowel through the rail to extend the buttons, but
how to keep the dowels from falling out?
I still wanted the buttons on the top of the iPad to be usable, but I didn't want
to cut away that much of the rail, especially near the corner. My first idea
was to use short pieces of dowel through the rail to extend the buttons, but
how to keep the dowels from falling out?
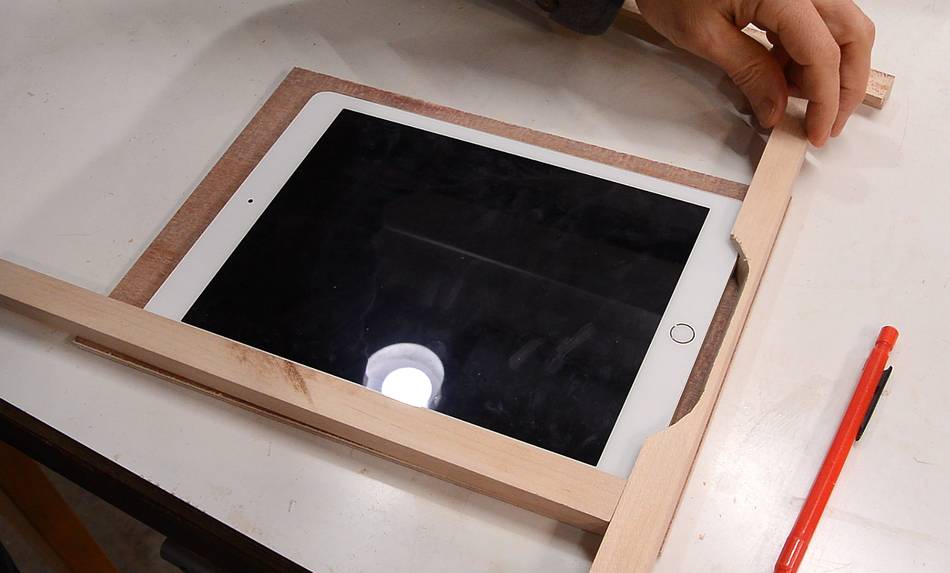
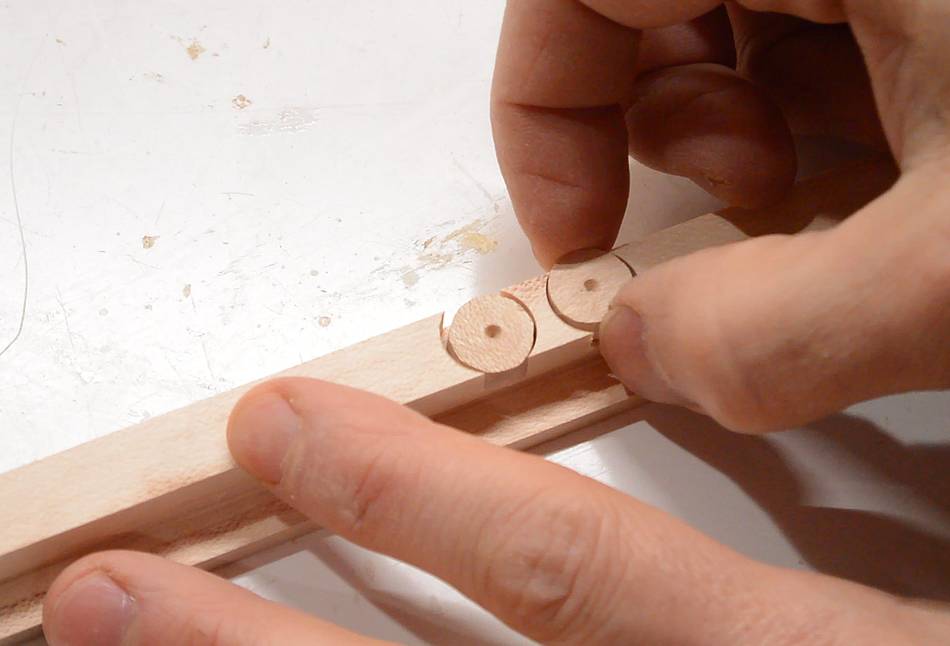
Then I had the idea of making little circular disks that sit in holes in the side of the rail.
 Gluing on the rails.
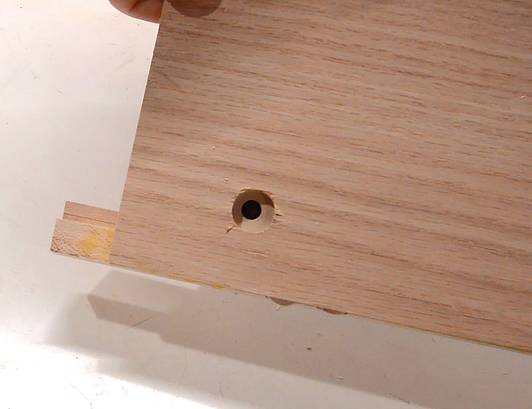 I also drilled a hole for the camera and cut a slot for where the second microphone
hole is on the back of the iPad.
I also drilled a hole for the camera and cut a slot for where the second microphone
hole is on the back of the iPad.
I later bevelled the edges of the camera hole a bit with a knife and painted the edged of the wood black so reflections wouldn't contribute to camera lens flare.
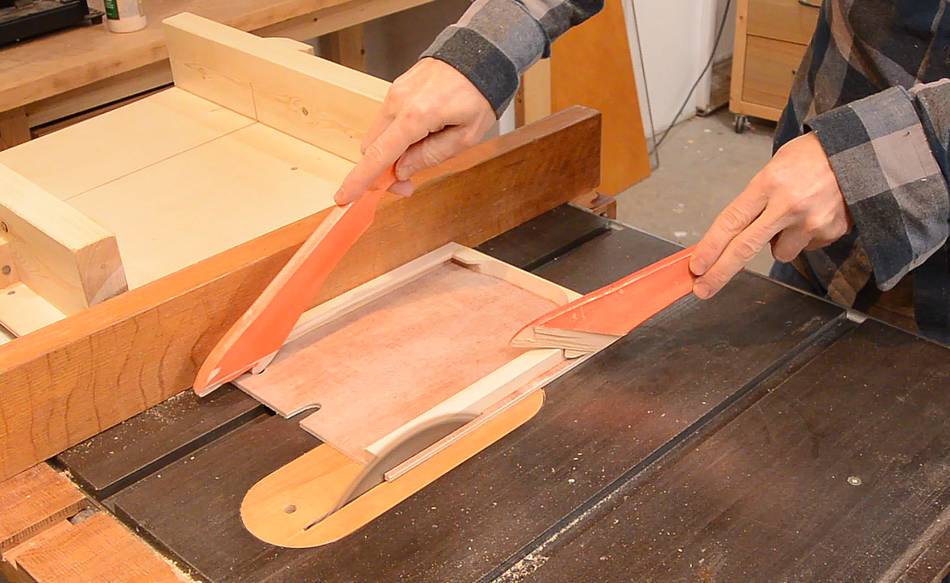 Then trimming the holder to its final size.
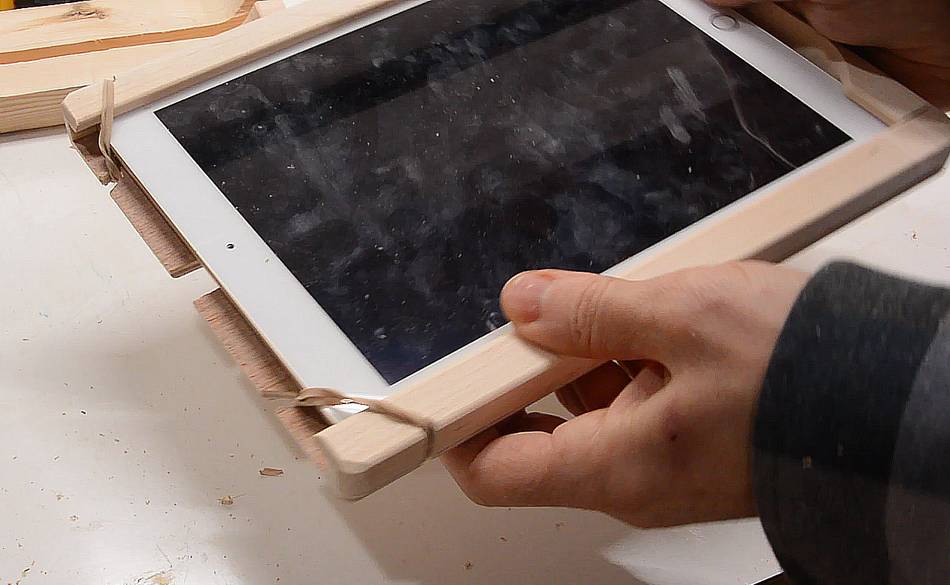
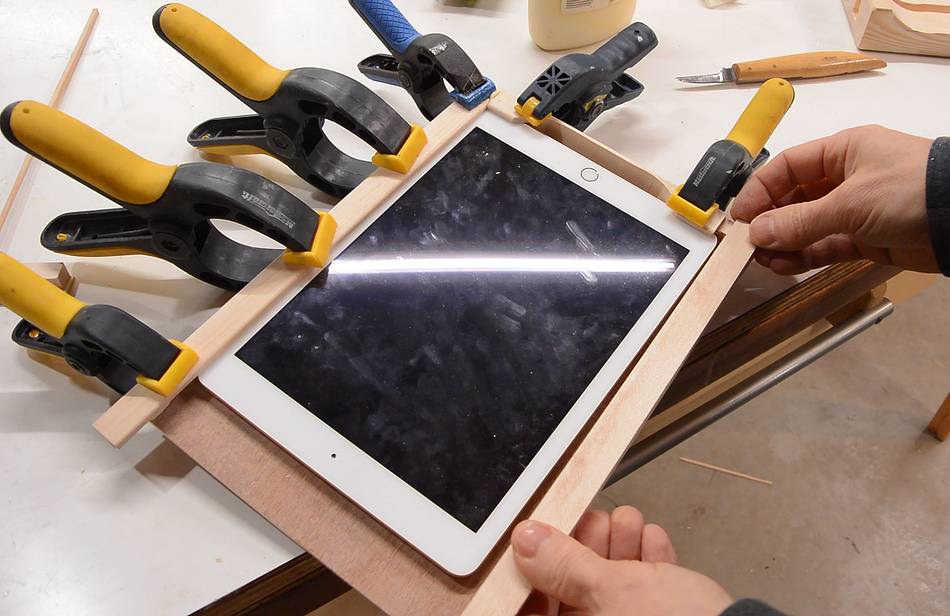
 I cut some notches in the corners to put rubber bands on to keep the iPad from
sliding out to the side.
I cut some notches in the corners to put rubber bands on to keep the iPad from
sliding out to the side.
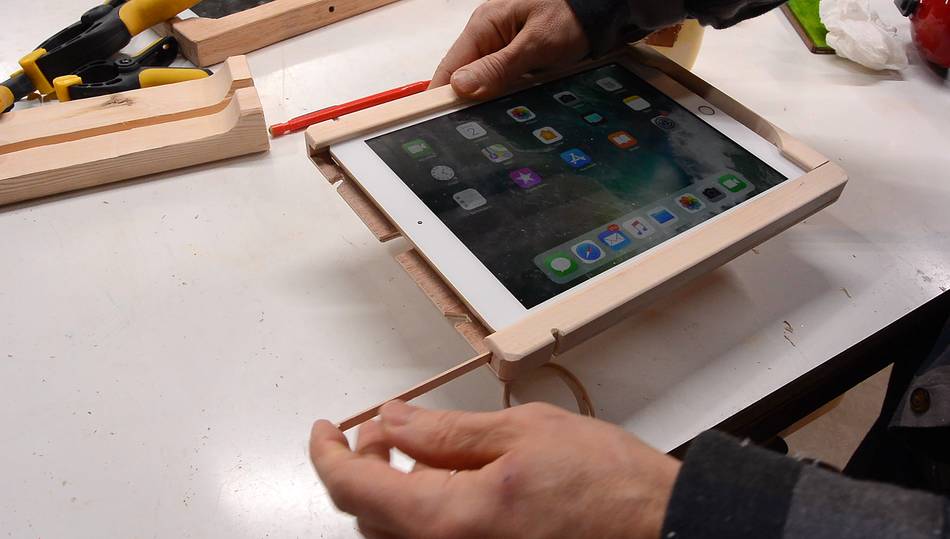 Trying it out, my wooden button extensions didn't work. I had 1 mm of play
for the iPad in the holder, and the little wooden disks couldn't move far enough to reach
the buttons. So I made a shim to tighten up the iPad's fit. I glued that shim on just with
glue stick in case I need to make adjustments later.
Trying it out, my wooden button extensions didn't work. I had 1 mm of play
for the iPad in the holder, and the little wooden disks couldn't move far enough to reach
the buttons. So I made a shim to tighten up the iPad's fit. I glued that shim on just with
glue stick in case I need to make adjustments later.
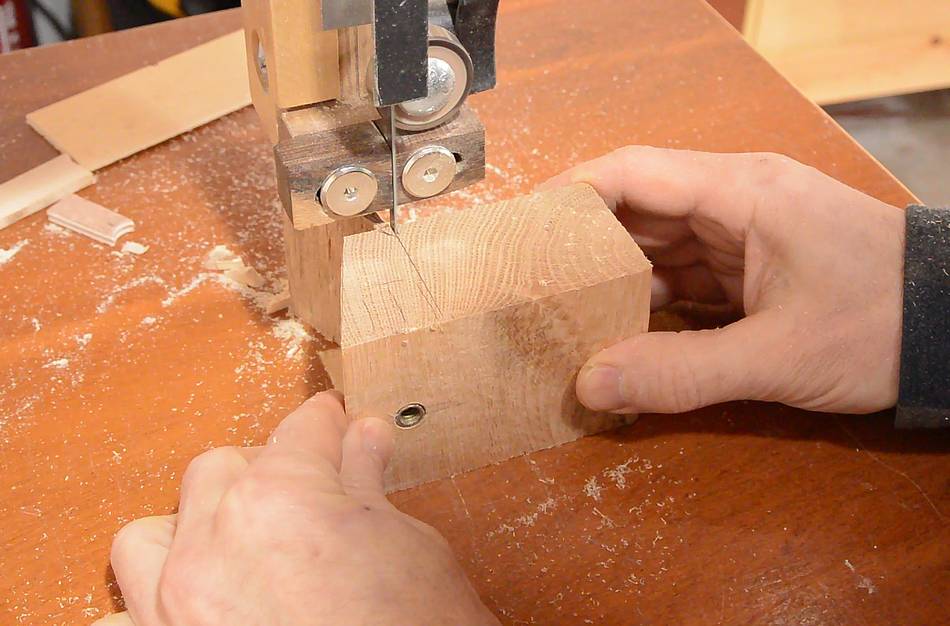
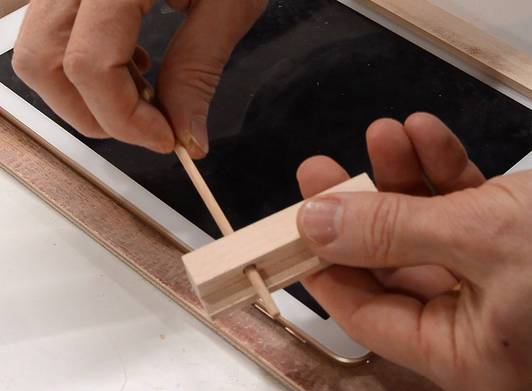
 On the previous tablet holder I just tapped the 1/4-20 thread for the tripod mount
straight into the wood like this,
but I happened to have some 1/4" threaded inserts of the right size kicking
around, so I just used on of those.
On the previous tablet holder I just tapped the 1/4-20 thread for the tripod mount
straight into the wood like this,
but I happened to have some 1/4" threaded inserts of the right size kicking
around, so I just used on of those.
After installing the insert in a block of wood, I cut it to the right shape...
 ... then glued it onto the back of the holder.
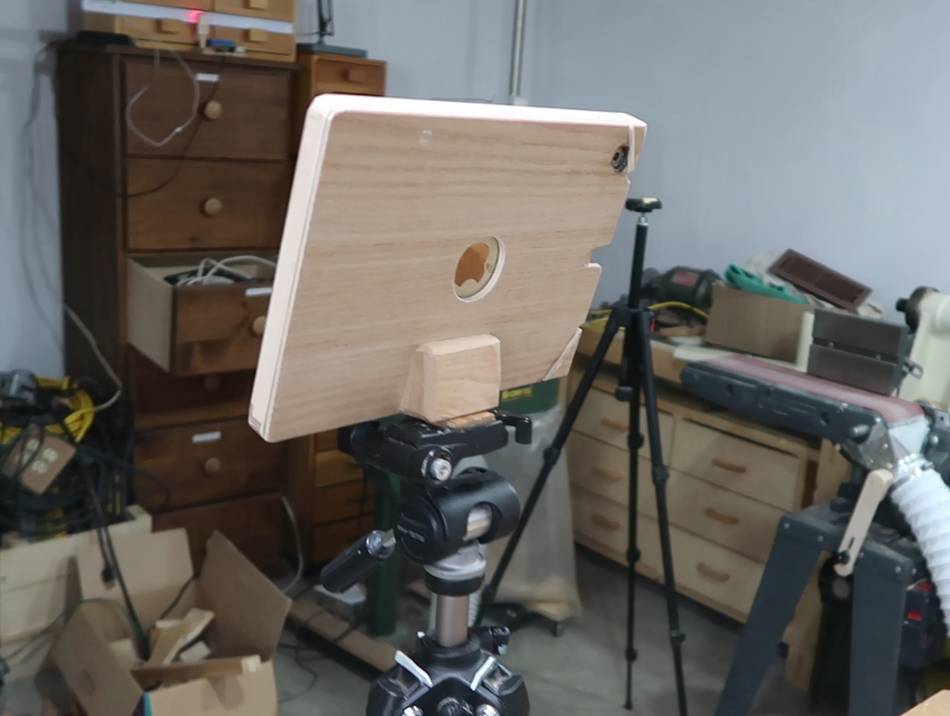
 Then I realized I forgot the most important feature of any sort of apple product holder
— a hole for the logo. What's the point of paying all that extra money for an
Apple product if you can't show off the logo?
Then I realized I forgot the most important feature of any sort of apple product holder
— a hole for the logo. What's the point of paying all that extra money for an
Apple product if you can't show off the logo?
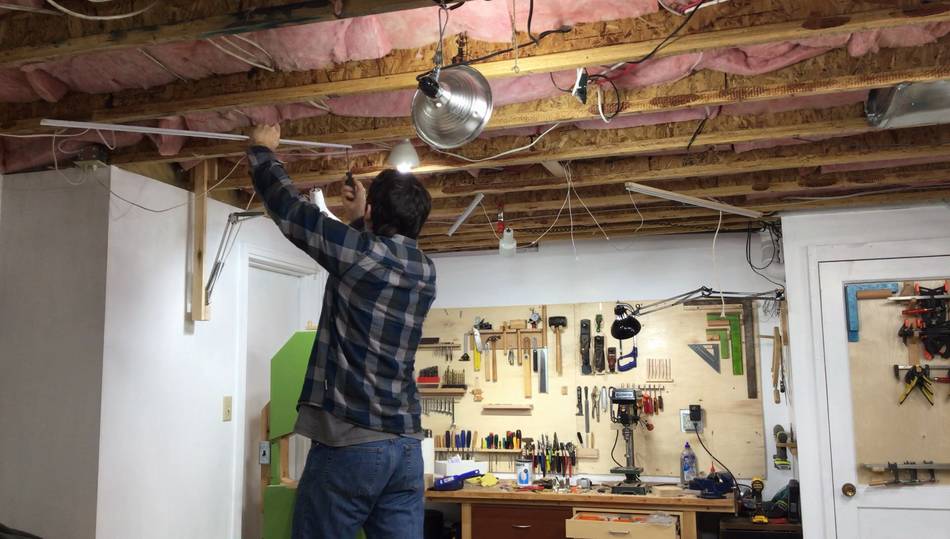
 And here the iPad holder is in use, for shooting a timelapse of installing more
lights on the ceiling in this basement workshop I set up so I don't have to
heat the big garage workshop on cold winter days.
And here the iPad holder is in use, for shooting a timelapse of installing more
lights on the ceiling in this basement workshop I set up so I don't have to
heat the big garage workshop on cold winter days.
 I'm using some LED strip retrofit kits
from americangreenlights.com. I was sent a bunch of these for old shop in 2015
in exchange for a video and writing about them.
They offered to send me more for my new shop in exchange for another video,
but I'm not into doing product for videos anymore.
I saved the LED strips from my
old shop when we moved and still had just enough for
this shop and my big garage shop. But every time I show some of these strips, like in
this video I get asked
what LED strips these are. These LED retrofit strips are more expensive than the
ones you could buy at a typical hardware store, but they are a bit more efficient and last
much longer. For commercial applications the extra cost pays for itself
in saved labour for replacing fluorescent bulbs or cheaper LEDs, especially
if the lights are hard to get at. But an annoying feature of them is that it takes about
three seconds for the light to come on after flipping the switch, so I always combine
them with a few LED bulbs that turn on instantly.
I'm using some LED strip retrofit kits
from americangreenlights.com. I was sent a bunch of these for old shop in 2015
in exchange for a video and writing about them.
They offered to send me more for my new shop in exchange for another video,
but I'm not into doing product for videos anymore.
I saved the LED strips from my
old shop when we moved and still had just enough for
this shop and my big garage shop. But every time I show some of these strips, like in
this video I get asked
what LED strips these are. These LED retrofit strips are more expensive than the
ones you could buy at a typical hardware store, but they are a bit more efficient and last
much longer. For commercial applications the extra cost pays for itself
in saved labour for replacing fluorescent bulbs or cheaper LEDs, especially
if the lights are hard to get at. But an annoying feature of them is that it takes about
three seconds for the light to come on after flipping the switch, so I always combine
them with a few LED bulbs that turn on instantly.
 Simple light stands
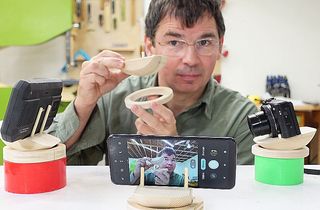 Simple camera or phone aiming platform, replaces tripod
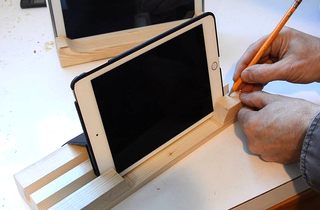 Super simple iPad stand
 LED vs compact fluorescent spectrum
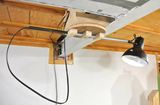 Telescoping ceiling lamp
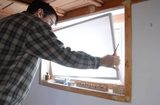 Window light diffuser
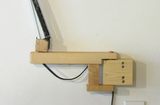 Swing arm lamp
 Homemade tripod
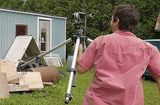 The steadycam you already own (but didn't know)
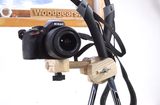 Bipod/tripod from
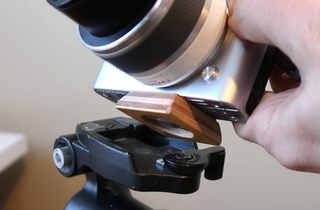 Camera quick release plate for tripod