Elyasaf's tenon jig
 Elyasaf writes:
Dear Matthias,
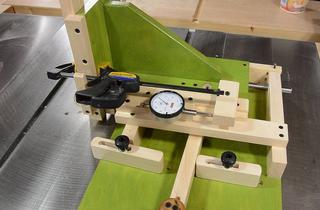
I have completed the quick set tenon jig. As usual, your machines are incredibly smart yet simple, but I guess you are probably tired of compliments by now, so I'll get to the point.
The jig was really fun and challenging to build. The linkage mechanism is very interesting and it is relatively easy to build. Like one of your readers stated before, my wife doesn't really get the point of producing more and more machines in my workshop, while she is still looking for the outcomes, and for the income that should come along :)
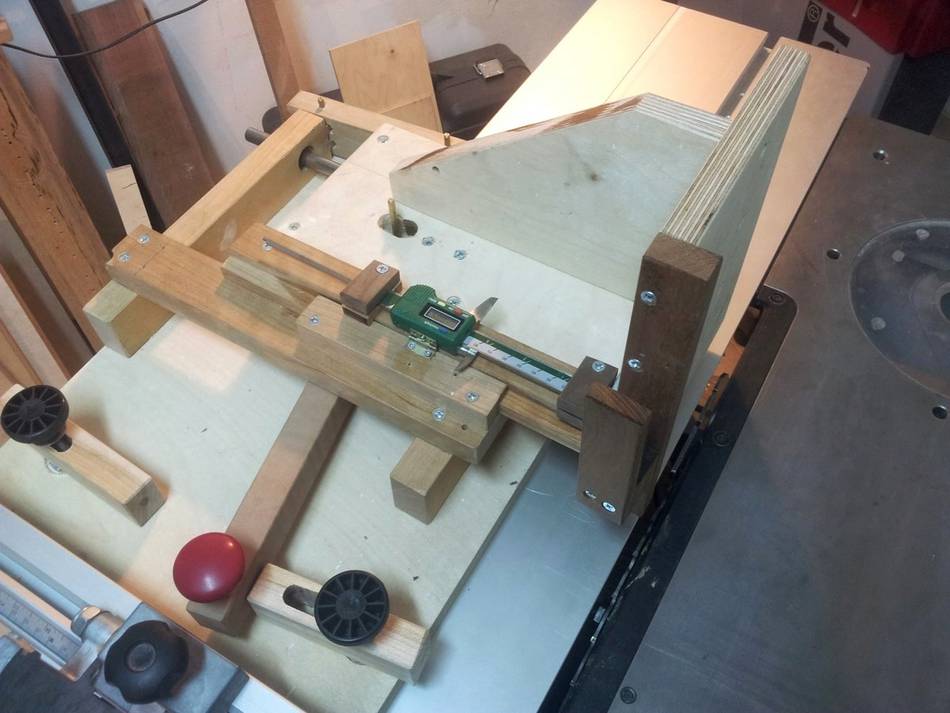
 Since I didn't finish the slot mortising machine yet (still working on
it, though maybe I will build the pantorouter instead), I didn't check
its accuracy with mortise and tenons, but I did try it with half lap
joints. It was really intriguing to see that the jig 'challenges' the
digital calliper accuracy. In other words - the accuracy of the jig is
limited by the calliper tolerance (suppose to be +/-0.02mm, but apparently
it seems less accurate than that).
Since I didn't finish the slot mortising machine yet (still working on
it, though maybe I will build the pantorouter instead), I didn't check
its accuracy with mortise and tenons, but I did try it with half lap
joints. It was really intriguing to see that the jig 'challenges' the
digital calliper accuracy. In other words - the accuracy of the jig is
limited by the calliper tolerance (suppose to be +/-0.02mm, but apparently
it seems less accurate than that).
Some points I would like to highlight:
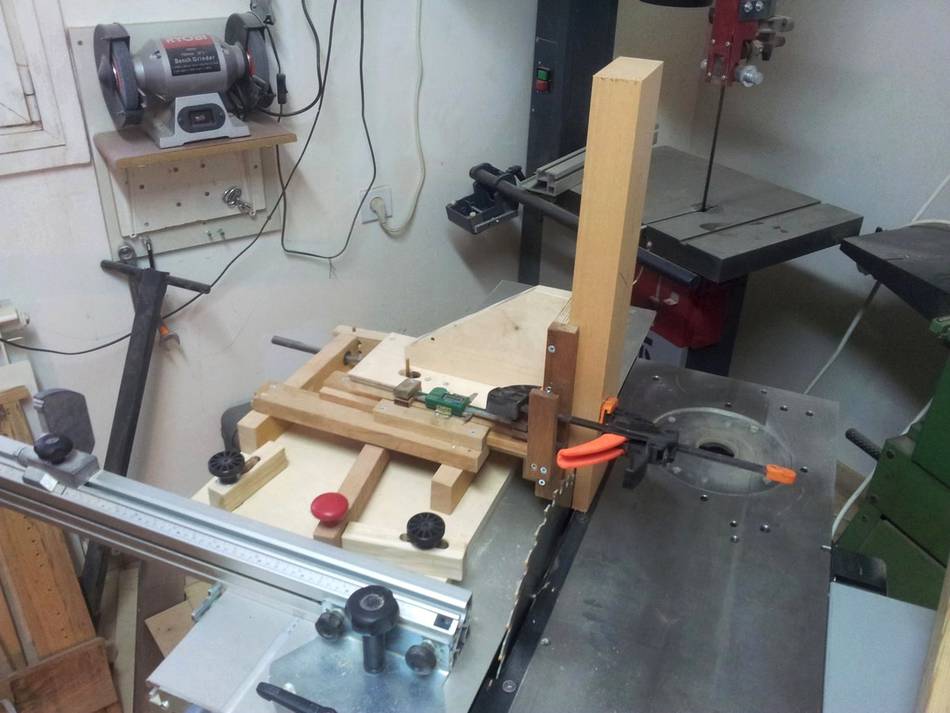
 1. Since I'm using a European style table saw, with a sliding table
to the left of the blade, I had to mirror the jig and all components so it
would hold the wood piece and bring it to the blade from the left side.
I was considering several options on how exactly it should be done. I
have ended up making all the parts exactly as shown in plans (without
the countersinks), and turning each part upside down before installing them
in a mirrored manner. It worked, but it was somewhat confusing. I made
some errors because of that. From time to time I've turned over the
plans and looked at them over a window (against sunlight) so I can see
how it is suppose to look. The only downside of this is that on the
jig I have to read the calliper upside down. But I don't have any
trouble reading it like that.
1. Since I'm using a European style table saw, with a sliding table
to the left of the blade, I had to mirror the jig and all components so it
would hold the wood piece and bring it to the blade from the left side.
I was considering several options on how exactly it should be done. I
have ended up making all the parts exactly as shown in plans (without
the countersinks), and turning each part upside down before installing them
in a mirrored manner. It worked, but it was somewhat confusing. I made
some errors because of that. From time to time I've turned over the
plans and looked at them over a window (against sunlight) so I can see
how it is suppose to look. The only downside of this is that on the
jig I have to read the calliper upside down. But I don't have any
trouble reading it like that.
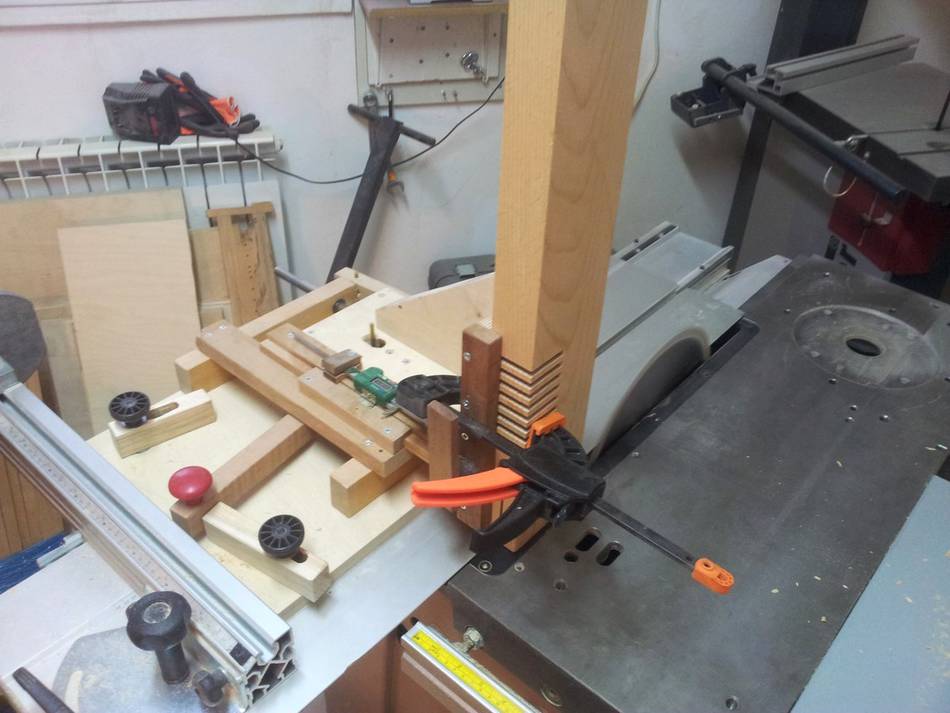
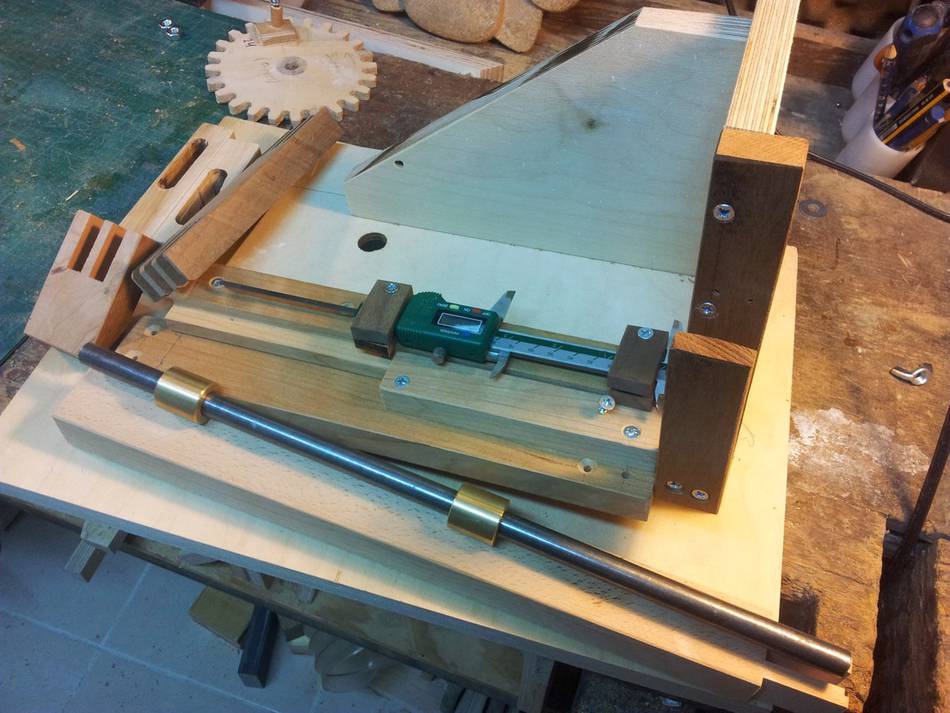
 2. Using the sliding table means I don't need to slide the jig itself
on a surface. Instead, I clamp it firmly to the sliding table. This is done
by making a wooden bar which fits into the sliding table T slot, and
adding a knob that attaches to a threaded metal T nut. After sliding the
table all the way to the cross cut fence, I tighten the knob - and I'm
ready to go. I am now using the same method on
my screw advance box joint jig,
instead of clamping it straight to the cross-cut fence (like I did before).
2. Using the sliding table means I don't need to slide the jig itself
on a surface. Instead, I clamp it firmly to the sliding table. This is done
by making a wooden bar which fits into the sliding table T slot, and
adding a knob that attaches to a threaded metal T nut. After sliding the
table all the way to the cross cut fence, I tighten the knob - and I'm
ready to go. I am now using the same method on
my screw advance box joint jig,
instead of clamping it straight to the cross-cut fence (like I did before).
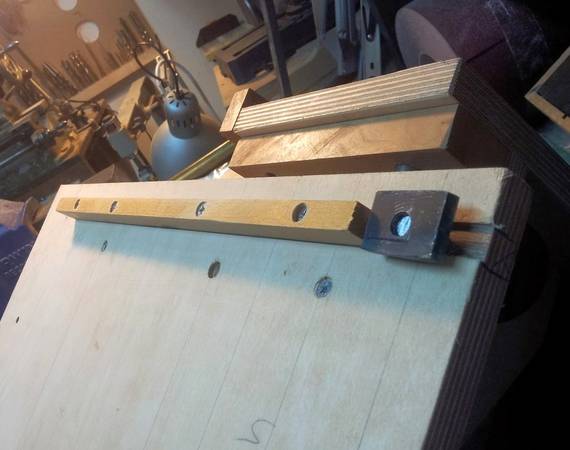
 3. Clamping the calliper - I figured that using the tiny thread of the
tightening screw would be wiser than dealing with rubber bands. It keeps
it 100% clamped with no play or gaps.
3. Clamping the calliper - I figured that using the tiny thread of the
tightening screw would be wiser than dealing with rubber bands. It keeps
it 100% clamped with no play or gaps.
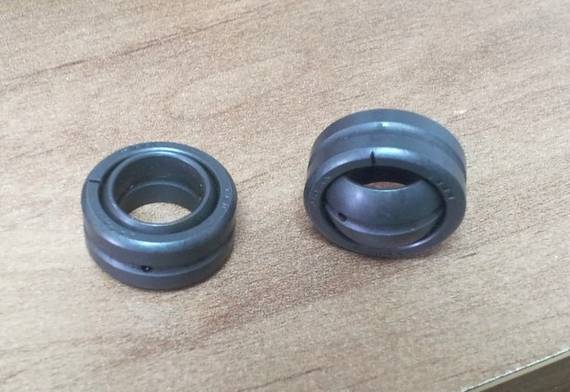 4. While building my slot mortising machine, I had a frustrating
experience trying to align two separate bushings to accept one rod.
Inspired by one of your readers, I found this self aligning
bearing, which are made exactly for situations like this. They don't
cost so much as well. Actually, they were cheaper than the bronze
bushings. I wouldn't recommend ordering simple bushing, not
only the trouble you need to go through to make it work (as you describe
in your plans), also in my opinion, mechanically speaking it doesn't
seem correct.
4. While building my slot mortising machine, I had a frustrating
experience trying to align two separate bushings to accept one rod.
Inspired by one of your readers, I found this self aligning
bearing, which are made exactly for situations like this. They don't
cost so much as well. Actually, they were cheaper than the bronze
bushings. I wouldn't recommend ordering simple bushing, not
only the trouble you need to go through to make it work (as you describe
in your plans), also in my opinion, mechanically speaking it doesn't
seem correct.
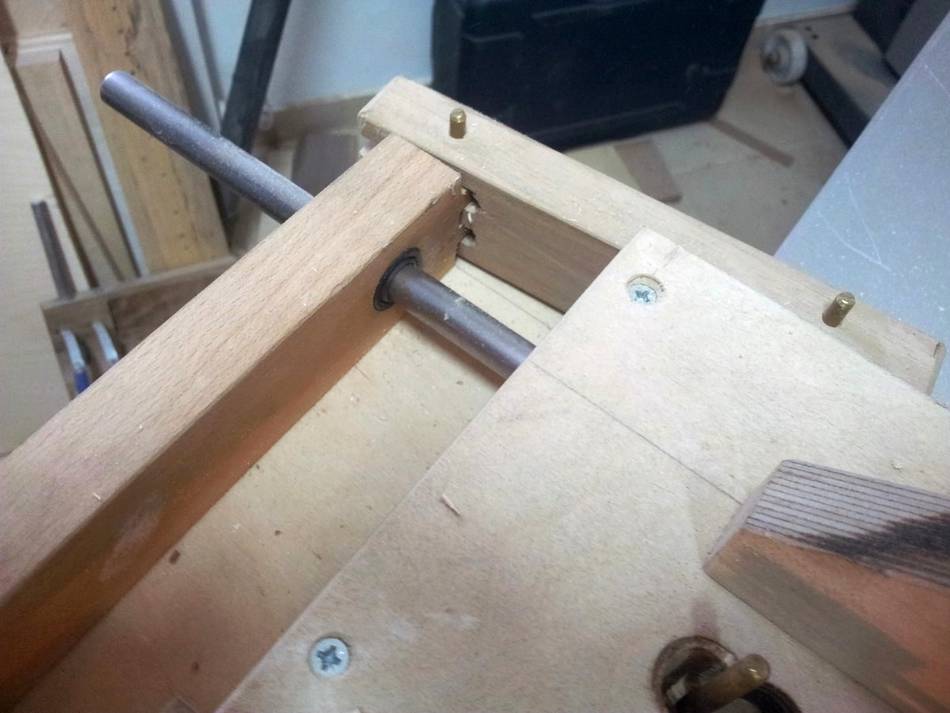 Above: Self aligning bushings installed. |

|
Best Regards,
Elyasaf Shweka.
Israel
See also:
 Quick-set tenon jig
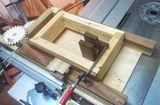 Elyasaf's screw advance box joint jig
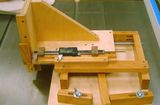 Dan Chernoff's quick-set tenon jig
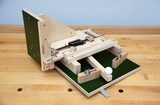 Harlan Opie's quick-set tenon jig
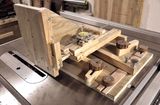 Yiyong Leng's tenon jig
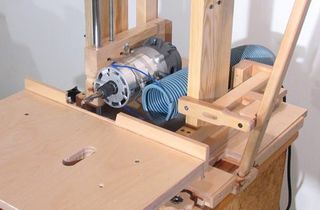 Slot mortiser
 Mortise and tenon joint accuracy
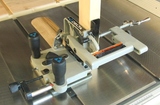 Delta tenon jig review
More on Mortise and tenon joints
To my woodworking website