I had previously posted an article about
building this style of workbench, but I recently built another one
like this for my friend Roland, this time shooting video of the build.
And so I figured I might as well do a more detailed write-up
on how to build it using pictures from the video.
To demonstrate that you don't need a workshop full of tools to build one
of these, I'm building this one with just a WorkMate, a cheap circular saw,
a hand drill, bar clamps, a square, and a chisel.
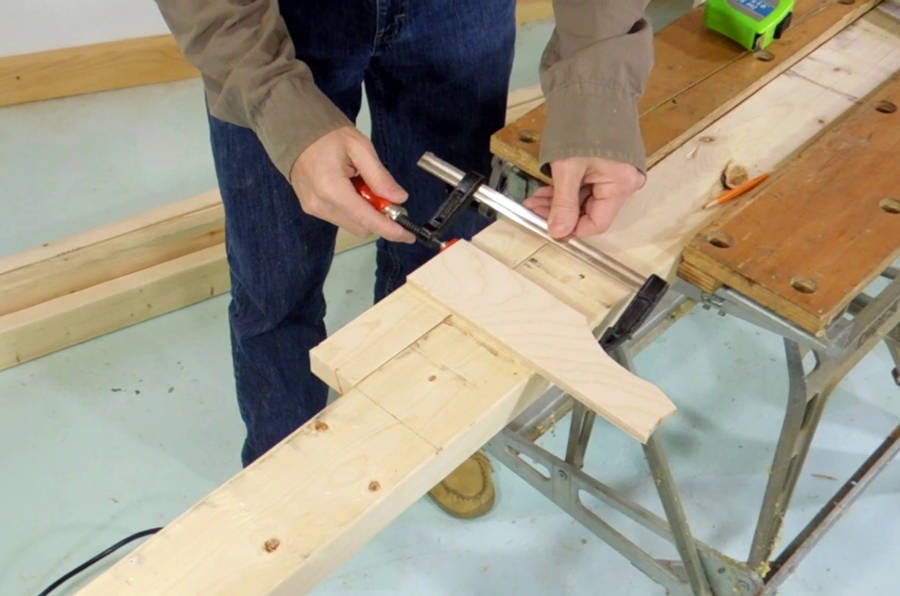
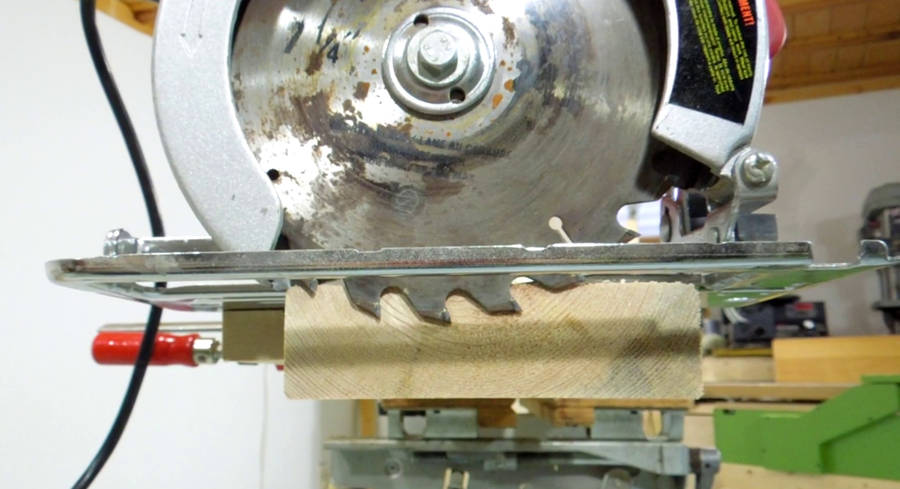
Getting clean crosscuts is really important. So I made a simple T-square
cross-cutting guide by gluing a scrap of plywood across another scrap of wood.
Clamping this to the 2x4 gives a good edge to guide the saw.
The guide ends exactly where the saw cuts, so it's just a matter of positioning
the edge of the guide against where the cut is to be made.
With the guide clamped to the 2x4, I can use both hands to guide the saw.
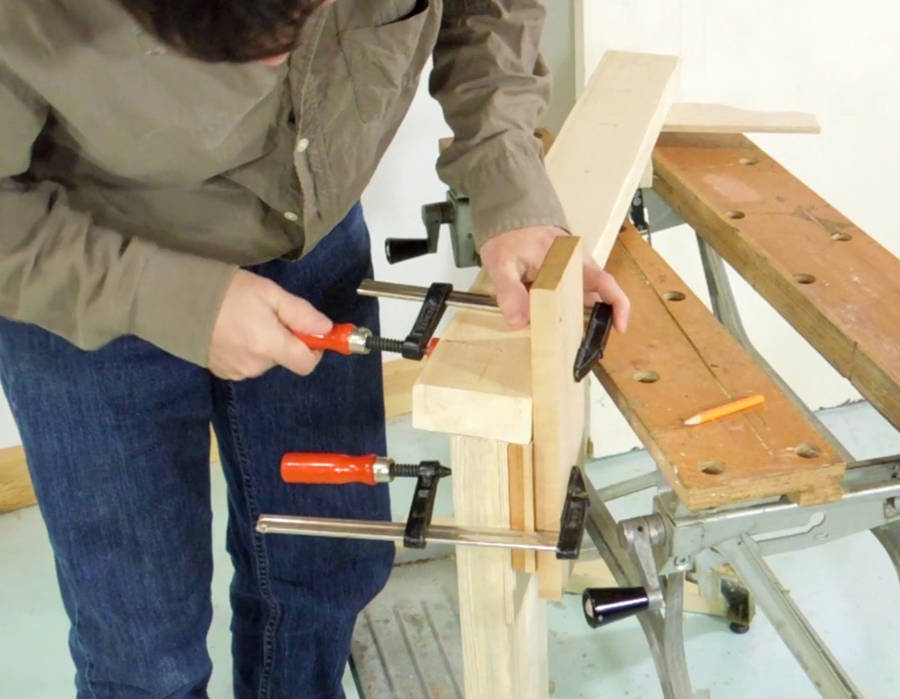
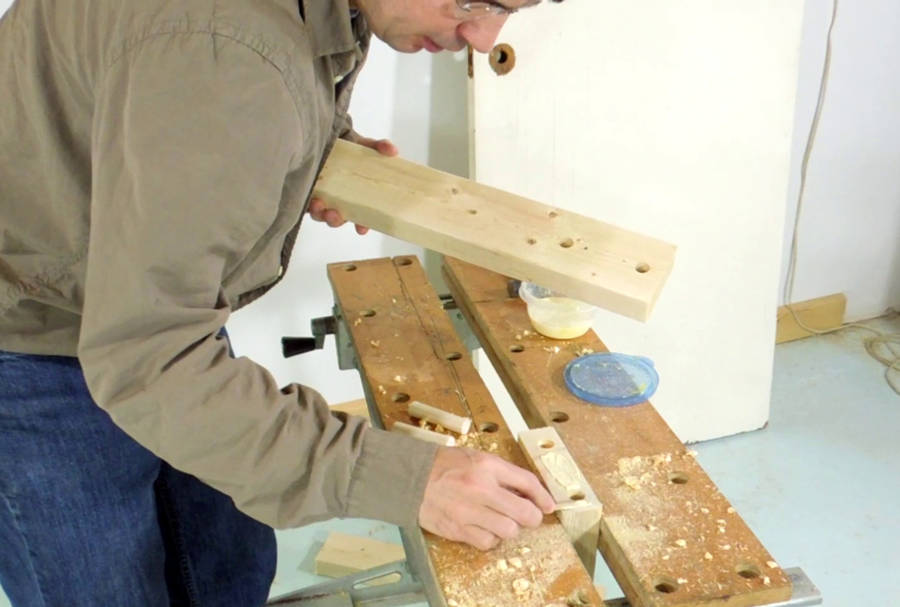
I'm joining the legs to cross-pieces with dowels. Here I'm using some scraps of wood
to clamp the leg against the end of the cross-piece.
I'm also adding some screws to the joint (I didn't do this on my last build,
but screws make the build much easier).
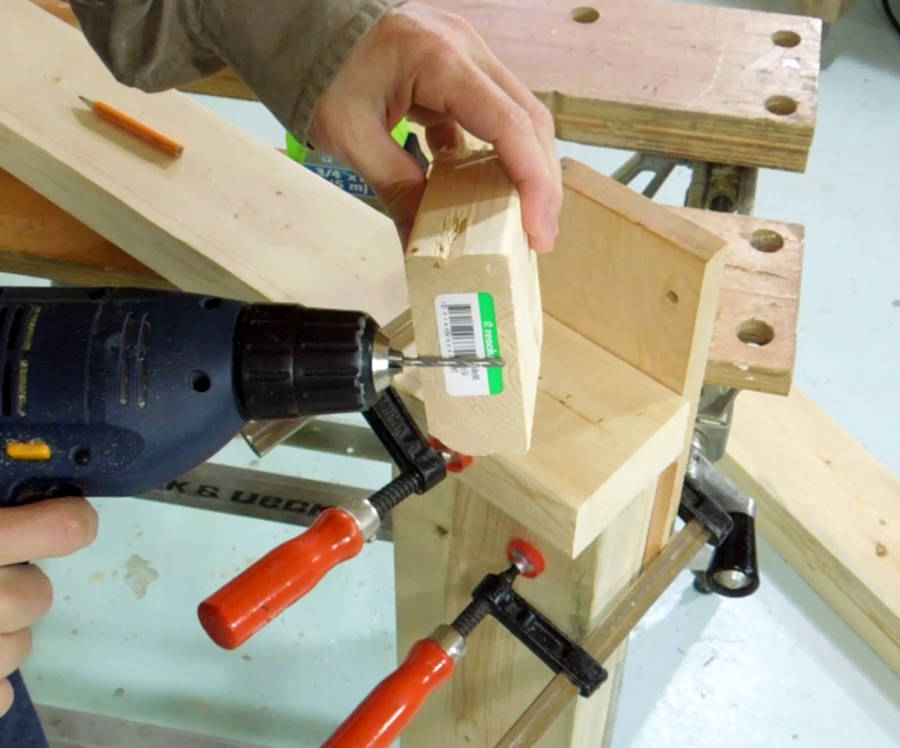
The screws really help to hold the joint together while drilling the dowel
holes. I pre-drill a shank hole, 5/32" in size for the #7 drywall
screw. I set the drill bit deep into the chuck so that my drill only drills
through the first 2x4.
After pre-drilling, I add two 3" long drywall screws.
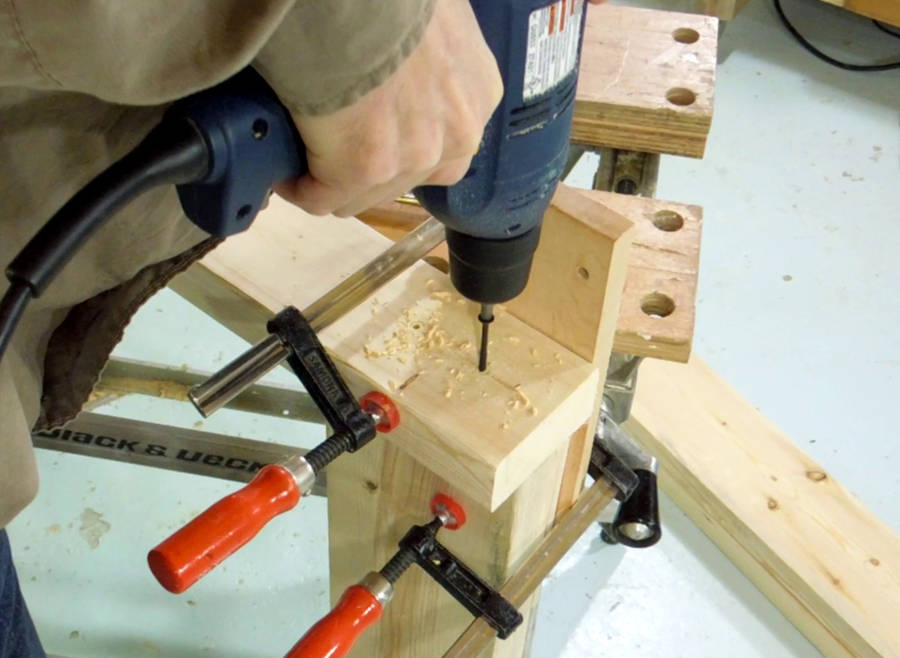
With the screws in place, I drill two 5/8" (16 mm) holes for the dowels.
Because I'm drilling through both pieces at the same time,
the holes will line up even if I drill the holes a little crooked.
To get more depth with the drill bit, I only partially inserted it into the chuck.
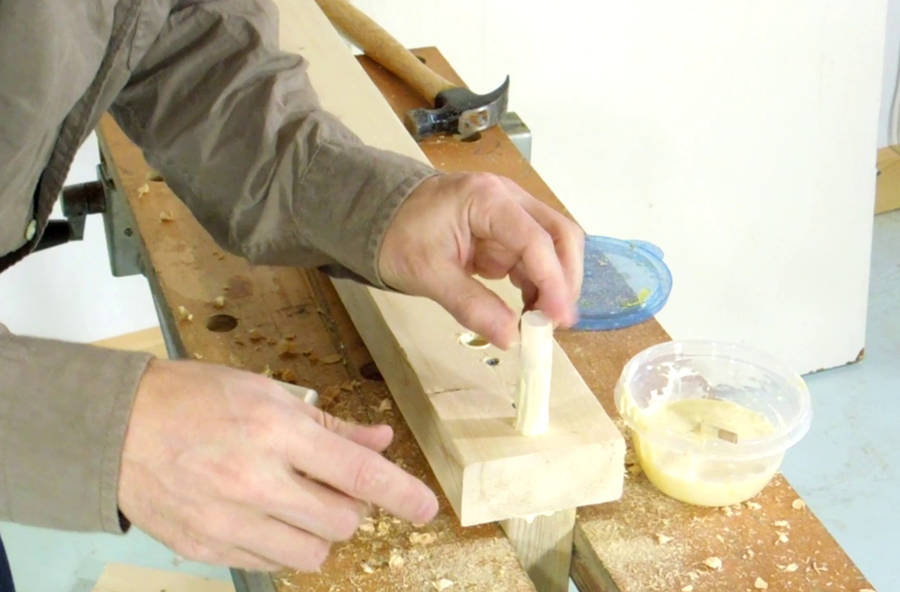
Before gluing in the dowel, I took the joint apart again and added glue to the flat
joint surface. I'm not sure if this will help much, but it certainly can't hurt!
I used a thin stick of wood to spread glue all over the inside of the hole and to
the outside of the dowel. Then the dowels are inserted in the holes. I had a
tight fit, so I had to drive the dowels in with a hammer!
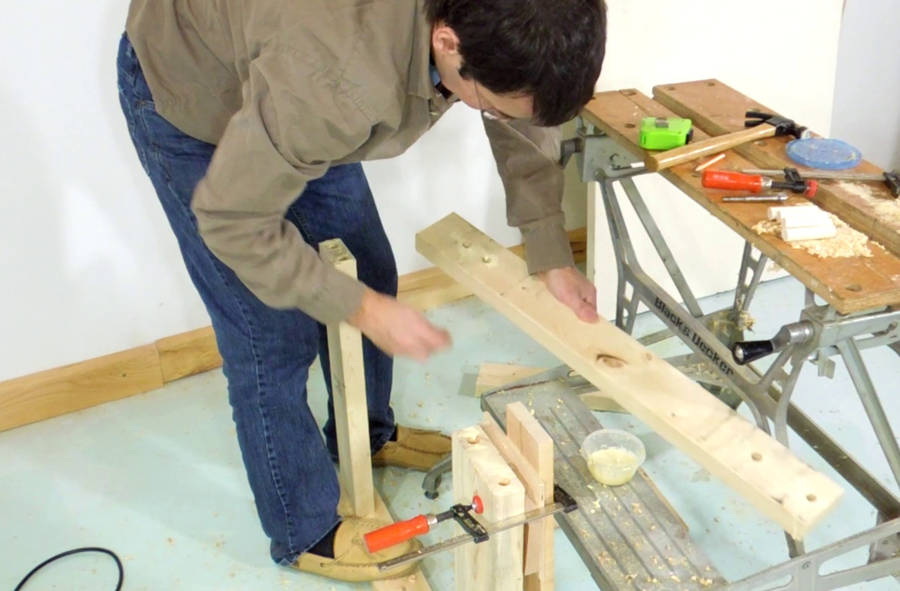
Two cross pieces attached to one leg, and the other leg already drilled. Here
I just took the joint apart again to put glue on the inside surfaces before
putting it back together and inserting the dowels.
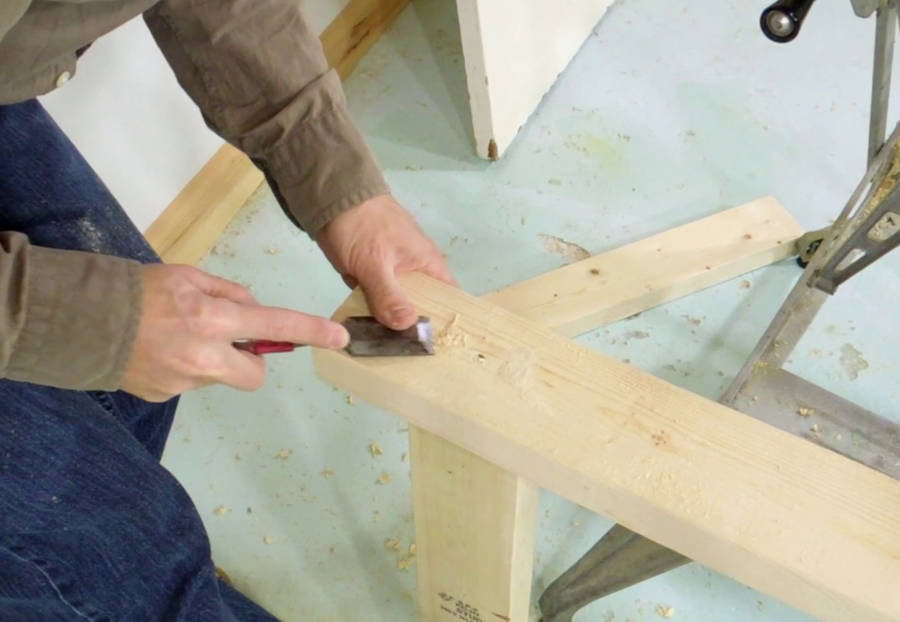
Excess glue squeezeout can be messy. It's best to rub sawdust onto the squeezed out
glue. Sawdust absorbs the excess glue and prevents it from getting smeared everywhere.
A chisel is good to scrape the glue soaked sawdust back off, and to
flush trim the dowels if you need to.
The doweling is the hardest part of the build. If you aren't up for it, I'd recommend
using four or six drywall screws, 3" or 3.5" long instead of two screws and two dowels.
Drill a 5/32" shank hole for the screw, and a 3/32" pilot hole in the end grain,
just to reduce the chance of splitting the wood with that many screws.
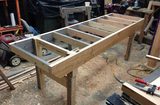
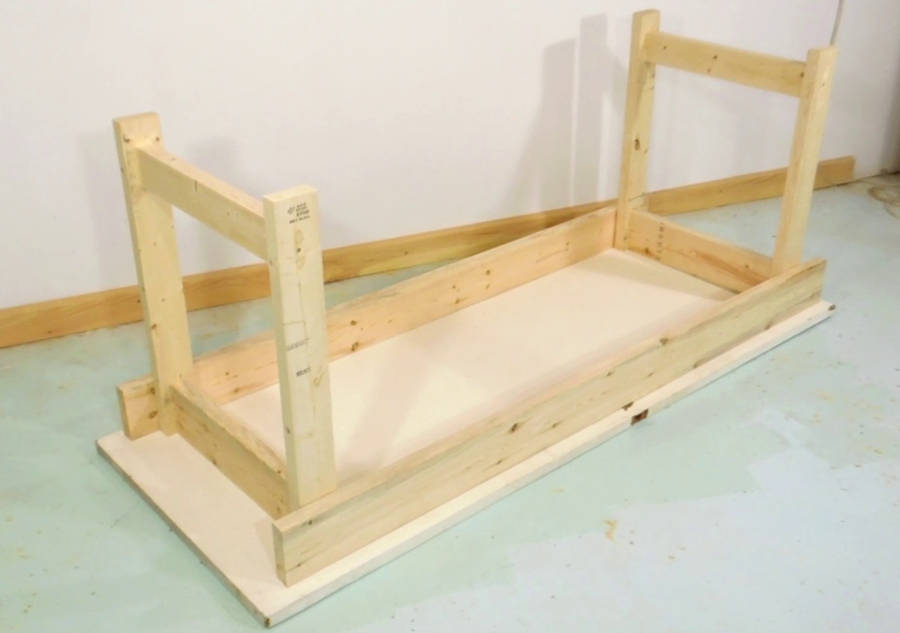
With the leg frames built, checking how it all goes together.
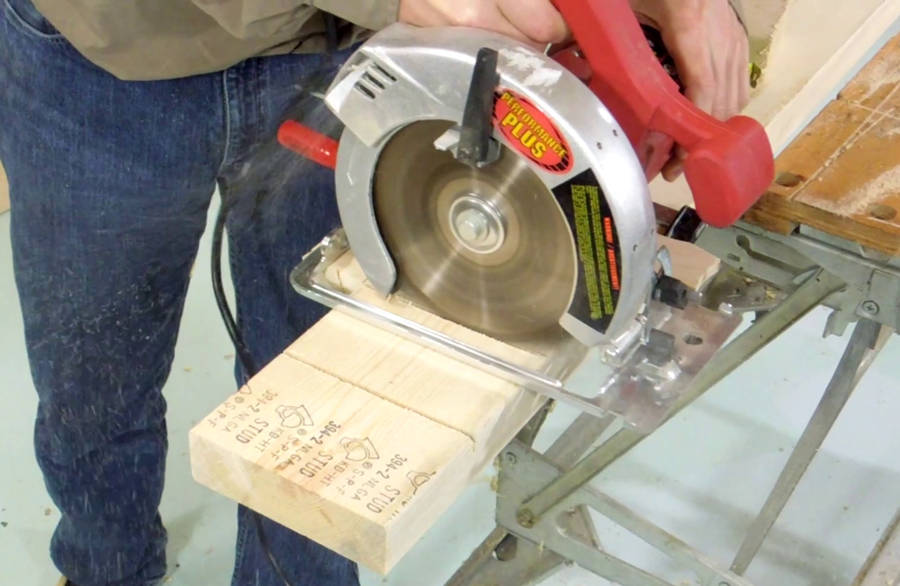
Next I need to cut some dadoes into the long rails. These dadoes aren't strictly
necessary, but make for a more secure joint with the legs.
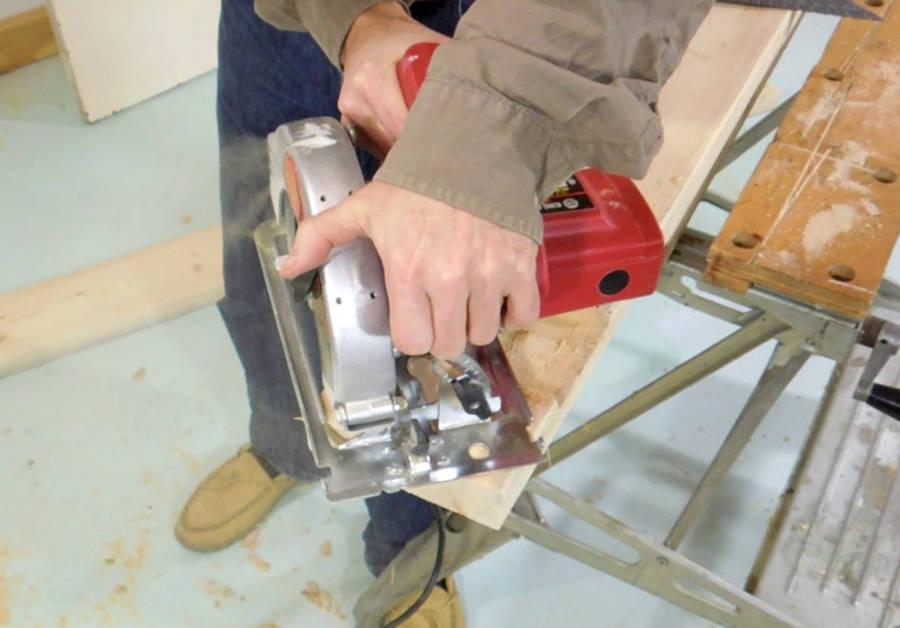
I set my circular saw to cut about one third into the rails.
Two lines mark where the dado needs to be cut. I set my cutting guide
back from the first line by the thickness of the blade, as I want to cut
on the other side of the first line.
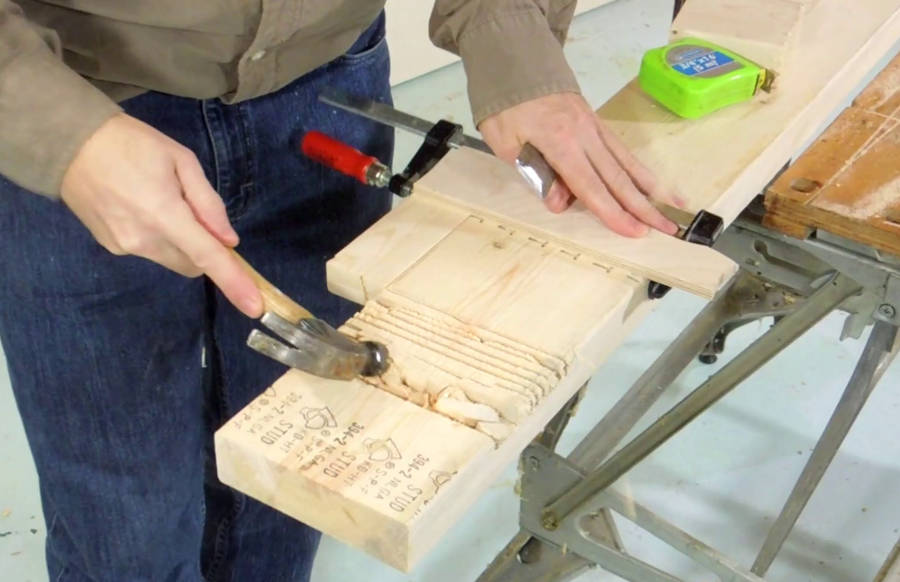
I make a cut on either line with my cutting gauge, followed by a series of
free-hand cuts in between.
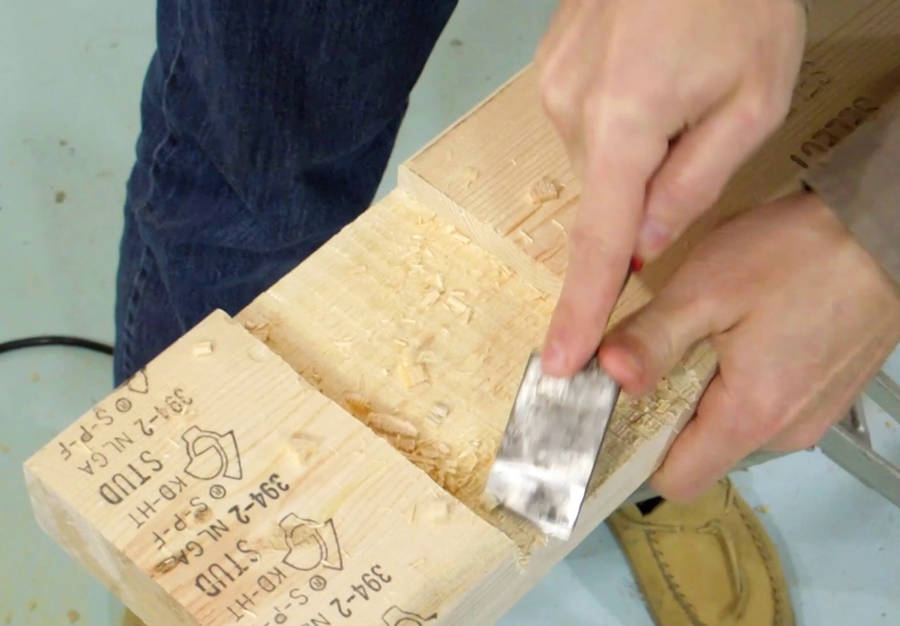
I then use a hammer to chip out most of the wood between the cuts...
... then clean up the bottom with a chisel. A sharp chisel makes this much easier.
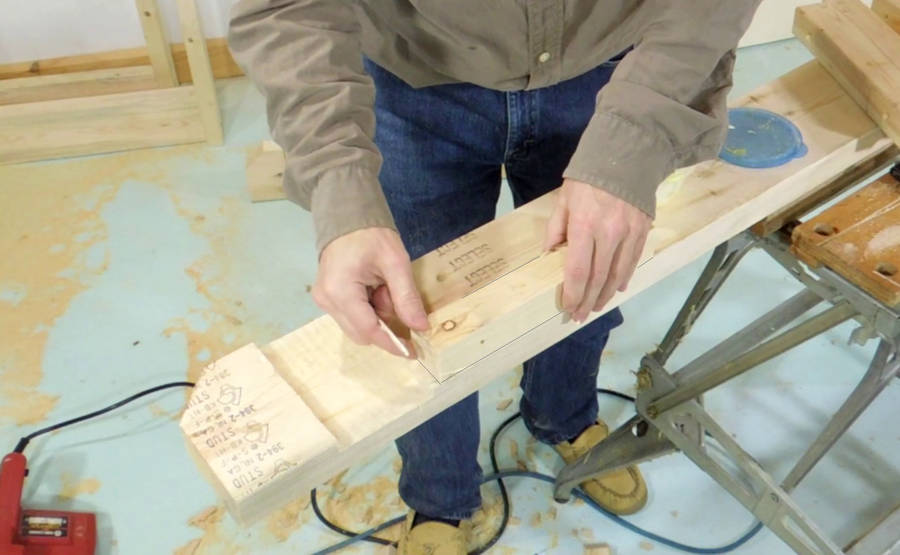
I also cut the lower corners of these rails at a 45-degree angle, strictly for
cosmetic reasons. I marked that with a square, but cut it freehand.
To make it easier to attach the workbench top, I'm gluing some 1.5x1.5x8" blocks of wood
to the rails. I ripped these from a scrap of 2x4.
You could also use pocket holes to attach the table top, but I don't have a pocket hole
jig, so adding blocks was easier.
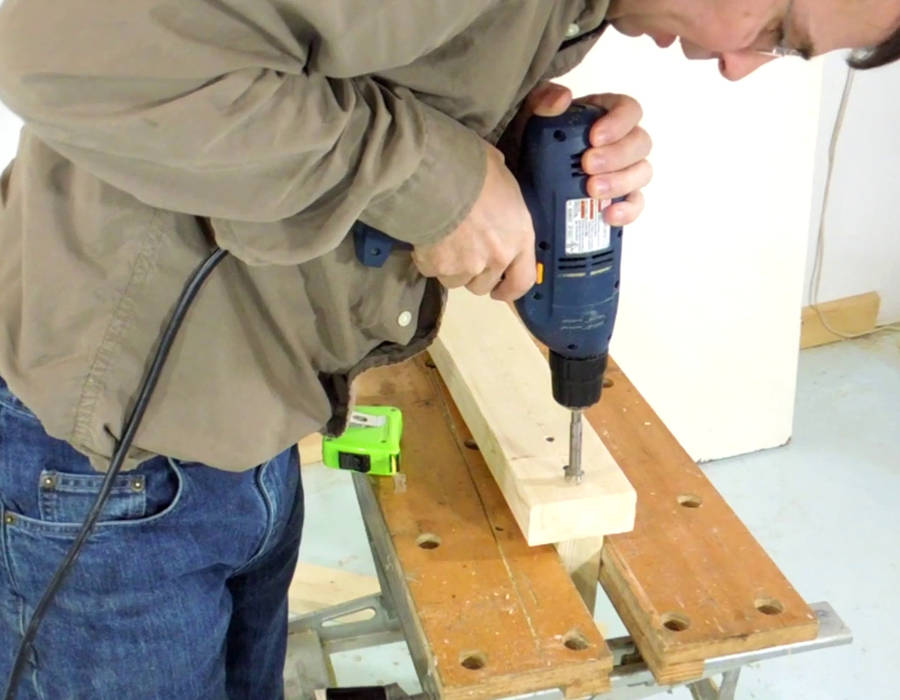
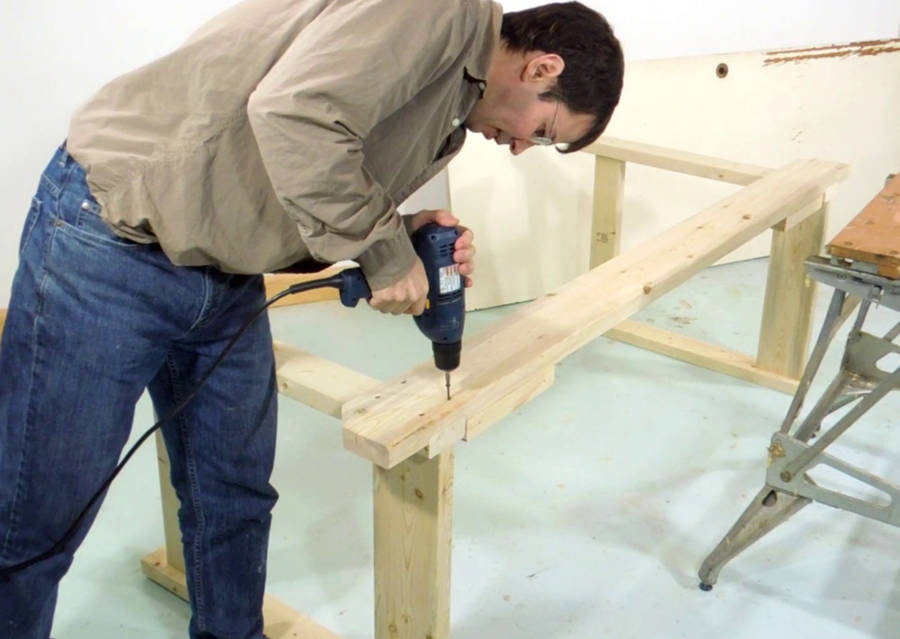
Next, pre-drilling the screw holes for attaching the rails. I'm drilling these
with a 5/32" drill.
Then screwing on the rails. Much easier to do with the workbench lying on its side!
It's been suggested that part of the legs should be cut away as well to form
a shoulder to help hold up the rails. But this would complicate the build and
weaken the dowel joint by cutting away part of it.
I find the screws hold up the vertical load just fine.
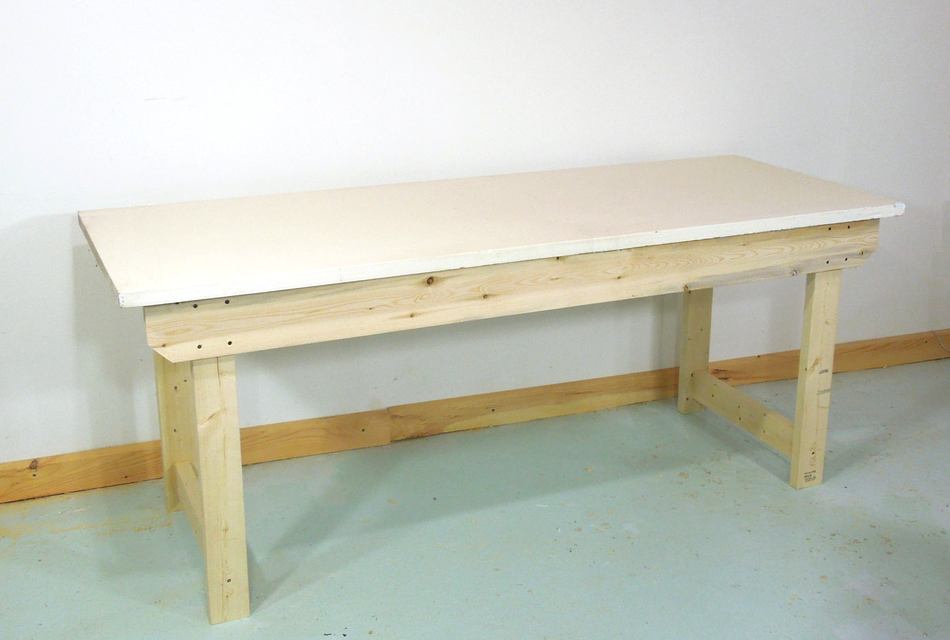
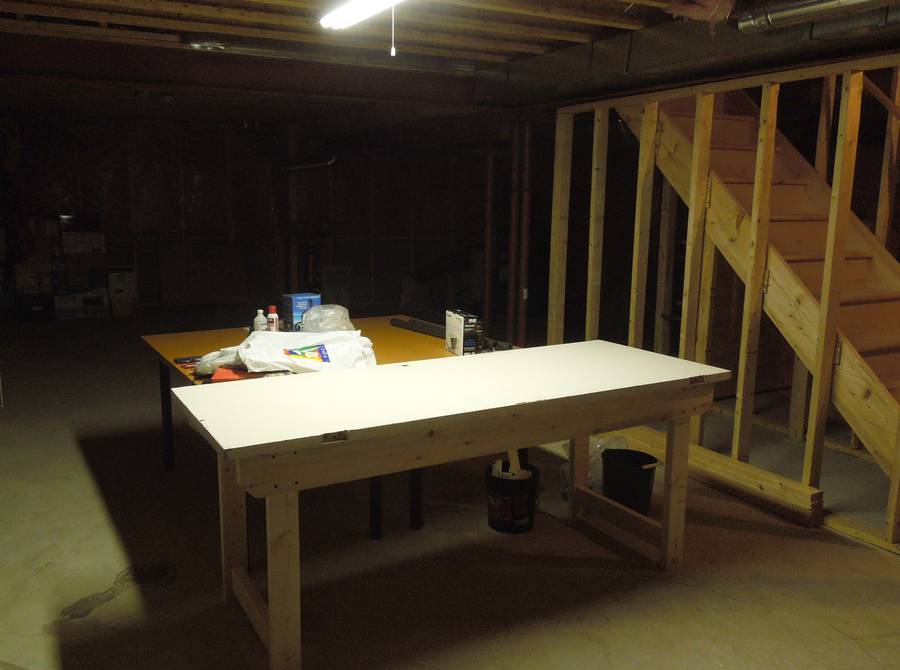
After that, screwing in the workbench top, from the bottom.
The workbench top is an old wooden door - one from the 1950s, when they still used 1/4"
plywood for the sides of it. It's quite heavy, solid enough to bolt a vise to.
Modern inside doors are too flimsy to use as table tops, but
new solid core doors make even better workbench tops.
The last time I built one of these, I just screwed the door on from the top, but
my friend has some plywood he wants to put on top of the door, so I figured it's
better to screw the door on from below.
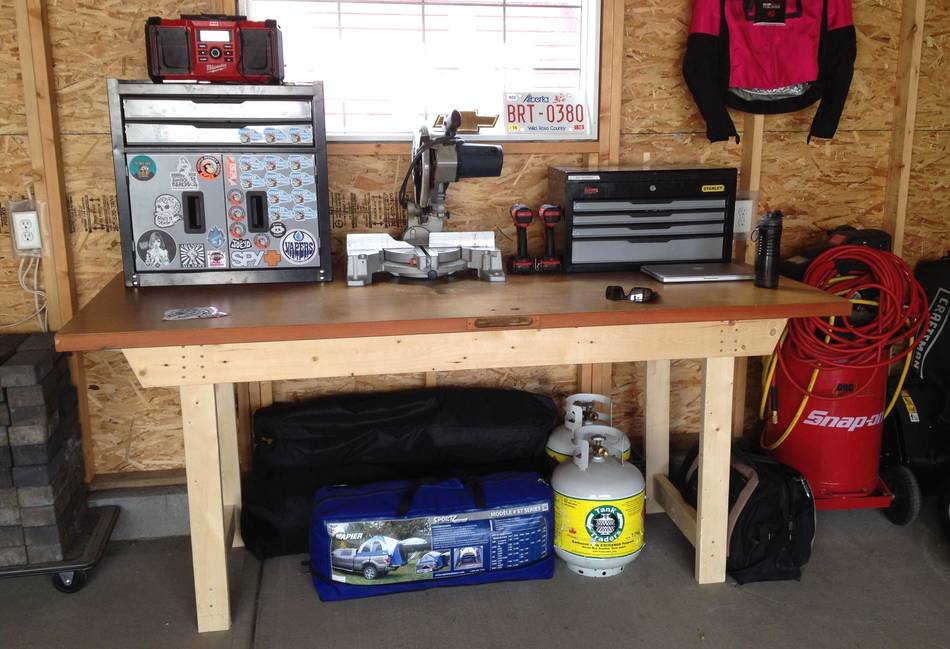
Workbench dropped off at my friend Roland's.
What a difference good lighting and white walls make! I'm sure glad I decided
to build it in my shop and then deliver it.
The above video is building this workbench for a friend in 2017.
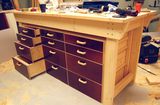
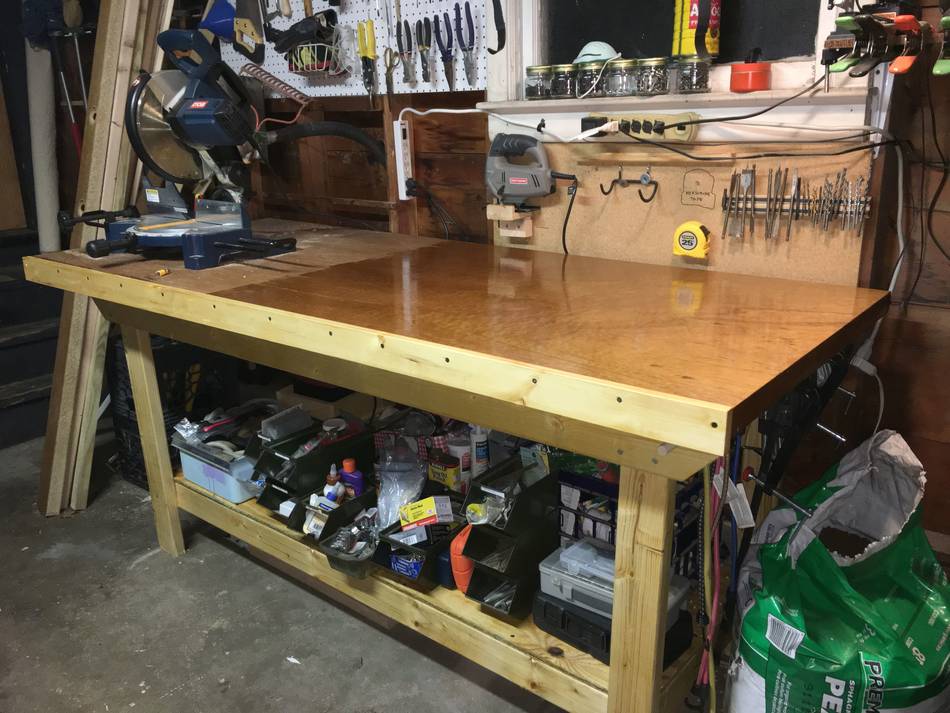
I built my first one like that in 2007, then added drawers.
In 2017 I moved it into my new workshop — see video below:
This workbench has been built by quite a few people. Here's one of them, by Justin
And another one, this one by Juan. Juan writes:
I have little woodworking skill and was able to make one.
I'm sending you some photos because no one has probably ever sent you photos of something they made. ;-)
Thank you.
 I had previously posted an article about
building this style of workbench, but I recently built another one
like this for my friend Roland, this time shooting video of the build.
And so I figured I might as well do a more detailed write-up
on how to build it using pictures from the video.
I had previously posted an article about
building this style of workbench, but I recently built another one
like this for my friend Roland, this time shooting video of the build.
And so I figured I might as well do a more detailed write-up
on how to build it using pictures from the video.


 Beginning woodworking
 Workbench plans
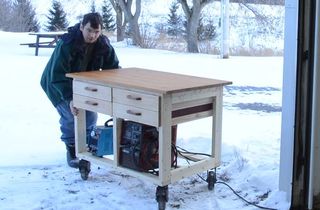 Workbench on wheels
 Drawers for the
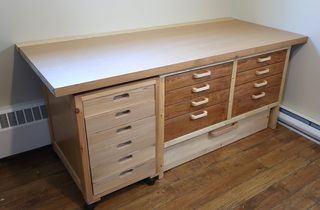 Building a workbench with lots of drawers
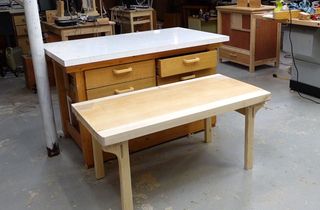 Kids workbench
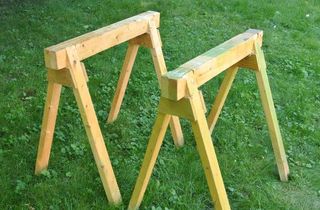 Making sawhorses
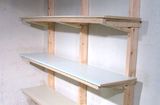 Making shelves
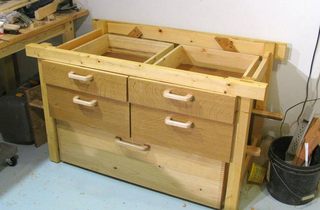 Another workbench
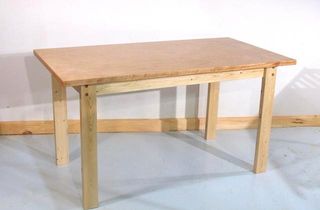 Building a simple table
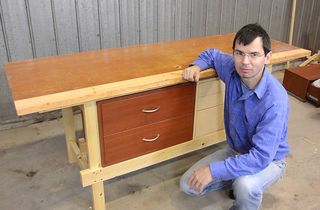 Quickie workbench
 An earlier article about