I initially had a different method of tracking adjustment (you can
see it in the build video), but it was awkward to adjust and
interfered with having a dust port on the right side.
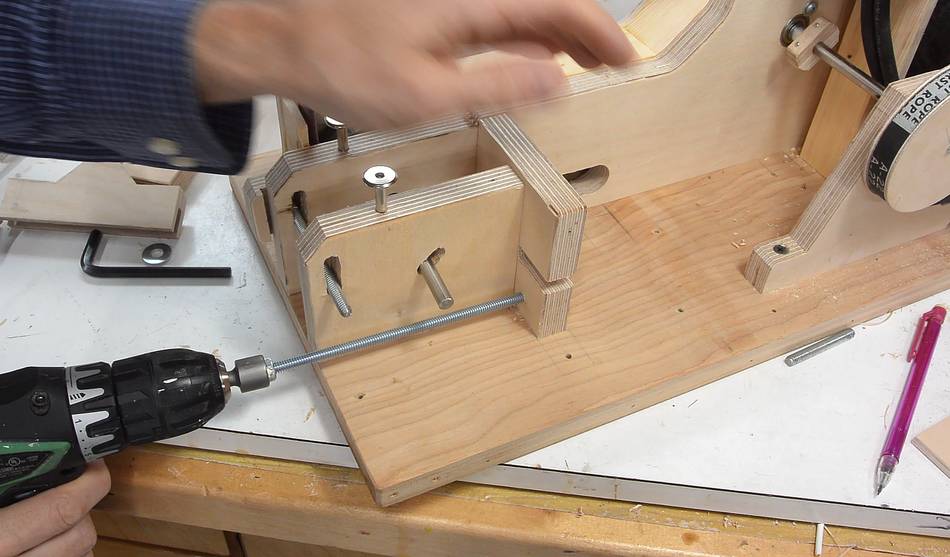
The improved mechanism uses a long threaded rod, with a knob on the front.
 A block of wood goes on the threaded rod and is pushed back by a knob on the front.
Conveniently, when I turn the knob clockwise,
the belt tracking changes to the right.
A block of wood goes on the threaded rod and is pushed back by a knob on the front.
Conveniently, when I turn the knob clockwise,
the belt tracking changes to the right.
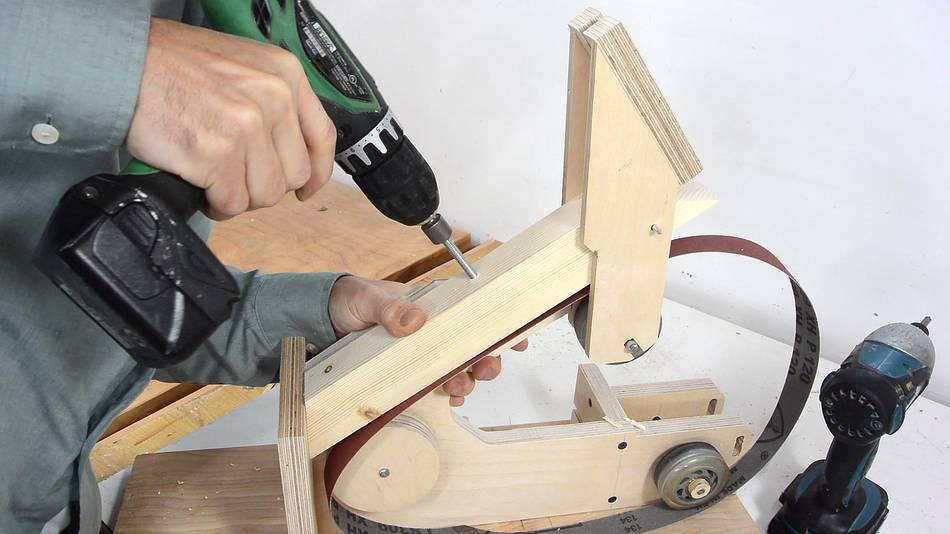
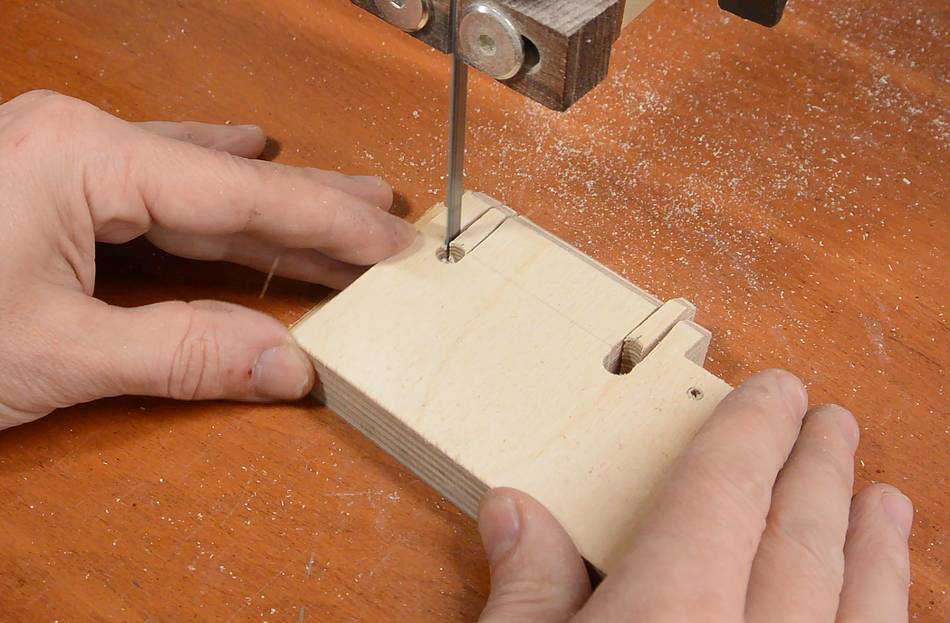
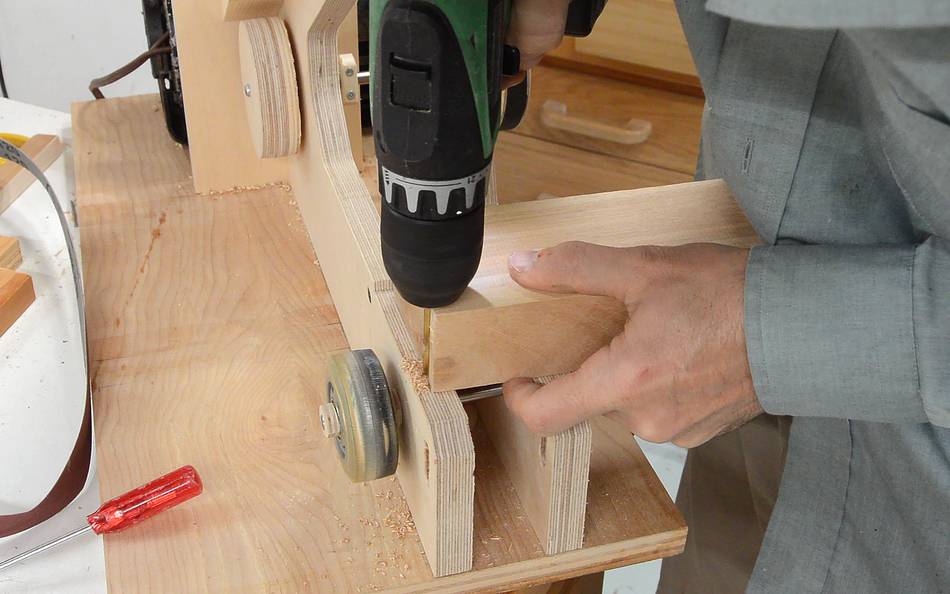
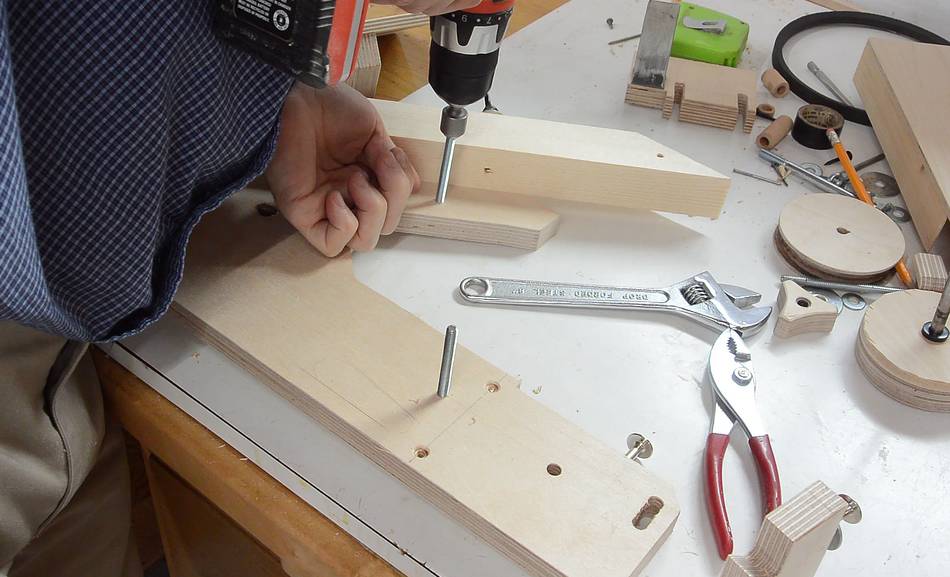
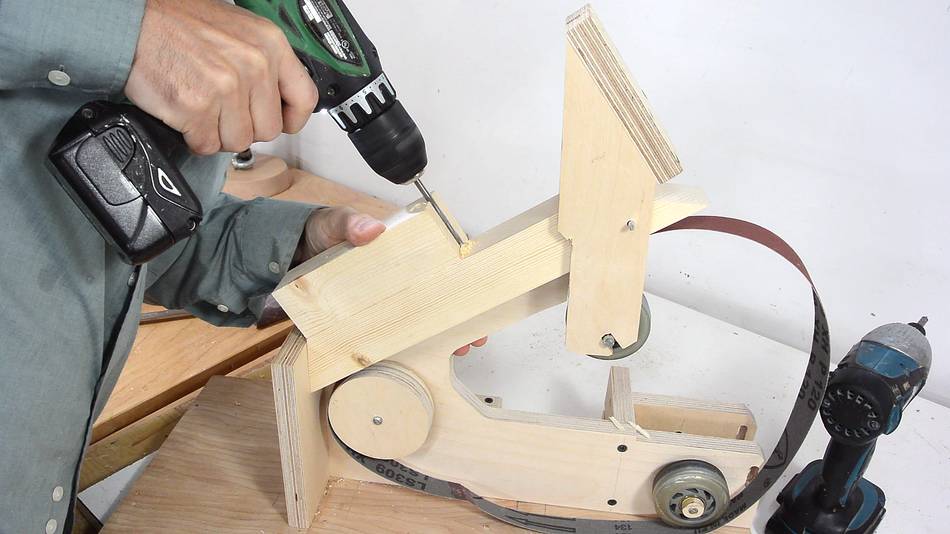 The upper wheel mount arm needs a hole in the back. This hole is about 1/32" or
0.5 mm smaller than the threaded rod I'm using.
The upper wheel mount arm needs a hole in the back. This hole is about 1/32" or
0.5 mm smaller than the threaded rod I'm using.
I'm using a block of wood with a V-notch cut in the end of it as a guide to make sure I get this hole square. That was easier than taking it apart again. Hopefully, you will have drilled this hole before assembling your sander.
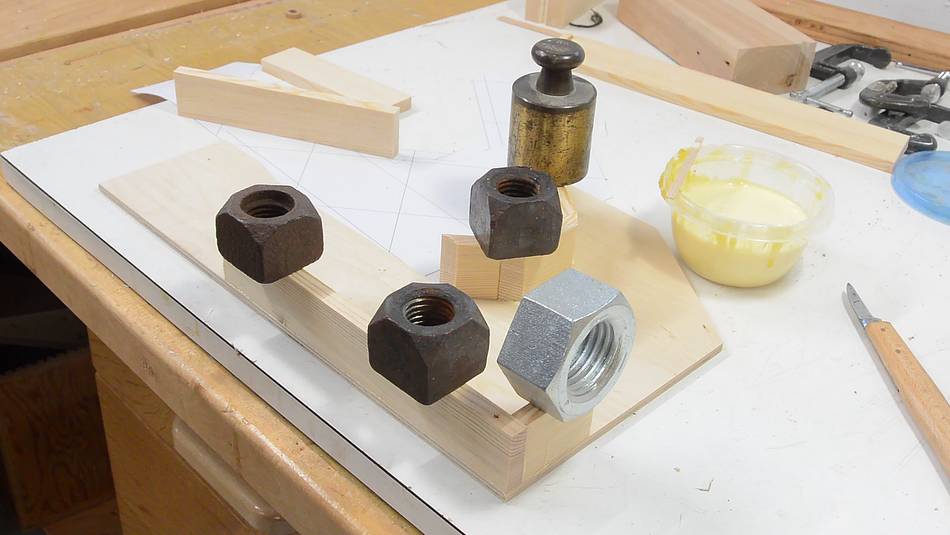
 I jammed two nuts against each other on the threaded rod, then used a nut driver
in my drill to screw them in (you could also use a wrench, but that would
take much longer).
I jammed two nuts against each other on the threaded rod, then used a nut driver
in my drill to screw them in (you could also use a wrench, but that would
take much longer).
I then used two slip joint pliers to loosen the nuts from each other and take them off the threaded rod.
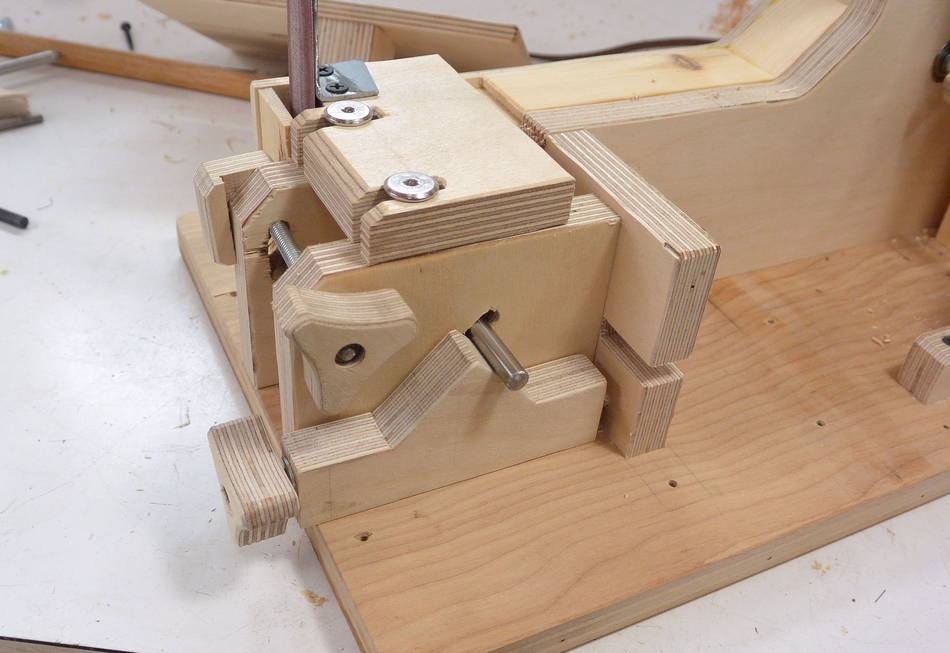
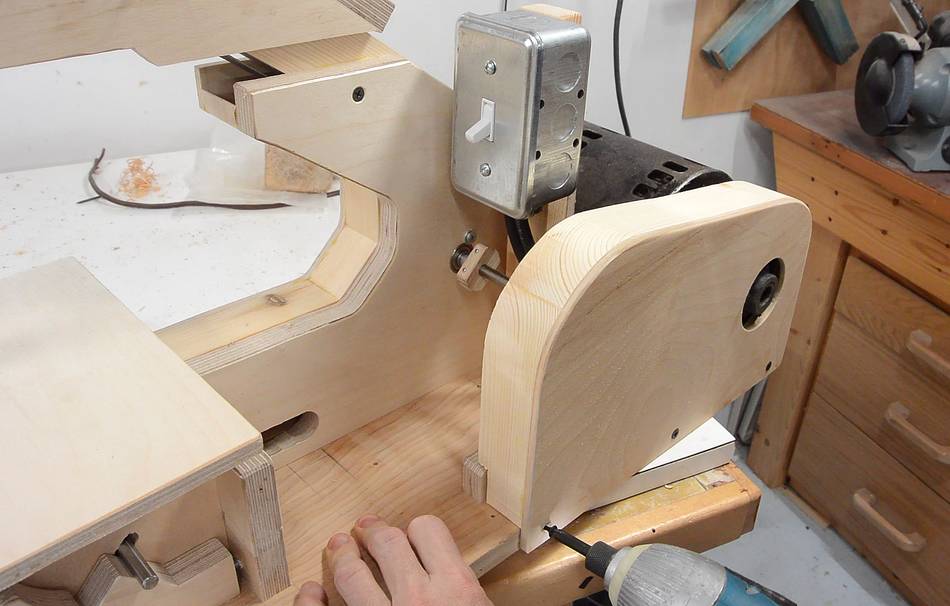
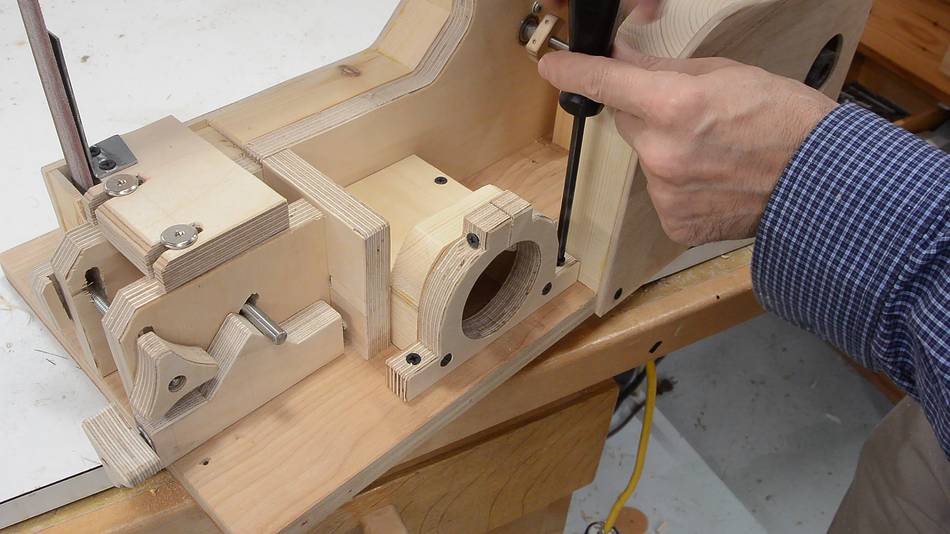
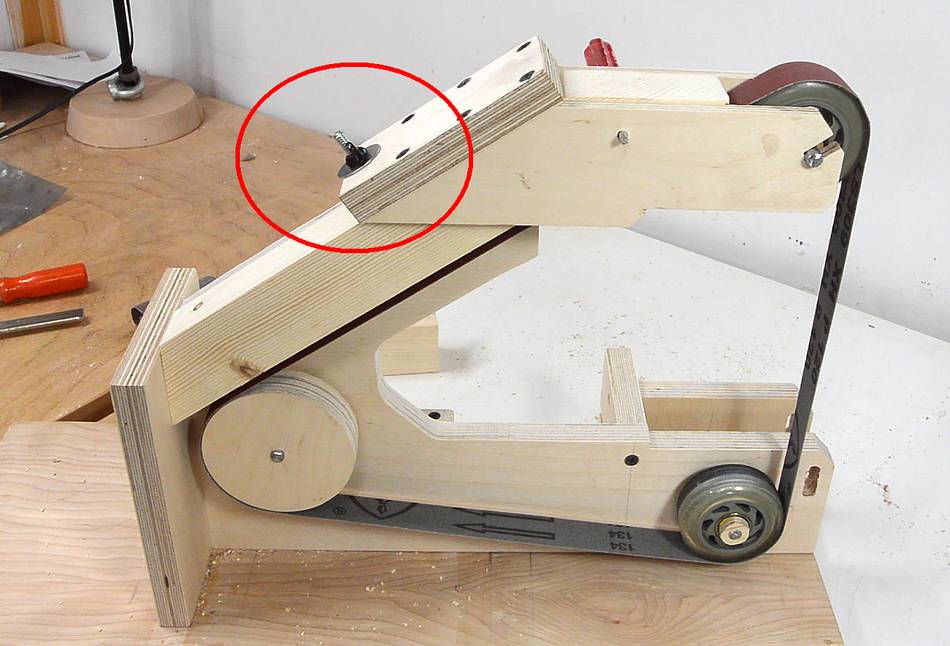 A wing nut and washer on the threaded rod push the back of the upper wheel
mount down. I later swapped the wing nut for a threaded knob.
The wheel mount pivots in the middle, so this raises the wheel on the front.
I'm using a small screwdriver instead of a shaft for the time being.
A wing nut and washer on the threaded rod push the back of the upper wheel
mount down. I later swapped the wing nut for a threaded knob.
The wheel mount pivots in the middle, so this raises the wheel on the front.
I'm using a small screwdriver instead of a shaft for the time being.
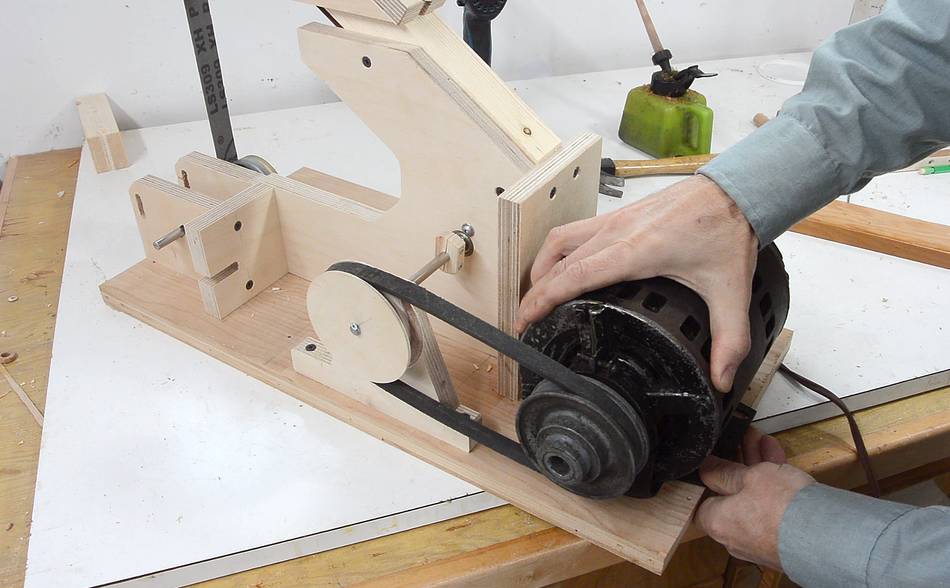
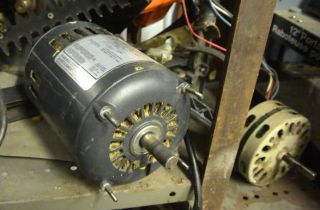
 The motor I'm using is a 1/3 horsepower furnace fan motor, which I
either picked
out of the garbage or paid a few dollars for at a yard sale (I don't remember).
For the time being, I'm just attaching it with some 1" C clamps.
The motor I'm using is a 1/3 horsepower furnace fan motor, which I
either picked
out of the garbage or paid a few dollars for at a yard sale (I don't remember).
For the time being, I'm just attaching it with some 1" C clamps.
You could also use the motor from a clothes dryer, a top loading washer, forced air furnace, sump pump, or diswasher. However, each of these motors may have its own challenges to mount and attach a pulley.
Do not use universal motors (motors with brushes). Those run too fast, though you could use a drill (these are sufficiently geared down)
 If you are building a strip sander and have to buy the motor new, you
may end up paying more for the motor than you would for a strip sander.
So if you are inclined to ask "How much does it cost to buy all the parts
to build the strip sander?", that suggests you don't have much of
the stuff on hand. In which case, I recommend to just go and buy a
new strip sander instead. Or if you really want to build one, buy a strip
sandre and take the motor out!
If you are building a strip sander and have to buy the motor new, you
may end up paying more for the motor than you would for a strip sander.
So if you are inclined to ask "How much does it cost to buy all the parts
to build the strip sander?", that suggests you don't have much of
the stuff on hand. In which case, I recommend to just go and buy a
new strip sander instead. Or if you really want to build one, buy a strip
sandre and take the motor out!
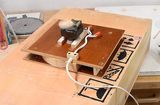
At left: strip sander running for the first time. It works!
 I need some sort of "platen" to support the back of the sanding belt.
It's easiest to just cut this from a piece of steel that already has a
right angle bend to it. This piece is about 2.3 mm (3/32") thick.
Slightly thicker would be better.
I need some sort of "platen" to support the back of the sanding belt.
It's easiest to just cut this from a piece of steel that already has a
right angle bend to it. This piece is about 2.3 mm (3/32") thick.
Slightly thicker would be better.
I'm using a saw that can cut metal, but a hacksaw, reciprocating saw (Sawszall), or angle grinder could also be used.
 The mount for the platen is made of 18 mm Baltic birch plywood. Two
slots allow it to be adjusted or removed. The rationale being that the
platen mount moves and comes out with the platen, so that I don't wear
out the holes for the small screws holding the platen when swapping it
out.
The mount for the platen is made of 18 mm Baltic birch plywood. Two
slots allow it to be adjusted or removed. The rationale being that the
platen mount moves and comes out with the platen, so that I don't wear
out the holes for the small screws holding the platen when swapping it
out.
 Drilling the holes for the screws that hold the platen mount. These are 1/32"
(about 0.5 mm) smaller than the machine screws that go into them.
Drilling the holes for the screws that hold the platen mount. These are 1/32"
(about 0.5 mm) smaller than the machine screws that go into them.
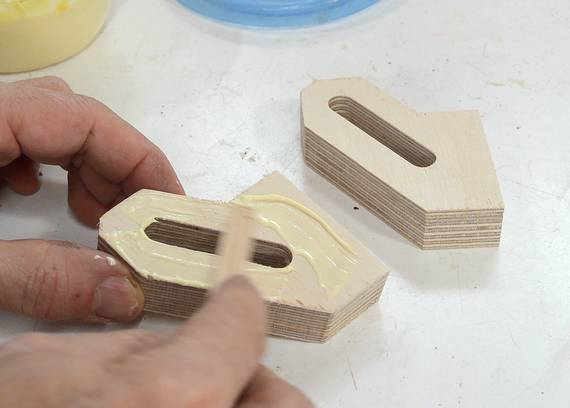
 The platen is held by knock-down furniture screws, with large round heads.
I drove these in with an impact driver (much faster than using an Allen key).
The platen is held by knock-down furniture screws, with large round heads.
I drove these in with an impact driver (much faster than using an Allen key).
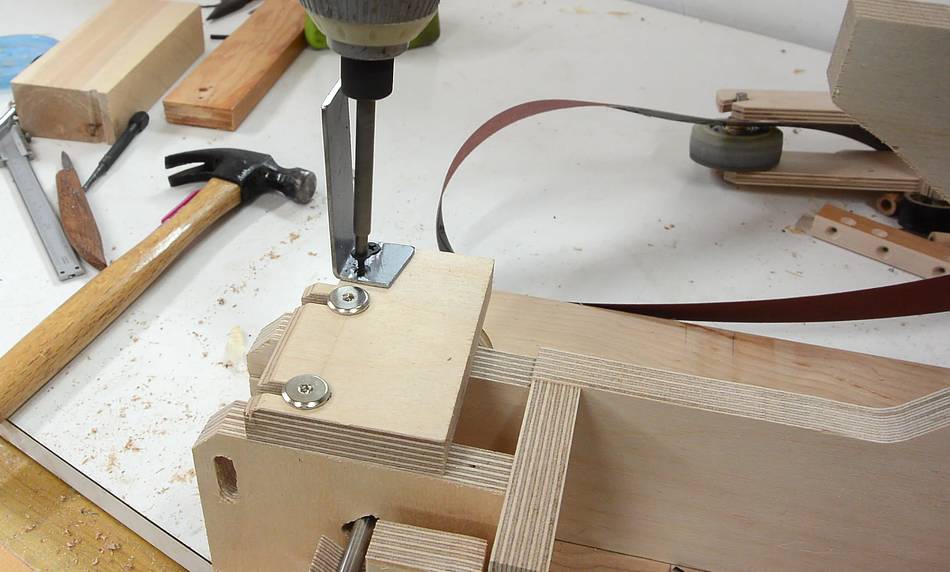 Next mounting the platen to the platen mount.
I later experimented with making a rounded wooden platen, and that worked out just fine, so a wooden platen (so long as it's made from a hard wood) can also be used.
 Putting the sanding belt back on.
 The table mount consists of two pieces of Baltic birch plywood
with a slot in them at an angle. The two pieces are glued together, then
screwed to the bottom of the table using screws from above.
The table mount consists of two pieces of Baltic birch plywood
with a slot in them at an angle. The two pieces are glued together, then
screwed to the bottom of the table using screws from above.
 The part with the angled slot fits between the two slotted pieces on the frame.
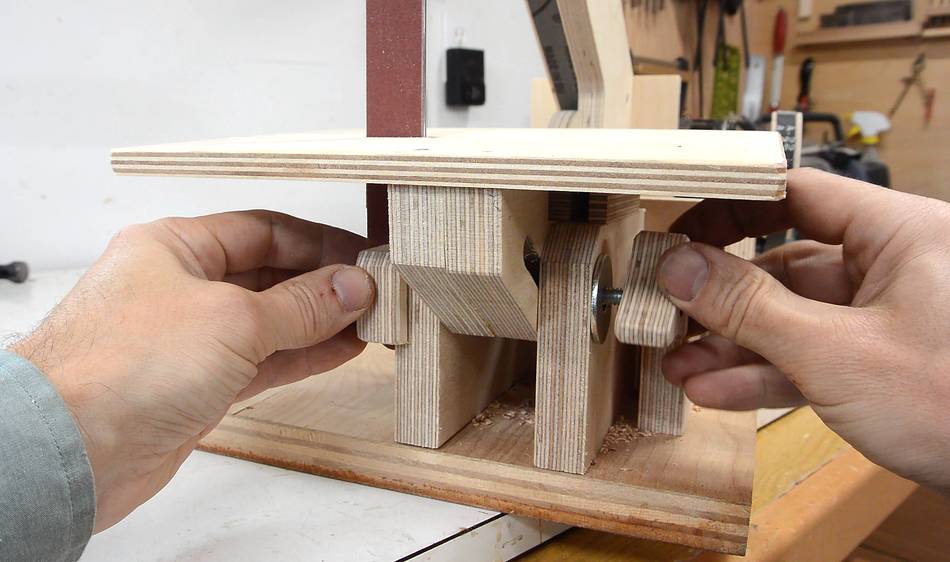 A long carriage bolt with a knob on the other end clamps the table mount in place.
A piece of wood on the end of the carriage bolt keeps the bolt's head from
turning as the knob is tightened.
A long carriage bolt with a knob on the other end clamps the table mount in place.
A piece of wood on the end of the carriage bolt keeps the bolt's head from
turning as the knob is tightened.
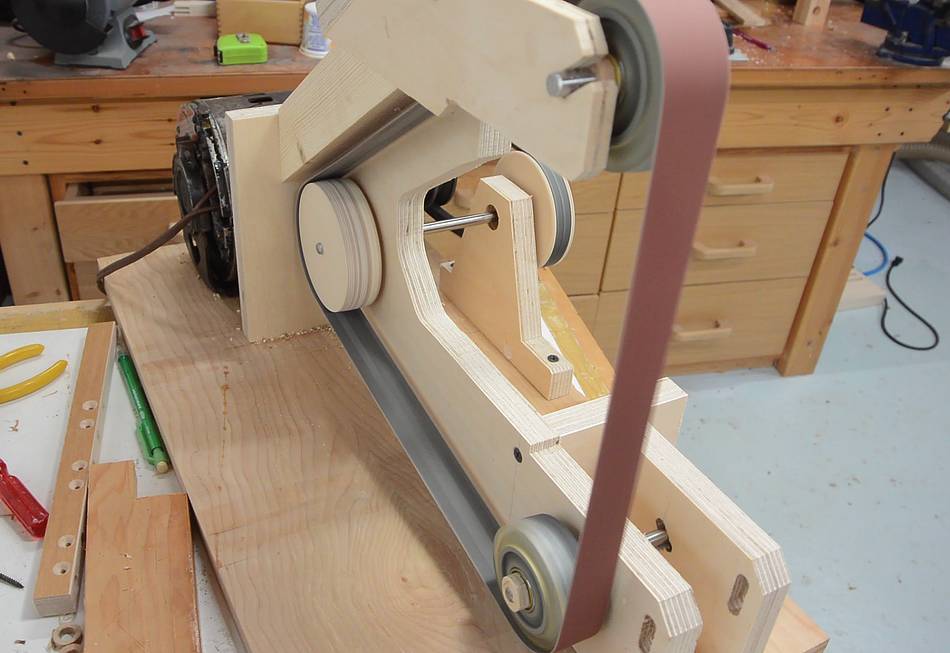
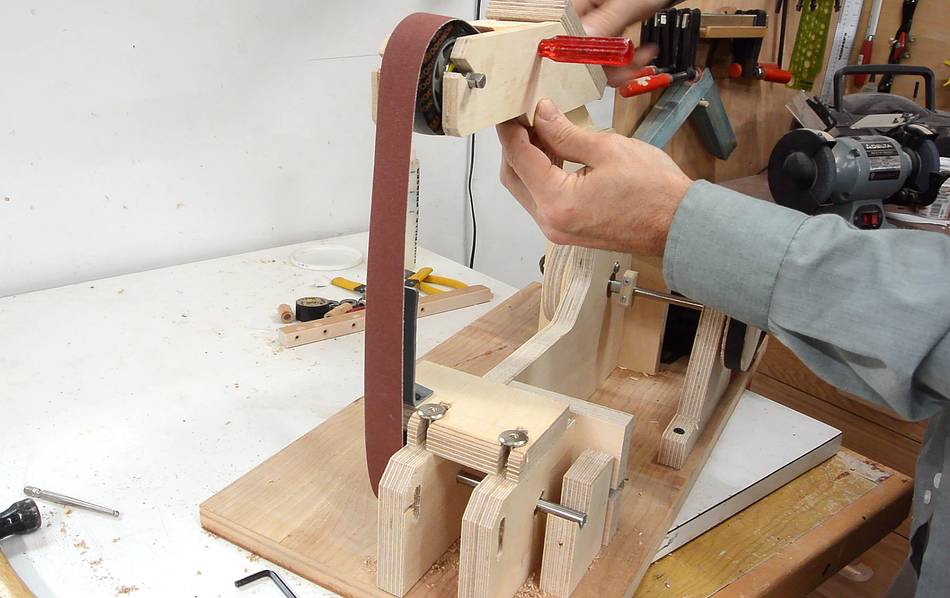
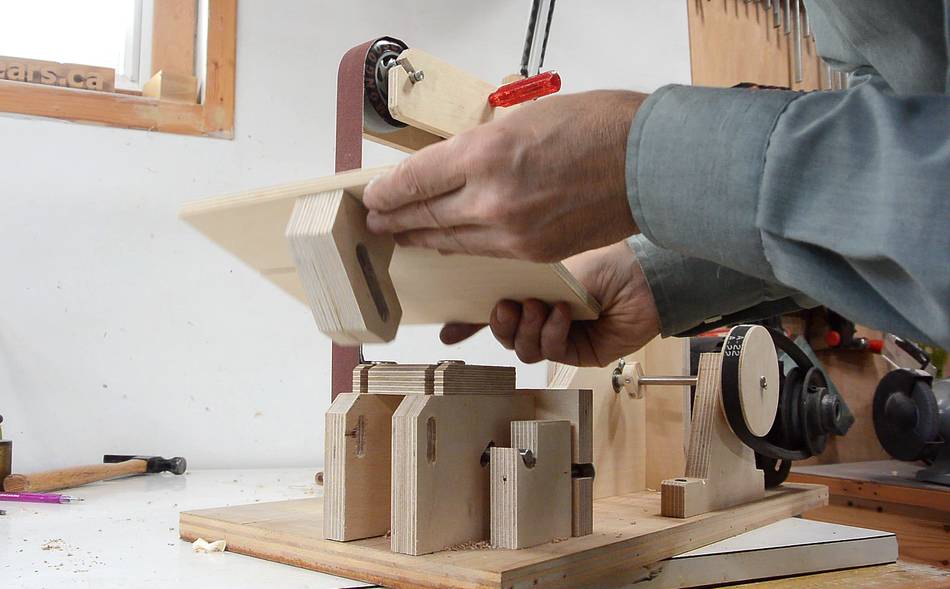
 At this point, the sander is functional enough to try it out!
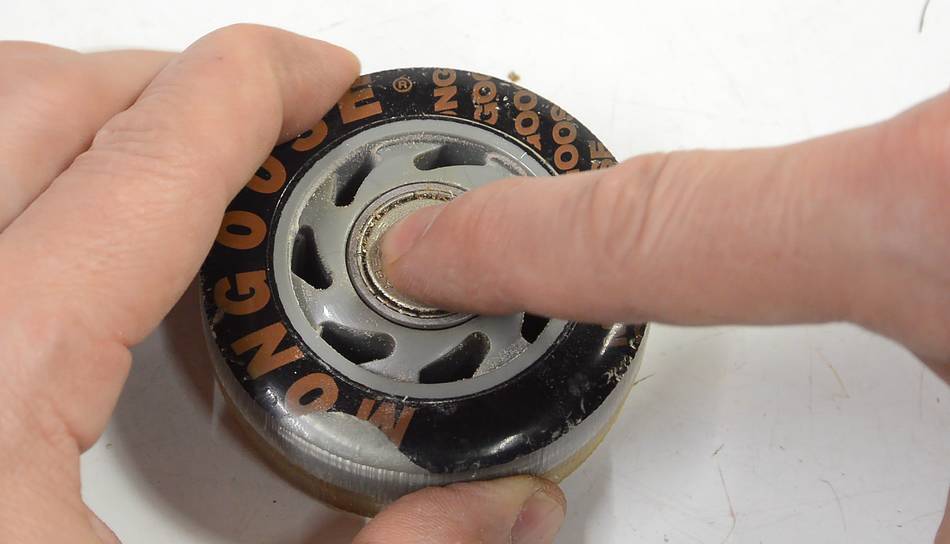
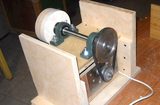
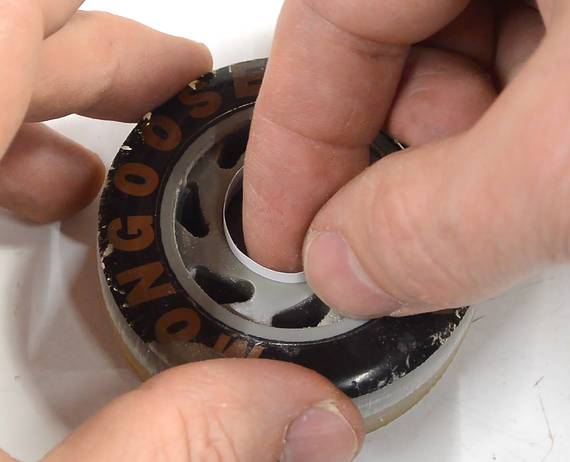 There was quite a bit of noise coming from the wheels when I tried out the
sander. On closer examination, I realized the bearings were not very tight
in the wheels, so they rattled around as the wheel was turned.
I could wiggle the bearings with my fingers
There was quite a bit of noise coming from the wheels when I tried out the
sander. On closer examination, I realized the bearings were not very tight
in the wheels, so they rattled around as the wheel was turned.
I could wiggle the bearings with my fingers
I made a paper shim to go around the bearings. This made for a nice tight fit.

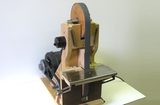
 Next I made a cover for the sander. I printed out the template from my
plans and cut a piece of 1/4" (6 mm) plywood to the shape, then added
1 cm wide, 35 mm thick edges.
Next I made a cover for the sander. I printed out the template from my
plans and cut a piece of 1/4" (6 mm) plywood to the shape, then added
1 cm wide, 35 mm thick edges.
I just marked these off my piece of wood and then cut them on the bandsaw. I also have templates for all these pieces in the plans, but I'd recommend just marking them off like this as you go along.
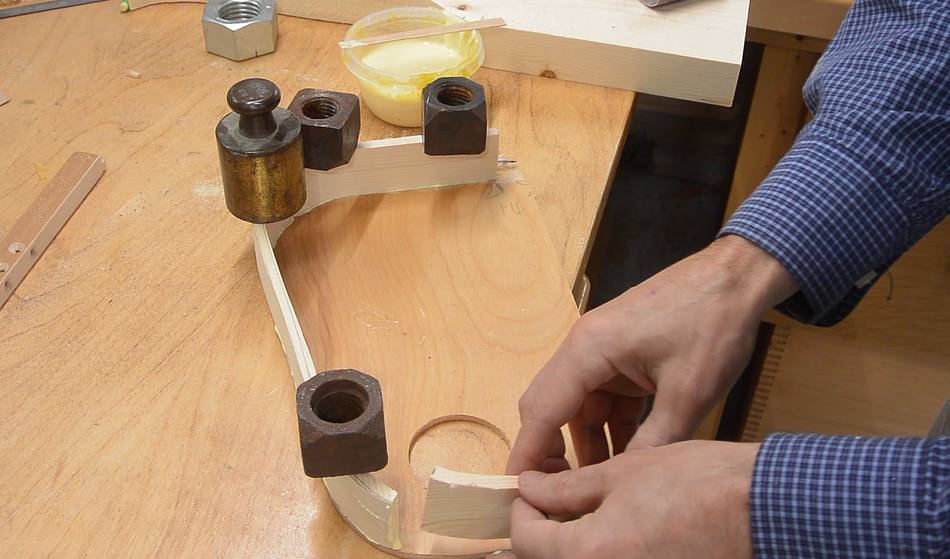
 Gluing the edges on. I've clamped them on with weights. That way
there is less risk of pushing things out of alignment.
Gluing the edges on. I've clamped them on with weights. That way
there is less risk of pushing things out of alignment.
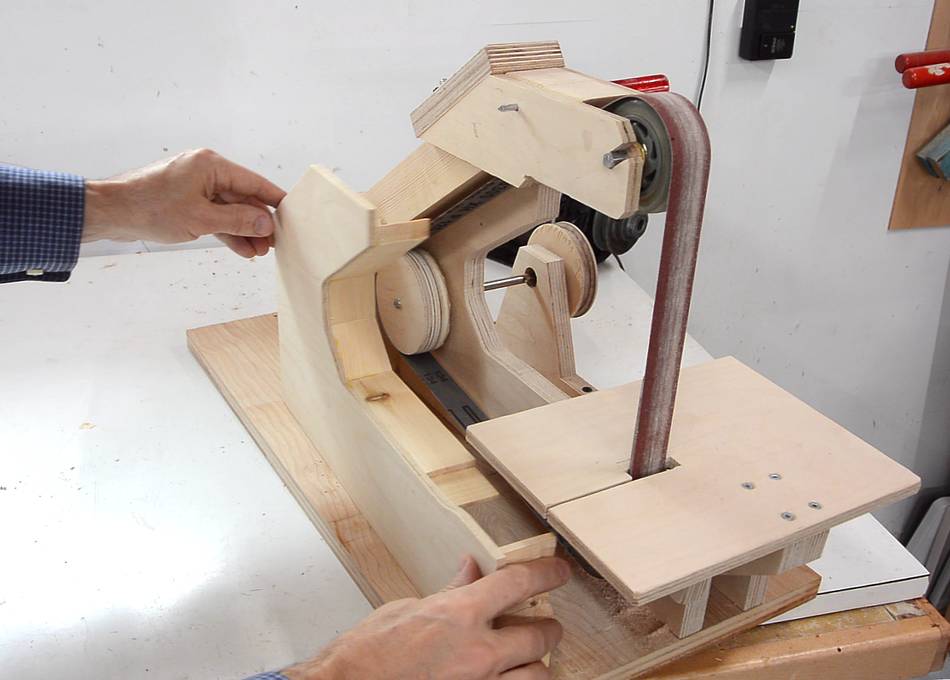 Checking the cover for fit.
Now I just need a convenient way of attaching it.
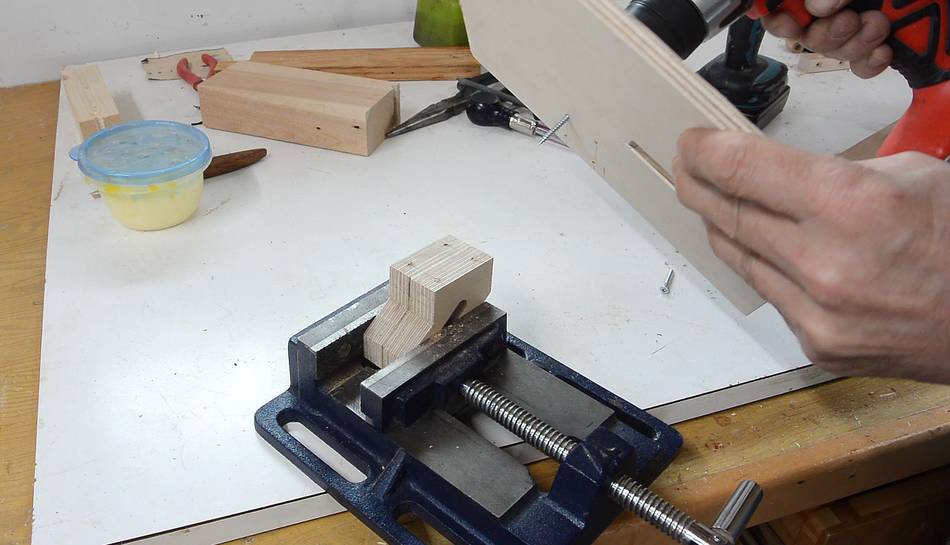
 I took the sander apart again to drill some holes for some studs (pieces
of threaded rod) to attach the cover.
I took the sander apart again to drill some holes for some studs (pieces
of threaded rod) to attach the cover.
If you follow the plans, you will already have drilled these holes earlier. The holes are 1/32" smaller than the 1/4" threaded rod. In metric, drill 5.5 mm holes and use M6 threaded rods.
Then screwing in the pieces of threaded rod. Again, I jammed two nuts against each other, and I'm using a nut driver in a drill to screw them in (faster than a wrench).
If you can't find threaded rods, you could also drill 1/4" (6 mm) holes and insert carriage bolts from the back.
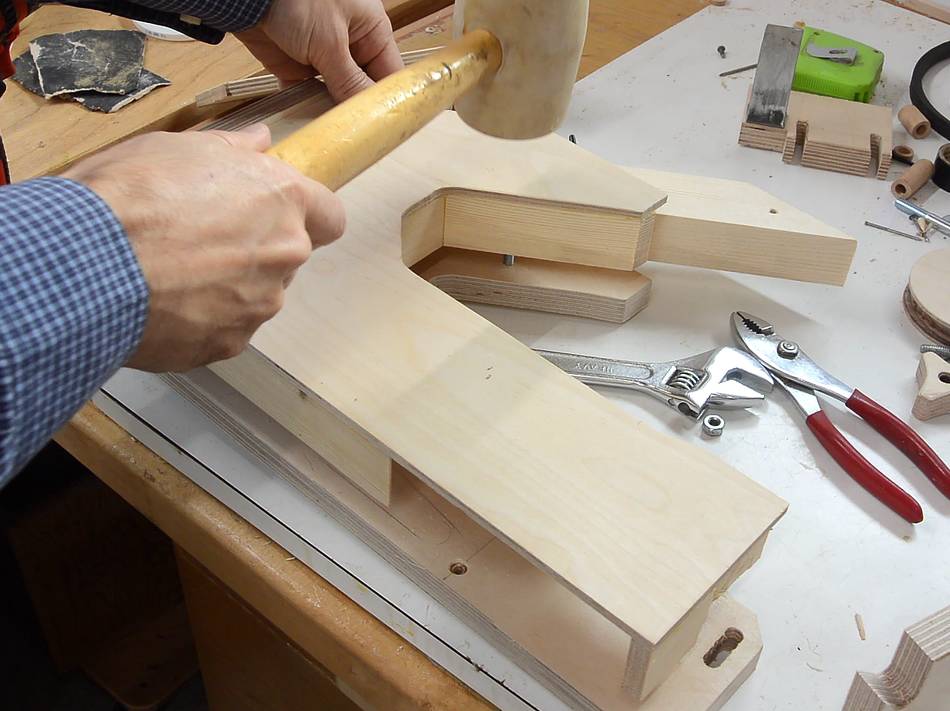 Then I transferred the location of the studs by placing the cover on
them and hitting it with a hammer. If you follow my plans, you will
have already drilled the holes in the cover.
Then I transferred the location of the studs by placing the cover on
them and hitting it with a hammer. If you follow my plans, you will
have already drilled the holes in the cover.
I drilled 5/16" (8 mm) holes where the studs hit the cover.

 Wing nuts hold the cover in place.
While I had it apart, I also cut a slot in the frame so I could put the dust collector hook-up on the other side. I could have attached the dust collector to the side with the cover on it, but I could make a more robust dust hook-up if it wasn't attached to the cover.
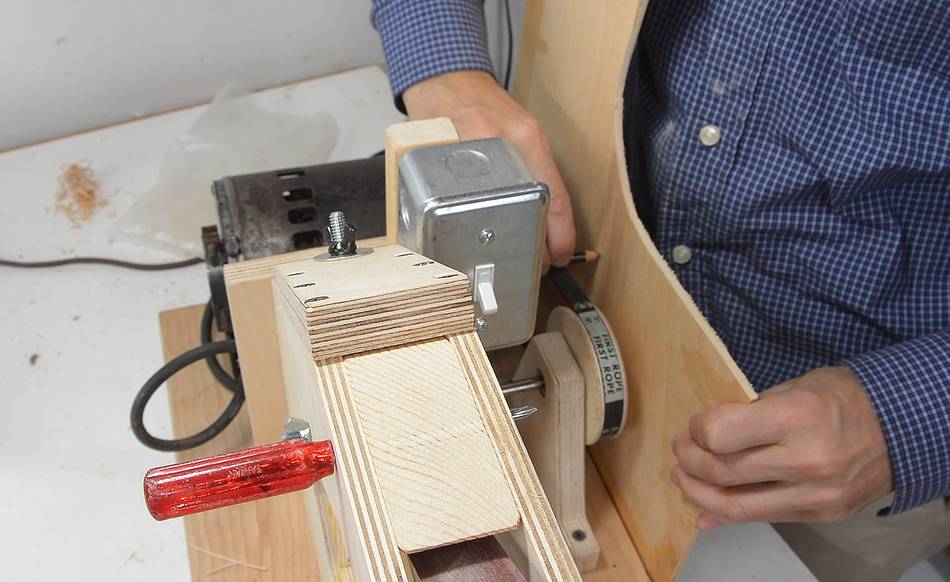
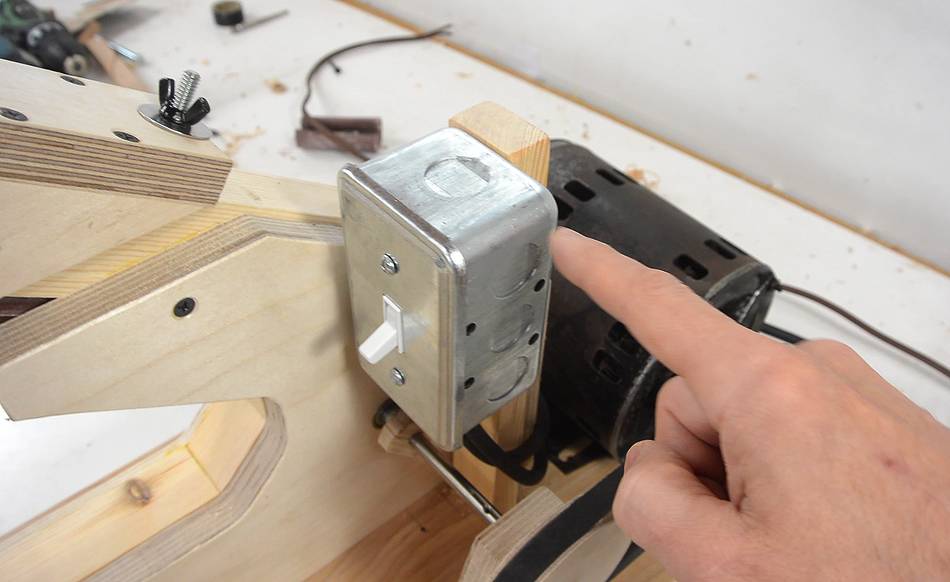 I also added a switch. The switch is a surface mount electrical box,
attached to a post on the machine.
I also added a switch. The switch is a surface mount electrical box,
attached to a post on the machine.
You can buy surface mount switches, but I have had problems with some of these in the past. To buy an electrical box, cover, and switch is actually less expensive, and if the switch fails, it's cheaper and easier to replace.
 Making a belt guard, I wasn't sure if I needed one. But I figure
I should at least set a good example and add one.
Making a belt guard, I wasn't sure if I needed one. But I figure
I should at least set a good example and add one.
The shape of your belt housing will vary with belt length, pulley size and motor size, so it's best to mark it off the machine than use the shape in the plans.
I used a short pencil to trace the shape of the belt on a piece of plywood.
 I cut the plywood out on the bandsaw, then traced the outside edge of
the guard on some 2x4 wood, and cut that out on the bandsaw. I freehand cut
the inside edge to make the sides about 1 cm thick.
I cut the plywood out on the bandsaw, then traced the outside edge of
the guard on some 2x4 wood, and cut that out on the bandsaw. I freehand cut
the inside edge to make the sides about 1 cm thick.
 The belt guard screws onto the edge of the base.
 I made a dust port out of a few pieces of wood. This one is for my
2.5" dust collector hose.
I made a dust port out of a few pieces of wood. This one is for my
2.5" dust collector hose.
The hose flange has a gap at the top with a screw so I can adjust how tight the fit is to the piece of plastic at the end of the hose.
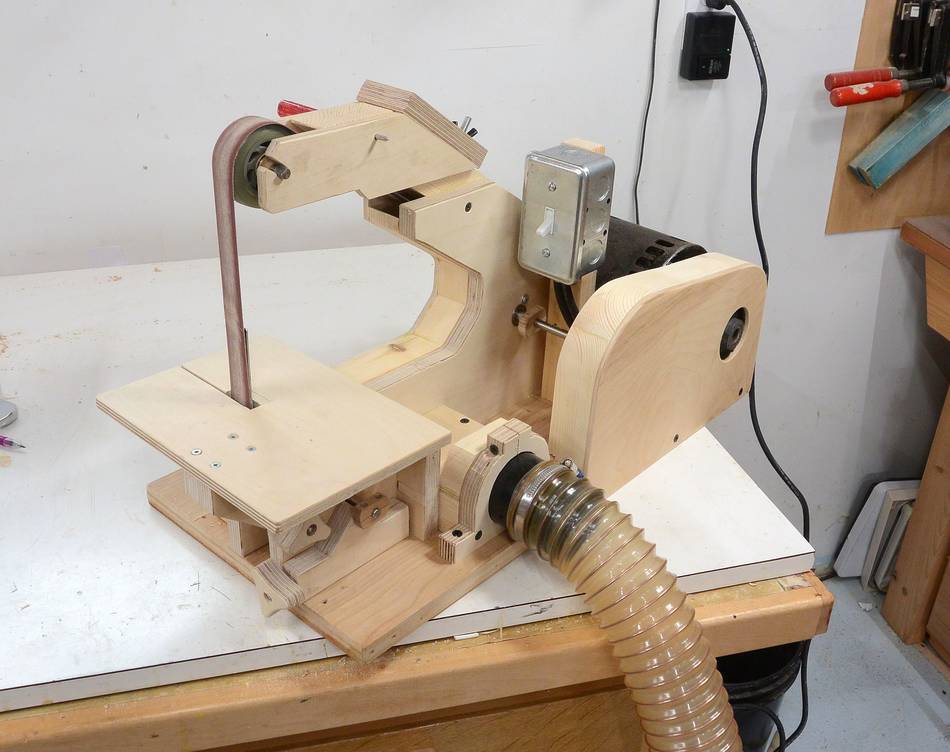 Finished sander, with the hose plugged in.
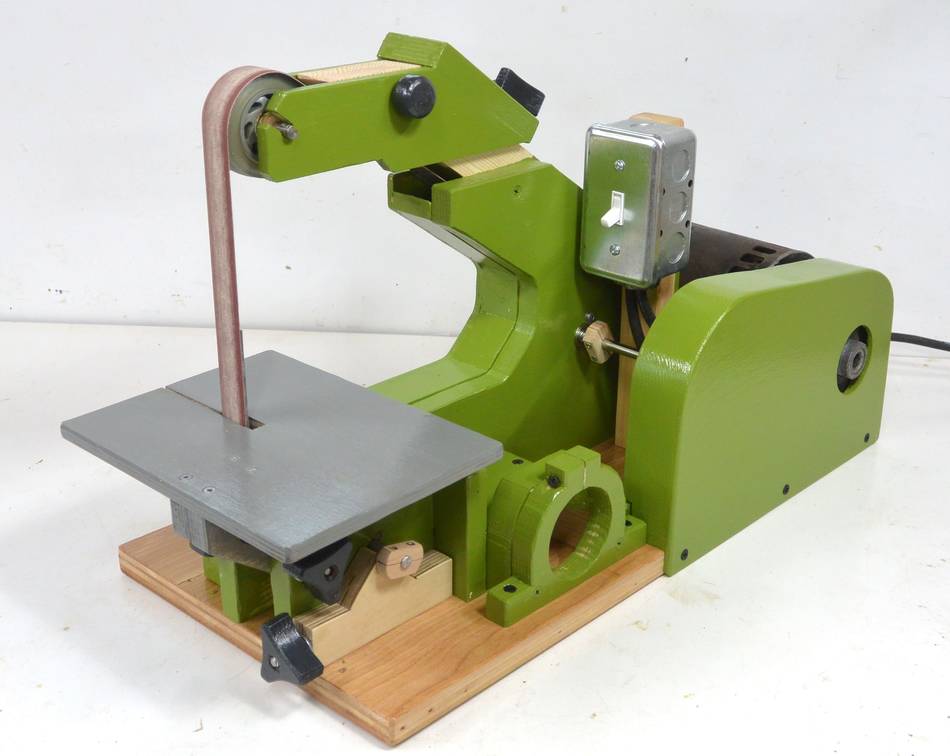 I then painted the sander with my usual green colour.
Aside from making it look nicer, it helps for clarity in the pictures
I take when the machine is not the same colour as the wood.
I then painted the sander with my usual green colour.
Aside from making it look nicer, it helps for clarity in the pictures
I take when the machine is not the same colour as the wood.
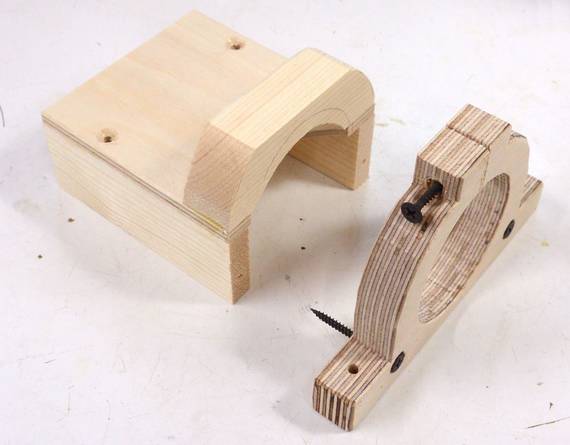
 The coolest feature of this sander is that the platen (the backer
behind the belt) is easy to remove and swap out. Here I'm swapping
in a convex platen, for sanding inside curves. This allows this
sander to do work that is typically done with spindle sanders.
The coolest feature of this sander is that the platen (the backer
behind the belt) is easy to remove and swap out. Here I'm swapping
in a convex platen, for sanding inside curves. This allows this
sander to do work that is typically done with spindle sanders.
It can't do everytying a spindle sander can do - like sanding inside shapes, but it can do things that spindle sanders can't do, like getting into tight corners. It also works faster, and the dust gets pulled into the machine instead of thrown to the side.
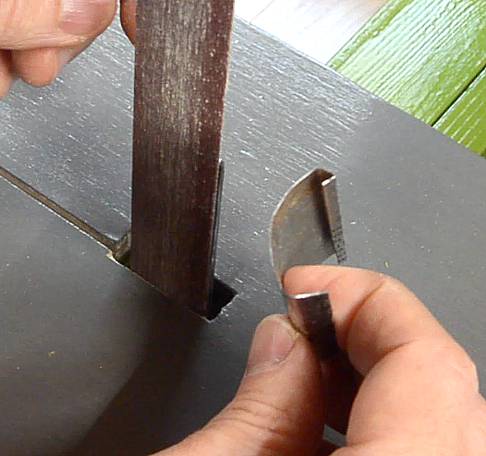 But then I had another idea- to just make a sheet metal clip that snaps
onto the straight platen to make it into a convex one. The advantage of this
one is that it's easy to swap in and out. Though if I have to sand a lot
of curves, the curved wooden platen is more suitable.
But then I had another idea- to just make a sheet metal clip that snaps
onto the straight platen to make it into a convex one. The advantage of this
one is that it's easy to swap in and out. Though if I have to sand a lot
of curves, the curved wooden platen is more suitable.
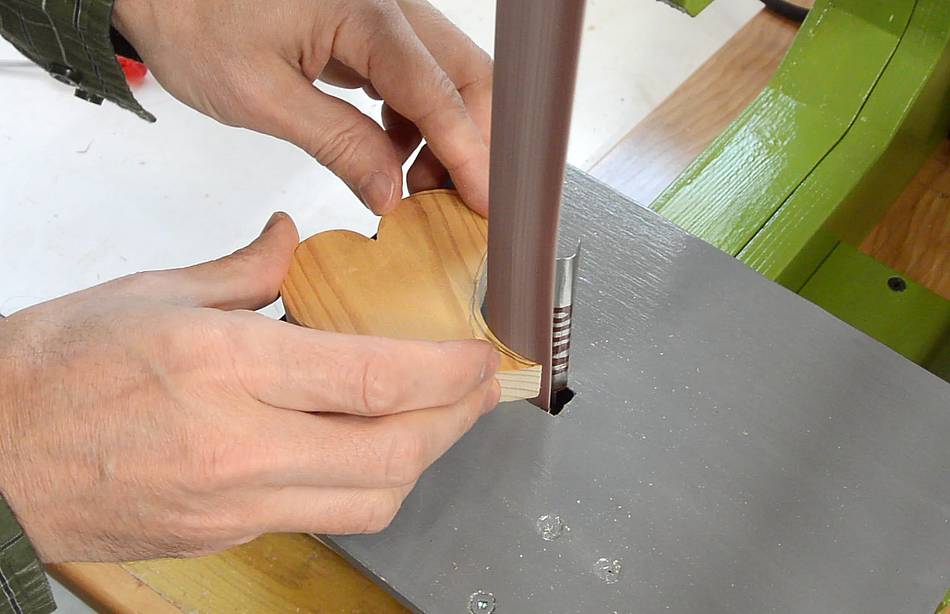
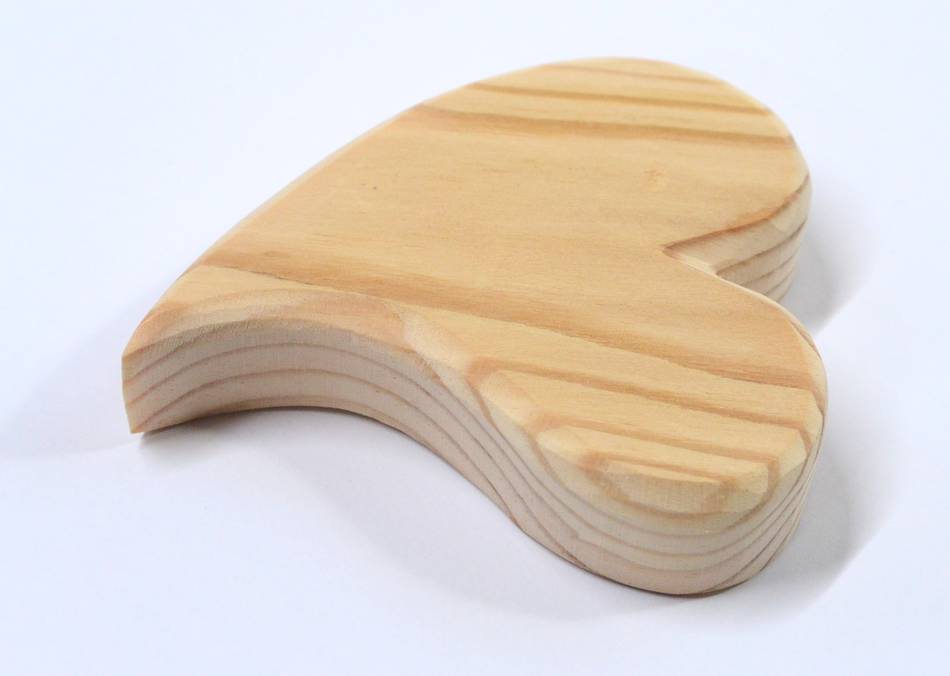 With the curved platen to do the inside curves, and the edges of the straight
platen to work the bevel edges in the corner, I was able to do all the shaping of
the edges and top of this heart using this sander.
With the curved platen to do the inside curves, and the edges of the straight
platen to work the bevel edges in the corner, I was able to do all the shaping of
the edges and top of this heart using this sander.
 Mini dust collector
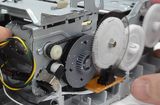 Tearing down an HP printer to get 8 mm shafts
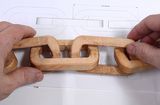 Wooden chain
carved using only power tools
Wooden chain
carved using only power tools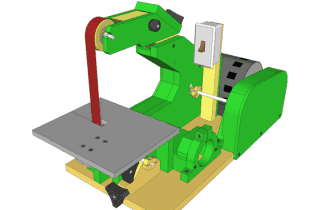 1"x42" belt sander plans
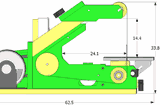 Specs for the sander
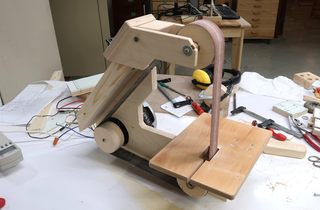 Strip sander XL build
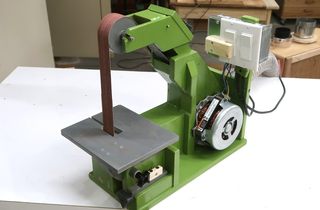 Strip sander XL finish up
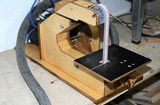 Hessam Sane's
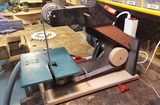 Elyasaf's strip sander,
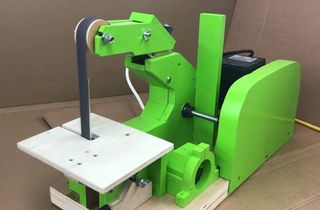 Richard's strip sander
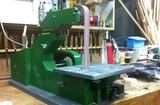 Phillip's strip sander
 Matthew's strip sander
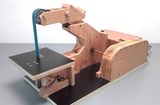 Thomas's strip sander
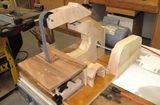 Nicholas Tinling's strip sander
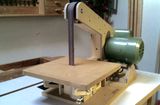 Jens Larsen's sander (inspired by this one)
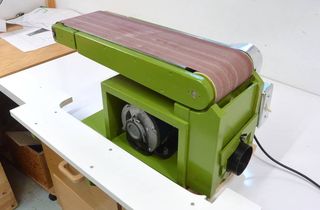 6"x48" belt sander build
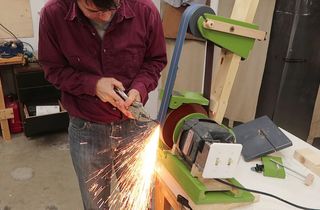 Belt grinder
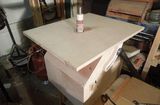
 Where do you get your motors from?